
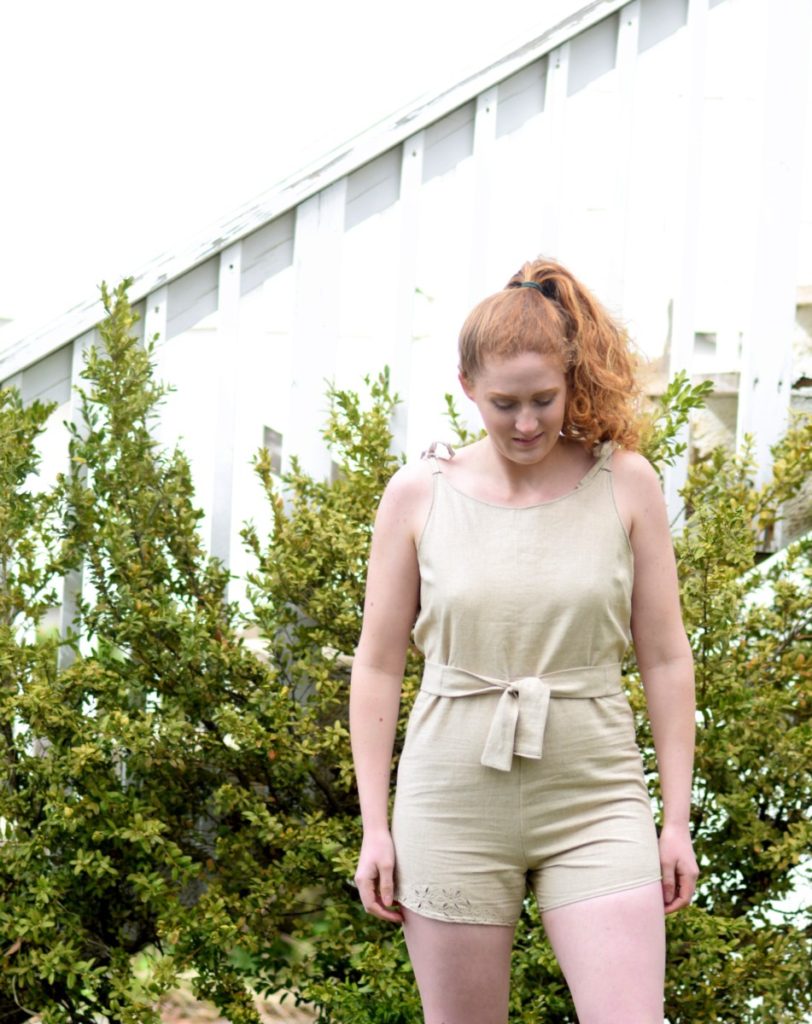
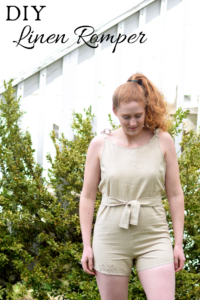
I’m so ready for summer. Making summer clothing is my favorite thing ever! And there’s nothing that says summer like a romper. Especially a linen romper!
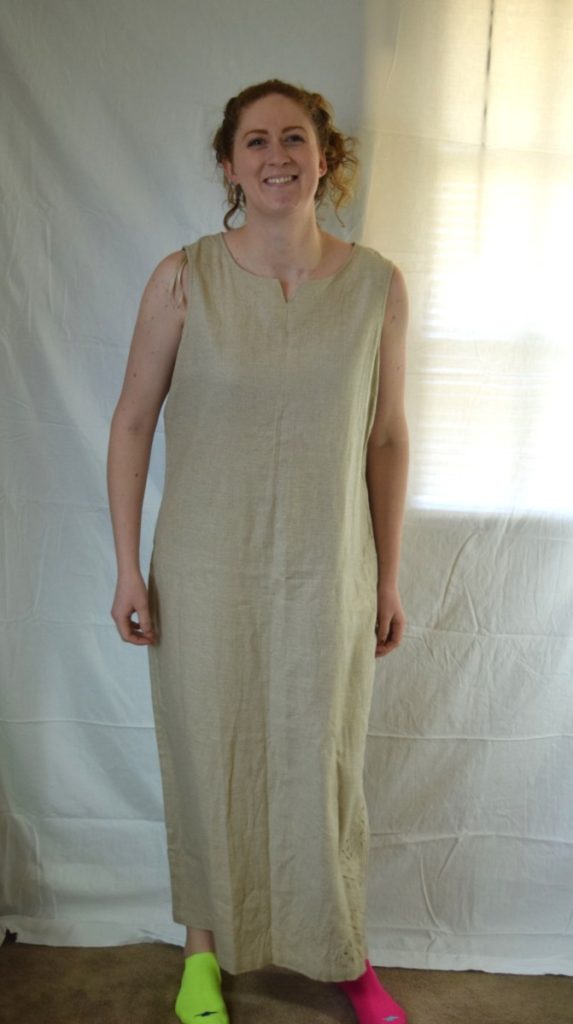
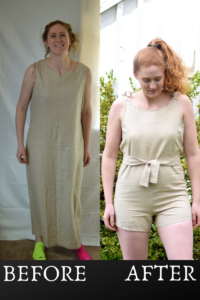
I found this long linen dress at the thrift store and I had to buy it. The lightweight linen is just beautiful and I had been wanting to make a linen romper for a while. So I thought this was the perfect opportunity to make it happen!
So let’s get into how I made this cute DIY linen romper!
*This list contains affiliate links for your convenience, so I get a small commission if you purchase something through one of my links. This really helps support my site so I can continue to bring you DIYs and sewing tips and tutorials.
What you need:
- long, oversized dress: the larger the dress is on you the better, because you’ll have more fabric to work with
- a pair of shorts that fit you well
- pattern paper
- pen
- ruler (a french curve ruler will be helpful, but isn’t necessary)
- fabric marker or chalk
- scissors
- sewing machine
- needle
- thread
- sewing pins
- iron
Steps:
- Detach the bodice from the skirt at the waist
- Make a shorts pattern from a pair of shorts you already own
- Cut out shorts from skirt fabric
- Construct the shorts and add a zipper
- Draw out the bodice front and back design on the dress top
- Cut out your bodice pieces
- Construct the bodice
- Attach the bodice to the shorts and hem all raw edges
- Make shoulder ties and attach them
- Make waist tie
Instructions:
Step 1
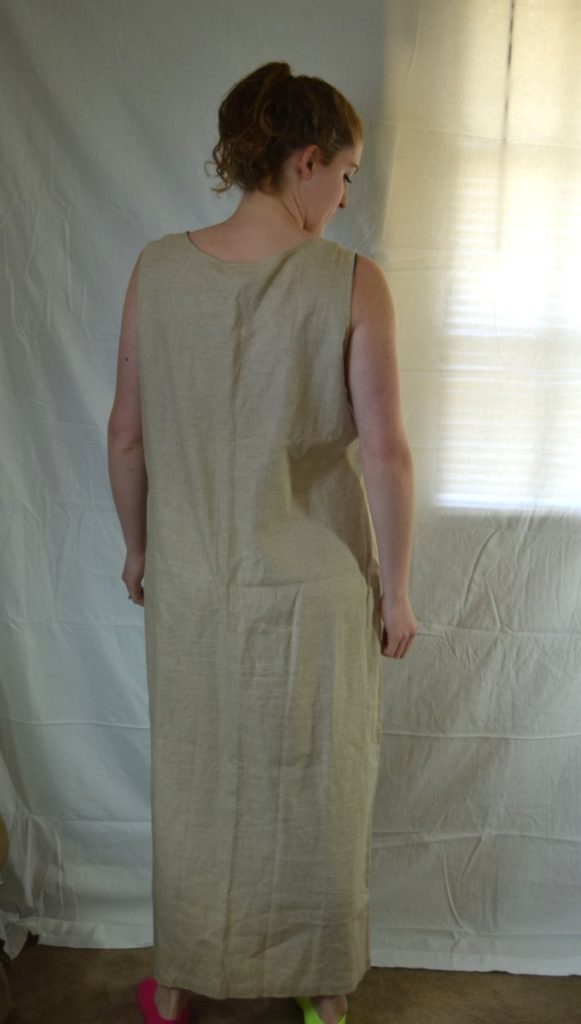
My first step was to try on the dress and mark my waist on the dress.
Next, I drew a line across the dress from side seam to side seam, about an inch below my waist mark (for seam allowance).
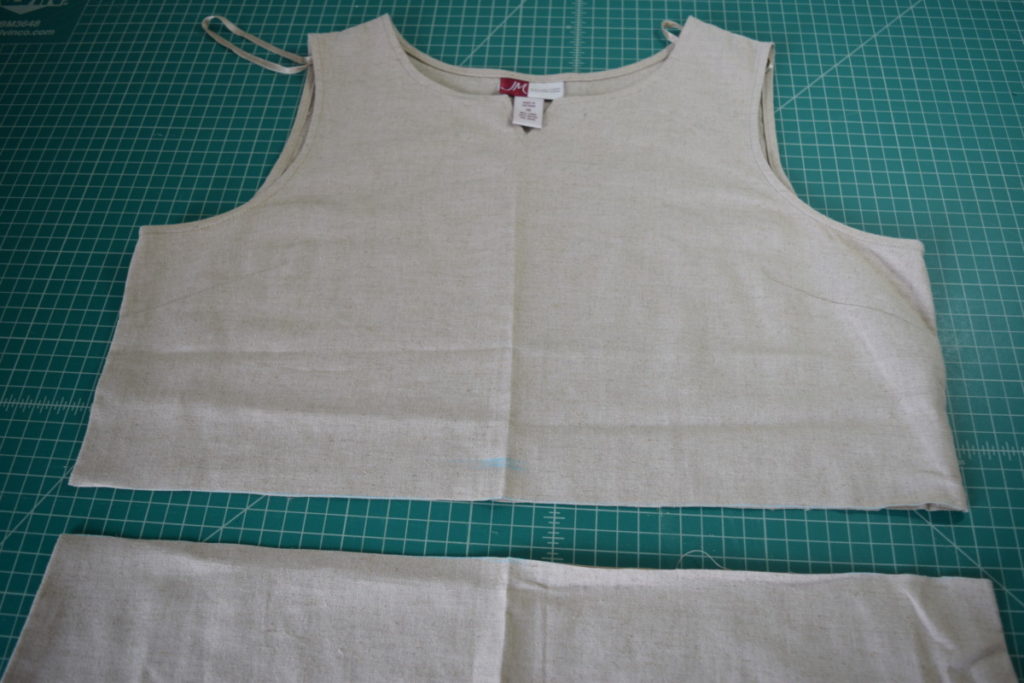
Then I cut along this line to separate the bodice from the skirt.
Step 2
Now I’m going to work on making my pattern for the shorts of the romper. So I grabbed my pattern paper, pen, ruler, and a pair of shorts that fit me well.
First, I tried on the shorts and noted any adjustments I wanted to make. I decided to add 6.5 inches to the top of the shorts to make them reach my waist (measure from the top of the shorts to your waist, then add seam allowances to find out how much to add). I also wanted to add 2.5 inches in length to the bottom of the shorts and 0.5 inches to the outer side seams on both front and back.
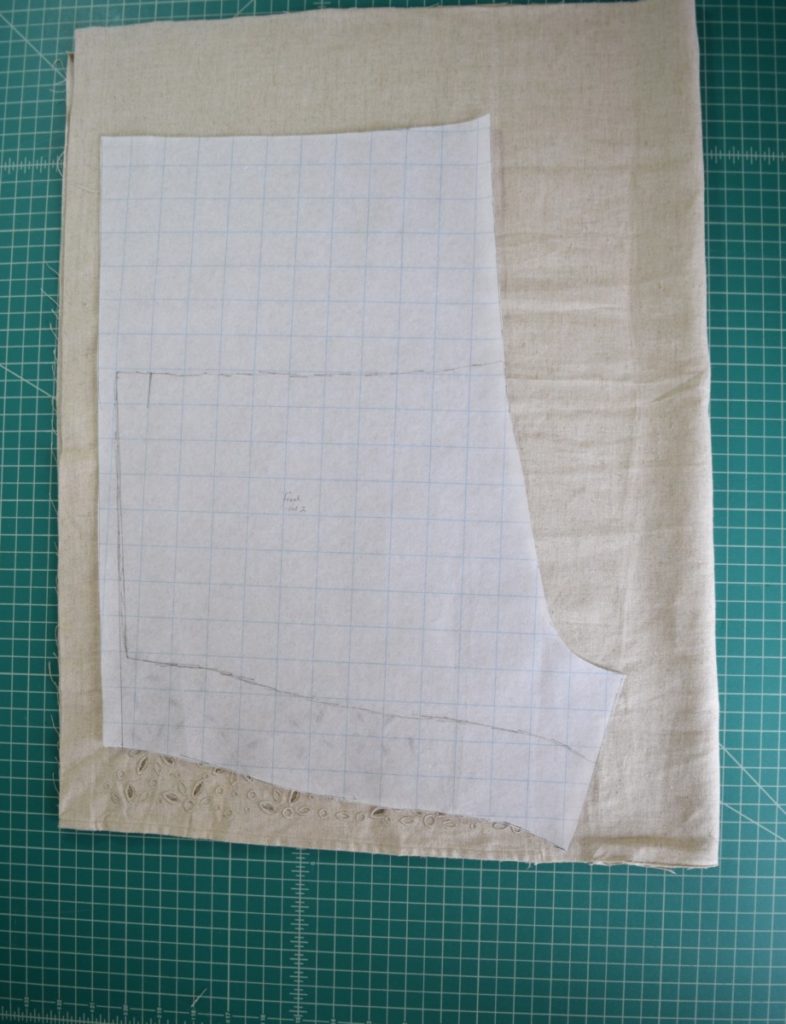
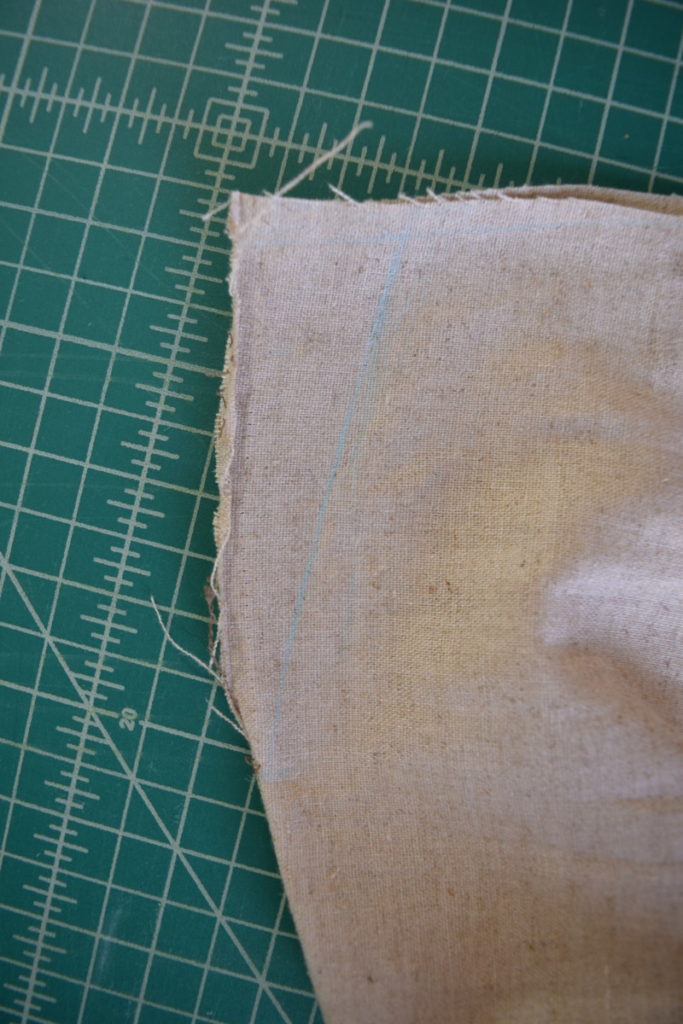
Next, I carefully folded the shorts in half so the front piece is to the outside, and trace around them onto the pattern paper. Make sure to stretch the elastic towards the side seams as you trace, so your waist isn’t too small.
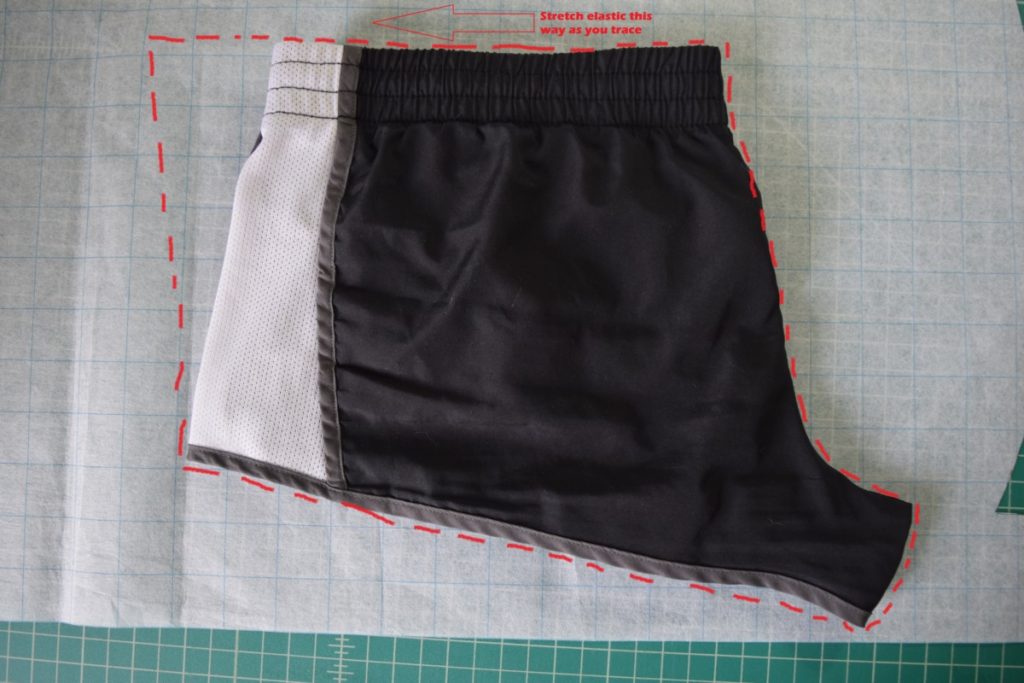
You’ll end up with something like this:
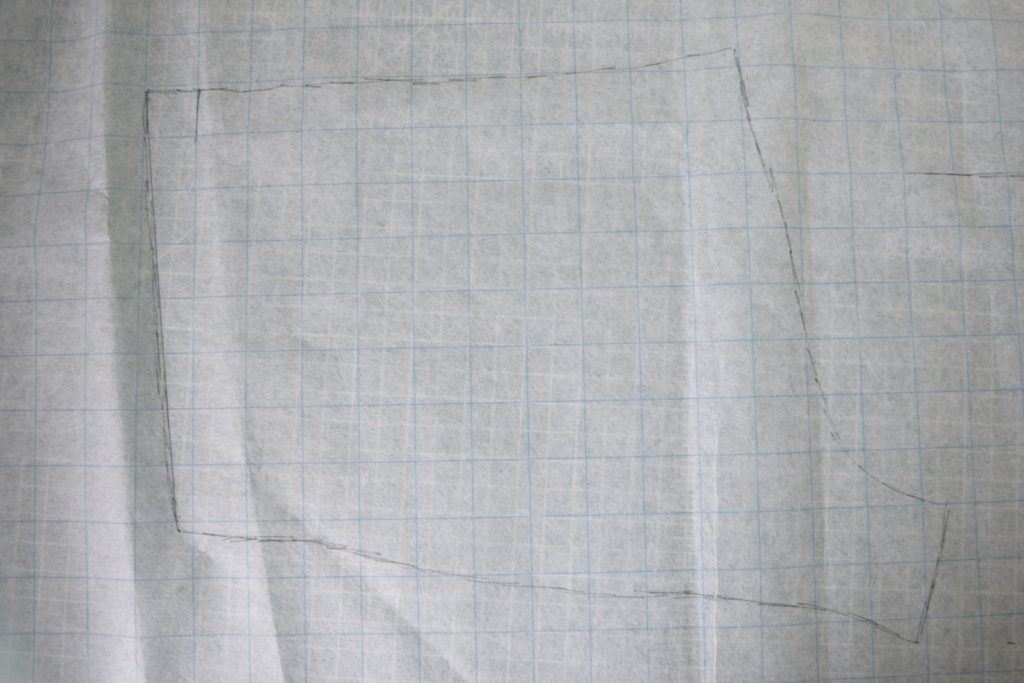
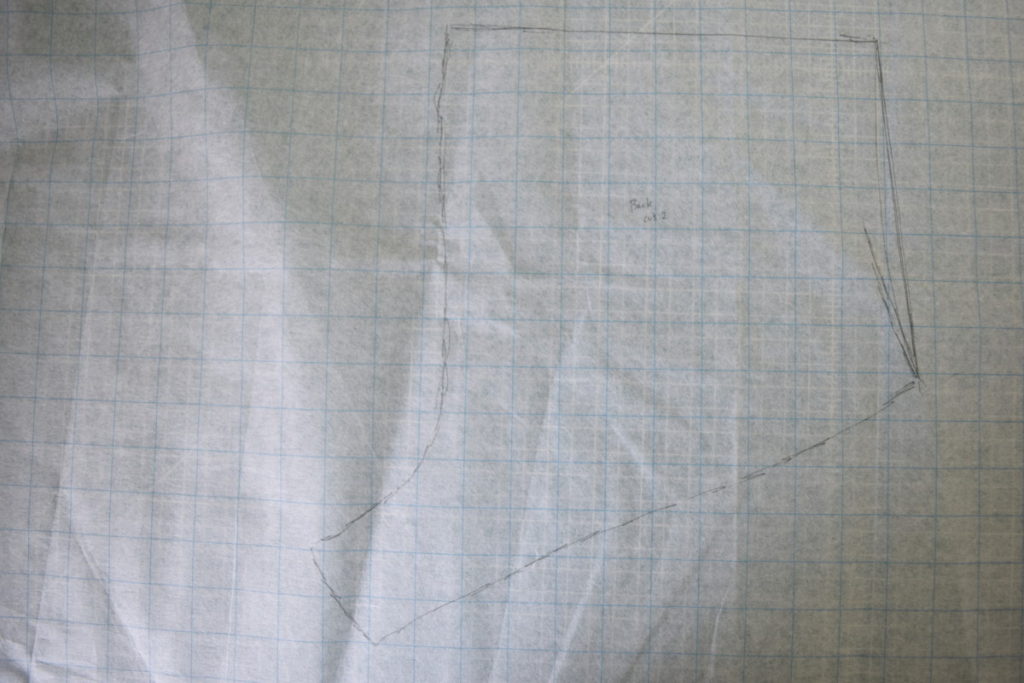
Next, I added my 6.5 inches to the top, 2.5 inches to the bottom, and 0.5 inches to the side seam.
At this point, you should add seam allowances to your pattern around all the edges except the top. I forgot to add seam allowances to mine, so my romper ended up more fitted than I had originally planned.
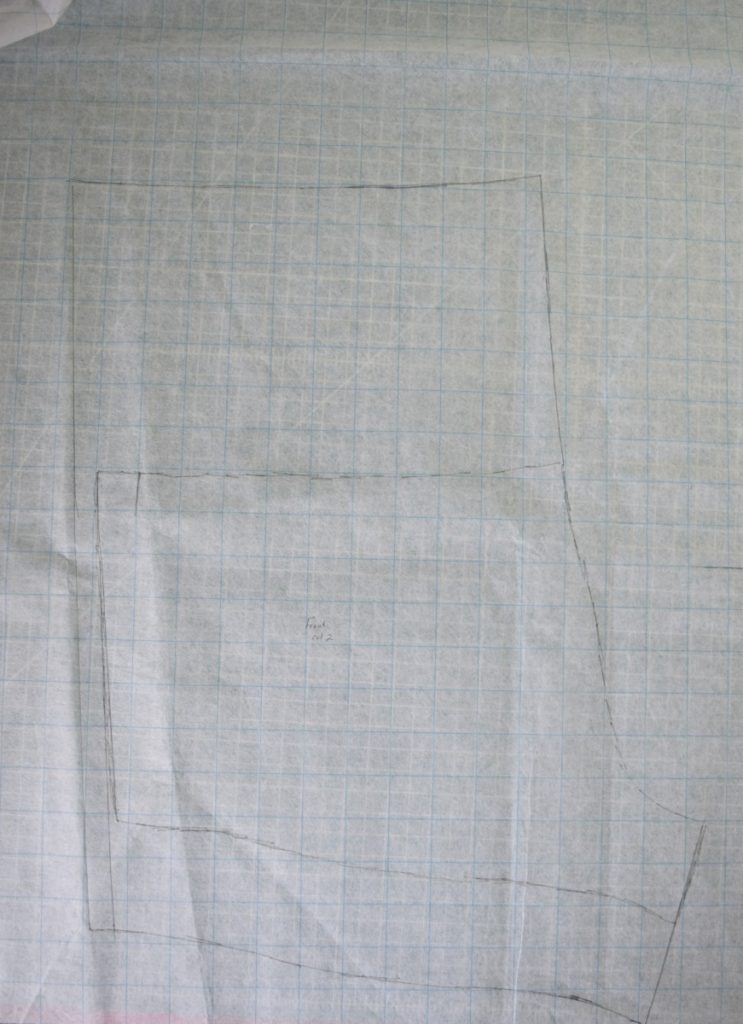
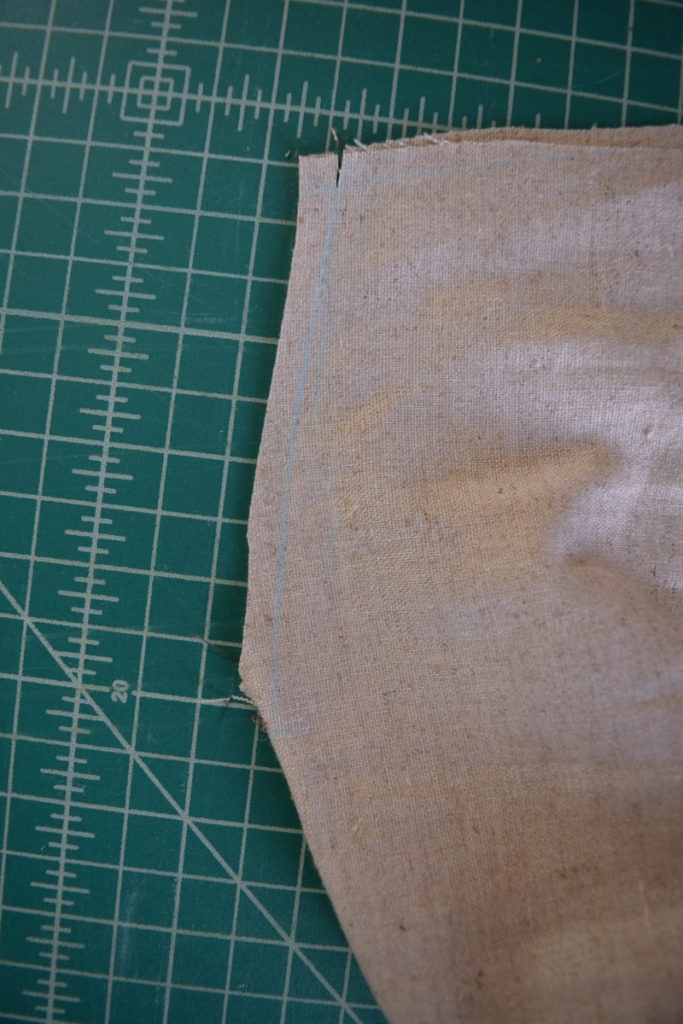
Now, just fold the shorts the other way and repeat this process to trace out the back pattern.

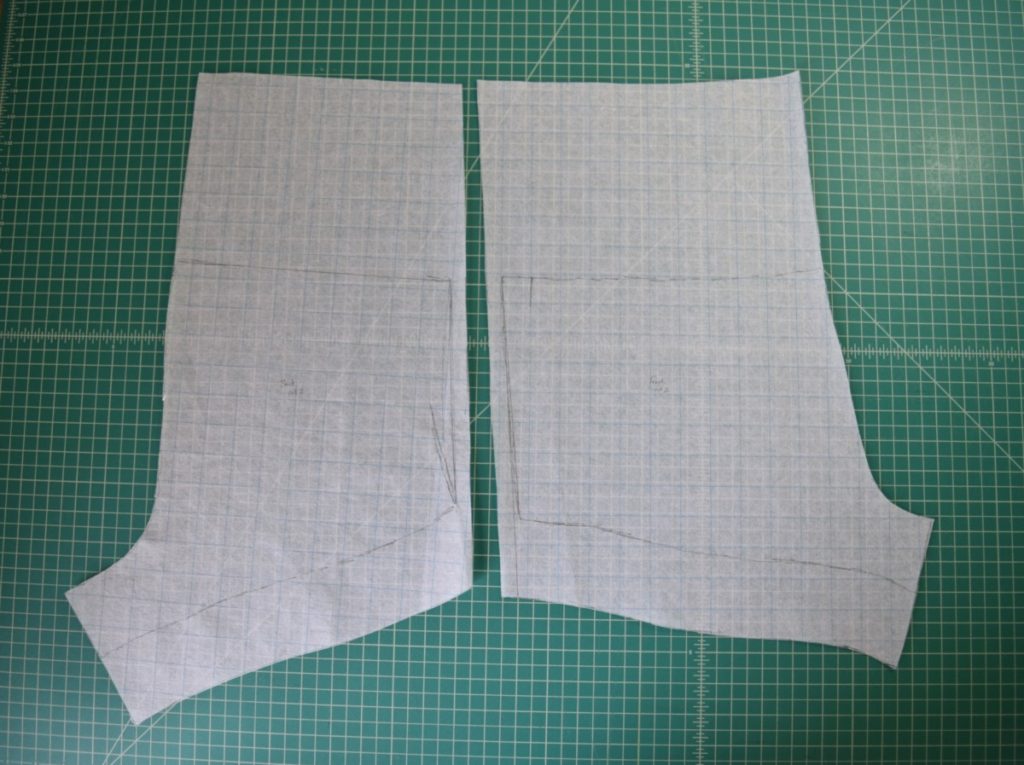
Next, I cut out my front and back pattern pieces and ended up with this:
Step 3
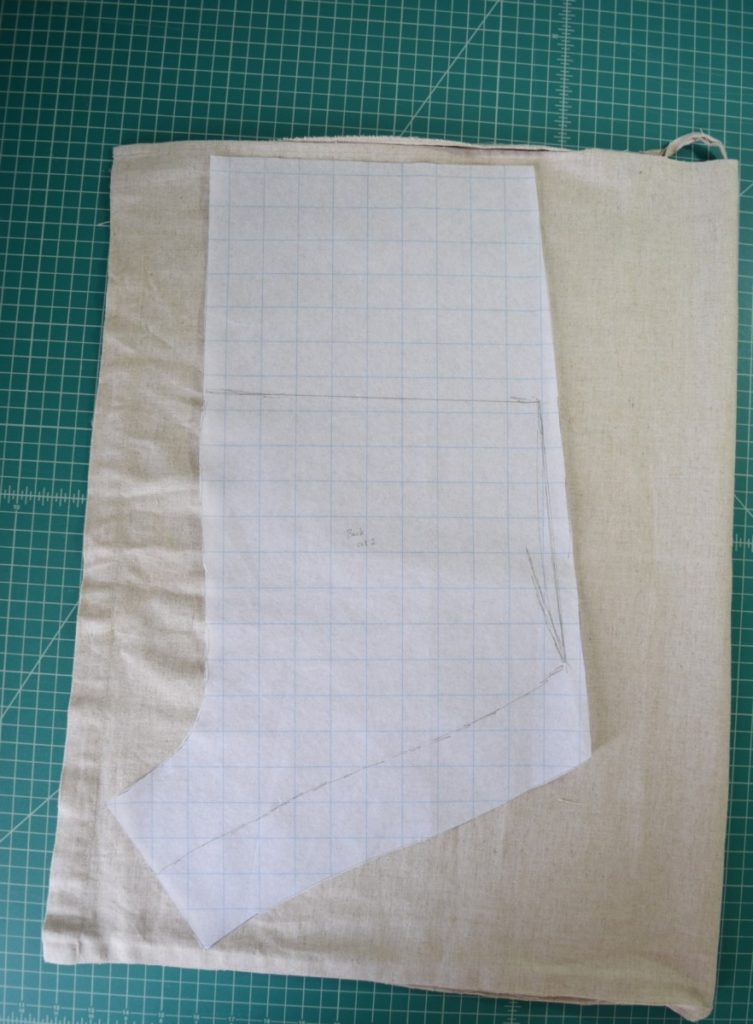
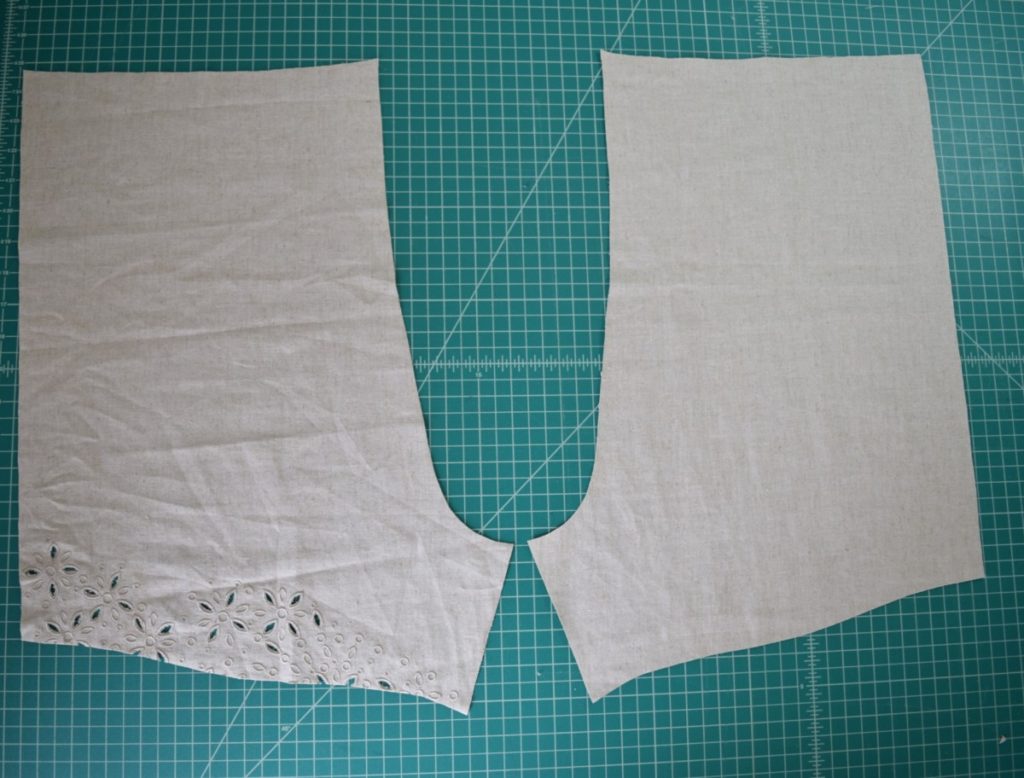
Now it’s time to cut out my shorts pieces! First, I detached the front skirt from the back skirt at the side seams. Then I grabbed the back skirt fabric piece and folded it in half so I had two layers. Then, I placed my back pattern piece onto the fabric and cut around it.
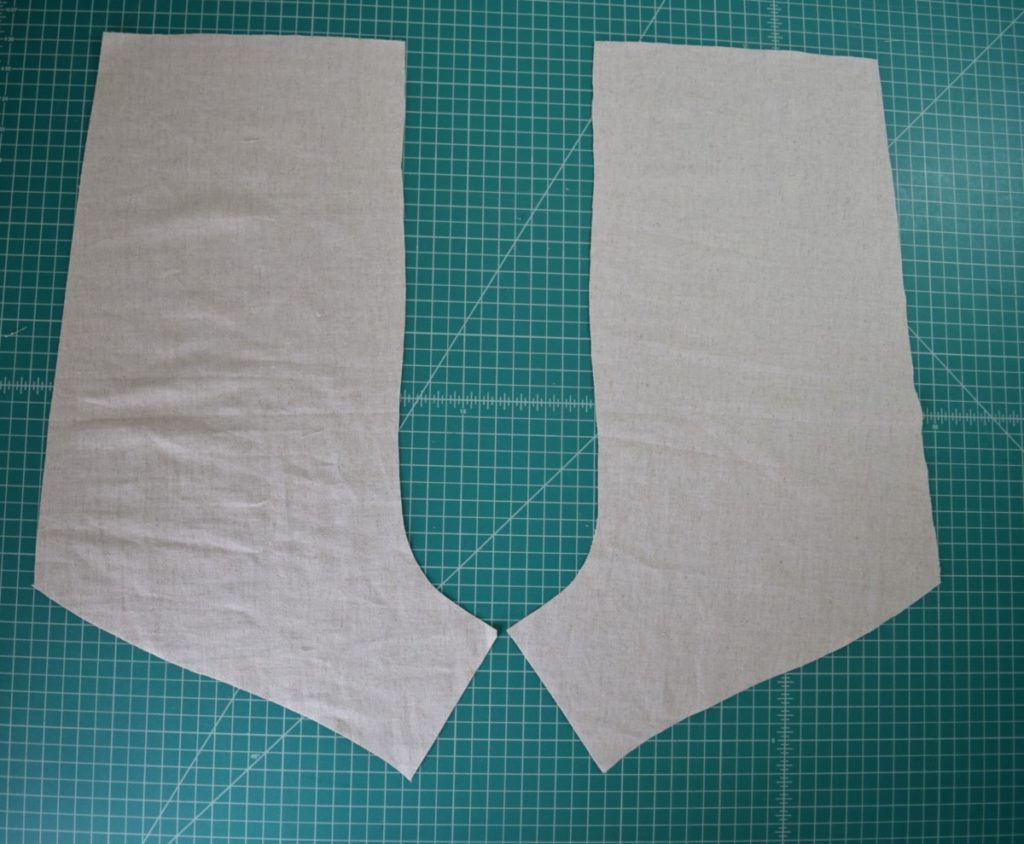
After cutting, I ended up with two back shorts pieces:
Next, I used the fabric from the front of the skirt and my front shorts pattern piece to cut out two front pieces in the same way.
Step 4
Then I started putting together the shorts. I sewed the front pieces to the back pieces at the inner leg seam and the outer leg seam.
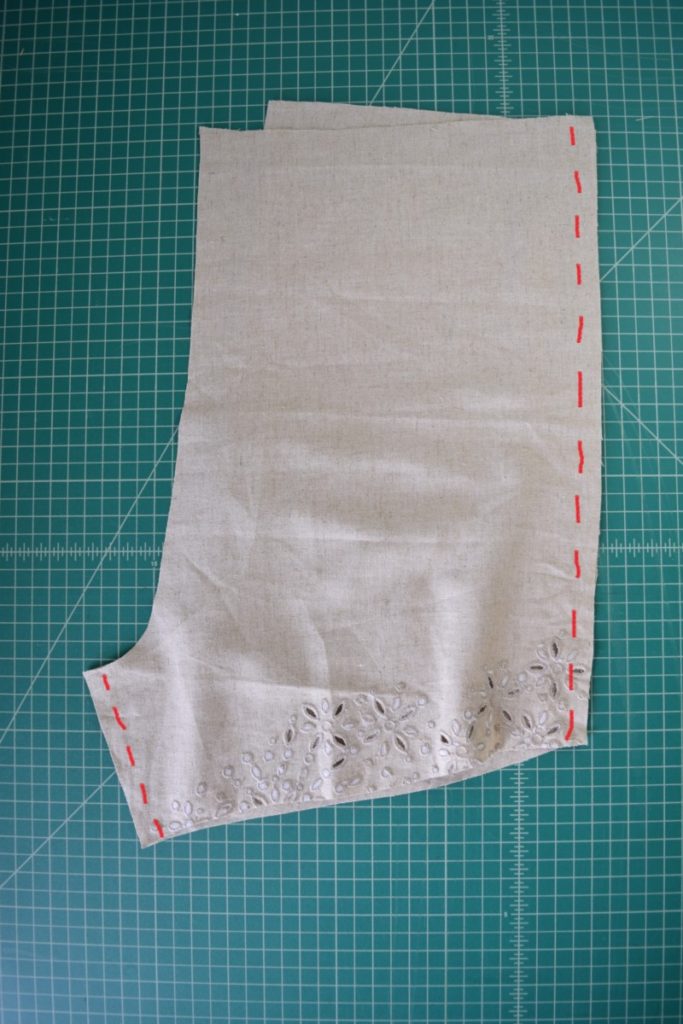
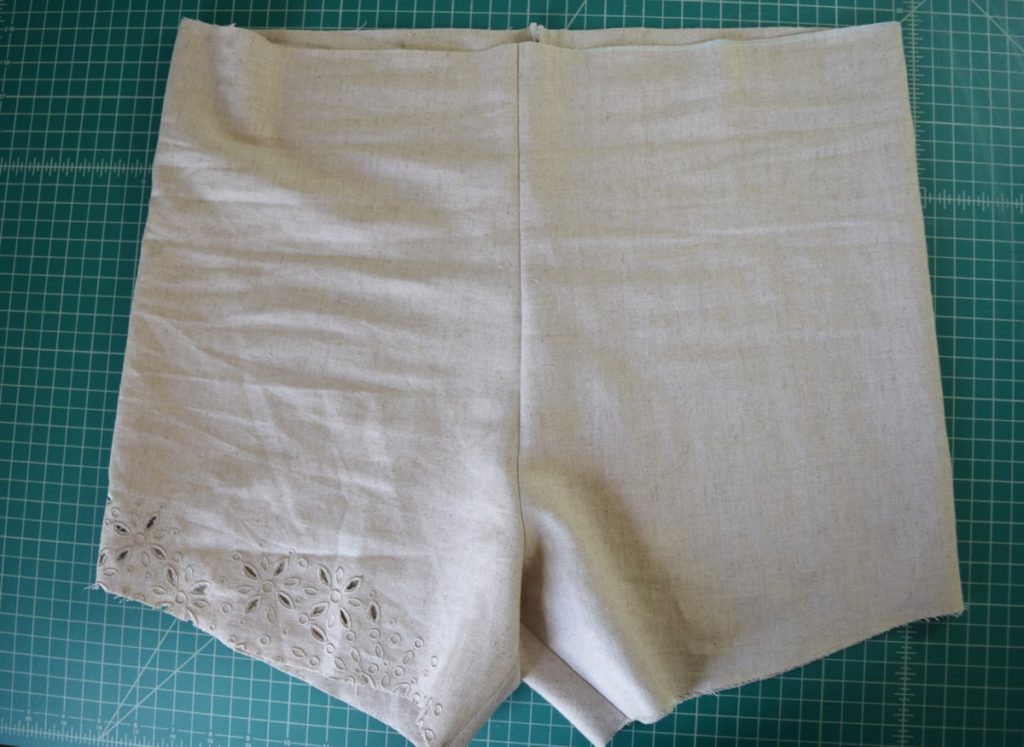
After doing this with both sets of front/back pieces I ended up with this:
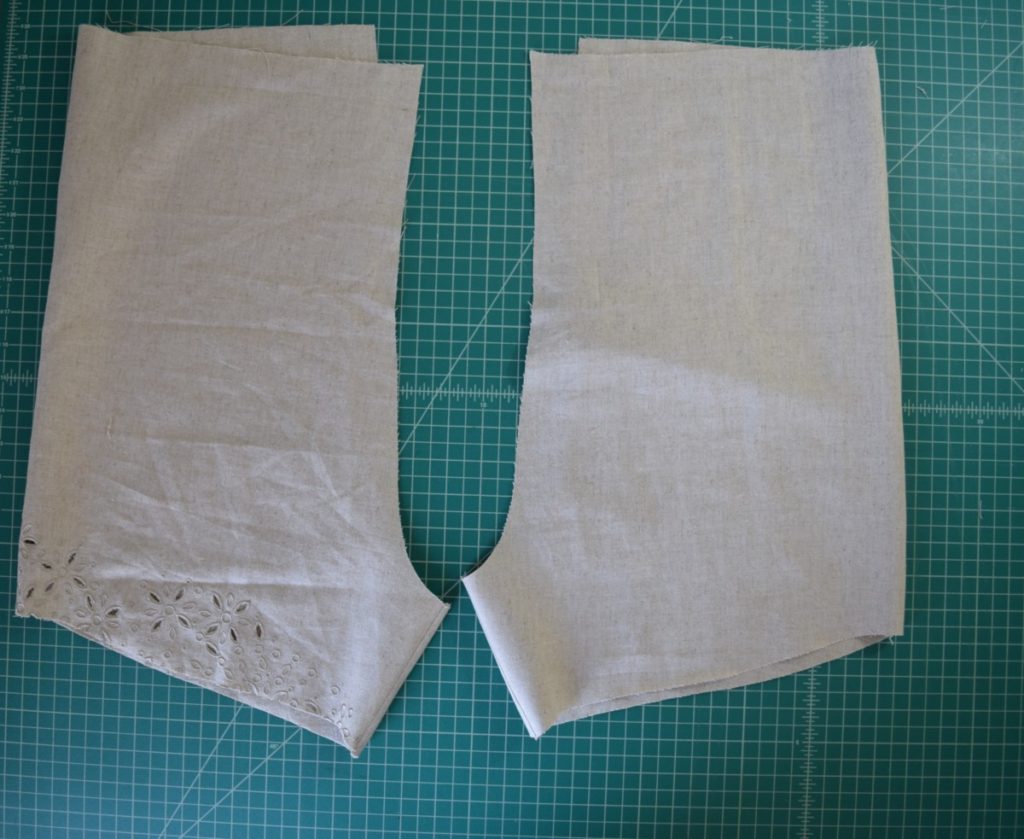
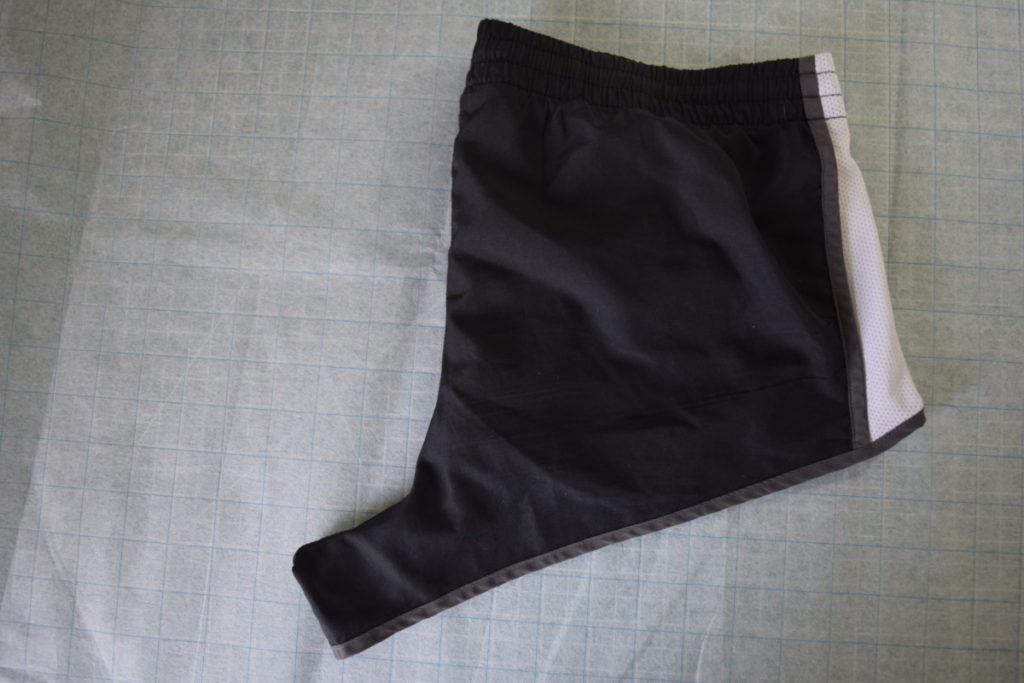
Next, I sewed the crotch seam. To do this I turned one leg inside out and inserted the other (right sides out) leg into it. I then pinned the u-shaped crotch seams together, right sides together, and sewed them up.


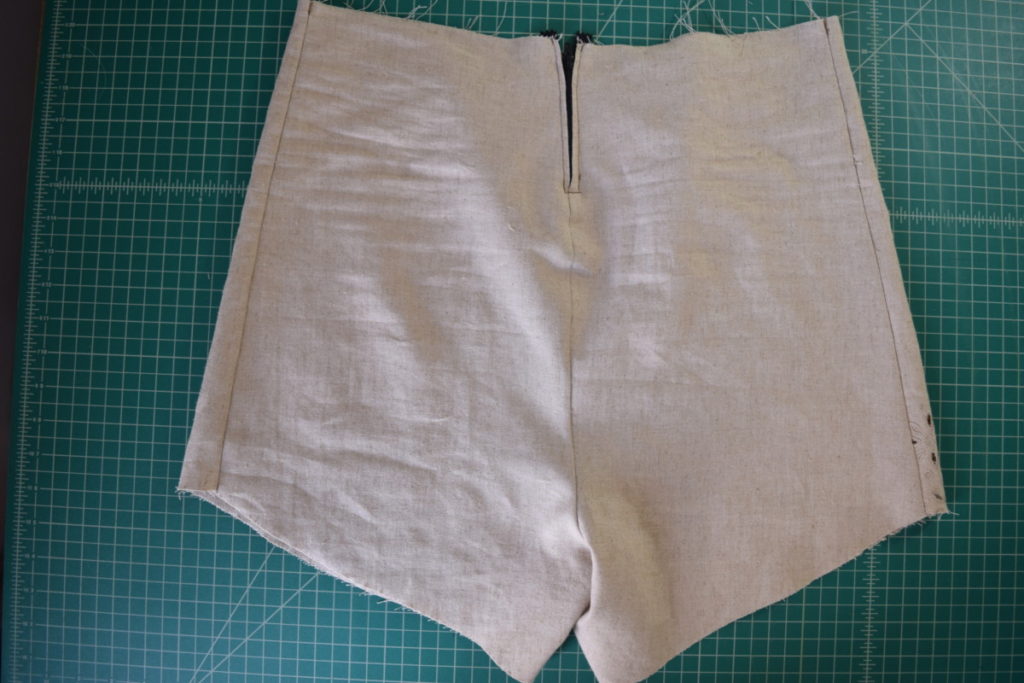
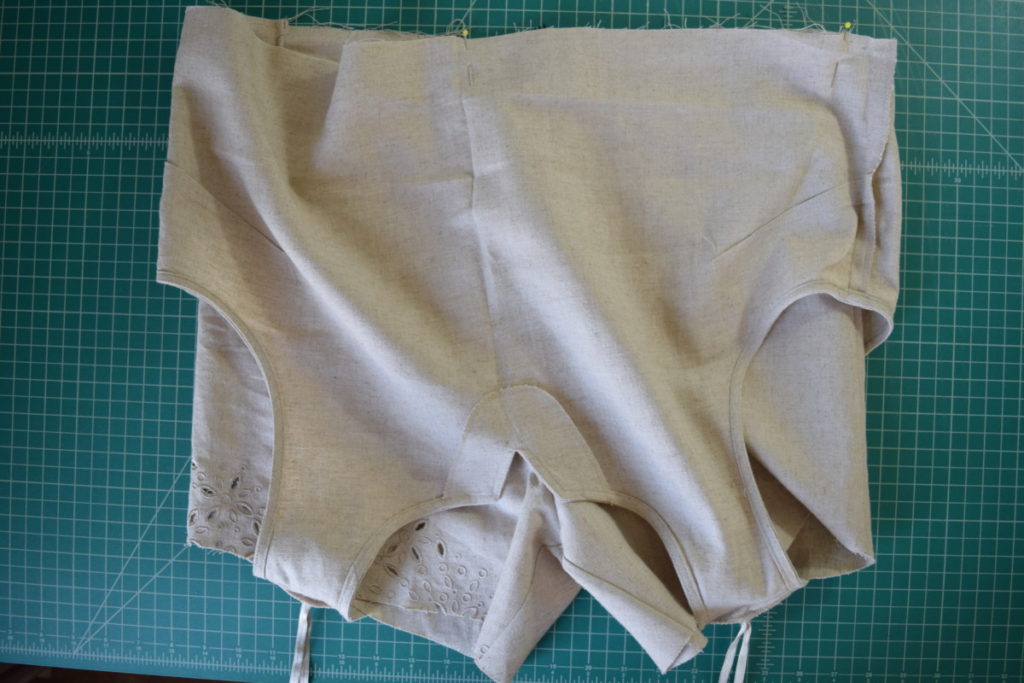
Once I pulled the one leg out of the other one, and turned the shorts right sides out, it looked like this:
I then tried the shorts on, and realized it would need a zipper in order to fit over my hips. It also had excess fabric around the waist that could have been resolved with darts, but I decided to eliminate the darts and use the zipper to solve this problem as well.
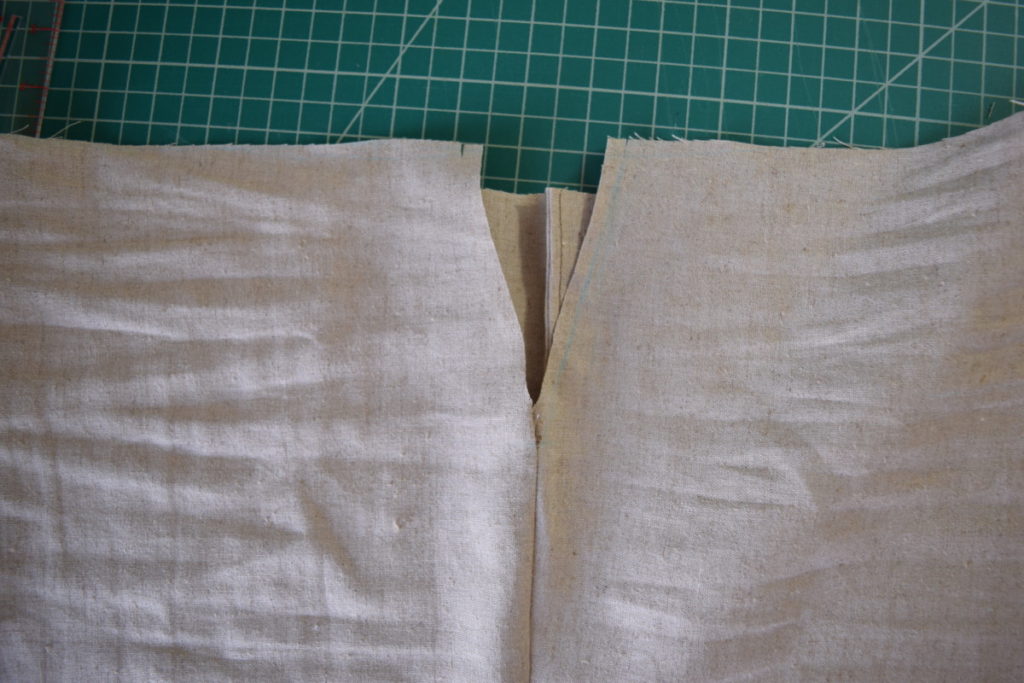
So I first seam ripped about 4.5 inches down the center back seam (my zipper was 4 inches long). I also used my fabric chalk to mark how much fabric needed to come out of the back of the shorts (I only marked one side).
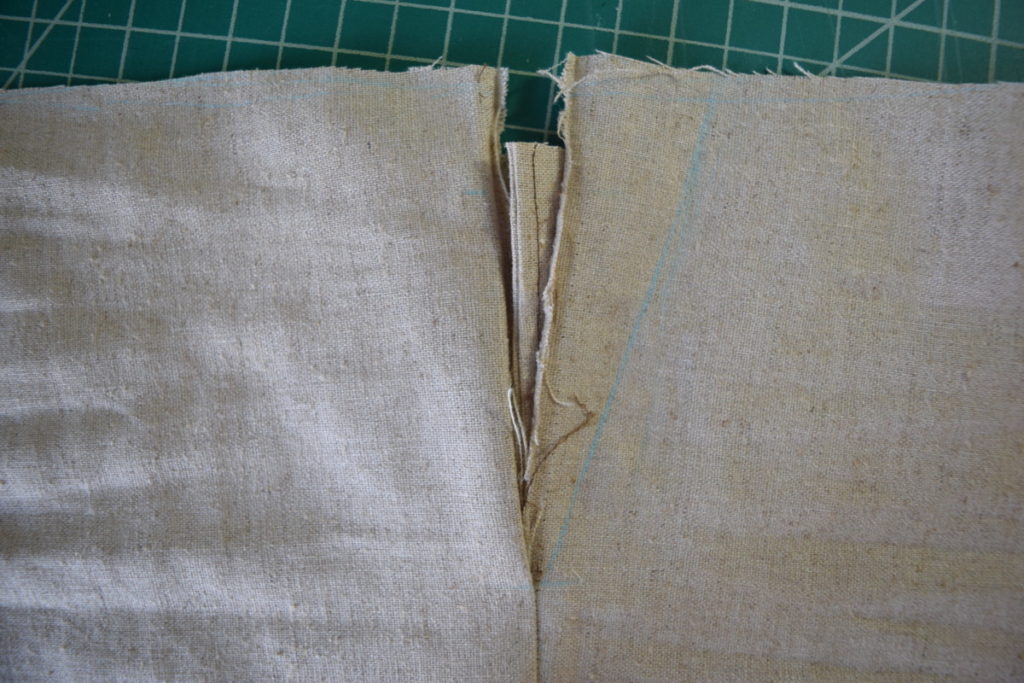
Next, I folded the shorts, lining up the seam ripped raw edges, with my chalk-marked side facing up. I cut about 0.5 inches from my chalk mark, going through both layers of fabric.
It ended up looking like this:
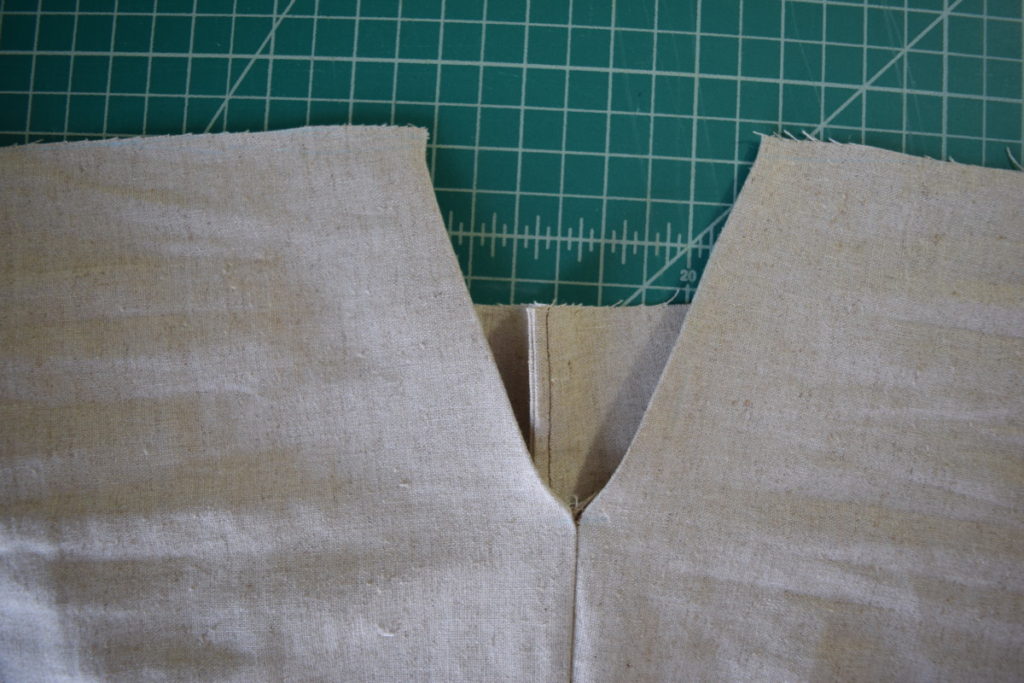
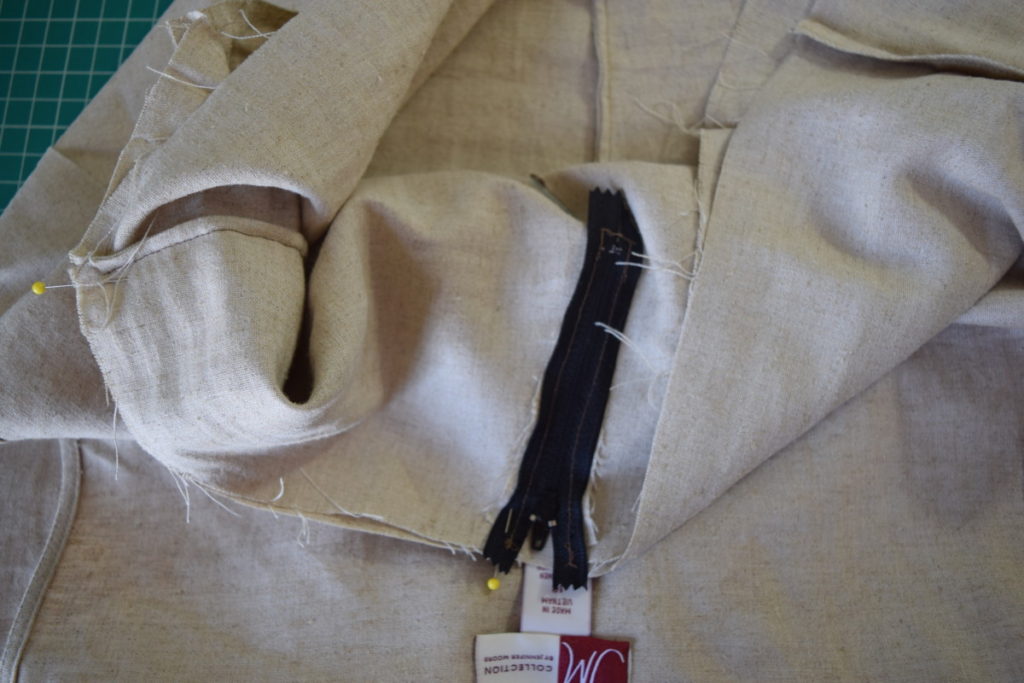
Next, I ironed under about 0.5 inches on each side of the center back notch.
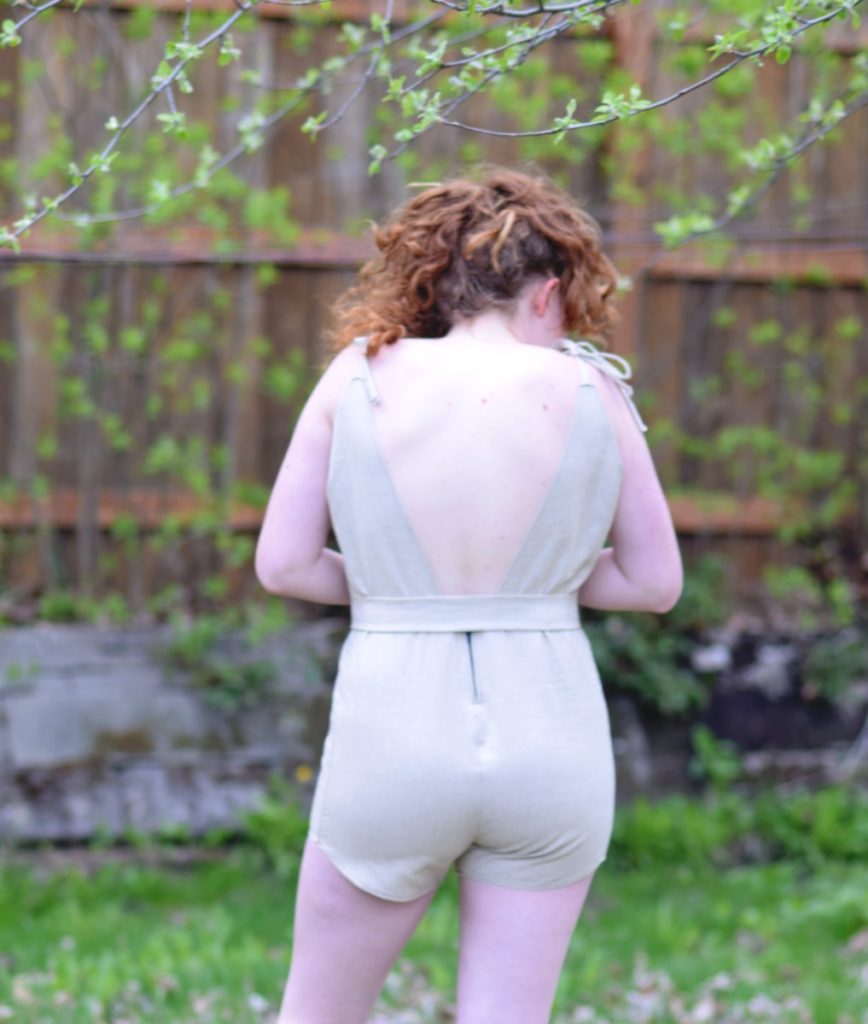
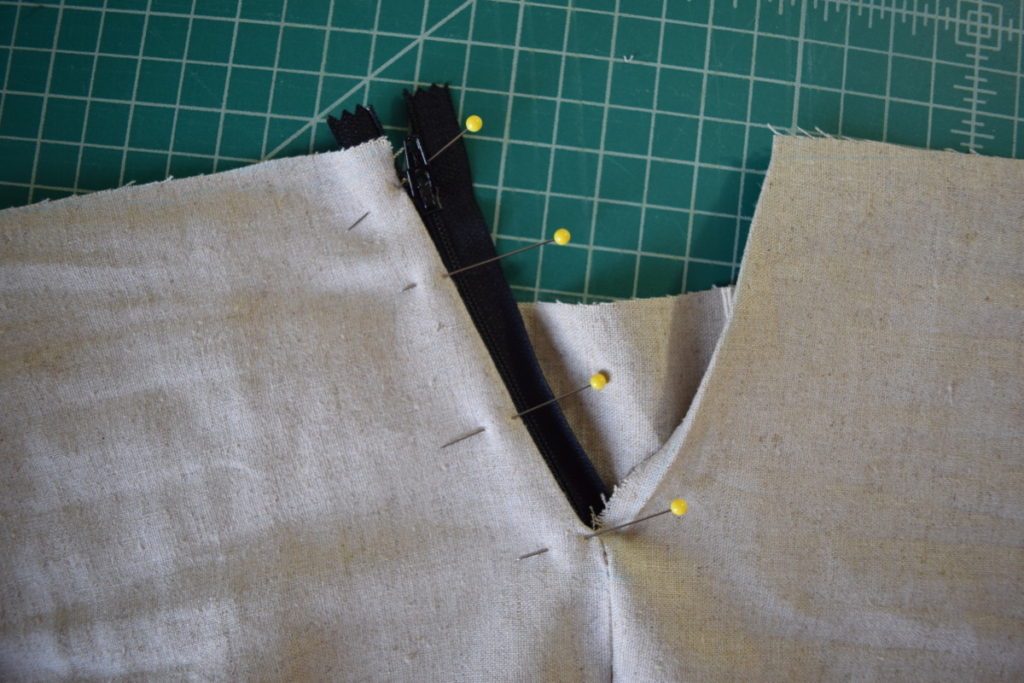
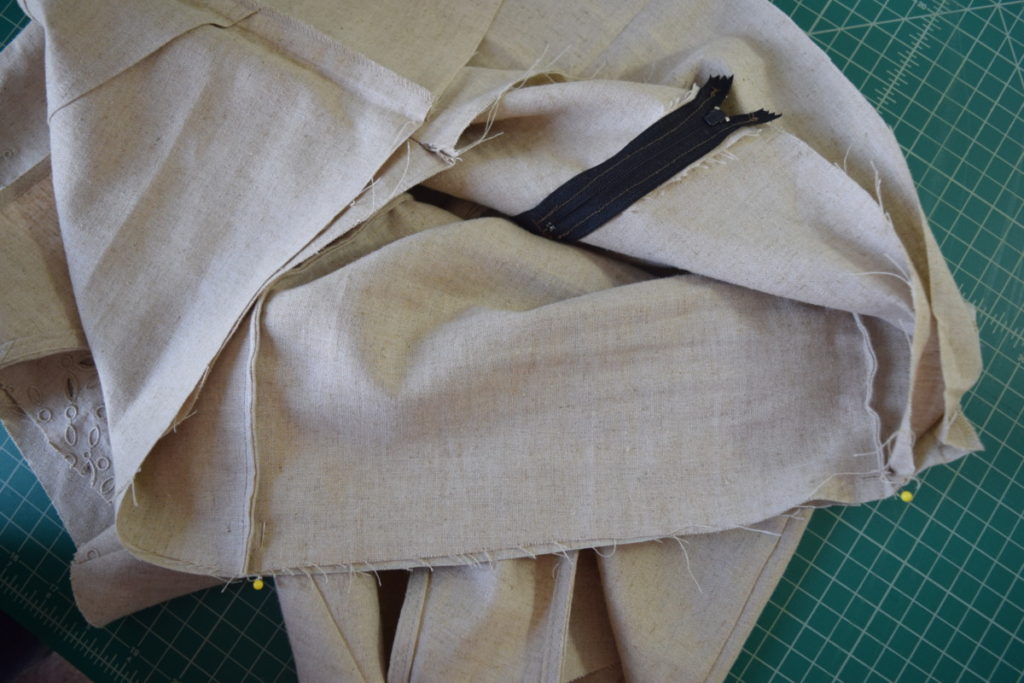
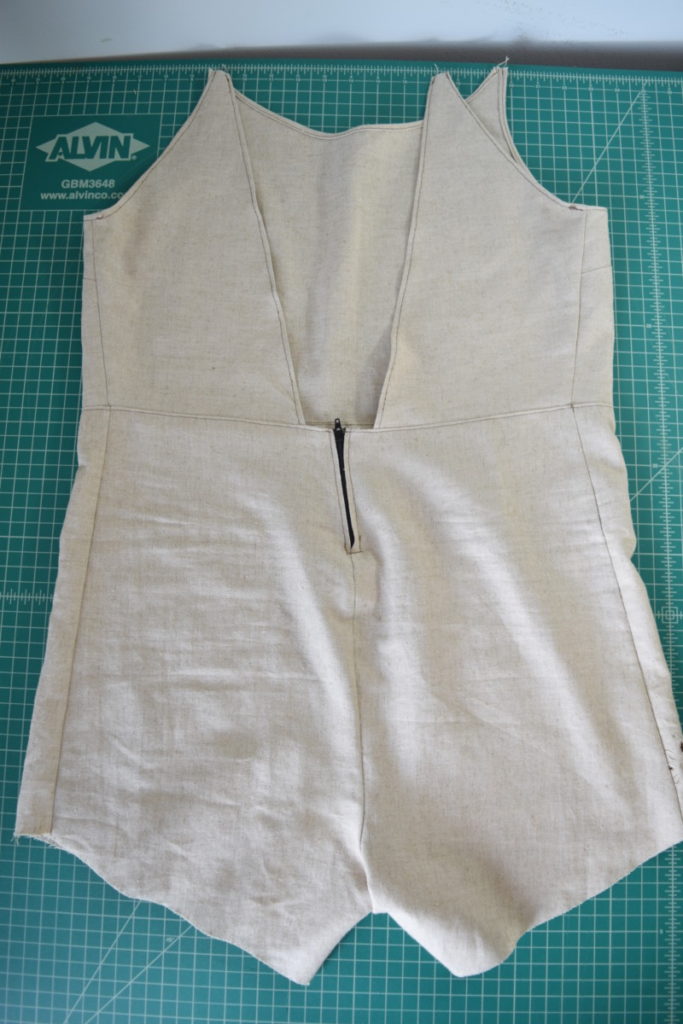
Next, I inserted my zipper into the notch, lining up the zipper stop with the bottom of the notch.
Step 5
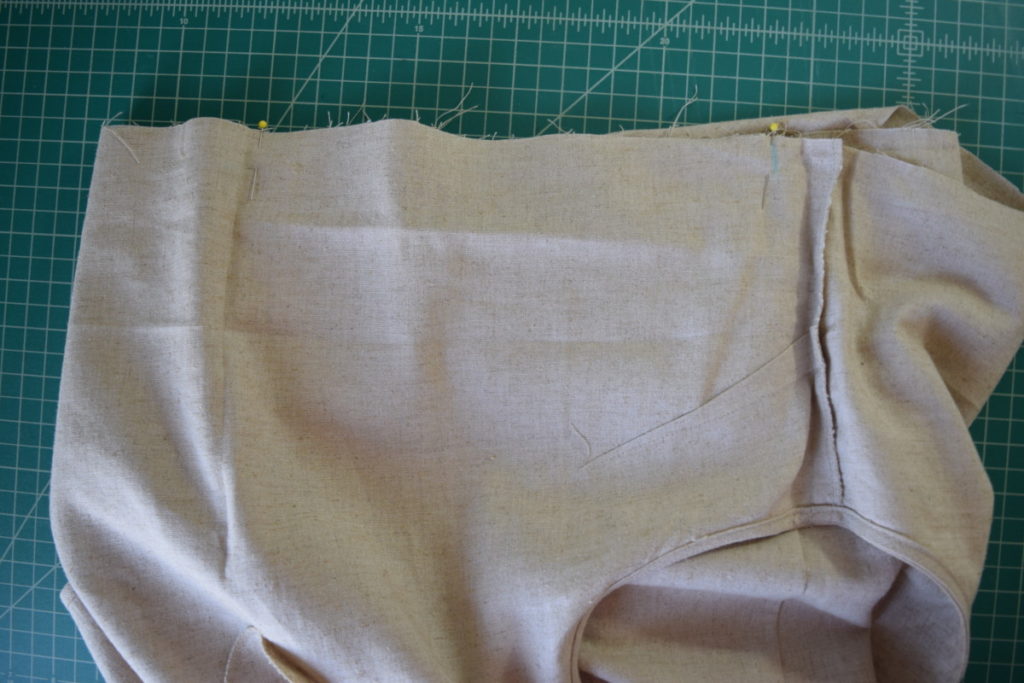
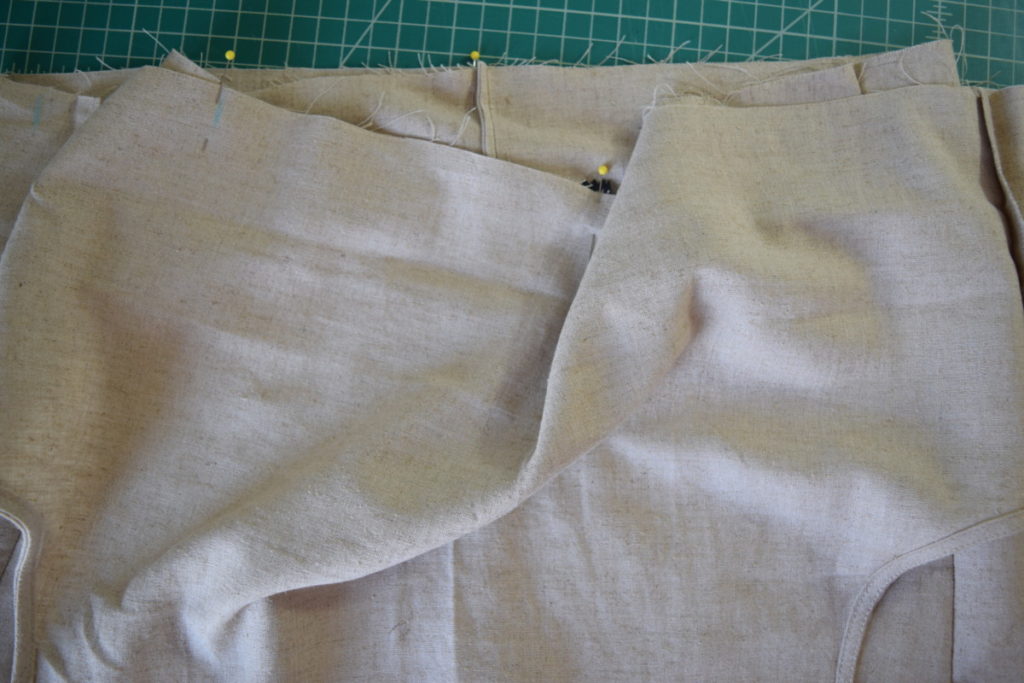
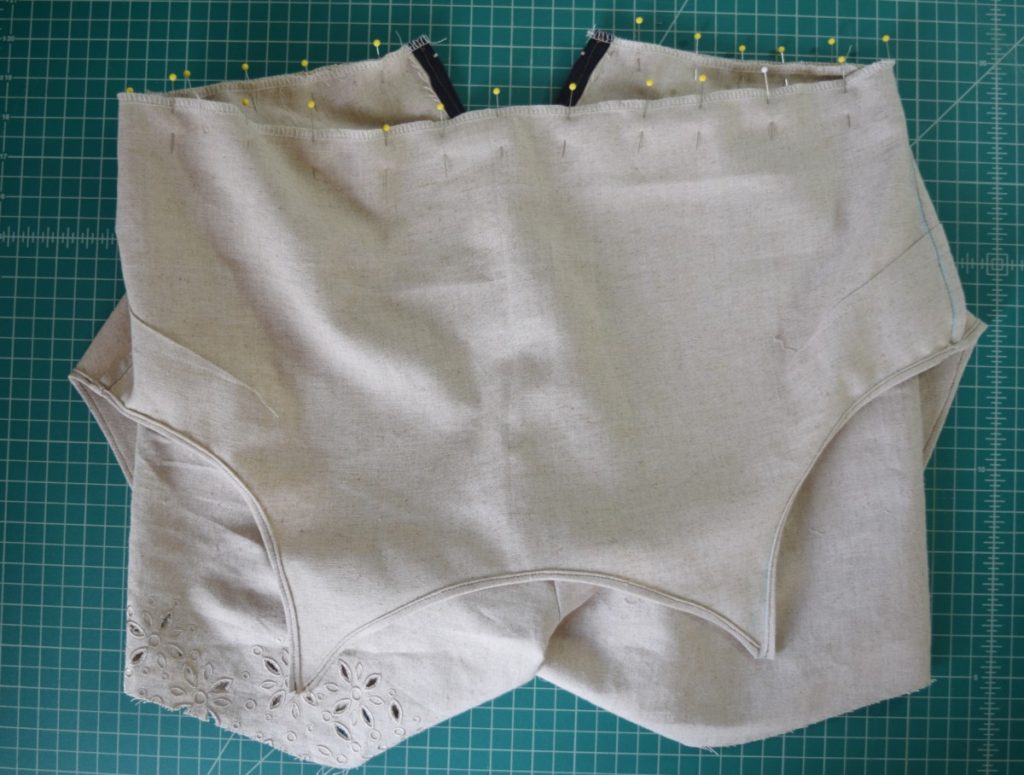
Next, I grabbed the bodice portion of the dress to make the top of my romper. First, I needed to match the length of the bottom edge of the bodice with the top edge of the shorts. To do this, I pinned the center front of the bodice to the center front of the shorts. I also pinned where the side seam of the shorts hit the bodice.
Then I put a chalk mark on the bodice where the shorts side seam hit.
I only did this on ONE side of the bodice because when I cut out my bodice pieces, I’ll fold it to get an identical fit on the other side.
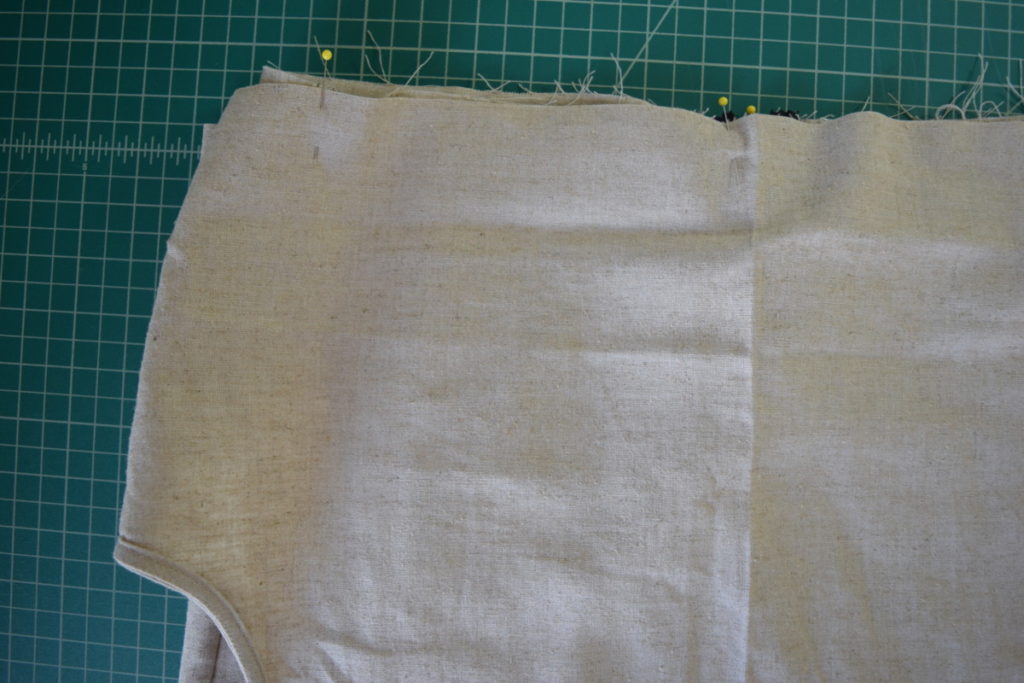
Next, I repeated this process with the back to figure out where the shorts side seam reached on the back of the bodice.
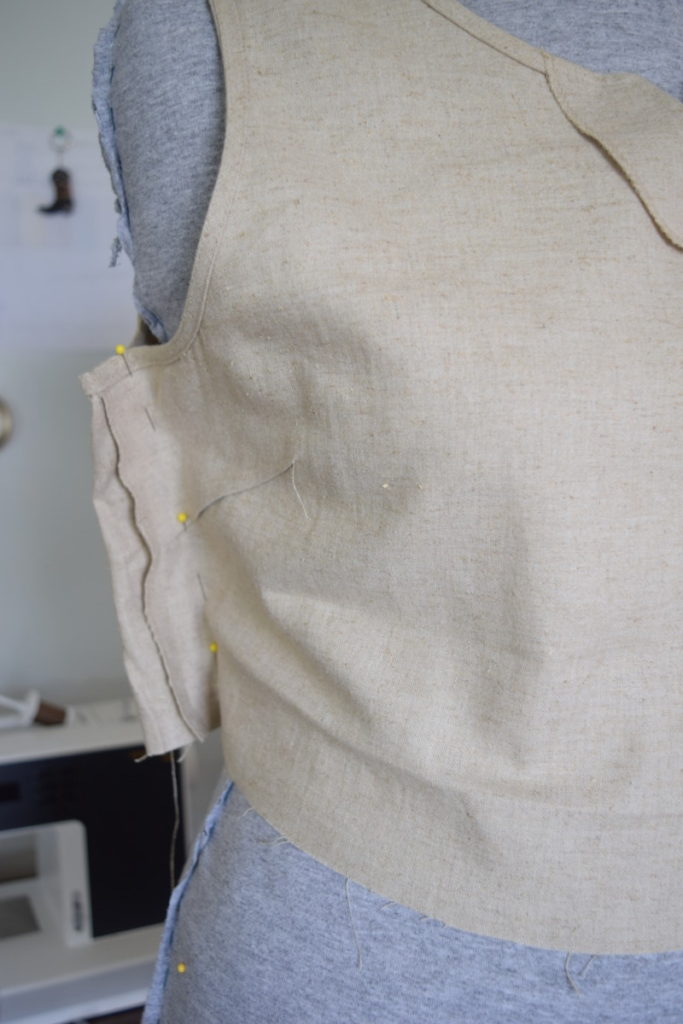
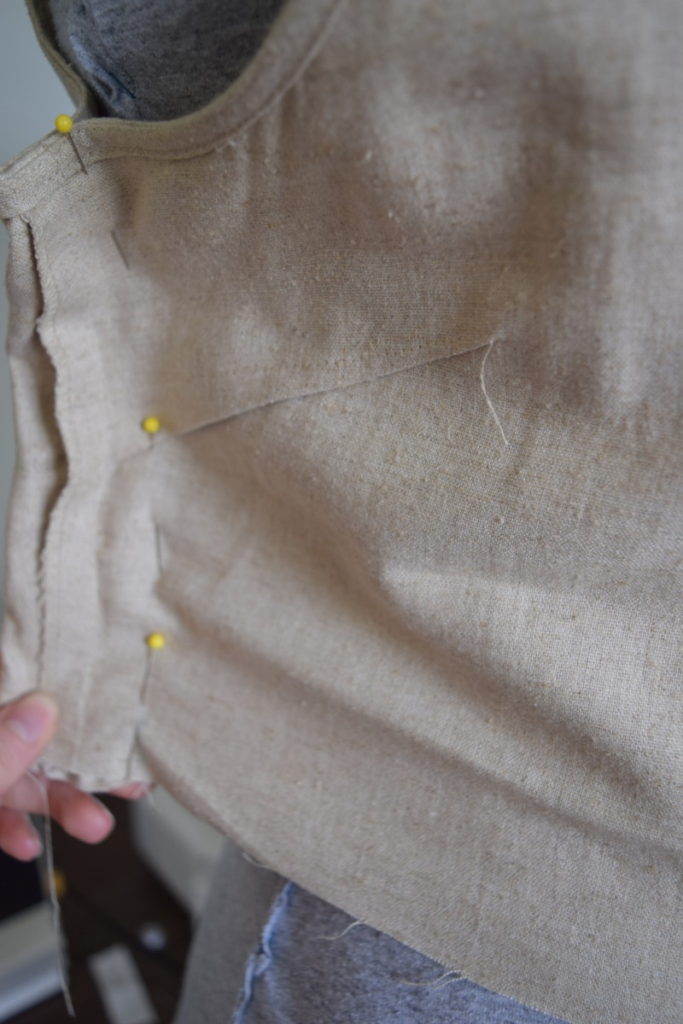
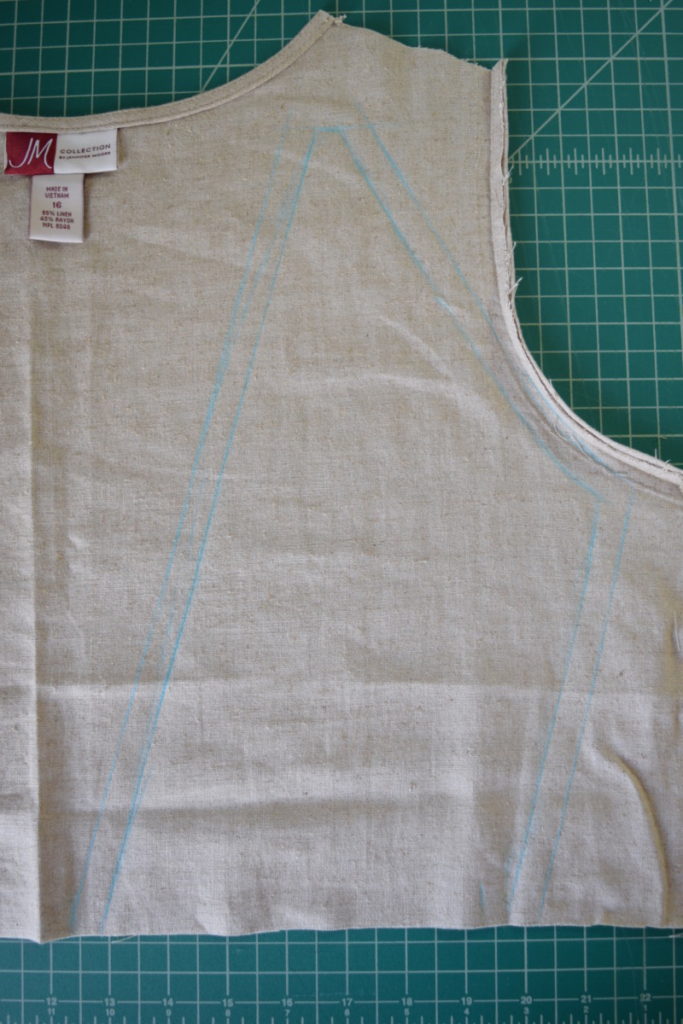
Now I need to figure out the fit and shape of the top of my romper. So I put the bodice onto my dress form inside out so I can see my chalk marks.
Next, I pinned up the side seam of the bodice, matching my chalk marks along the bottom edge. This will make sure that the bodice is the same width as the shorts.
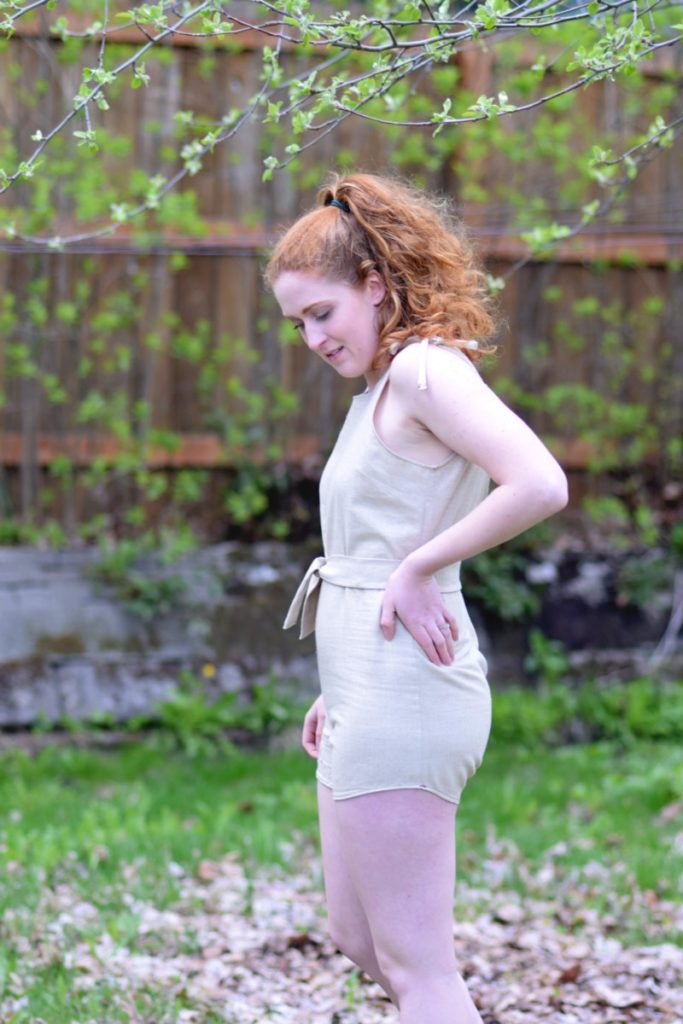
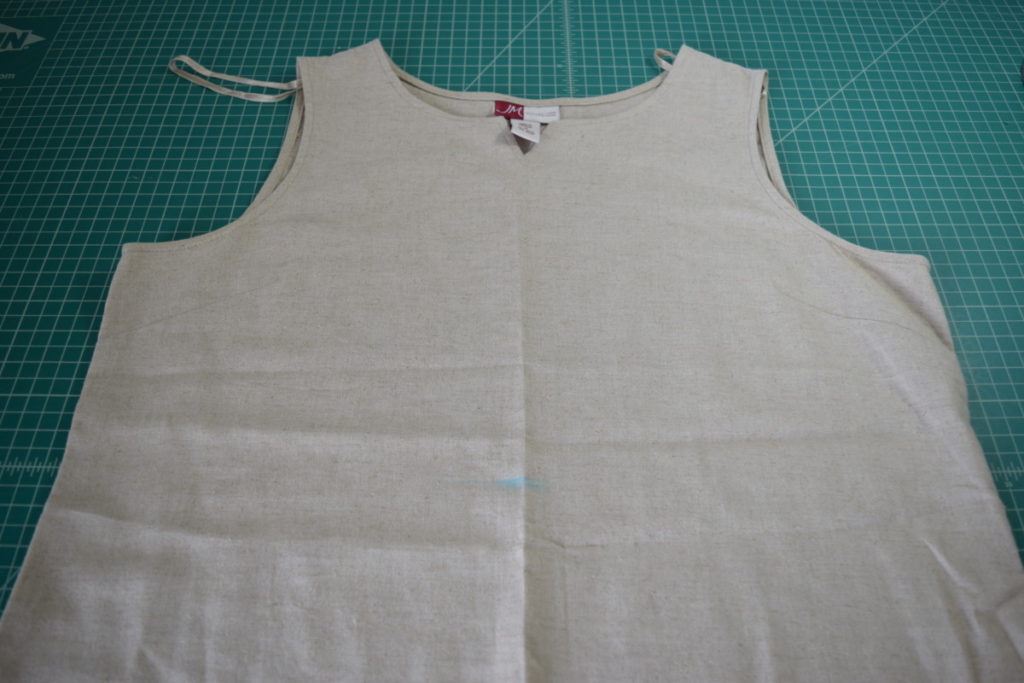
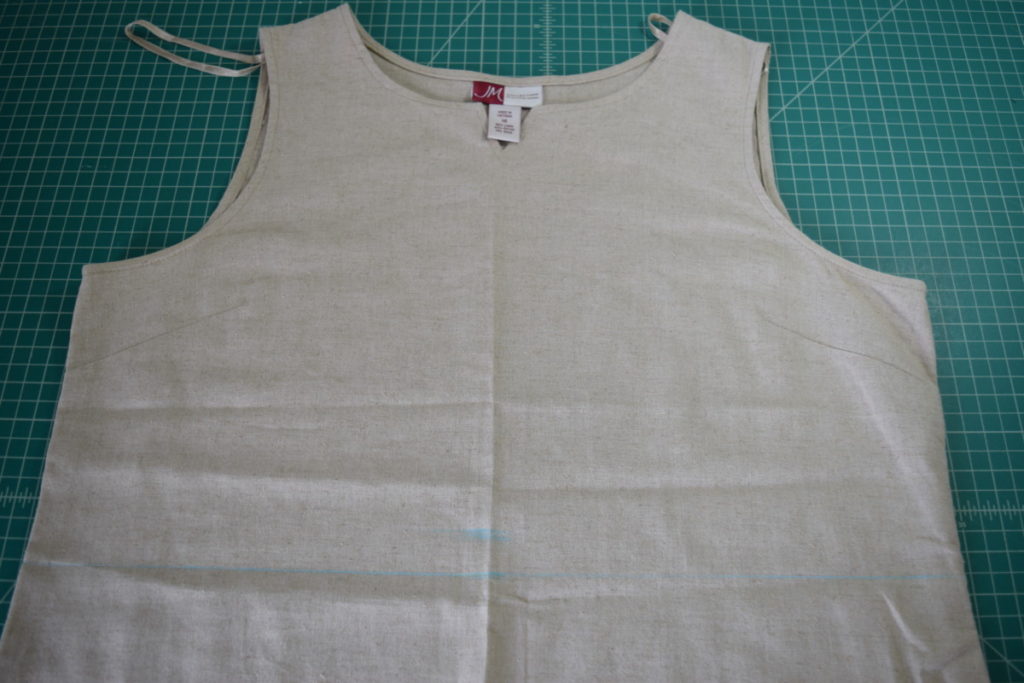
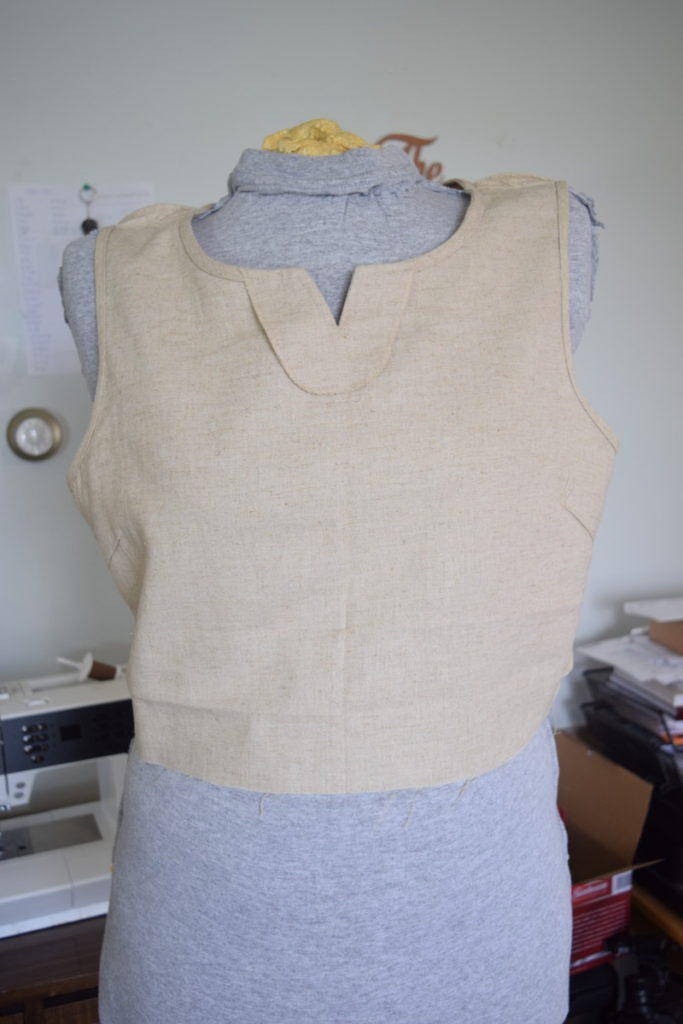
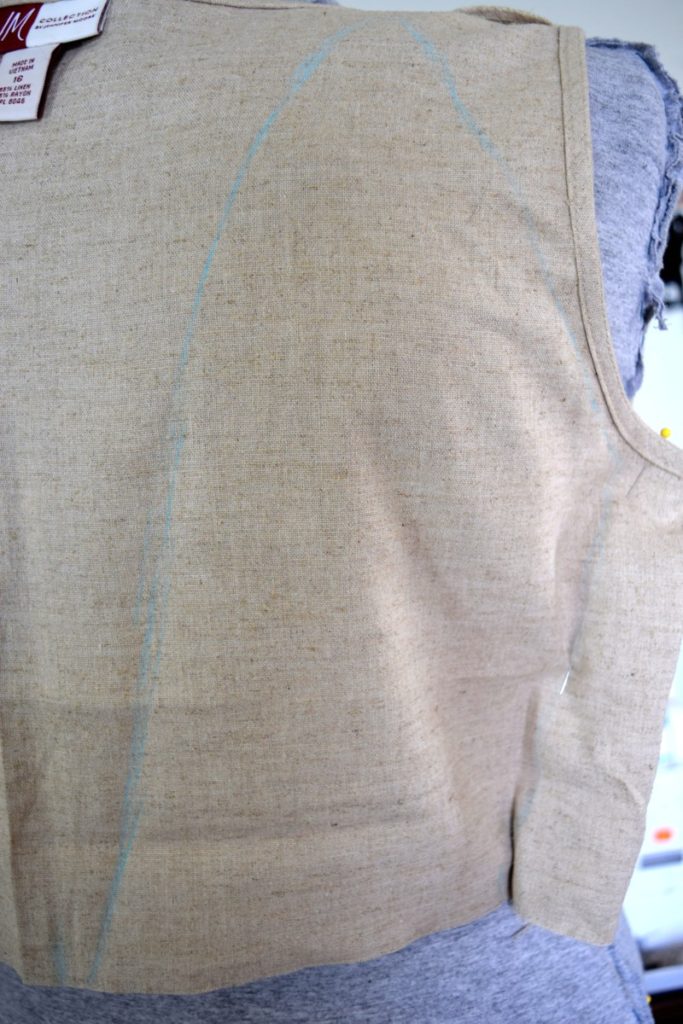
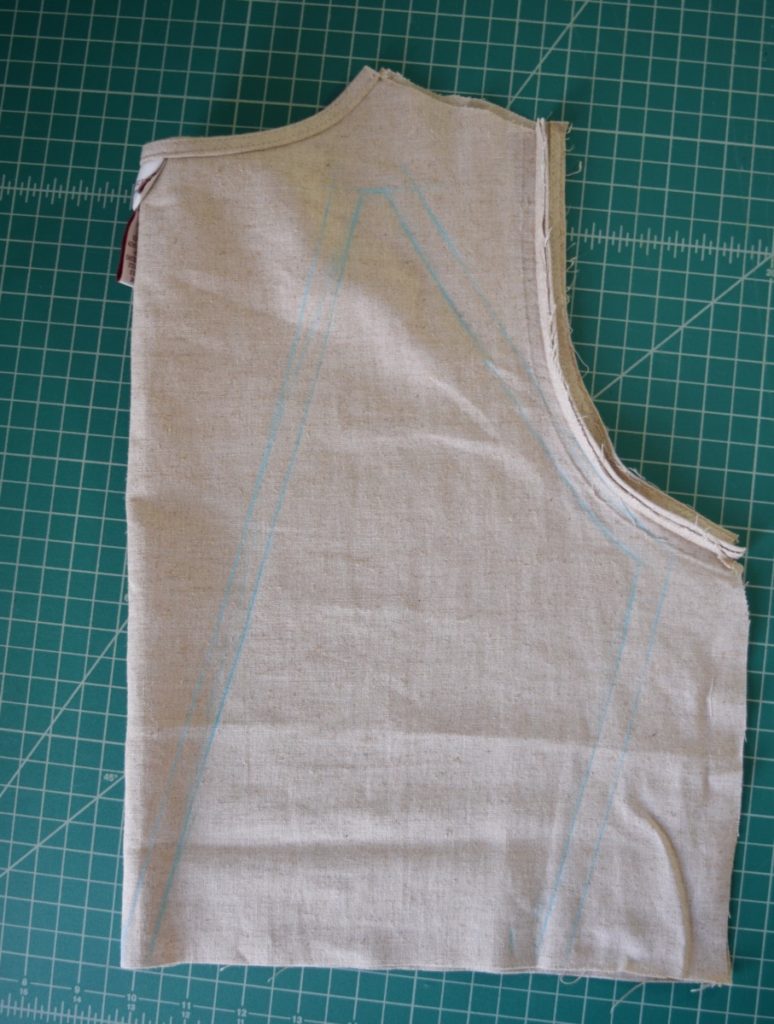
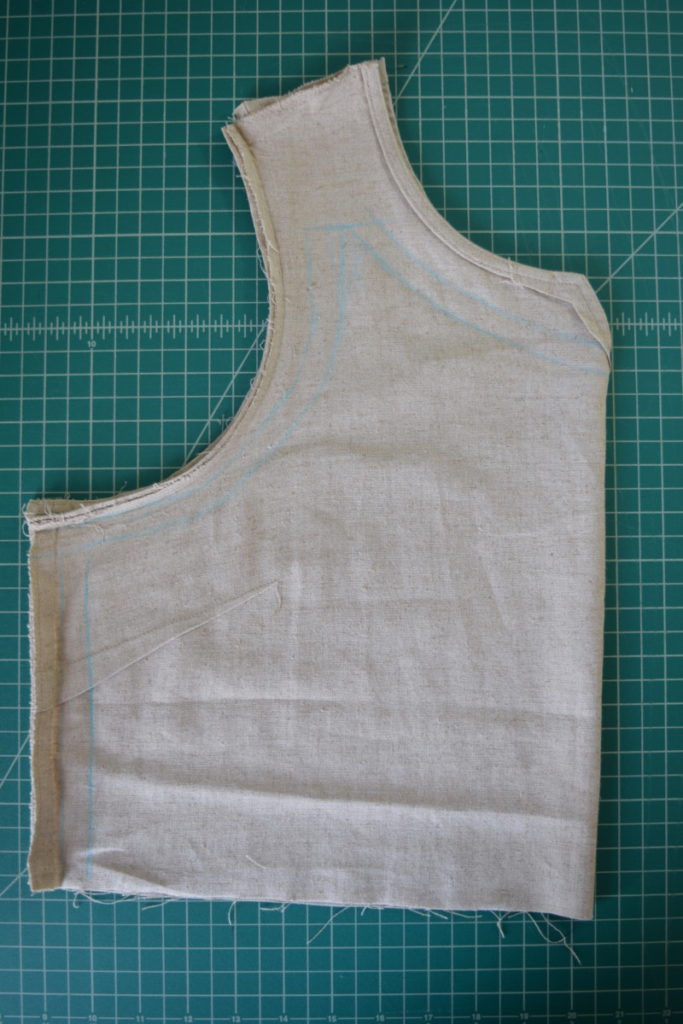
Next, I drew out the shape I wanted for the back of the top.
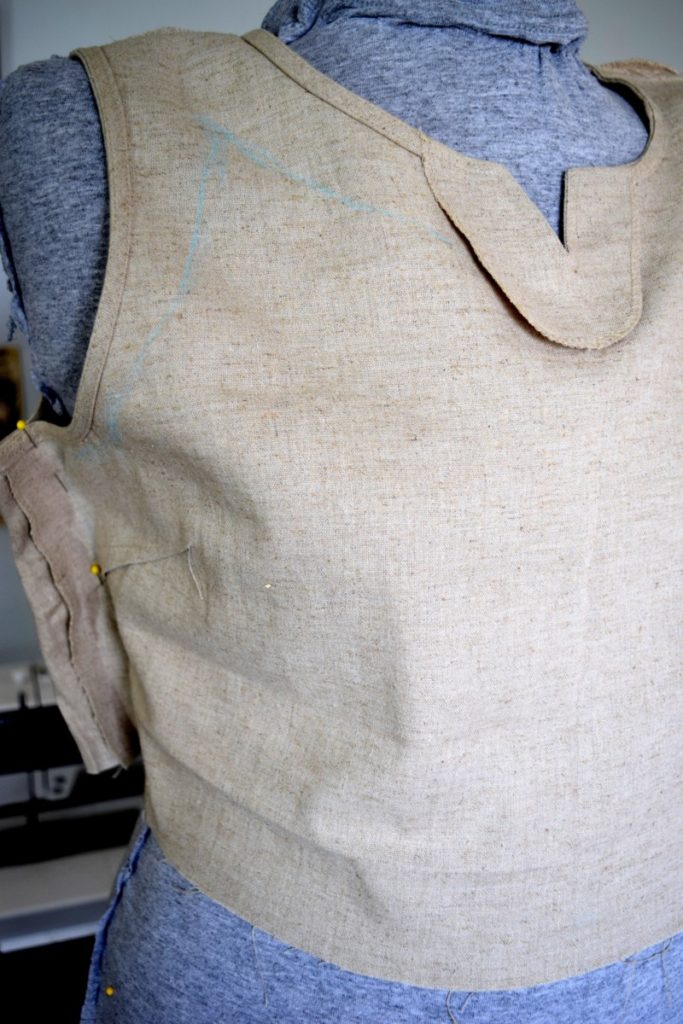
Then I drew the shape I wanted for the front of the bodice, making sure that the underarm edges match between the front and back. I also marked the side seams on both the front and back.
Step 6
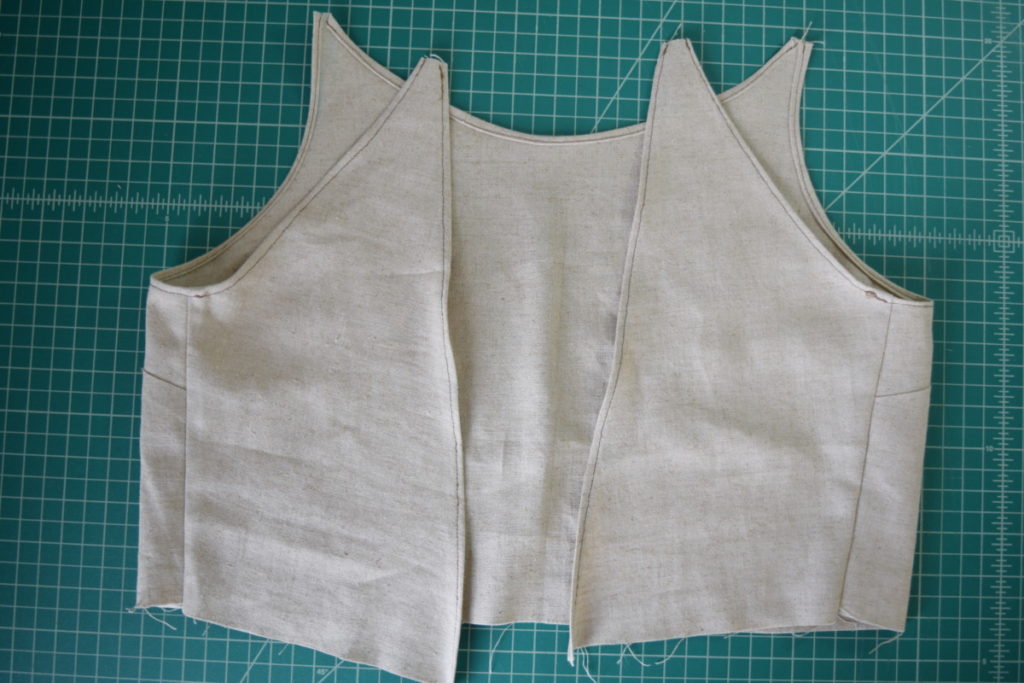
Next, I cut the bodice apart at the side seams and the shoulder seams. I set aside the front to deal with the back first.
I then used my french curve ruler to make all my lines more smooth.
Next, I added seam allowances all the way around (except the “point” at the top). I had to unpick the armhole edges to give myself enough room to add seam allowance.
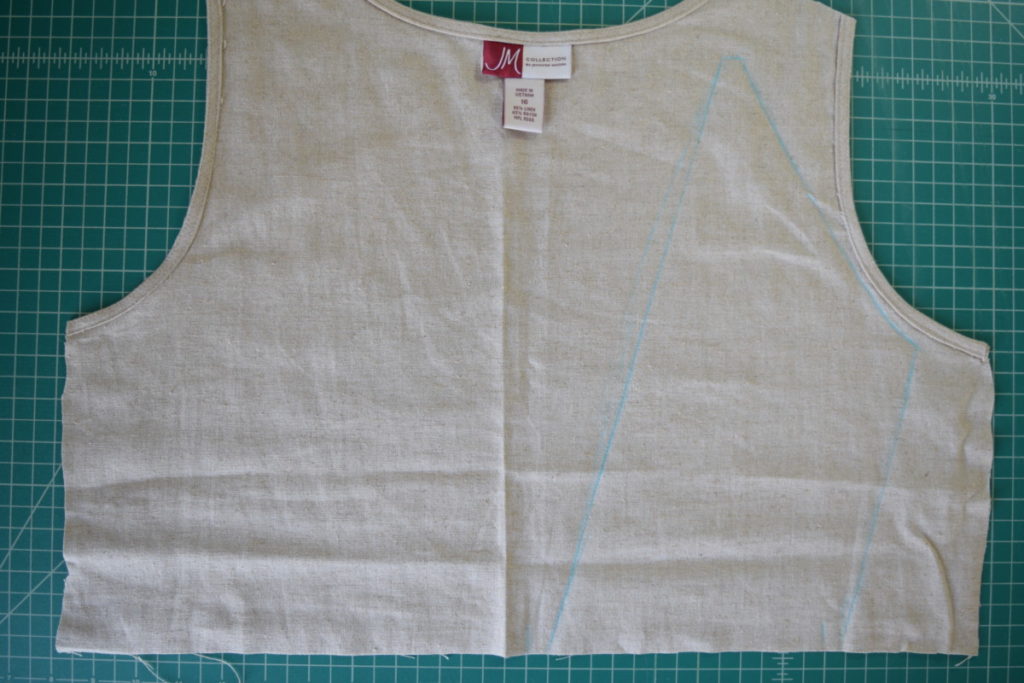
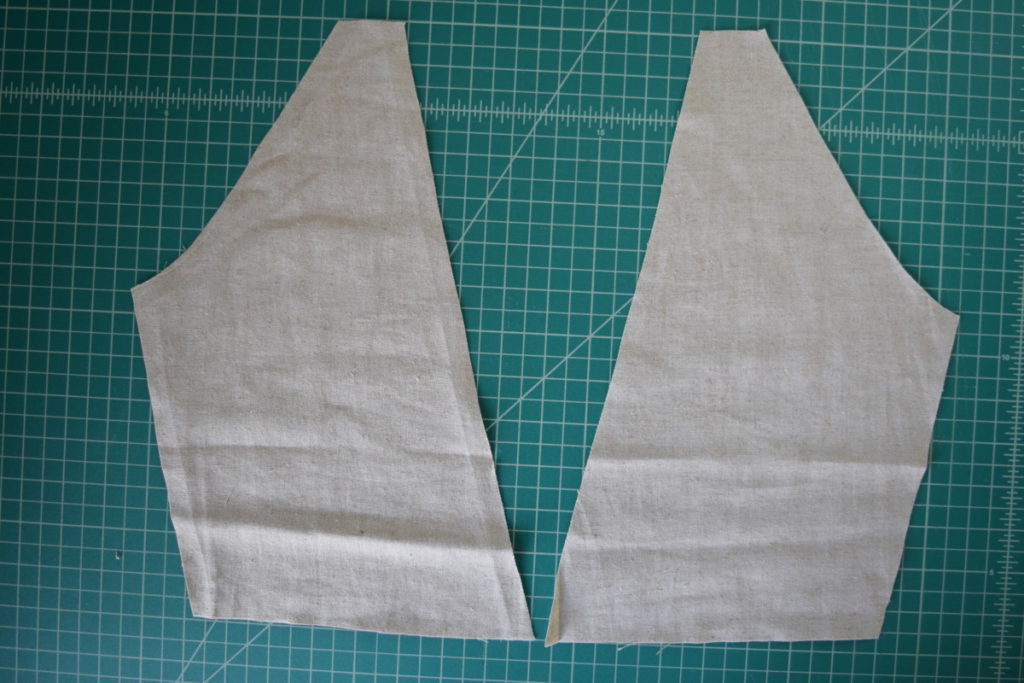
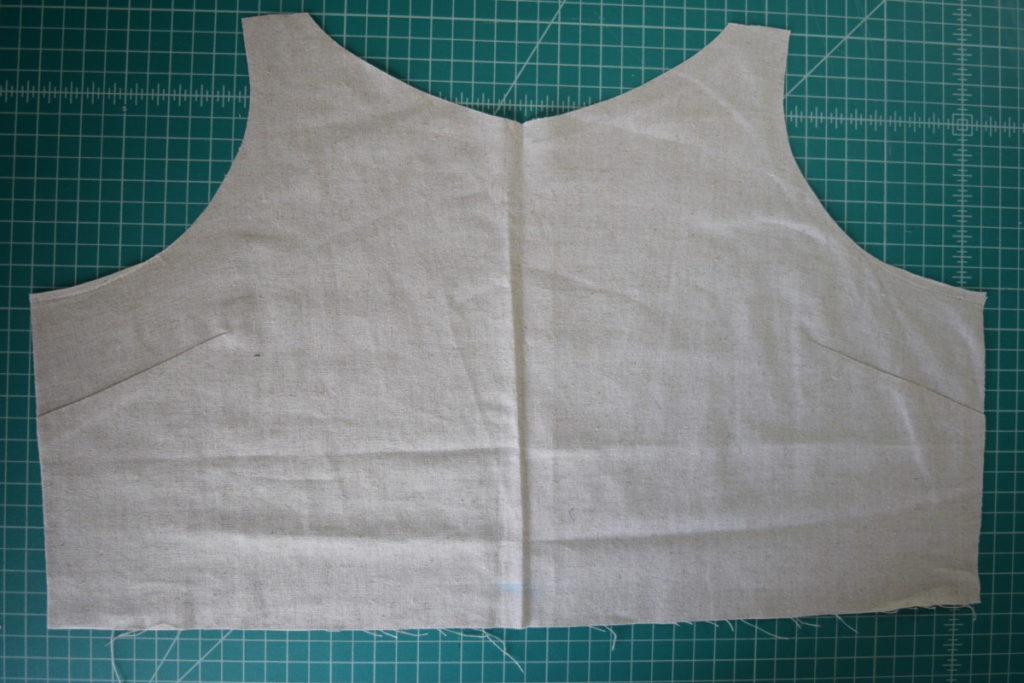
Next, I folded the bodice piece in half, matching all the edges. Then I cut out my back bodice pieces.
I ended up with this:
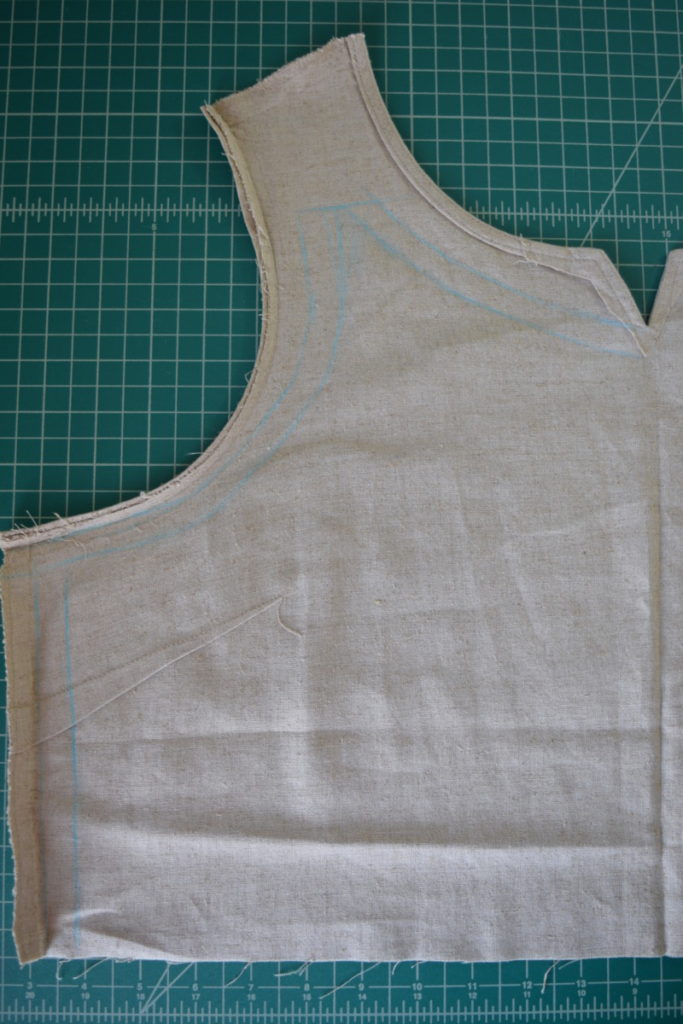
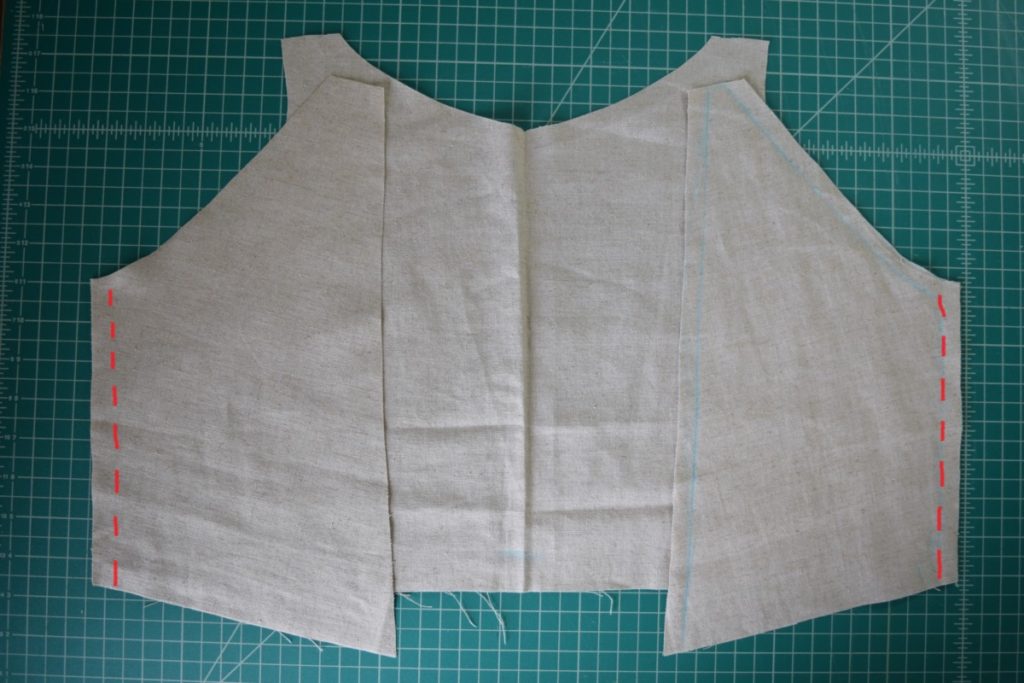
Then I repeated this process for the front bodice, except when cutting I left the center front alone because I want my front bodice in one piece.

Step 7
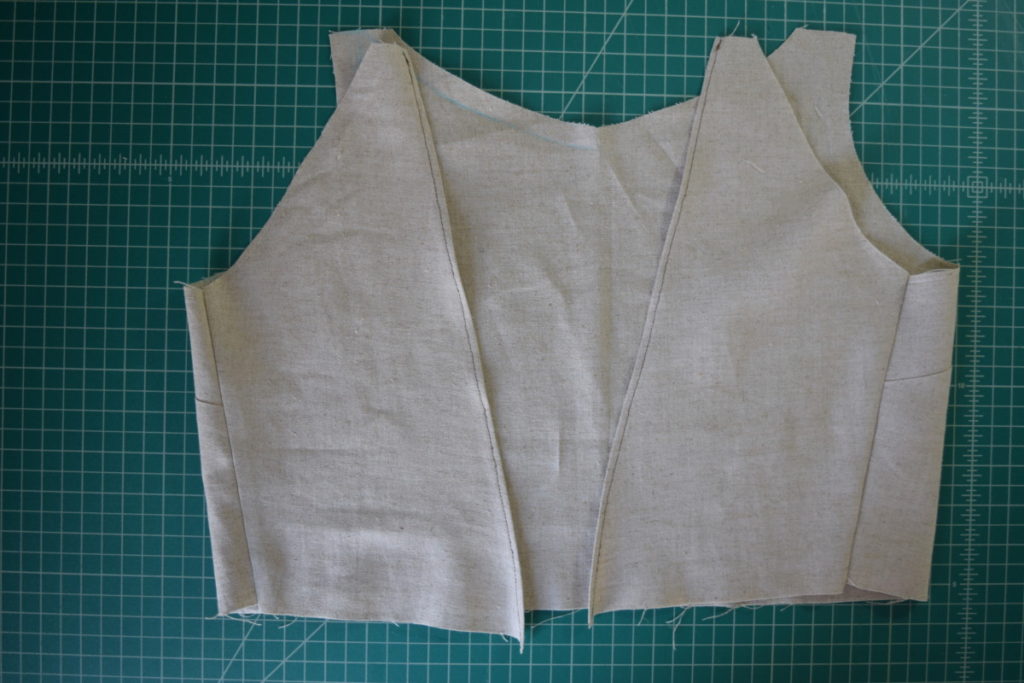
Now it’s time to put the bodice together! First, I sewed the back pieces to the front at the side seams.
Step 8
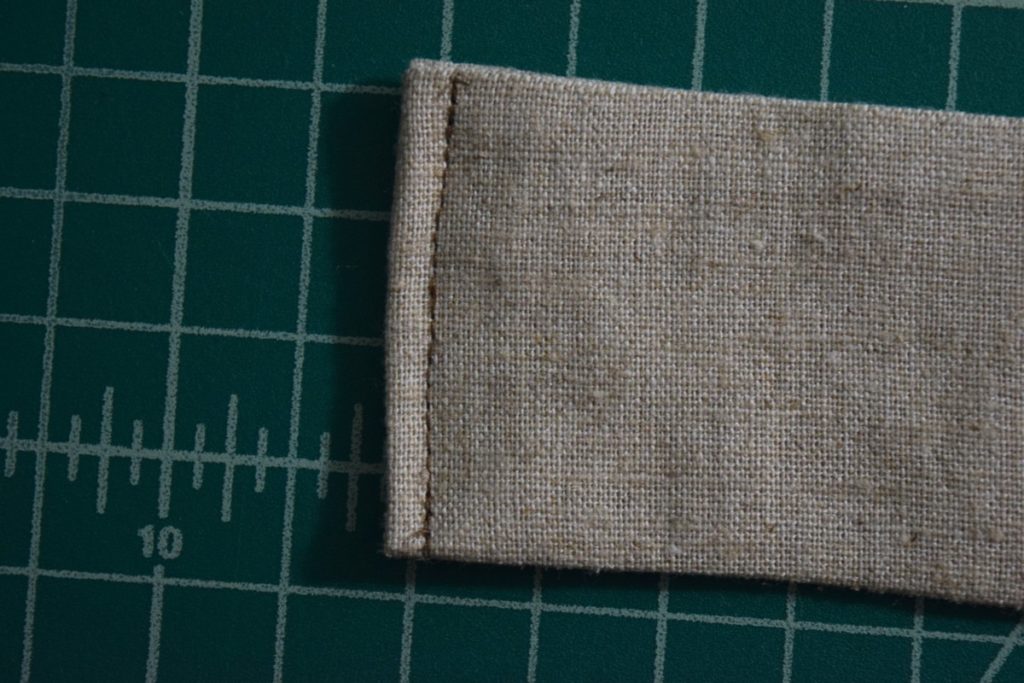
Next, I hemmed the long edges on the back pieces with a rolled hem.
And I hemmed the armholes and neckhole the same way.
Next, I finished the raw edges on the top of the shorts and the bottom of the bodice. Then I attached the bodice to the shorts right sides together, matching the side seams.
I then ironed the waist seam allowances down and edgestitched it in place.

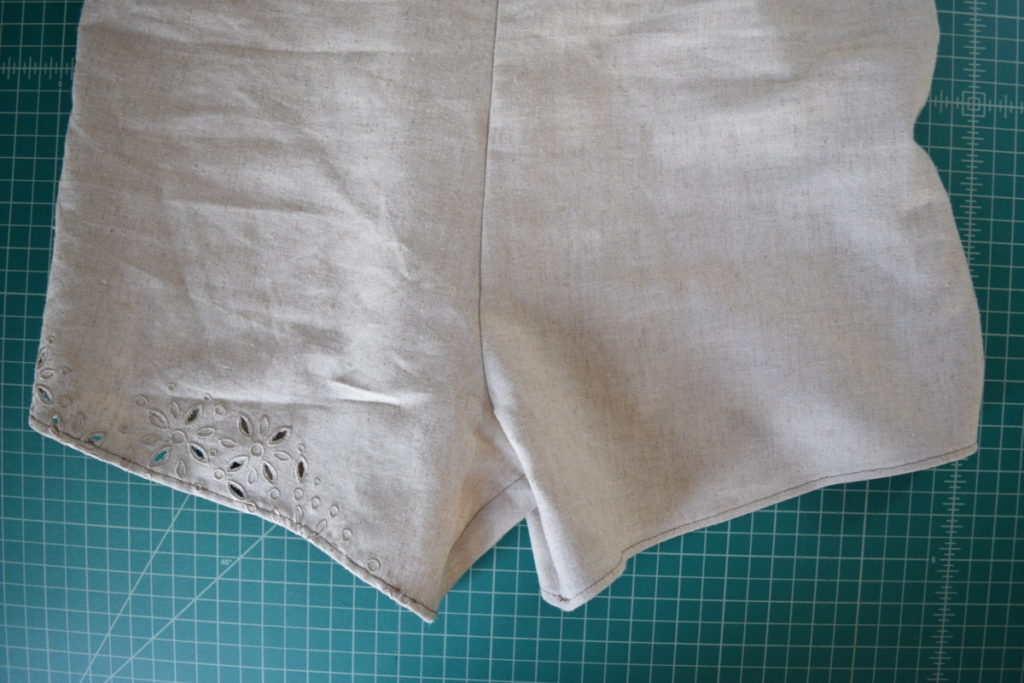
Then I hemmed the bottom of the shorts with a rolled hem.
Step 9
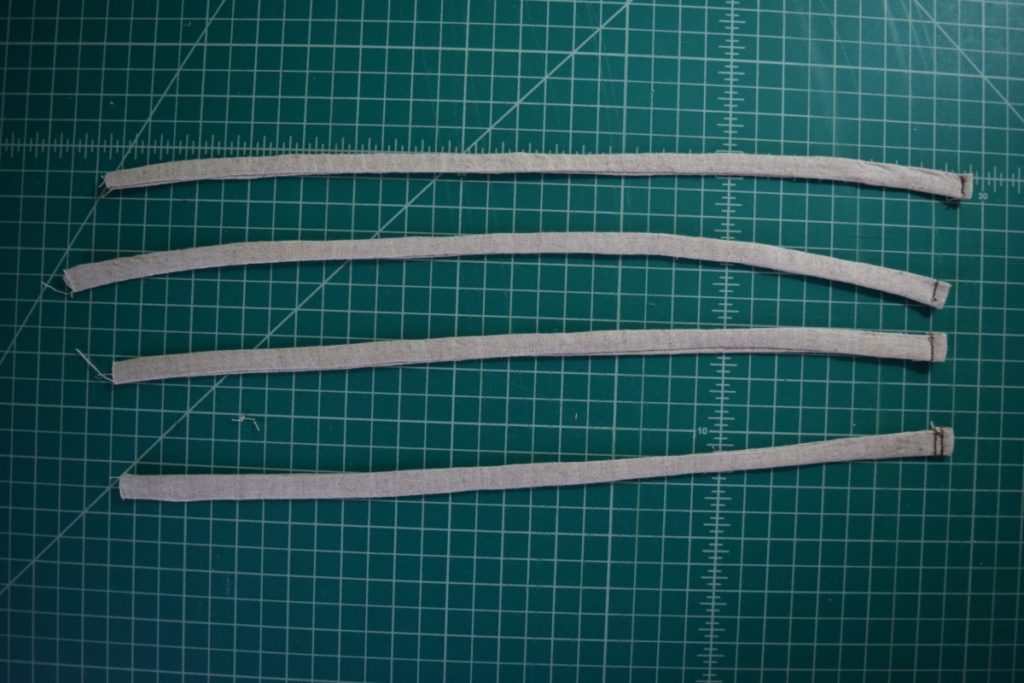
Next, I needed to make my shoulder ties.
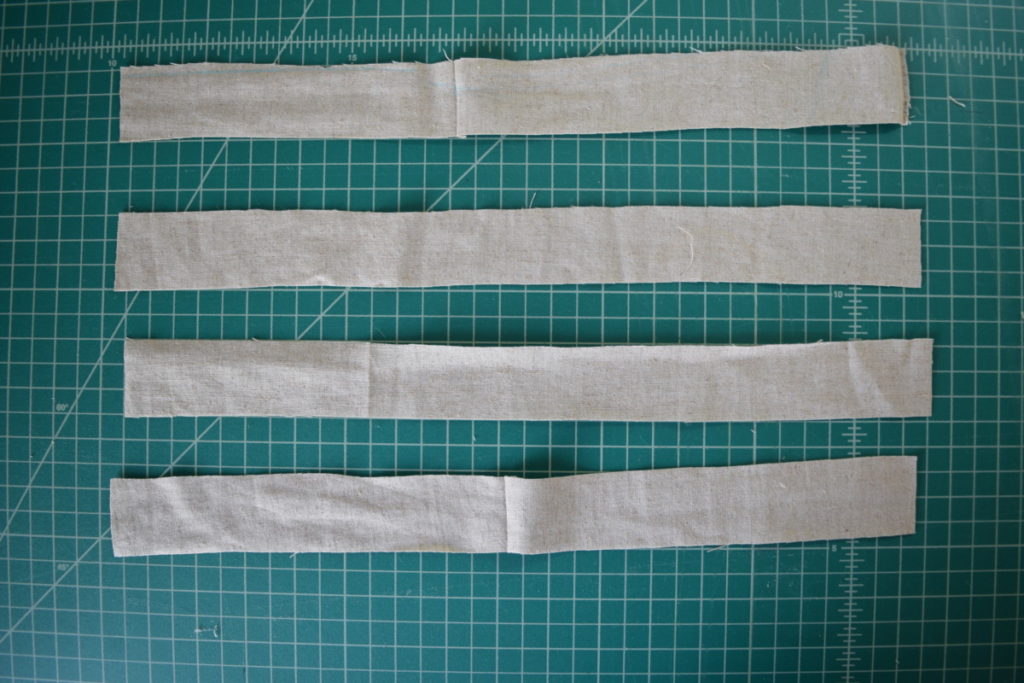
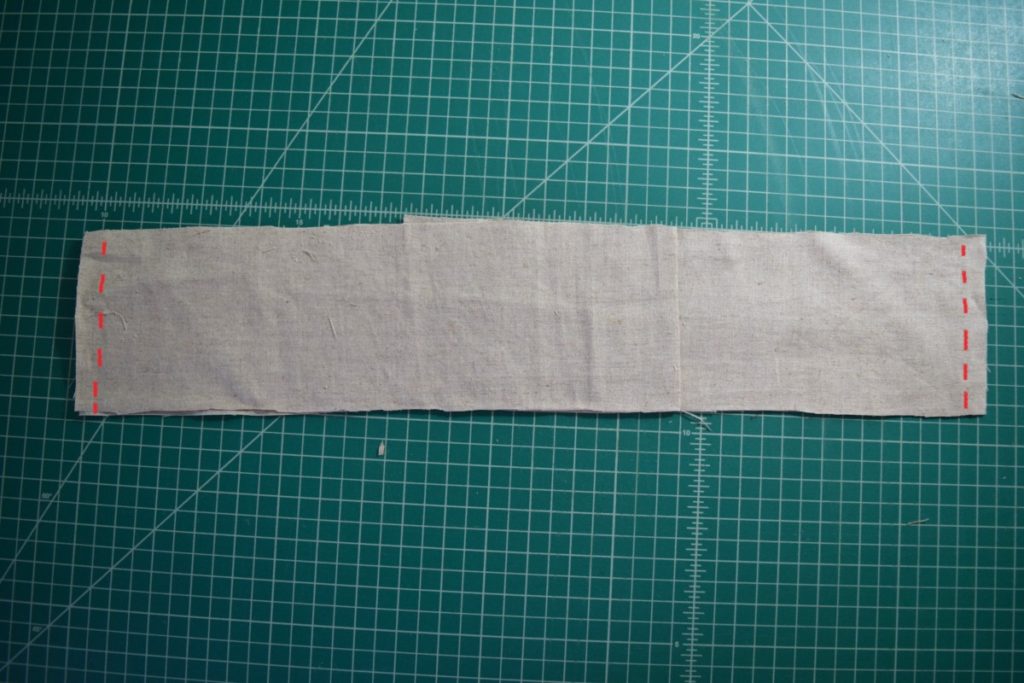
I cut out 4 pieces of fabric from the leftovers that were 2.5 inches by 16 inches.
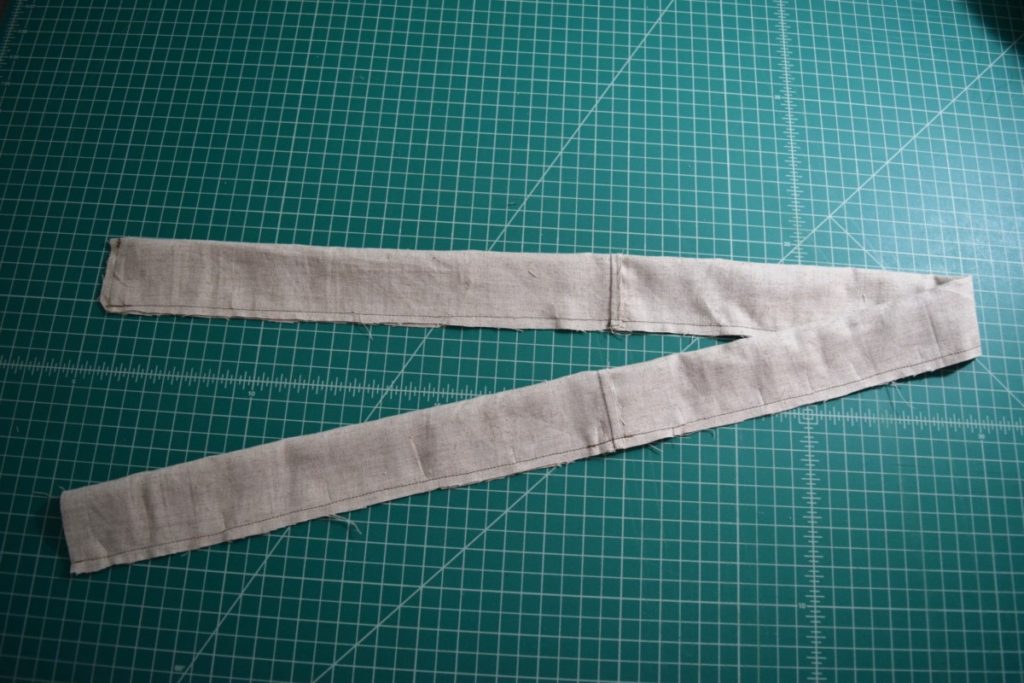
To make a finished strap, I folded one of the strips in half lengthwise and sewed along the long edge.
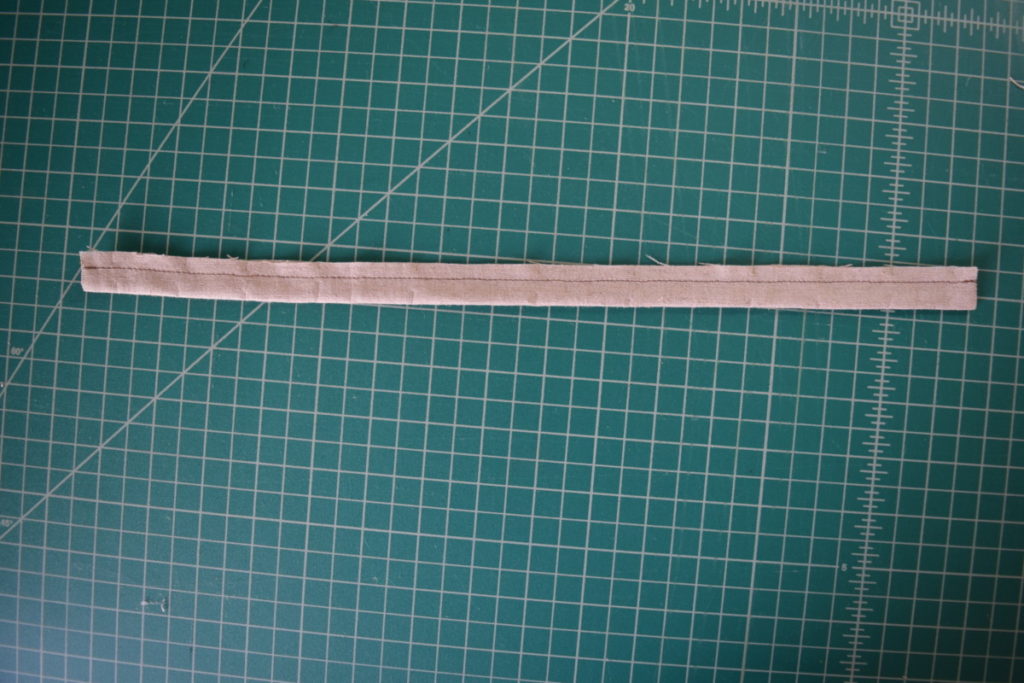
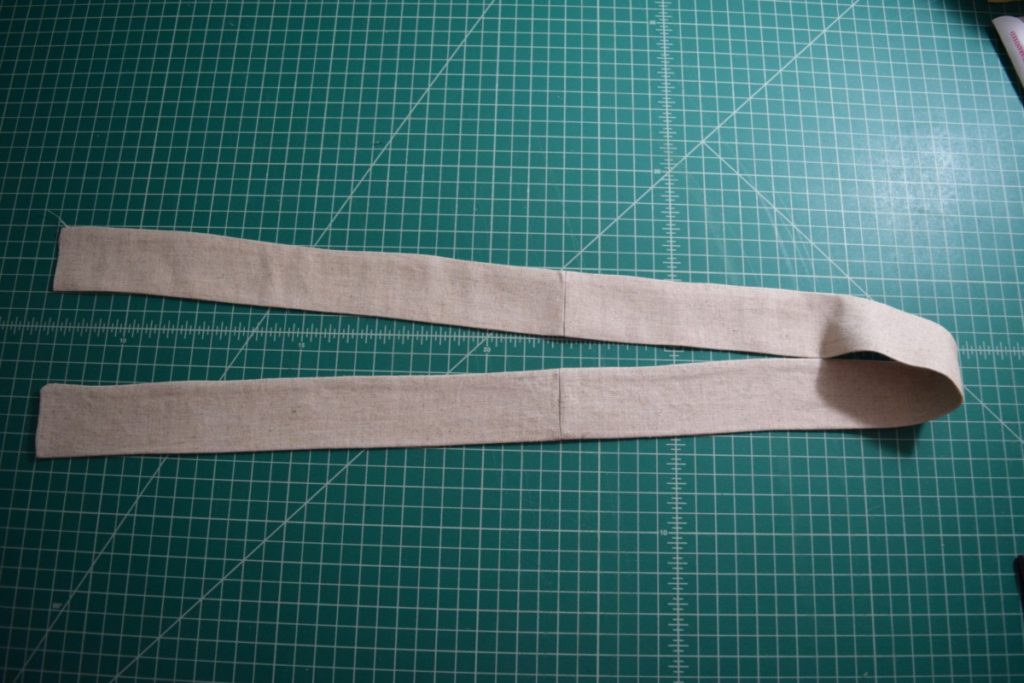
Then I turned the strap right sides out and ironed it flat.
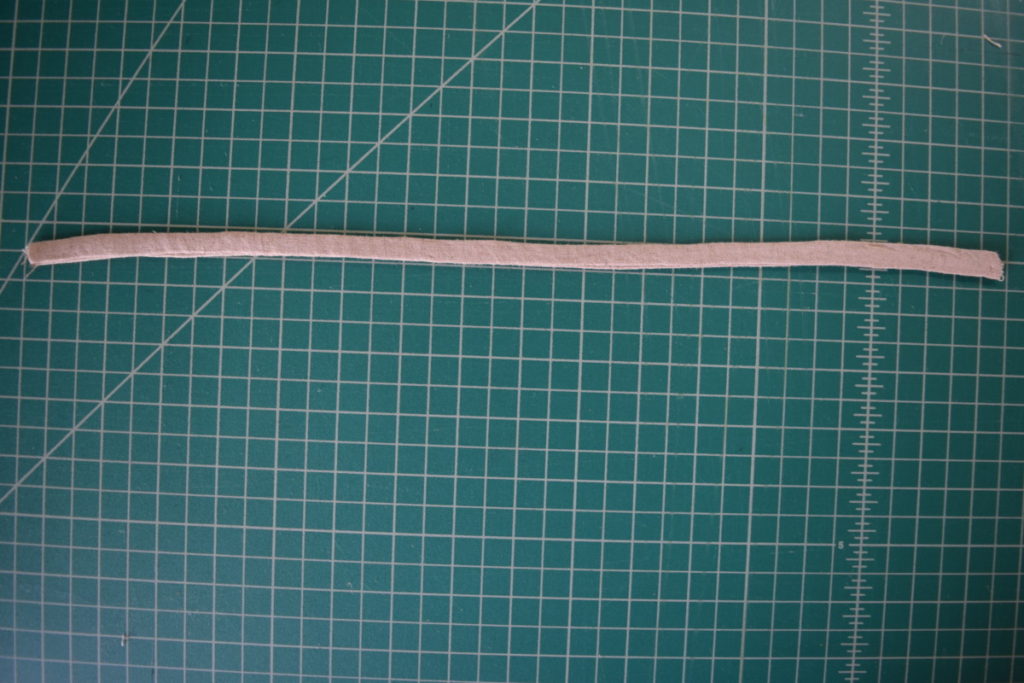
Next, I folded one the ends under and sewed it in place.
After repeating this for all four straps, I got this:
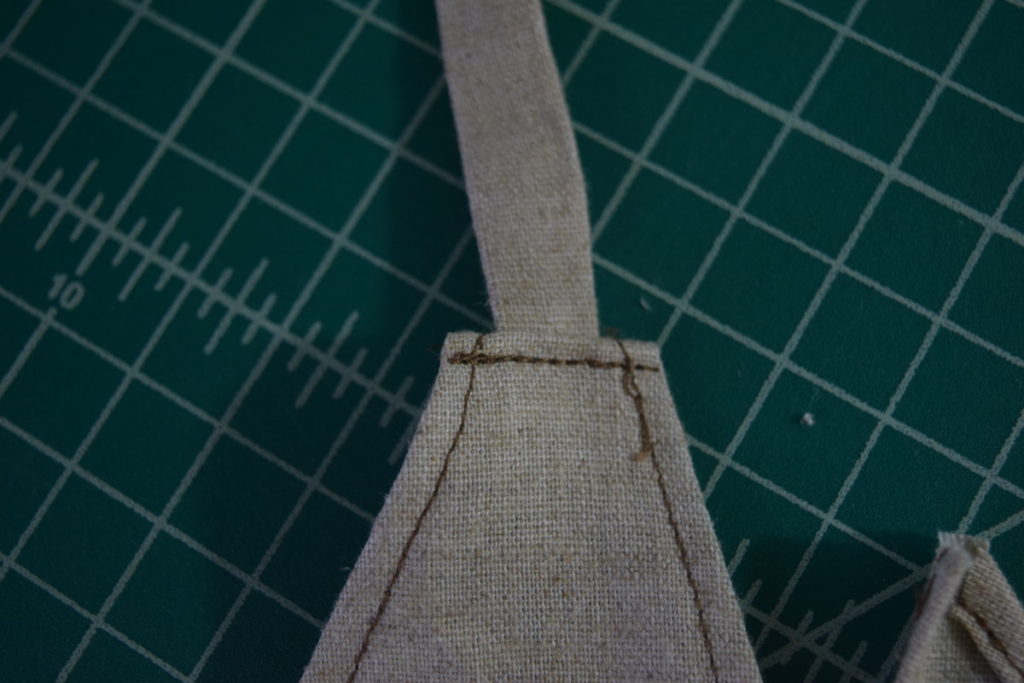
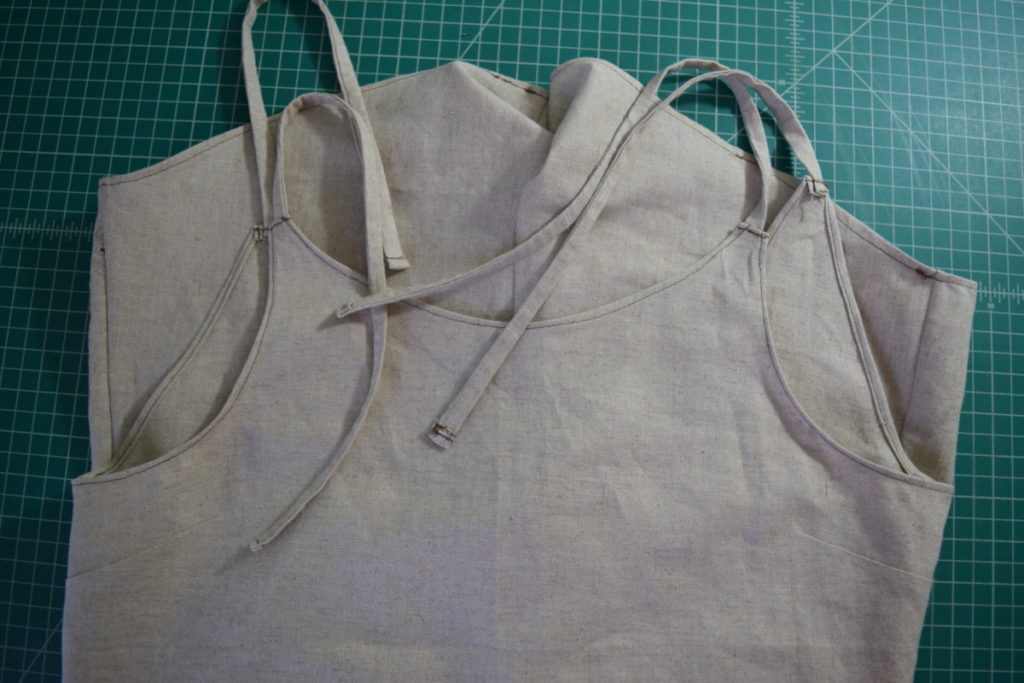
Then I attached the straps to the four “points” by folding under the top edge of the point and attaching the open end of the strap to the bodice.
Step 10
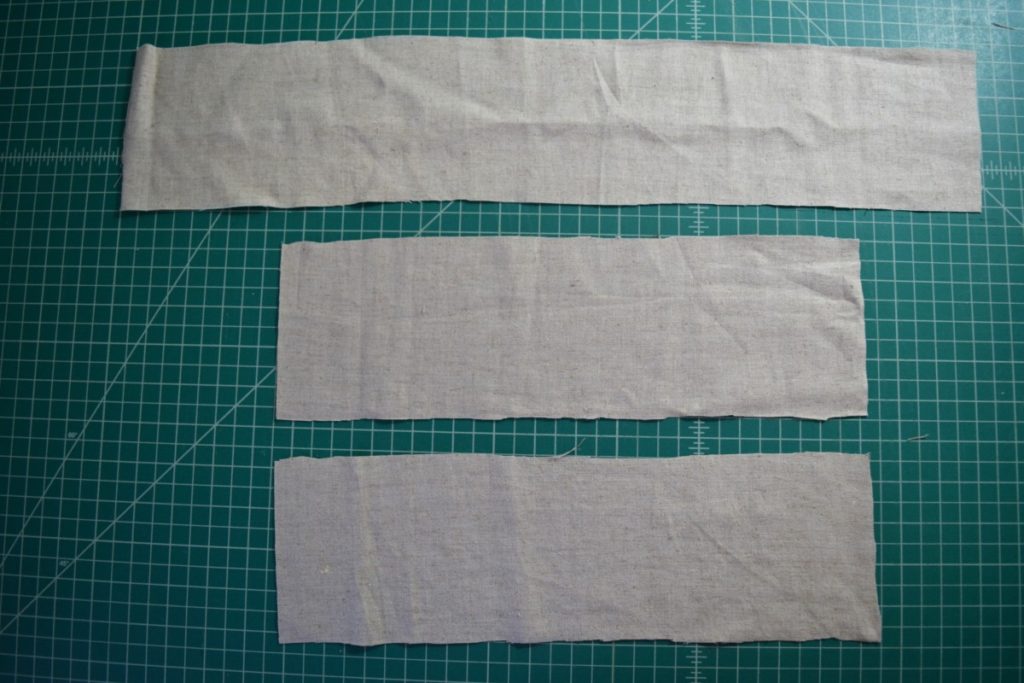
Now the last step is to make the waist tie! I cut one long strip that was 4.5 x 23 inches and two shorter strips that were 4.5 x 14.5 inches.
Then I attached the two shorter strips to the longer one at the short edges, right sides together.
Next, I folded the whole thing in half lengthwise (right sides together) and sewed along the long edge and ONE of the short edges.
Next, I turned the tie right sides out and ironed it flat.
Finally, to finish the open end, fold the raw edges to the inside and sew right along the edge.
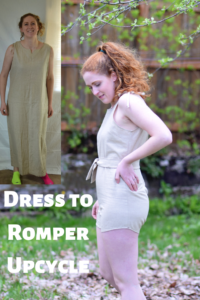
And that’s it! A DIY romper made from a thrifted dress!
If you enjoyed this DIY, I would love for you to sign up for my email newsletter.
Here’s some of my other dress refashions you might like:


How delicious are our CBD gummies? Don’t just take our word for it, professional football player, John Hartson, said “I take the 4800mg gummies and I love them. I don’t have to worry about missing my CBD, all I do is put the tub in my gym bag and I can take it in between sessions. I can already feel the benefits and the flavours are great”. If that’s still not enough, just check out our amazing 5 star reviews on Trustpilot from over 3000 testimonials from happy customers across the UK. Join the SupremeCBD family today to start benefiting from our incredible edibles. Free UK Delivery on All Orders Over £50 Enjoy FREE UK delivery on all orders of £50 or more. Don’t miss out on this amazing offer and make the most of your CBD experience with our delicious gummies, delivered straight to your door! Shop now and unlock the power of CBD Gummies in the UK
When discussing strong CBD gummies, it usually refers to gummies that contain a higher amount of CBD. The strength, or potency, of CBD gummies is typically gauged by the number of milligrams of CBD present in each gummy.For instance, gummies that contain 25mg or more of CBD per serving are often categorized as strong.However, it’s important to recognize that what is deemed strong for one individual might not be the same for another, due to differences in personal tolerance and the effects they are seeking.To achieve the best results and tailor to individual needs, it’s advisable to start with a smaller dose of CBD and adjust the amount based on personal preferences and how the body reacts.Can you Take a CBD Gummies Daily? aking a CBD gummy every day is generally safe for most individuals. CBD is widely tolerated and does not cause intoxication in most individuals.Nonetheless, it is always advisable to seek advice from a healthcare professional before initiating any new supplementation routine, including CBD.They can provide guidance based on your specific health condition, medications you may be taking, and any potential interactions or considerations.Adhering to the manufacturer’s recommended dosage instructions is of utmost importance.What are the Best CBD Gummies in the UK? Determining the best CBD Gummies in the UK can depend on various factors such as quality, taste, potency and customer feedback. Some highly regarded options include British Cannabis, Hempura and ACCESS CBD.
How to take CBD Gummies for the best results: There are many benefits of CBD Gummies, but the question of how to take them is still a bit mysterious. Here are some of the most common questions and answers.You can also read more about their ingredients. You may also be interested in how to take them at work. After all, how can CBD gummy help you in the office? Let’s find out! Keep reading! Then, you will be able to decide if they are for you! Taking CBD Gummies with you to work is a convenient way to boost your energy levels and combat anxiety. These tasty treats do not take up much space and will not disturb your day. Besides, there are no obvious side effects that will draw attention to your consumption.These tasty Gummies are as harmless as any other supplement or medication. So, you can use them without worrying about being judged or ridiculed. CBD is an effective pain reliever. When taken regularly, these Gummies can significantly boost your energy levels. It has been shown that CBD improves the ECS, which regulates sleep-wake cycles. This in turn leads to less pain.CBD Gummies offer a delicious way to boost your energy levels and get the rest you need at work. For optimal results, use a single dose every day CBD Gummies are a popular way to supplement your CBD intake. They are made from hemp extracts and come in a variety of flavours. CBD Gummies dosing:osing depends on your body’s tolerance to cannabidiol (CBD) and how much you’re willing to consume. They are easy to take, but the proper dosage for you will depend on your weight and the strength of the gummy.CBD is a compound extracted from the hemp plant, a member of the cannabis plant family. CBD is extracted from the hemp plant and is known as CBD oil. Dosage will depend on the desired effects. The recommended dose for adults is 0.25mg to 0.5mg per kilogram of body weight. Regular CBD dosages will improve immune function, limit environmental hypersensitivity, and reduce minor discomfort.You can double your dosage to 0.5mg every 8 hours or up to twice a day. If you feel like you need more CBD, you can double or triple it. To take CBD in gummies, you can either take one or two gummies once or twice a day. Taking CBD Gummies with you everywhere: