
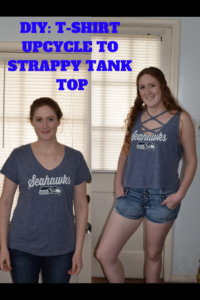
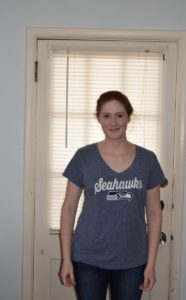
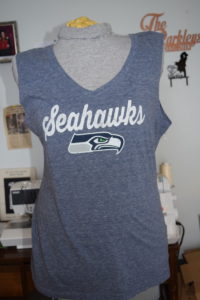
I found this t-shirt at a local thrift store and I loved the soft fabric and the worn, old-ish looking design on the front. However, the shirt was just too big on me and in my opinion, looked a bit frumpy.
So, I decided to transform the shirt into a cute, strappy tank top.


If you’re interested in seeing how I made this tank top, read on!
What you need:
*This list contains affiliate links for your DIYing convenience, so I receive a small commission if you buy something through my links. This really helps to support my site so I can keep creating DIY tutorials to help you create your dream wardrobe.
- Oversized, long t shirt
- Sewing machine
- Scissors
- Fabric marker or chalk
- Jersey knit needle
- Jersey knit pins
- Thread
- Ruler
- Iron
- Safety pin
Instructions:
Make it a tank top:
The first step in my transformation was to cut the sleeves off of the shirt. I did this by cutting along the seam attaching the sleeves to the shirt. I made sure to leave the excess seam allowance on the sleeves rather than the shirt body.
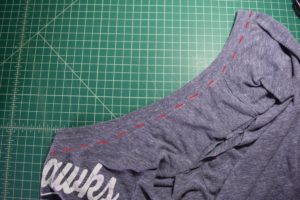
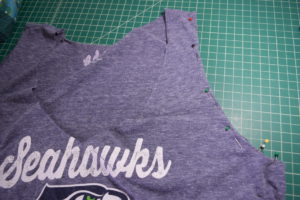
Next, try the shirt on and mark where you want your neckline to be. I did this on my dress form, but it could easily be done by just trying the shirt on. You only need to mark one half of the neckline because you can fold it in half later and cut both sides equally.

Fold the shirt in half, lining up the center front and back. Now cut the neckline slightly above your mark (to leave enough seam allowance). As a word of warning: I didn’t cut quite far enough above my marking, so the shirt ended up with a bit deeper neckline than I would have liked.

Next, try the shirt on and pin the armholes so that they lay relatively flat (rather than sticking out really far under the armpit). Once again, I did this on my dress form, but I did try it on before sewing to make sure the armholes fit like wanted.
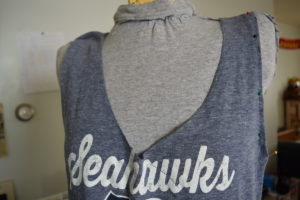
You can now sew the armholes about 1/4 inch from the edge with a zigzag stitch or a double needle. This allows the material to stretch (I used a double needle because I like the professional finish it provides). Then, trim the raw edges close to the stitching and iron the armholes so they lay nicely.
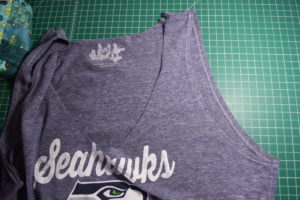
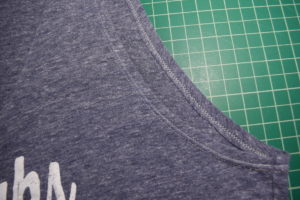
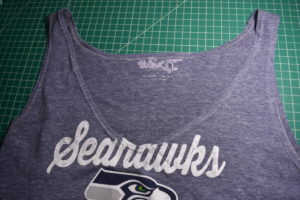
Next, you’ll want to hem the neckhole in the same way as the armholes. Fold under a small hem all the way around the neckhole and pin in place. Sew 1/4 inch from the edge using the same stitch that you used for the armholes. Then trim the seam allowance close to the stitching and press flat.
Hem the shirt:
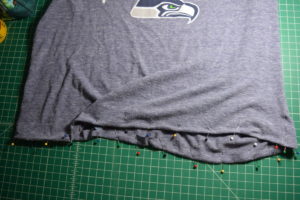
My next step is to shorten the shirt. Try your shirt on and pin it to the length you want. You can then take the shirt off and mark the folded edge near the pins; then remove the pins.
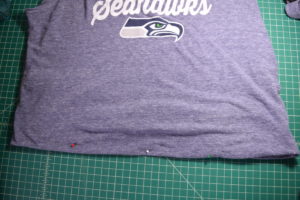
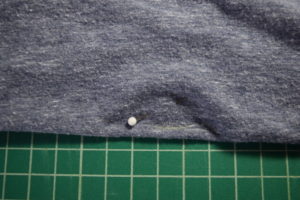
Next, lay the shirt flat, lining up the front and back hems carefully. Draw a straight line across the shirt using the marks as an approximate guide (don’t worry if your line doesn’t go exactly through all your marks). Make sure your line is the same distance from the bottom of the shirt all the way across. This will help make sure your hem is straight all the way across.
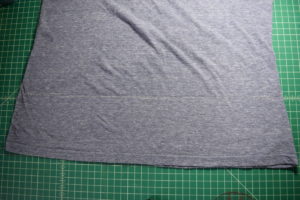
Cut the shirt all the way across, leaving about 1/2 inch (for seam allowance) below your line.
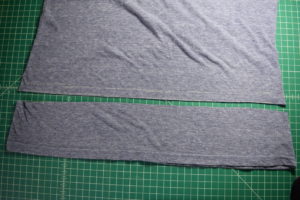
Turn the hem to the inside along the line you drew and pin it in place. Now sew the hem down using a zigzag stitch or double needle. Trim the seam allowance close to the stitching and iron the hem for a crisp edge.
To make the straps:
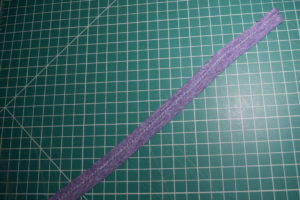
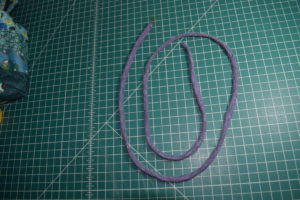
Using the material you cut from the bottom of the shirt, cut two long rectangle strips. Mine were 1.5 inches by 20 inches; but they don’t have to be quite that long.
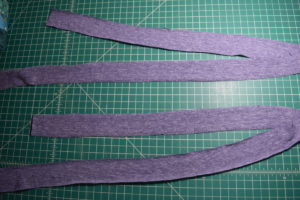
Fold and pin the strips in half lengthwise, making sure right sides are together. This is so when you flip the tubes right-sides-out your raw edges will be inside the tubes. Sew down the entire length of the strips about 1/3 inch from the raw edge using a zigzag stitch.
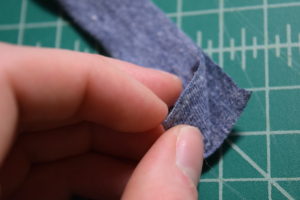

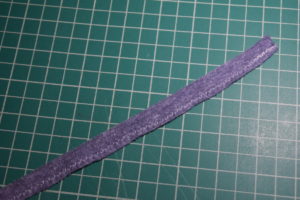
Trim the raw edges to 1/8 inch from the stitching.
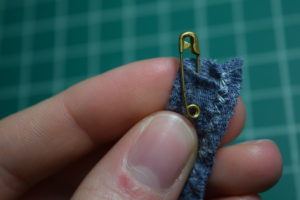
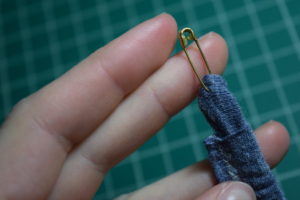
Now, to turn the tubes right-sides-out attach a safety pin to the end of the tube. Turn the safety pin down into the tube and push it down all the way through the tube until it comes out the other side. It may take awhile to work the safety pin all the way through the tube.
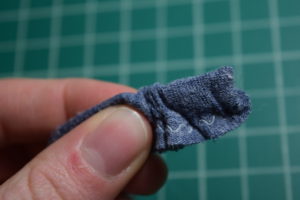
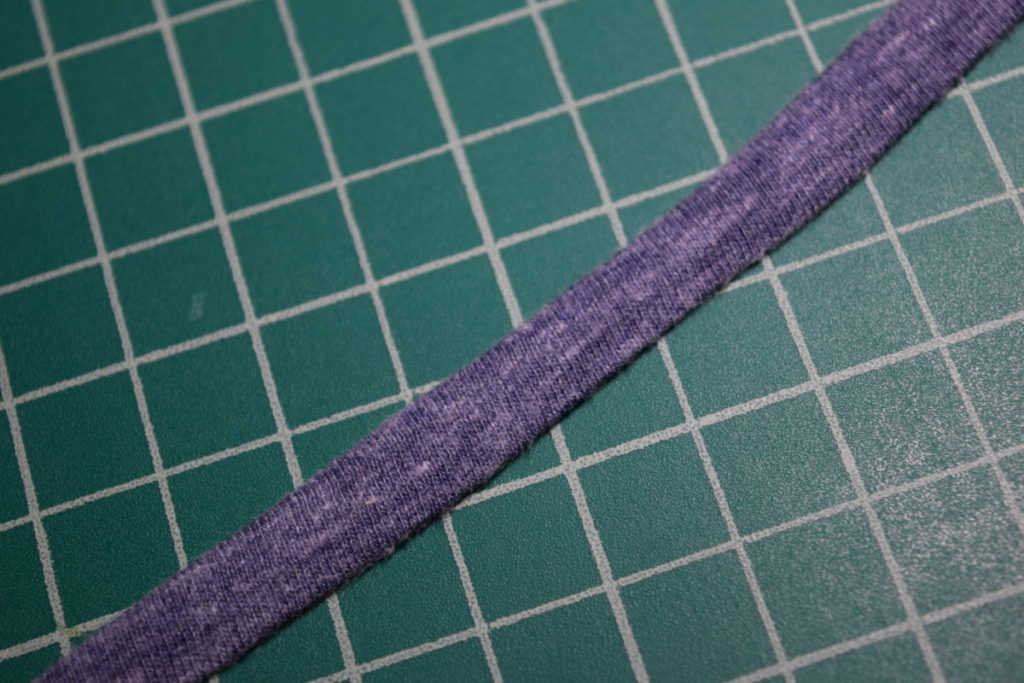
Now, iron the strap flat, making sure your seam is in the center so it will be hidden on the back of your strap.
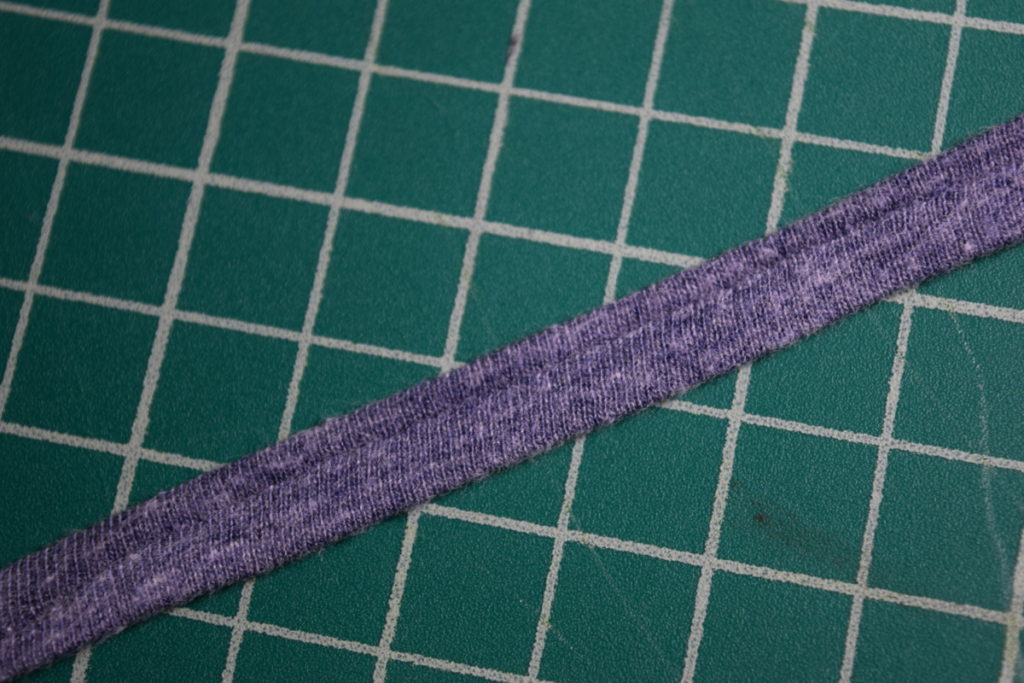
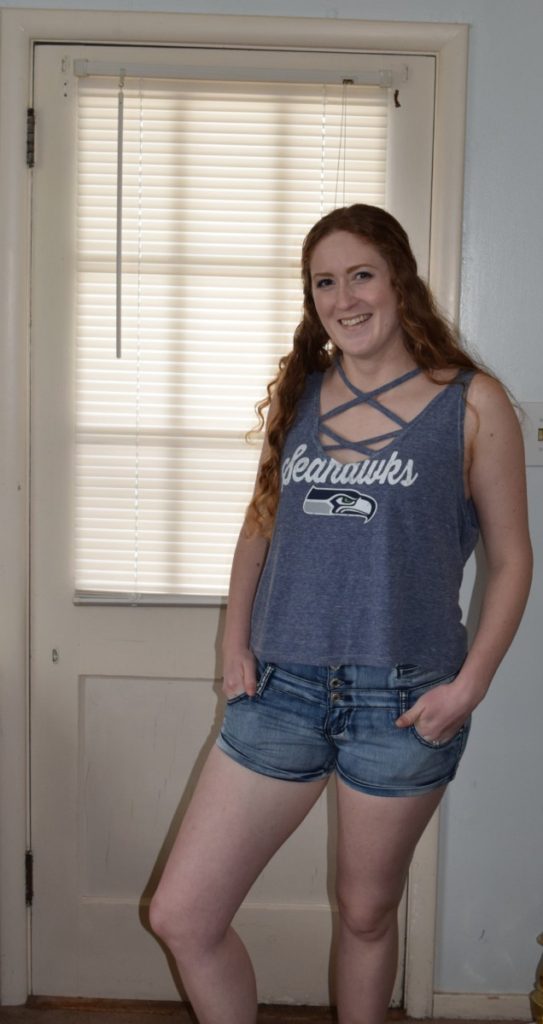
And viola! You have a beautiful strap!
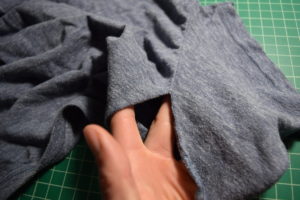
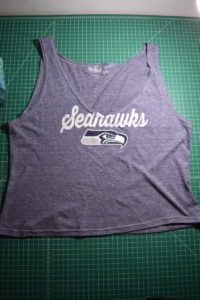
Now you get to be a little creative! Try on the shirt and pin the straps in a pattern you like. Here’s what I decided I wanted my straps to look like:
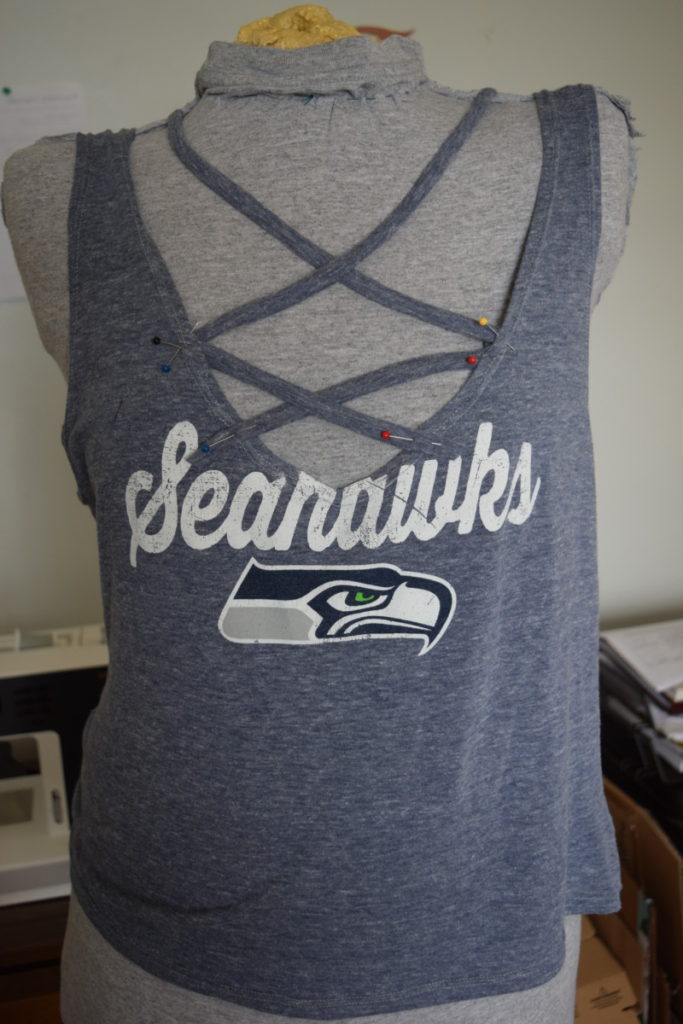
Now, make sure your straps are pinned to the INSIDE of the shirt. I didn’t originally do this (you can see in the photo above that some of the straps are pinned to the outside of the shirt), so I had to move these to the inside.
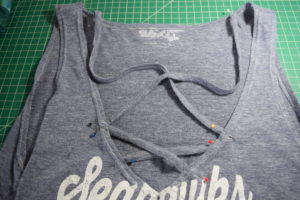
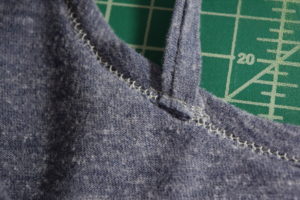
You’re almost done! Sew each strap down to the shirt on both ends with small lines of stitching. Try to keep your stitching in the same stitching lines as the neckhole hem for a more professional look.

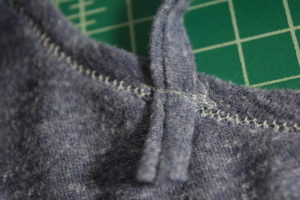
Now, all that’s left to do is trim the ends of the straps close to the stitching on the inside of the shirt and give everything a final ironing.
And there you have it! An over-sized, frumpy t-shirt refashioned into a cute, comfortable, strappy tank top!


Cute !!!!
Thanks for the blog. Cool.
High Strength CBD Gummies, 900mg: each CBD Gummy is 30mg CBD.Our CBD Gummies can be enjoyed alone or they’re great to mix and match with our CBD Oils and CBD Capsules.We know our gummies taste delicious and it would be easy to eat the whole tub in one go, but it is important you limit yourself to make sure you do not take too much CBD. We recommend taking no more than 70mg a day.We recommend ‘starting low and going slow’ initially to test your body’s tolerance. Once you are comfortable with taking CBD, you can work your way up to higher doses if needed. Each gummy is 10mg CBD, making them perfect for beginners looking to find their CBD sweet spot.The time for CBD gummies to leave the body depends on a few factors such as age, weight, and metabolism. In general, CBD stays in the body for 2-3 hours when consumed as a CBD sweet or gummy format, so CBD gummies can be taken in a single daily dose, or smaller doses at intervals throughout the day such as morning, mid-day, and night.As CBD is fat soluble, it’s most effective to take CBD with a meal where you are consuming other fats. However, our CBD gummies can be enjoyed any time of the day, including on an empty stomach.
There is no penalty for taking a thoroughly tested and carefully formulated cannabidiol product. Your mind and body will thank you, and local law-enforcement agents recognise the legal availability of these hemp items. You never need to worry when purchasing a CBD gummy product.