
We’re finally starting to see signs of spring around here and I’m loving it! I even saw some daffodils blooming this morning, which really made me happy!

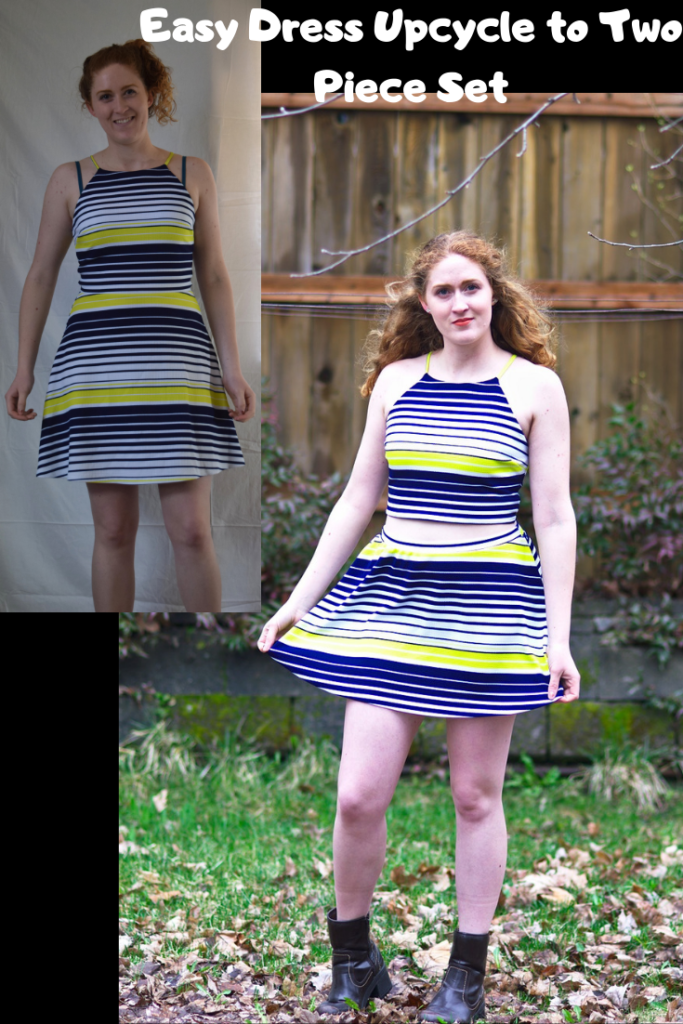
So with spring in the air, I’m bringing you a tutorial on how to turn a dress into a two piece set. It’s a perfect DIY to bring your wardrobe from winter to spring! And it’s super easy! This only took me about an hour… and I had a bit of a mishap (more on that later), so if you don’t mess up like I did this won’t take you long at all.


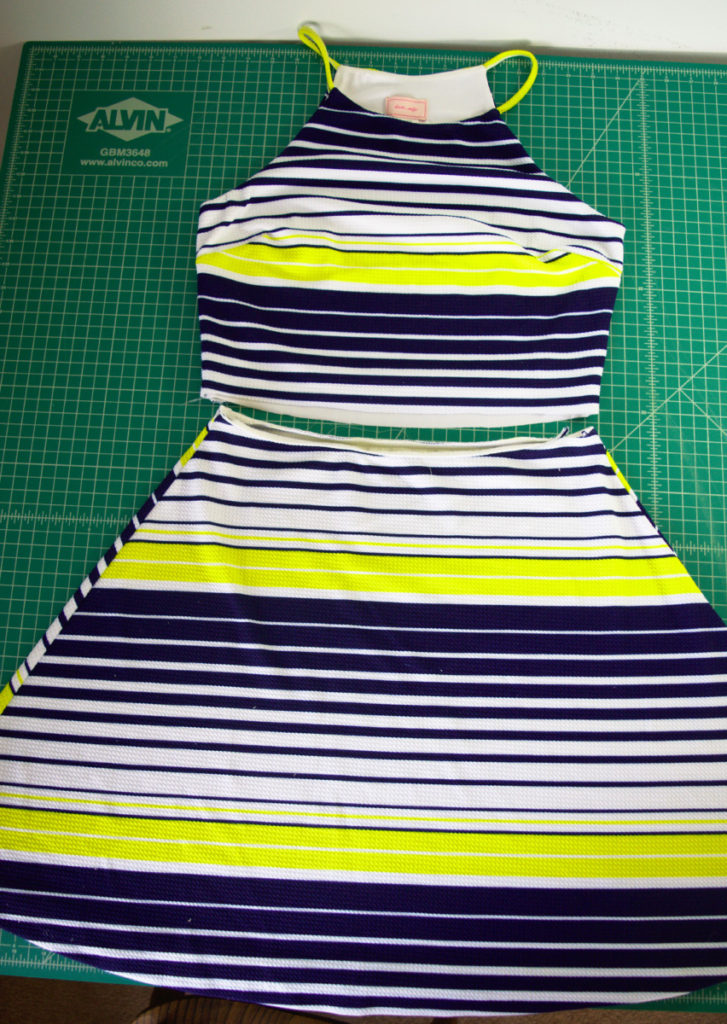
So I found this adorable dress at a thrift shop a couple weekends ago and fell in love with the bold color and the a-line shape.

Now I’m honestly more of a neutrals kind of girl, but as I said, I was feeling the spring vibes! And I thought the cut and color of this dress would make an adorable two piece set.
So if you have an old dress you want to make into a two piece set, read on for the full two piece set DIY tutorial below!
What you need:
*This list contains affiliate links for your DIYing convenience, so I receive a small commission if you buy something through my links. This really helps to support my site so I can keep creating DIY tutorials to help you create your dream wardrobe.
- a dress, A-line shape is best, but you could really use almost any type of stretchy dress
- sewing machine
- iron
- scissors
- ballpoint or stretch sewing pins
- ballpoint or stretch needle
- thread
- ruler
Steps:
- Separate bodice from skirt of dress
- Hem the bottom of the top
- Cut 4 inches off the top of the skirt
- Cut identical front and back waistband rectangles from the fabric you cut off
- Sew together front and back waistband at side seams
- Fold waistband in half and sew to the top of the skirt
- Iron everything and you’re done!
Instructions:
For the top:
So first you’ll need to detach the bodice from the skirt.
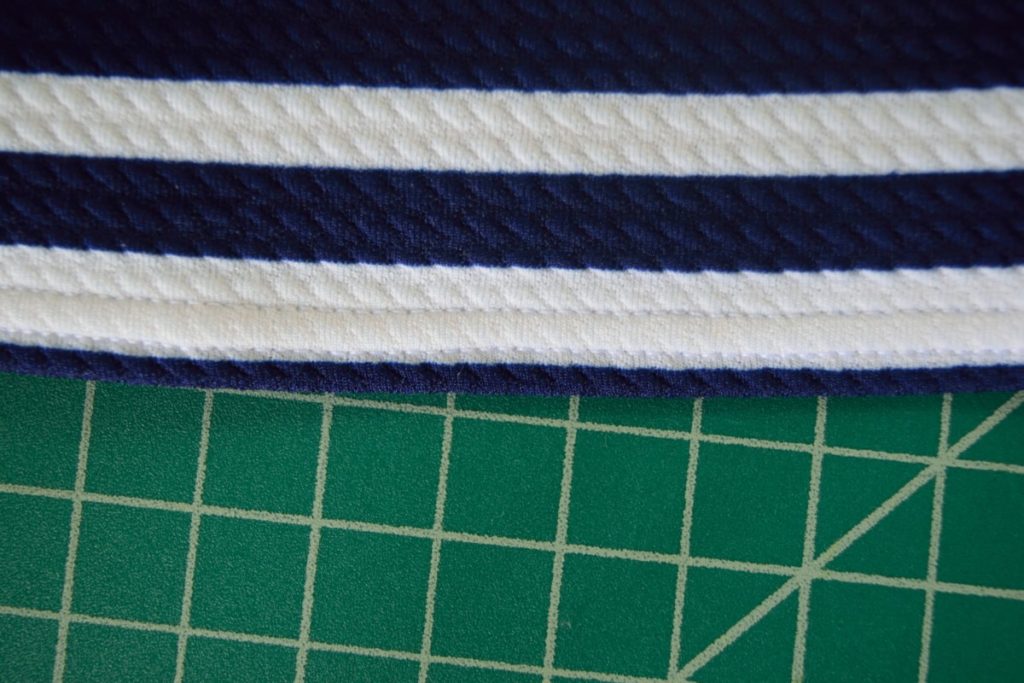
Then set aside the skirt for later. Next, I serged the lining and fashion fabric together along the bottom edge of the top. You could also sew them together with a zigzag stitch along the edge. If your bodice doesn’t have a lining, you can just skip this step.
Next, fold under a small hem around the bottom of the shirt and sew it in place with a double needle or zigzag stitch.

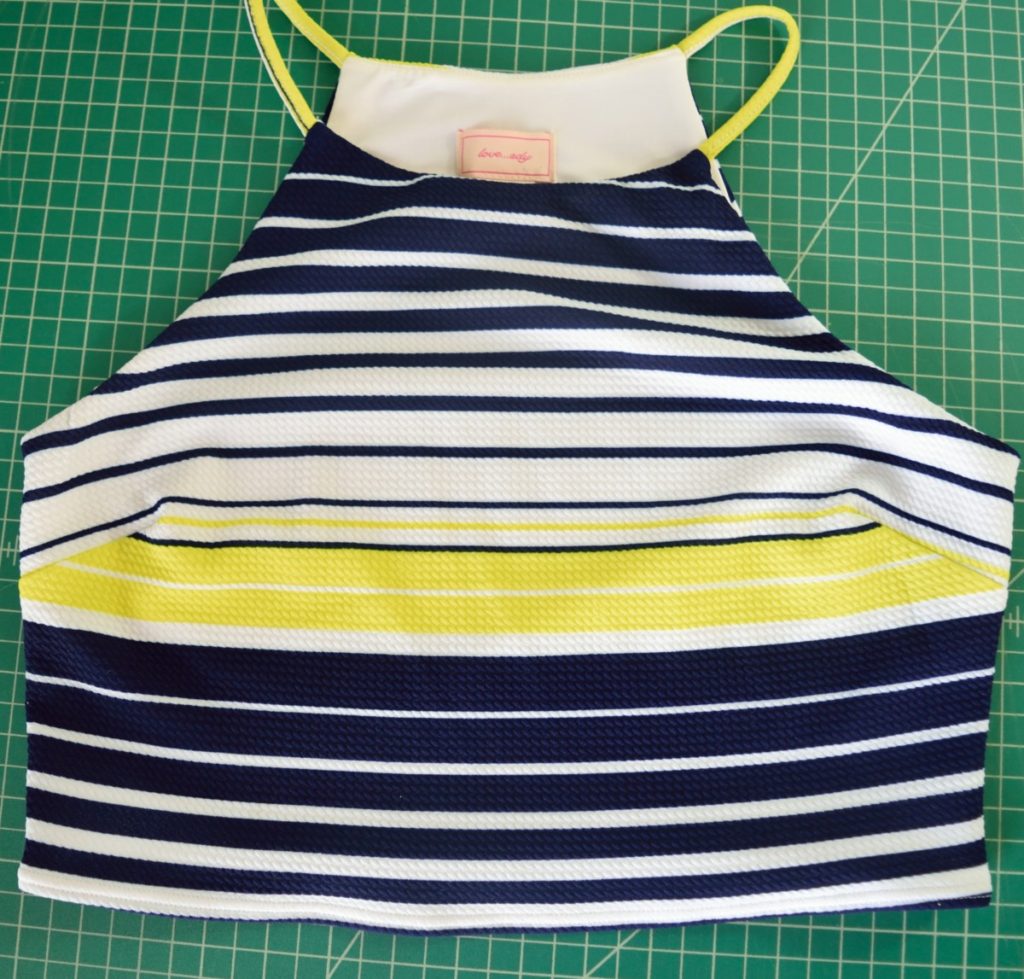
That’s all for the shirt! Now on to the skirt!
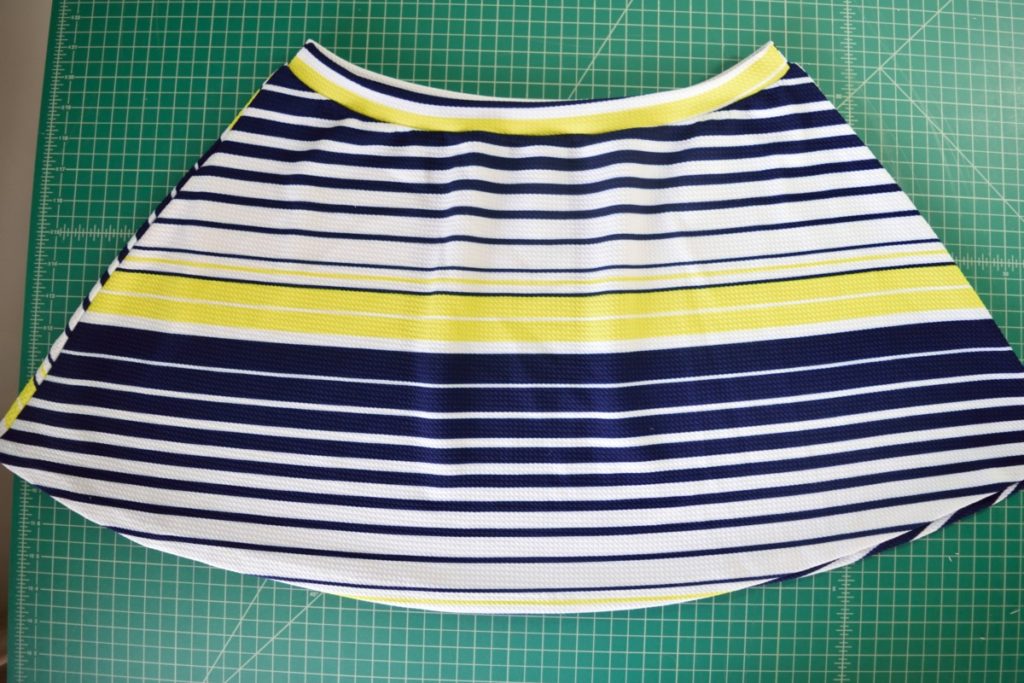
For the skirt:
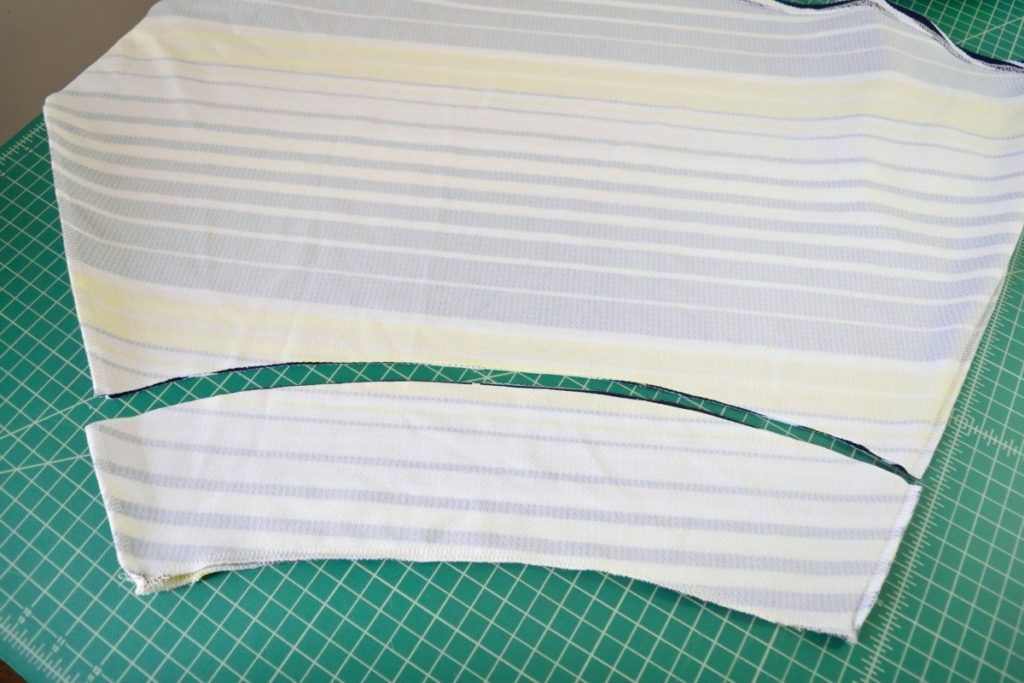
So my first step for the skirt was to cut off the excess stitching and elastic from the top of the skirt that was left over when we detached the top.
Next, I cut four inches off the top of the skirt to make a waistband.
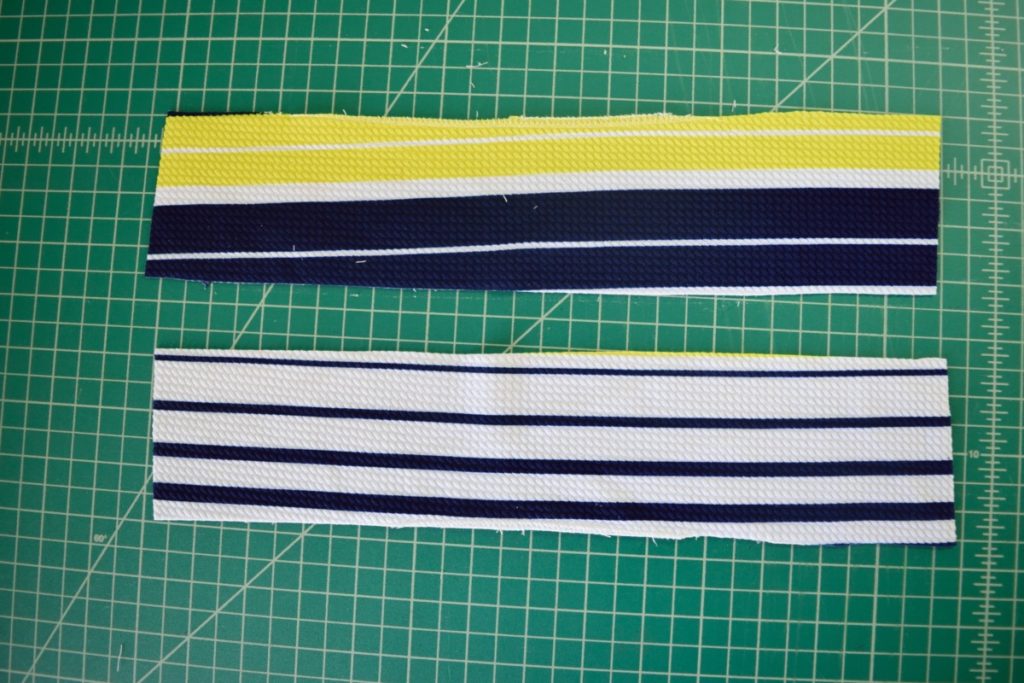
Now because the waistband we just cut off is curved, we can’t just fold it and have a finished waistband. So we need to cut two identical rectangles out of the fabric we cut off. This will be our front and back waistband.
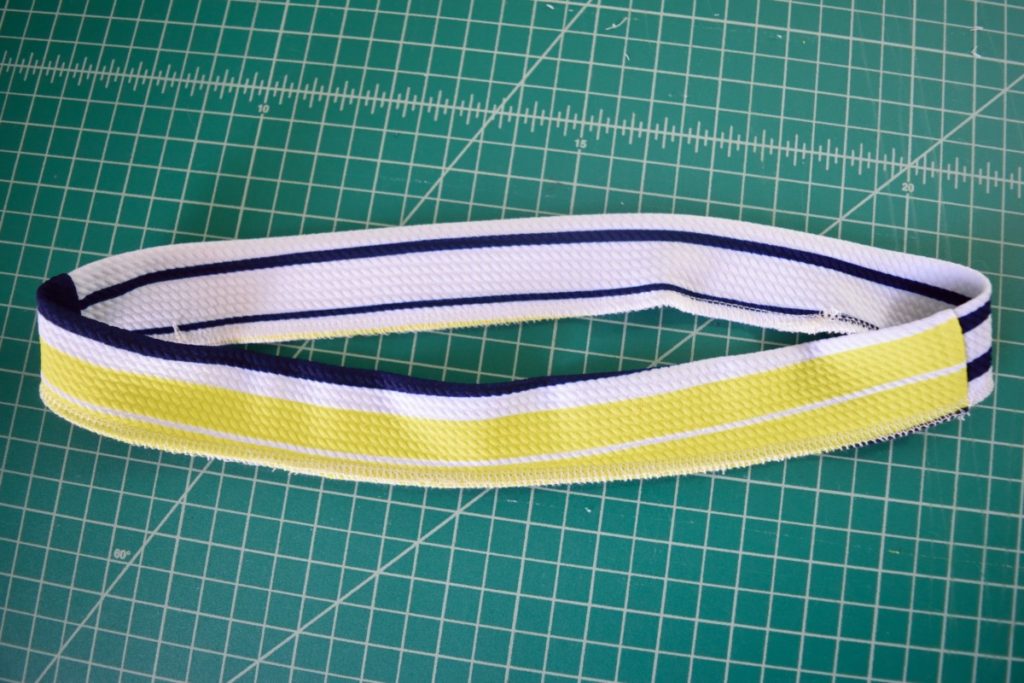
Next, use a zigzag stitch or serger to sew the two waistband pieces together at the side seams (short sides) with right sides together. Then fold the waistband in half with wrong sides together and iron it flat. You can also close the open bottom edge with a serger or zigzag stitch if you want.
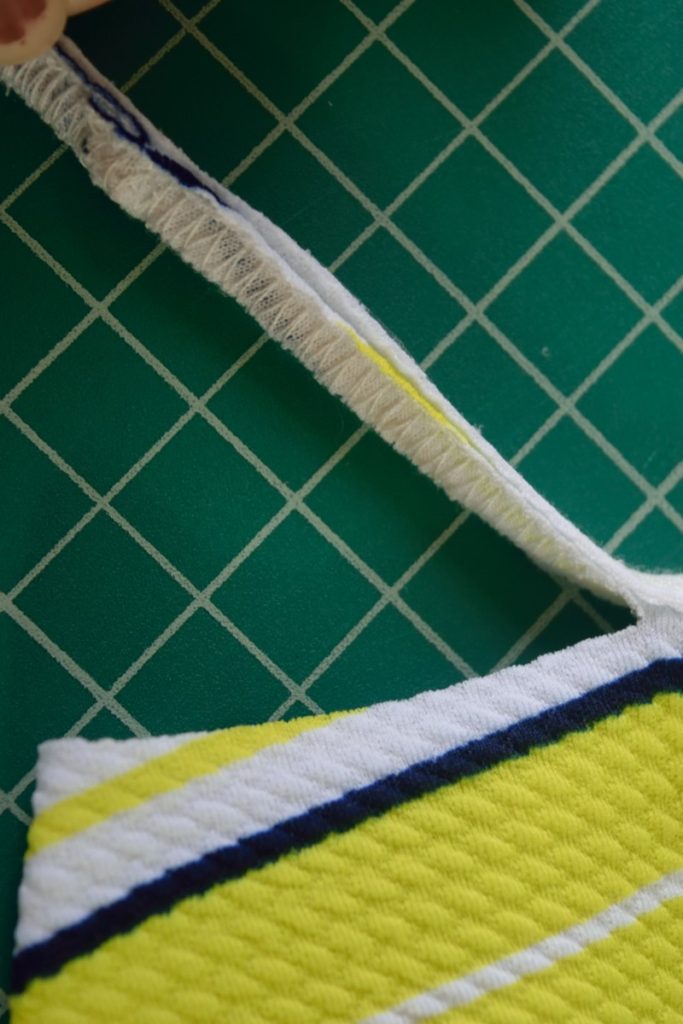
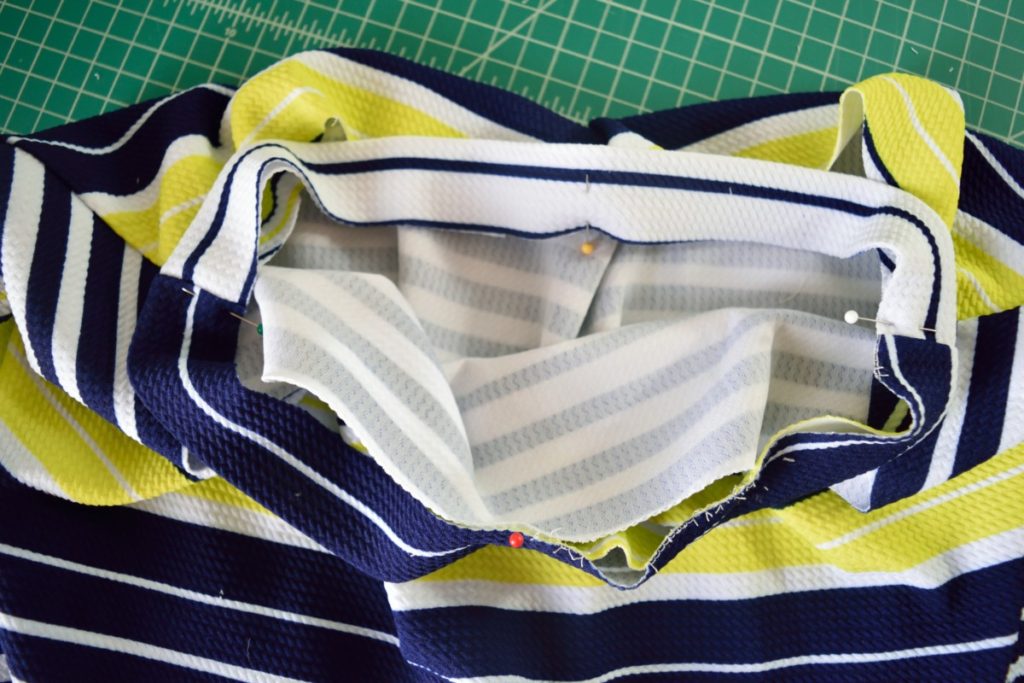
Now we just need to attach the waistband to the skirt. This is where I had a bit of a mishap… I accidentally sewed the waistband onto the wrong side of the skirt so that the seam allowances were on the outside…oops… You can see in the photo below that I sewed the waistband to the INSIDE of the skirt, I should’ve sewed it to the outside.

So after I sewed it on I ended up just cutting my stitching off because seam ripping all that serging just sounded horrible…
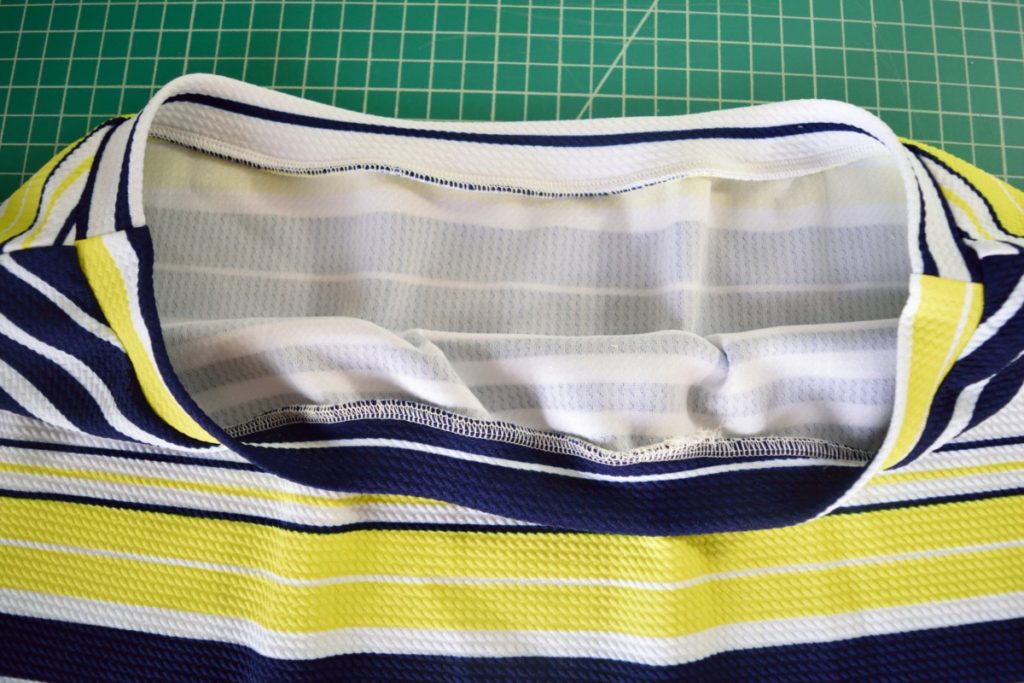
So now we need to attach the waistband to the correct side of the skirt. Pin your waistband to the top edge of the skirt from the OUTSIDE of the skirt. I did this by pinning with four pins: at the side seams, the center front, and the center back.
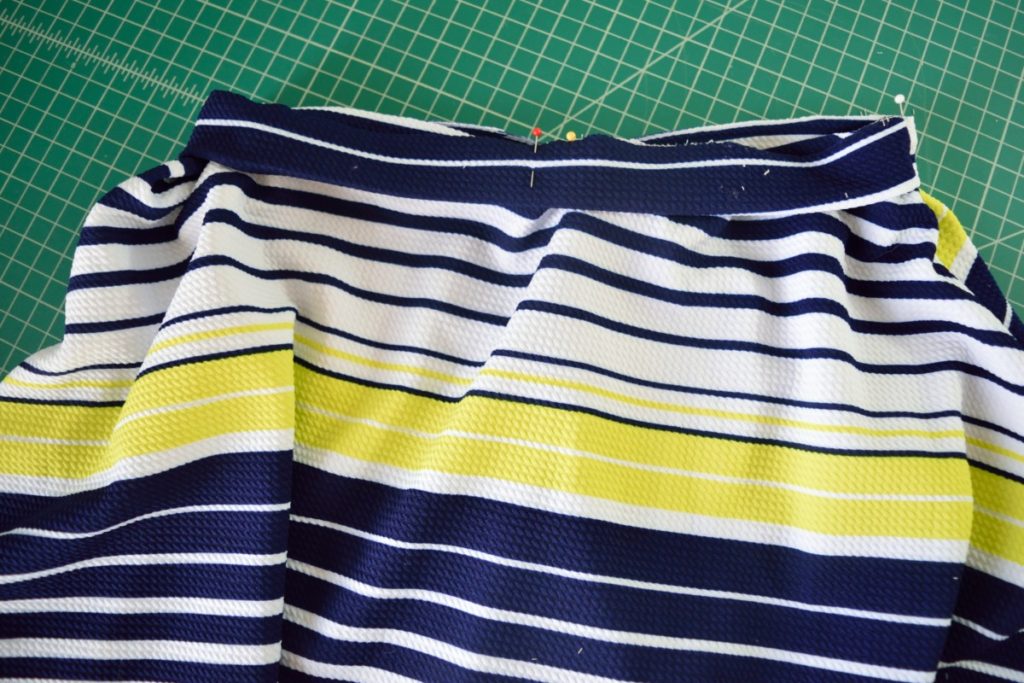
Then sew the waistband to the skirt with a serger or zigzag stitch, stretching the waistband evenly between the pins to fit the skirt as you sew. Now just turn the waistband up and iron everything flat.
And that’s all it takes to turn a dress into a matching two piece set, perfect for spring! I hope you’ve enjoyed this two piece set DIY and if you do try it out, I would love to see what you made! You can leave a photo in the comments or tag me on instagram at @adoptyourclothes.
If you want to follow along with my blog and never miss a DIY or sewing tutorial, you can sign up for my email newsletter.


Love this, such a great read!
I’m amazed, I have to admit. Rarely do I encounter a blog that’s both educative and entertaining, and let me tell you, you have hit the nail on the head. The issue is an issue that not enough folks are speaking intelligently about. I am very happy that I came across this in my search for something regarding this.
I’m amazed, I have to admit. Seldom do I come across a blog that’s equally educative and amusing, and without a doubt, you’ve hit the nail on the head. The problem is an issue that too few folks are speaking intelligently about. I’m very happy that I found this in my hunt for something relating to this.
delta 8 weatherford tx
Regards for helping out, wonderful info .
595581 642871Should you tow a definite caravan nor van movie trailer your entire family pretty soon get exposed towards the down sides towards preventing greatest securely region. awnings 853384
677781 73029It is difficult to get knowledgeable folks on this subject, but the truth is be understood as what happens youre preaching about! Thanks 88982
350479 265785Real fantastic data can be found on web blog . 259845
With every thing that appears to be building throughout this area, your viewpoints happen to be fairly stimulating. Even so, I appologize, but I do not subscribe to your entire strategy, all be it stimulating none the less. It seems to everyone that your remarks are actually not totally validated and in simple fact you are generally yourself not even wholly certain of your point. In any event I did take pleasure in reading through it.
Your tips on conflict resolution and mediation in the workplace are very valuable
Our gummies can be bought in a variety of sizes. You’ll be able to purchase our tasty CBD sweets and gummy bears in both small and large quantities.
The time for CBD gummies to leave the body depends on a few factors such as age, weight, and metabolism. In general, CBD stays in the body for 2-3 hours when consumed as a CBD sweet or gummy format, so CBD gummies can be taken in a single daily dose, or smaller doses at intervals throughout the day such as morning, mid-day, and night. The rate of uptake for CBD varies, depending on a few factors, such as age, weight, metabolism, and the type of product you use. CBD gummies have medium absorption, meaning they are typically felt after 20-30 minutes. Each person reacts differently to CBD, so you may find it can take shorter or longer for the CBD to be absorbed into your system.
Because what could be simpler than chewing CBD sweets? Our CBD Gummies give you the most premium CBD extract in chewable form, so you can enjoy them anytime, anywhere. Inside each gummy, you get a 10mg dose in our 300mg strength or a 30mg dose in our 900mg strength, so we recommend chewing two CBD gummies per day for a fruity CBD serving that delivers. They’re a staple on our desks at Cannaray HQ. 2. They make CBD juicy and fruity At Cannaray, we’re big on fresh flavours that make your daily dose of CBD a joy. That’s why we’ve juiced up the CBD Gummies with orange extracts that are just the right level of zesty. Your only challenge? Trying not to eat them all in one go. (We recommend no more than 70mg of CBD per day.) 3. They’re 100 vegan and THC-free Enjoy your CBD gummies safe in the knowledge that they contain 100 vegan CBD. They’re also free of GMOs, sulphates and THC. Now you can chew with confidence. The rate of uptake for CBD varies, depending on a few factors, such as age, weight, metabolism, and the type of product you use. CBD gummies have medium absorption, meaning they are typically felt after 20-30 minutes. Each person reacts differently to CBD, so you may find it can take shorter or longer for the CBD to be absorbed into your system. The rate of uptake for CBD varies, depending on a few factors, such as age, weight, metabolism, and the type of product you use. CBD gummies have medium absorption, meaning they are typically felt after 20-30 minutes. Each person reacts differently to CBD, so you may find it can take shorter or longer for the CBD to be absorbed into your system.We recommend up to 3 gummies per day for the 300mg regular strength jar or 2 gummies per day for the 900mg high strength jar. Depending on the strength you choose, you can expect the following doses per gummy:Regular Strength CBD Gummies, 300mg: each CBD Gummy is 10mg CBD.High Strength CBD Gummies, 900mg: each CBD Gummy is 30mg CBD.Our CBD Gummies can be enjoyed alone or they’re great to mix and match with our CBD Oils and CBD Capsules.
Premium Quality: We use only the finest hemp extracts, ensuring a pure and potent CBD product. Delicious Flavours: Indulge in a variety of mouth-watering flavours that make incorporating CBD into your routine a tasty delight.rusted Transparency: With CBD Guru, you can trust the transparency of our products. Our products are third-party lab tested for quality and potency.Wellness Beyond Ordinary: Elevate your well-being with the natural benefits of CBD, known for its potential to support relaxation and balance.Whether you’re a seasoned CBD enthusiast or just beginning your wellness journey, CBD Guru’s CBD Gummies are the perfect companion. Boost your daily routine with a burst of flavour and the holistic benefits of high-quality CBD. Shop with confidence, knowing you’re choosing a product that’s crafted with expertise and a commitment to your well-being.
How delicious are our CBD gummies? Don’t just take our word for it, professional football player, John Hartson, said “I take the 4800mg gummies and I love them. I don’t have to worry about missing my CBD, all I do is put the tub in my gym bag and I can take it in between sessions. I can already feel the benefits and the flavours are great”. If that’s still not enough, just check out our amazing 5 star reviews on Trustpilot from over 3000 testimonials from happy customers across the UK. Join the SupremeCBD family today to start benefiting from our incredible edibles. Free UK Delivery on All Orders Over £50 Enjoy FREE UK delivery on all orders of £50 or more. Don’t miss out on this amazing offer and make the most of your CBD experience with our delicious gummies, delivered straight to your door! Shop now and unlock the power of CBD Gummies in the UK
The THC concentrations in Herbal Health CBD products, such as our CBD Oil, are below detectable levels. These THC-free broad-spectrum CBD gummy sweet products will never flag a drug test. The reason for this is simple: no one tests for CBD. Athletes can use it in the Olympics, the elderly are thriving on these products, and plenty of people are only taking these products to enhance their daily lives.
What Is Puravive? The Puravive weight loss aid is formulated using eight clinically proven natural ingredients.
What Is Aizen Power? Aizen Power is presented as a distinctive dietary supplement with a singular focus on addressing the root cause of smaller phalluses