
Turning old t shirts into great tank tops for the gym is probably my favorite type of quick and easy upcycle. There are so many things you can do with a t shirt! And you can recreate almost any gym shirt style you want out of a t shirt (and for a whole lot cheaper than buying said gym shirt).
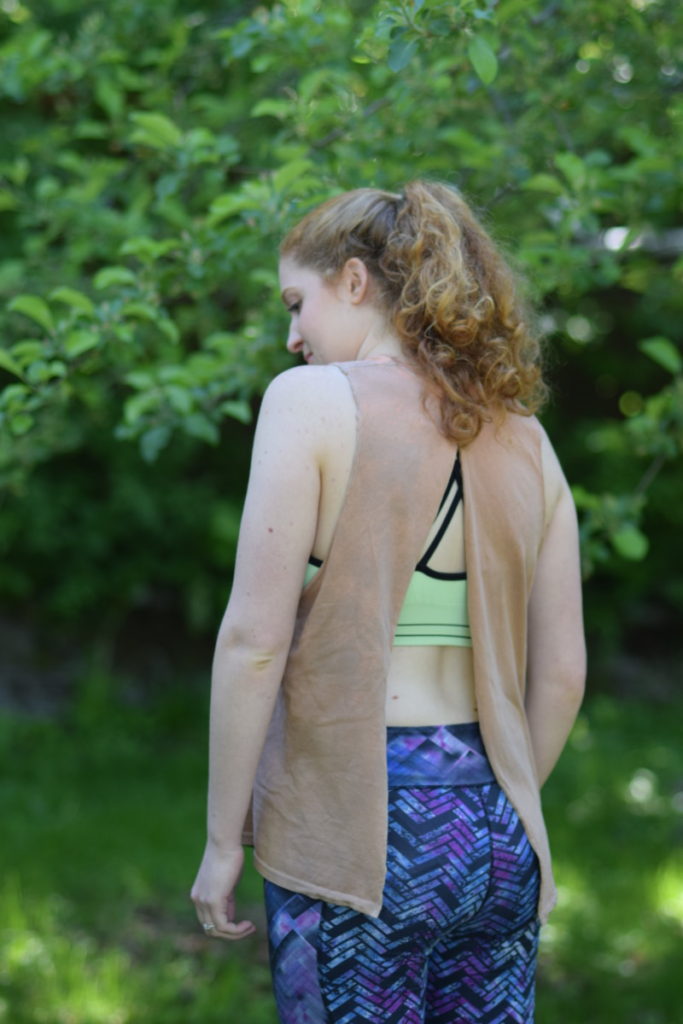
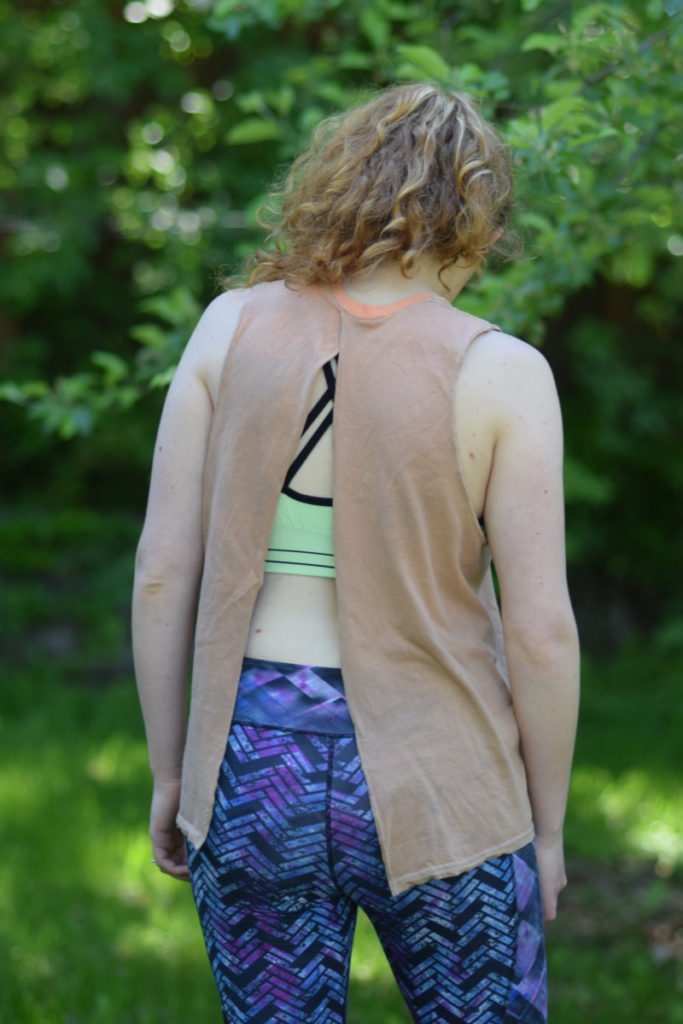
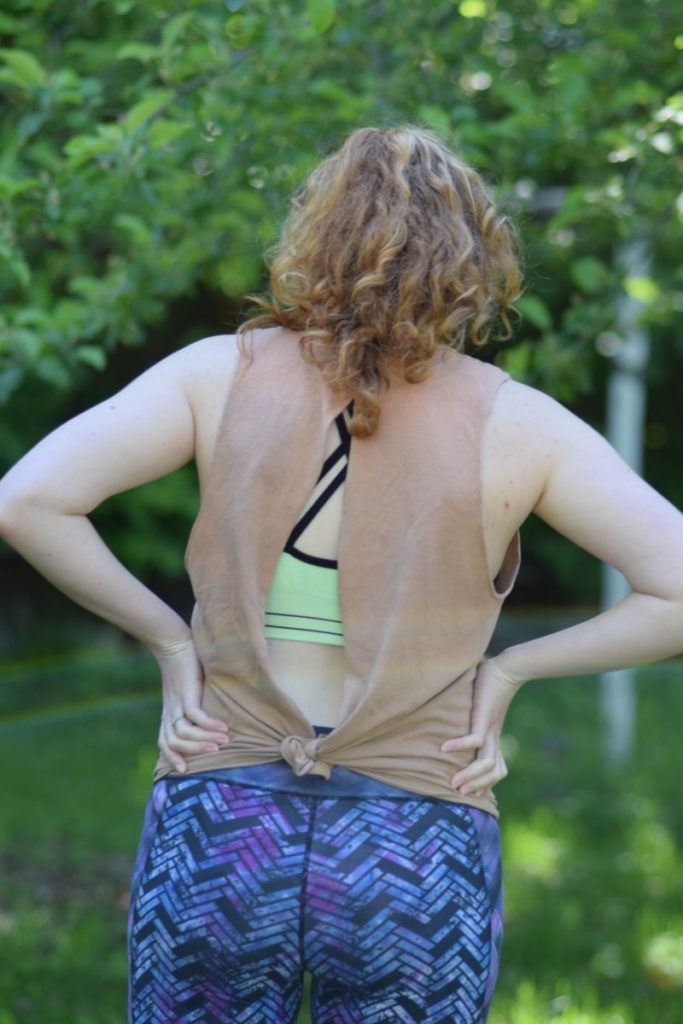
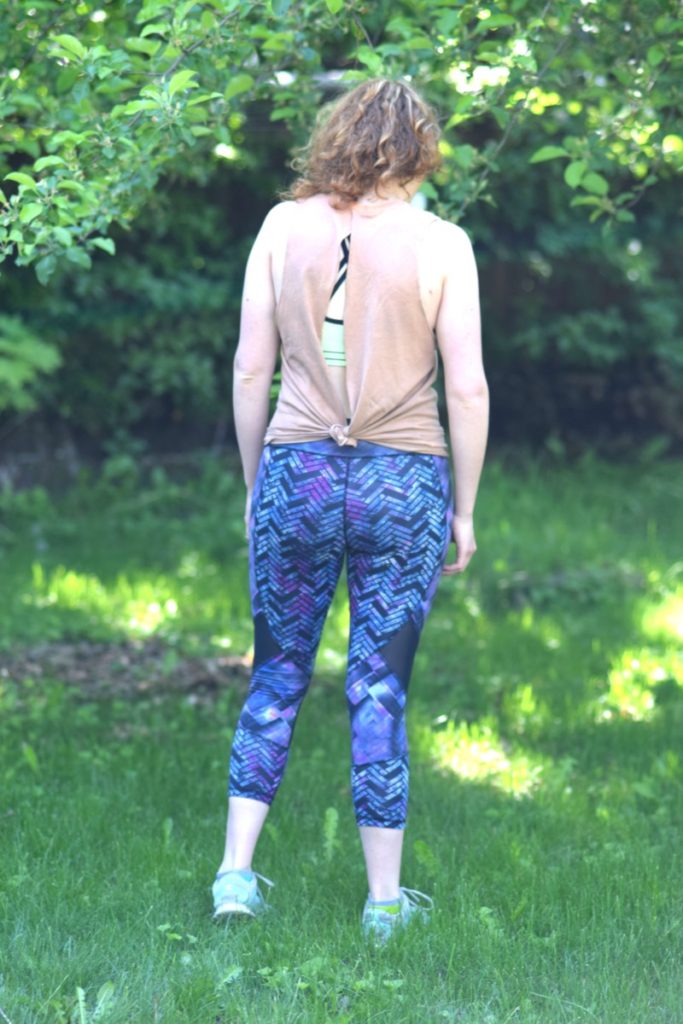
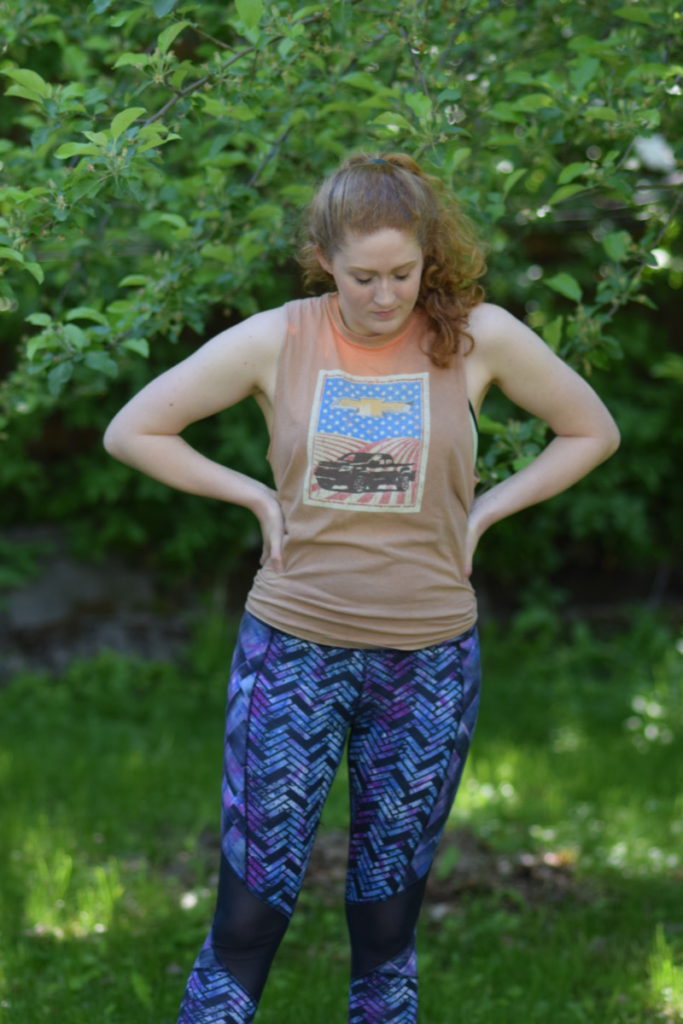
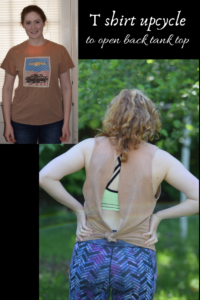
Lately I’ve been seeing a lot of these open back tank tops with a cross-over detail at the neckline. It looked like a fun style to try out, so I grabbed an old worn out t shirt from my dresser and gave it a try! And I love how it turned out! The best part is that you can wear it two ways, either with the back open and flowy or you can tie the bottom corners together for a cool look that shows a bit less skin.
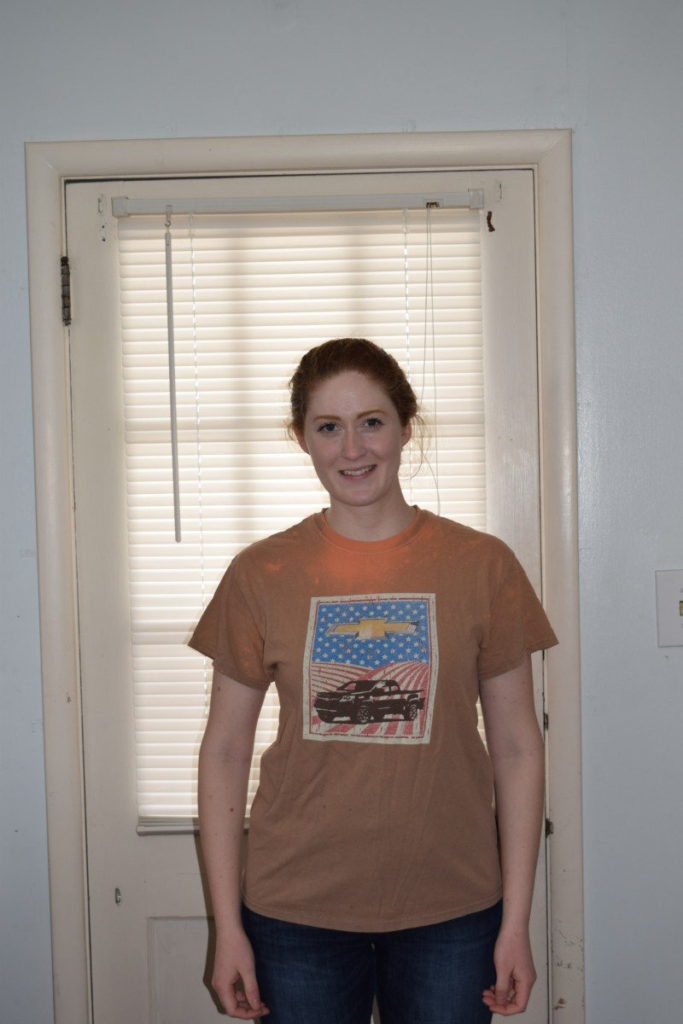
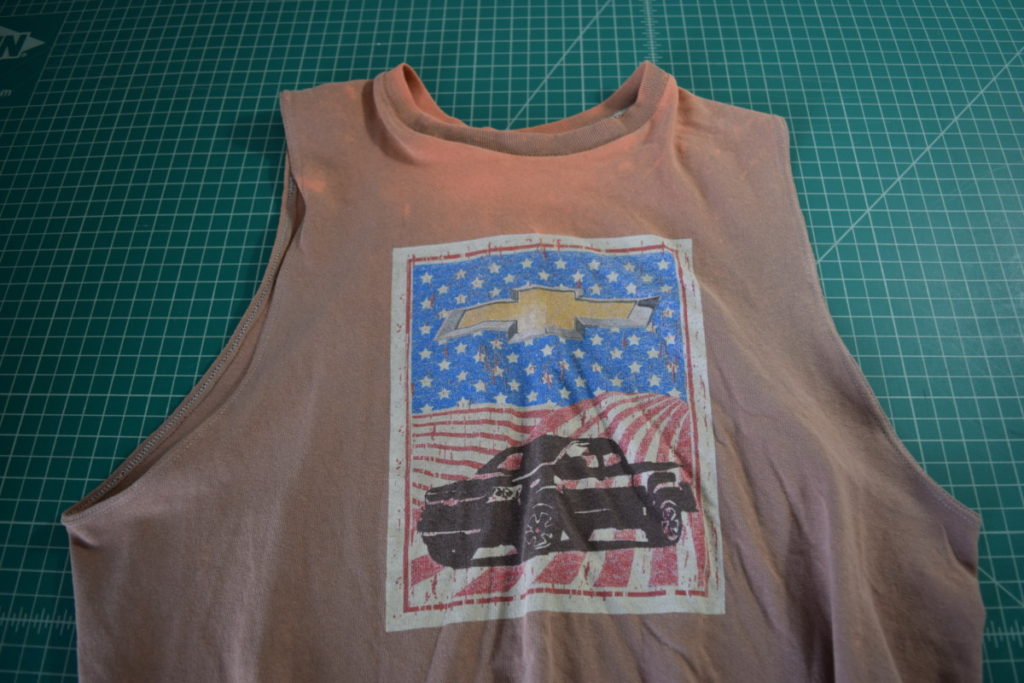
I used this worn out loose fitting t shirt for this project. It had a hole in one of the armpits (why do the armpits of my shirts always wear out first??) so it needed to be transformed into a tank top.
Ok, let’s get into how I made this open back tank top!
*This list contains affiliate links for some of the materials I used in this DIY, so if you purchase through one of my links I receive a small commission at no extra cost to you. This really helps to support my site so I can continue to create DIY and sewing tutorials for you!
What you need:
- loose fitting t shirt
- sewing machine
- ballpoint or jersey needle
- double needle (optional)
- thread
- scissors
- seam ripper
- chalk or fabric marker
- ruler to draw a straight line
- pins
- iron
Steps:
- Seam rip the collar off the shirt
- Cut a line straight up the center of the back of the shirt
- Hem the center back edges
- Create the overlap at the back neckline and stitch in place
- Reattach the collar
- If you want a tank top: cut your armhole shape and hem the armholes
Instructions:
Step 1
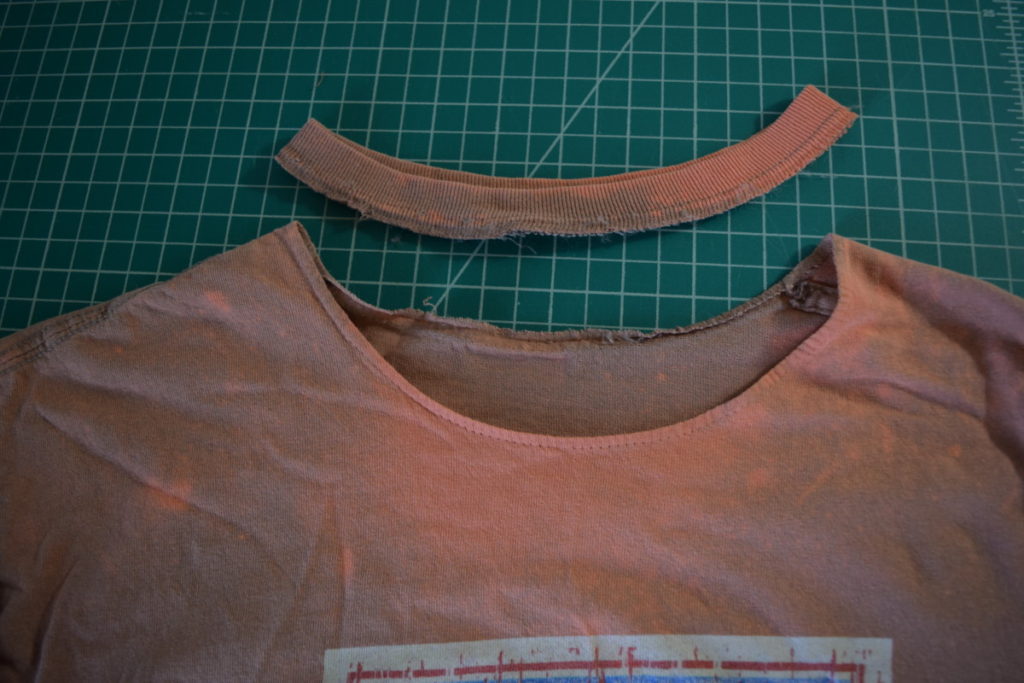
My first step is to seam rip off the collar of the shirt. My shirt had a binding on the back neckline and the shoulder seams, so I seam ripped the binding off the back neck. Then I trimmed it close to the beginning of the shoulder seams and tacked it down so that it would stay on the shoulder seams. If your t shirt doesn’t have this binding, you can just skip this and go straight to removing the collar.
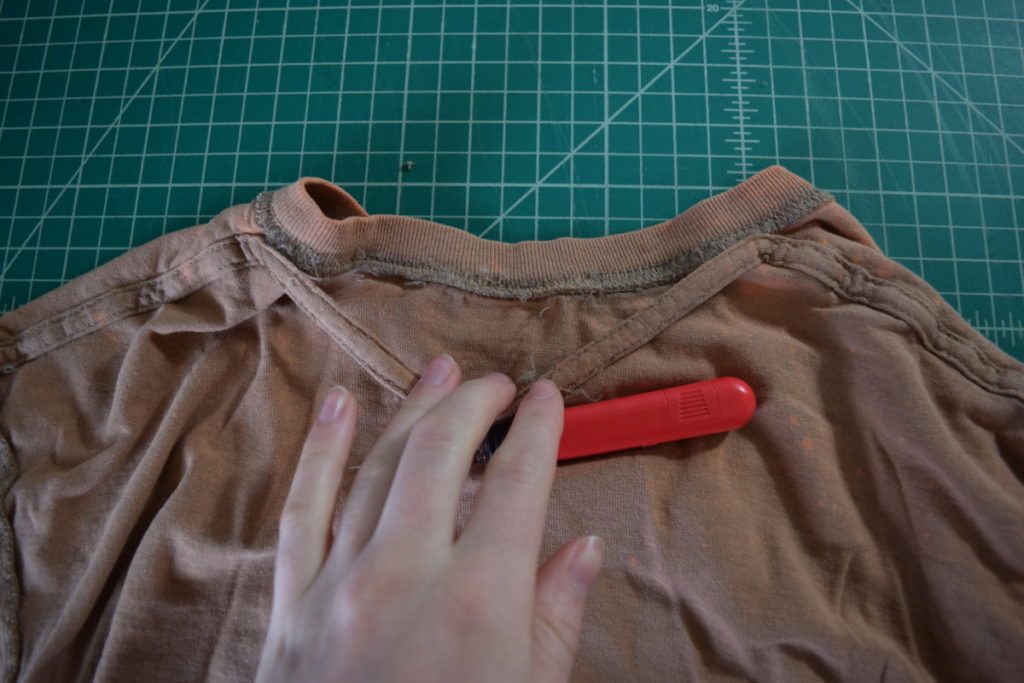
After I had that binding off the neckline, I seam ripped off the collar. This took a while because there were a lot of threads holding on the collar!
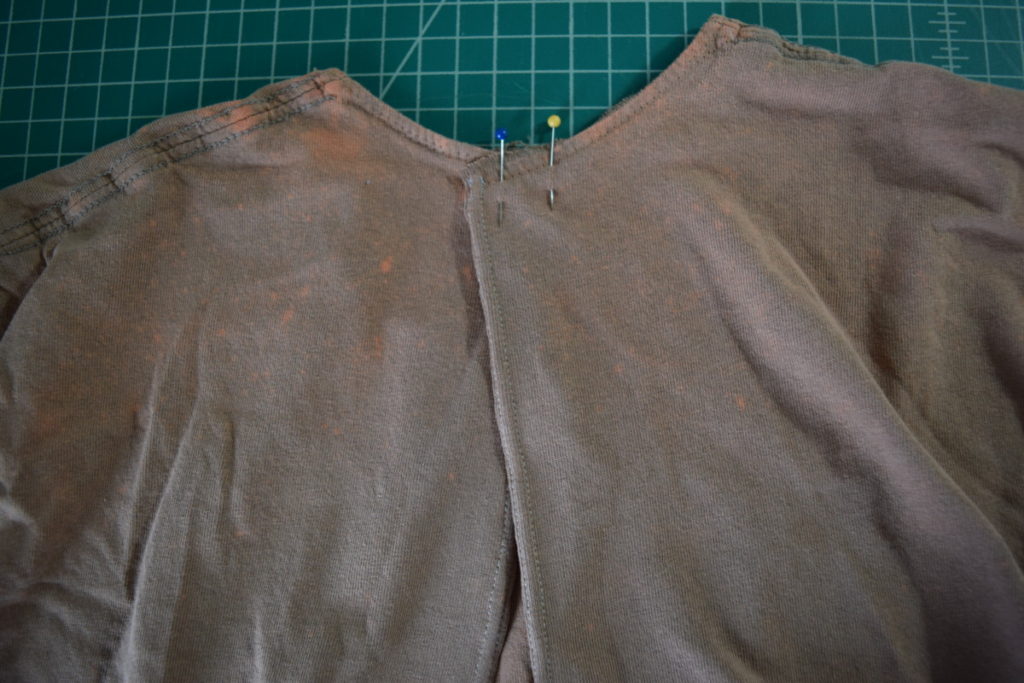
Step 2
Next, I laid the shirt as flat as possible with the back facing up and drew a straight line up the center of the back of the shirt. You can find the approximate center by folding the shirt in half or measuring from each side and marking the center.
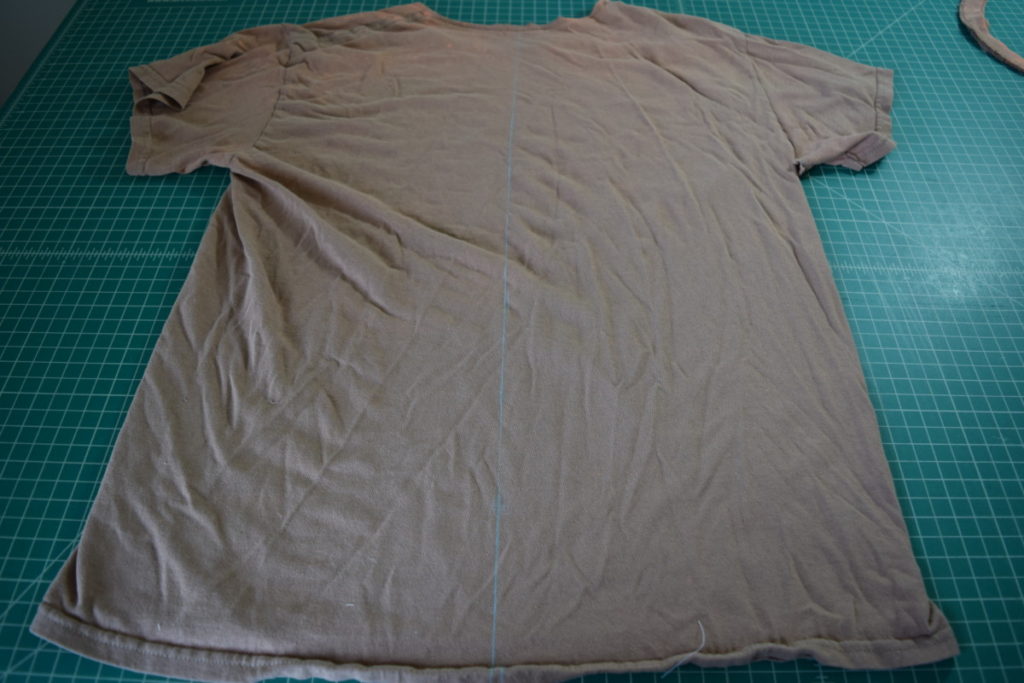
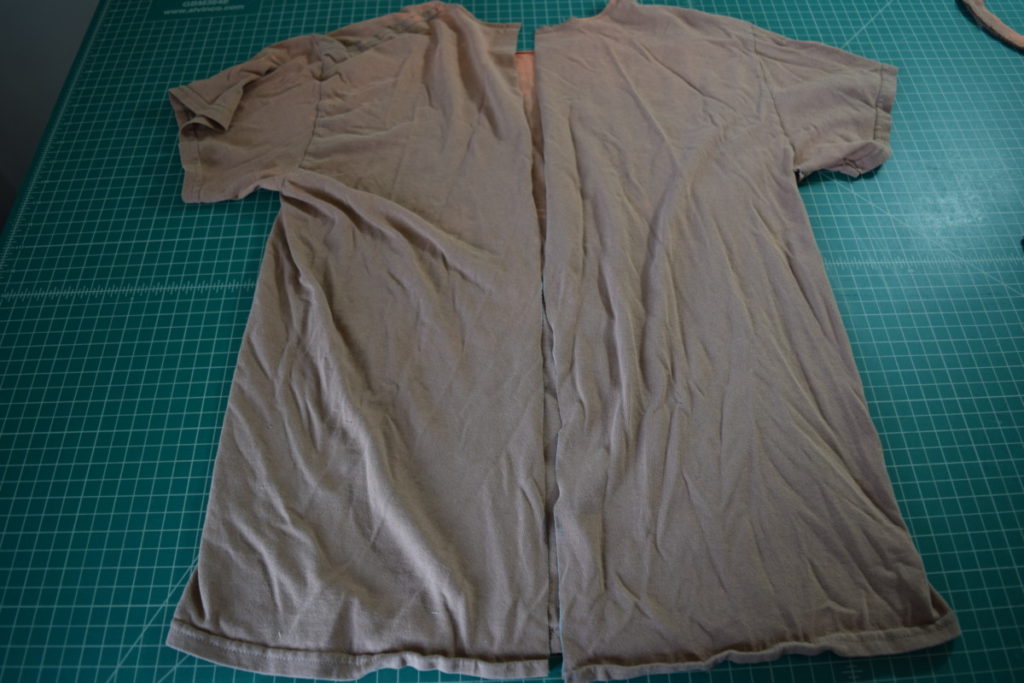
Then I just cut along this line with my scissors.
Step 3
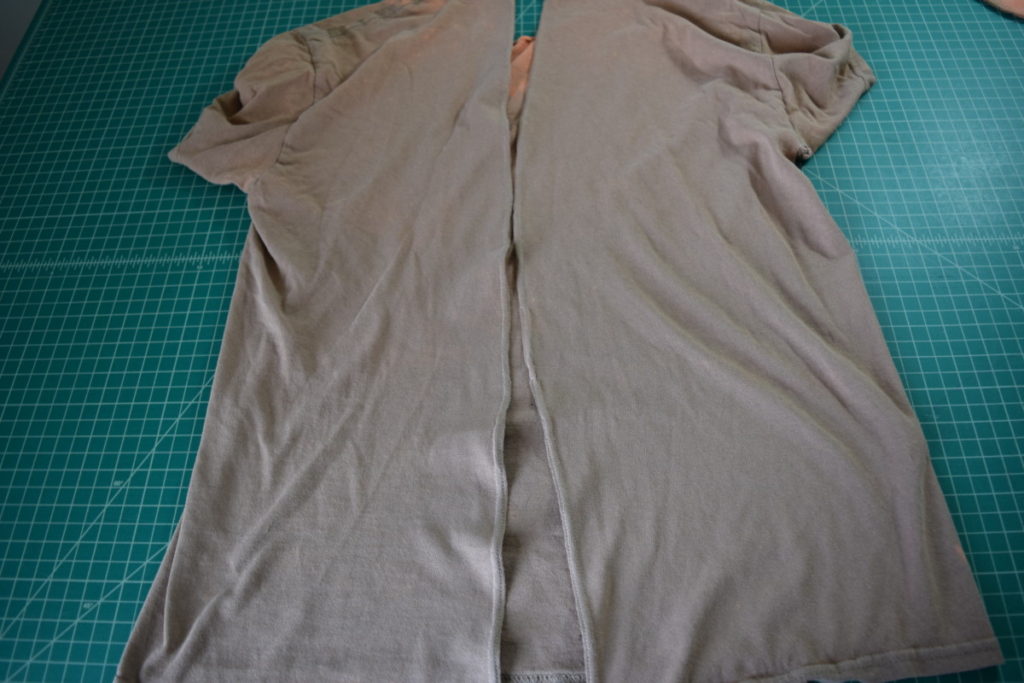
At this point I ironed the shirt because I just can’t stand sewing wrinkly fabric, but this is obviously up to you! I then hemmed the two center back edges that I had just cut open. I used my double needle for this, but a zigzag or stretch stitch would work just as well.
Step 4
Next, I created my overlap at the neckline. You can decide which side you want to overlap and how far to overlap the edges. Just keep in mind that your head needs to fit through the opening and if you overlap it a lot you might need to make the collar smaller before reattaching. I just did a slight overlap of a little over an inch. Once you’ve decided how to overlap it, pin it in place and sew the edges together with a zigzag along the edge.

Step 5
Now it’s time to reattach the collar! To do this turn the shirt inside out and pin the collar to the right side of the neckline. I used four equally spaced pins to make sure the fabric of the shirt would be equally stretched around the neckline to fit the collar.
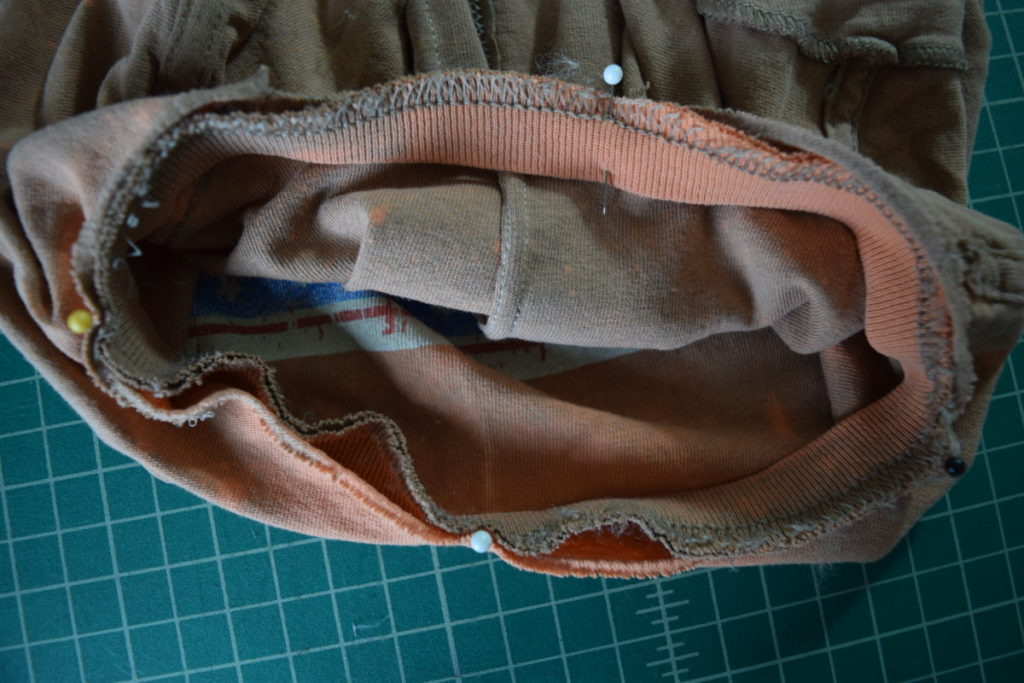
Next, sew the collar to the shirt, stretching the neckline between the pins to fit the collar. I used my serger to sew on the collar, but a zigzag stitch on a regular sewing machine would work as well.

Then turn the shirt right sides out and iron up the collar.
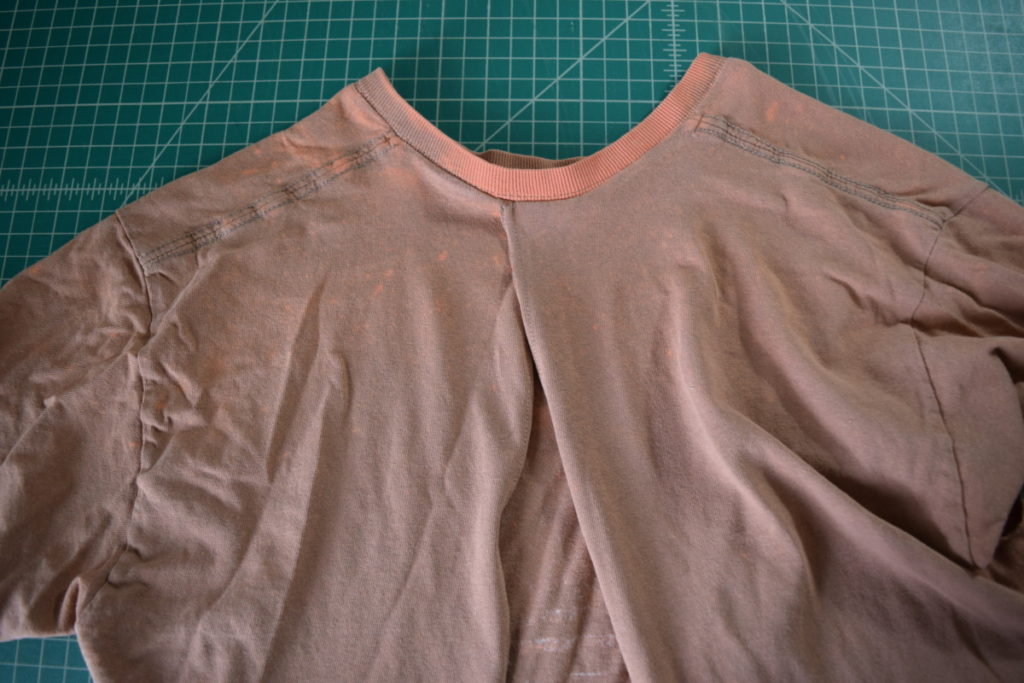
Step 6
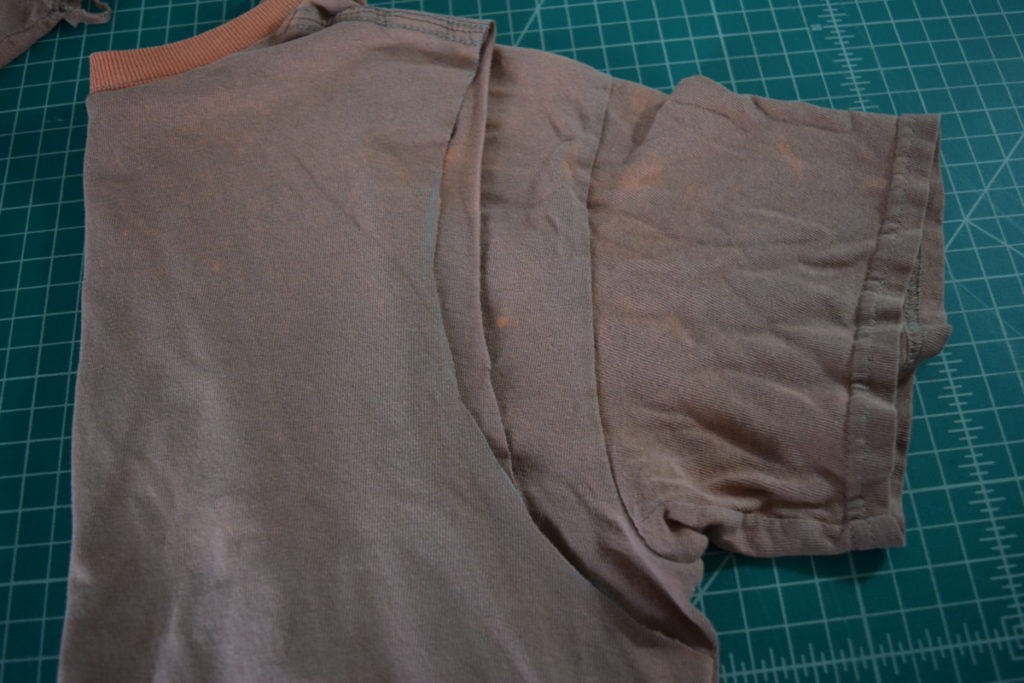
Next, I needed to turn the shirt into a tank top because of the armpit hole I mentioned before. If you want to leave the sleeves on your shirt, feel free, and you’re done! I tried the shirt on and drew out the armhole shape I wanted on one side.
I cut along this line to remove the sleeve.

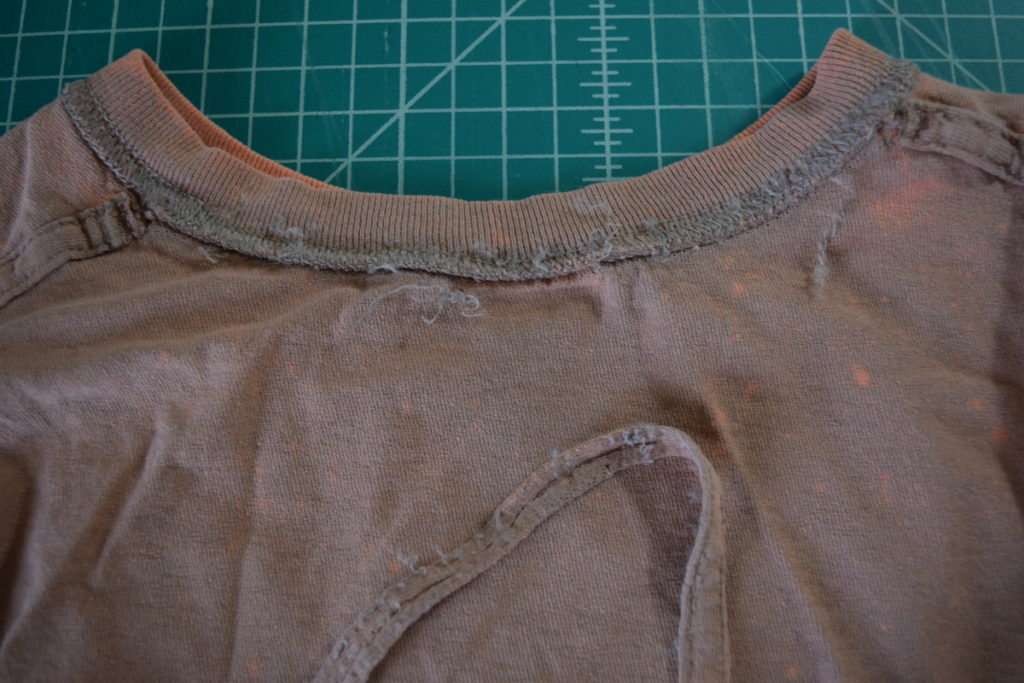
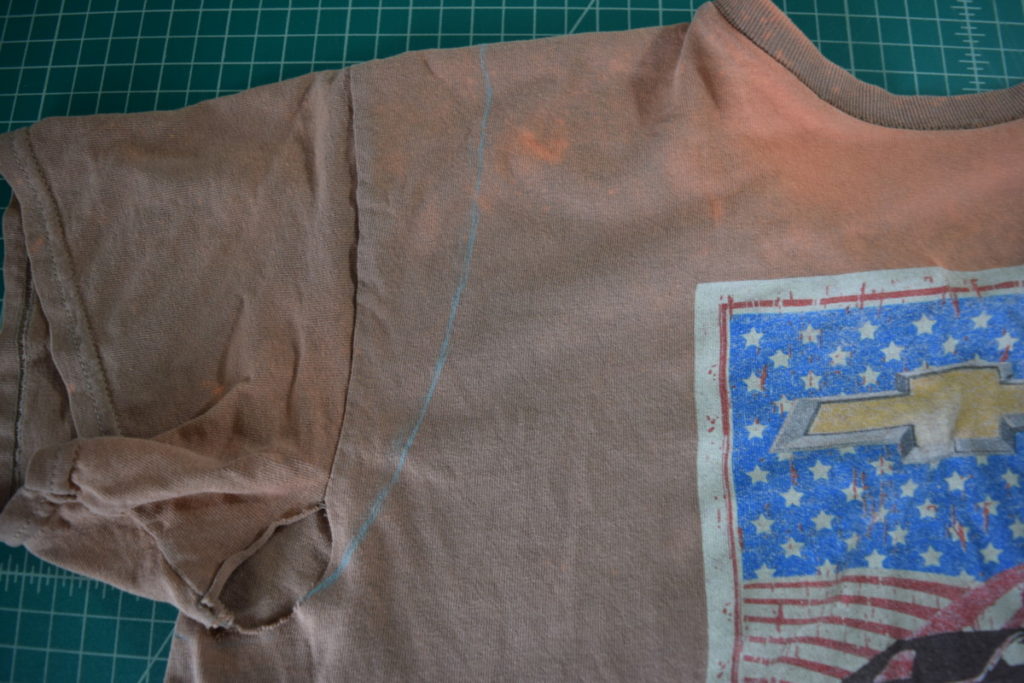
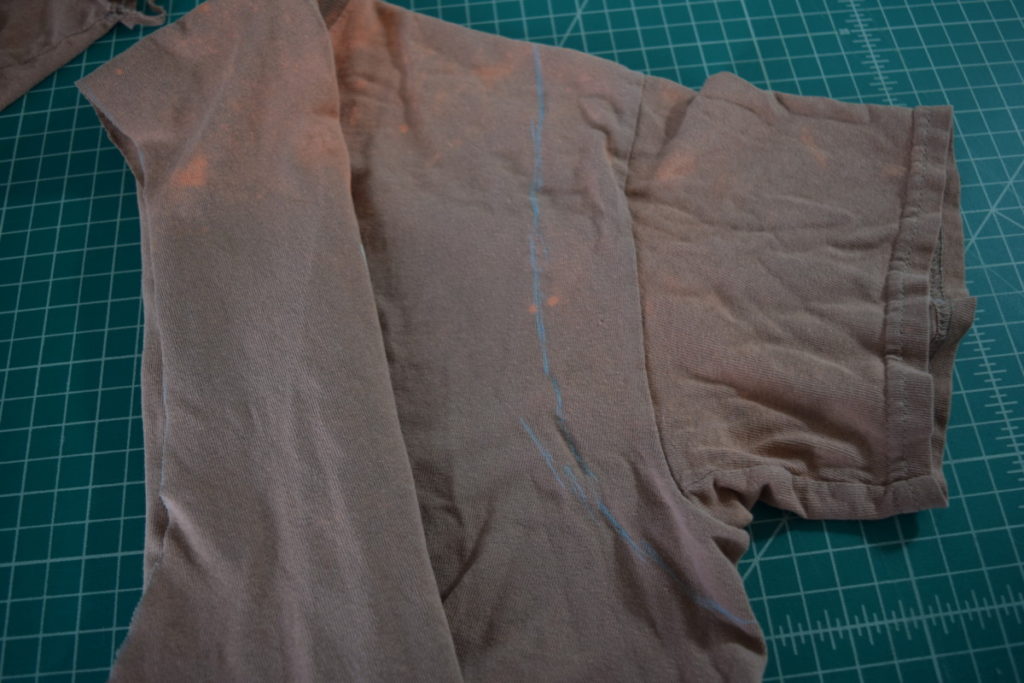
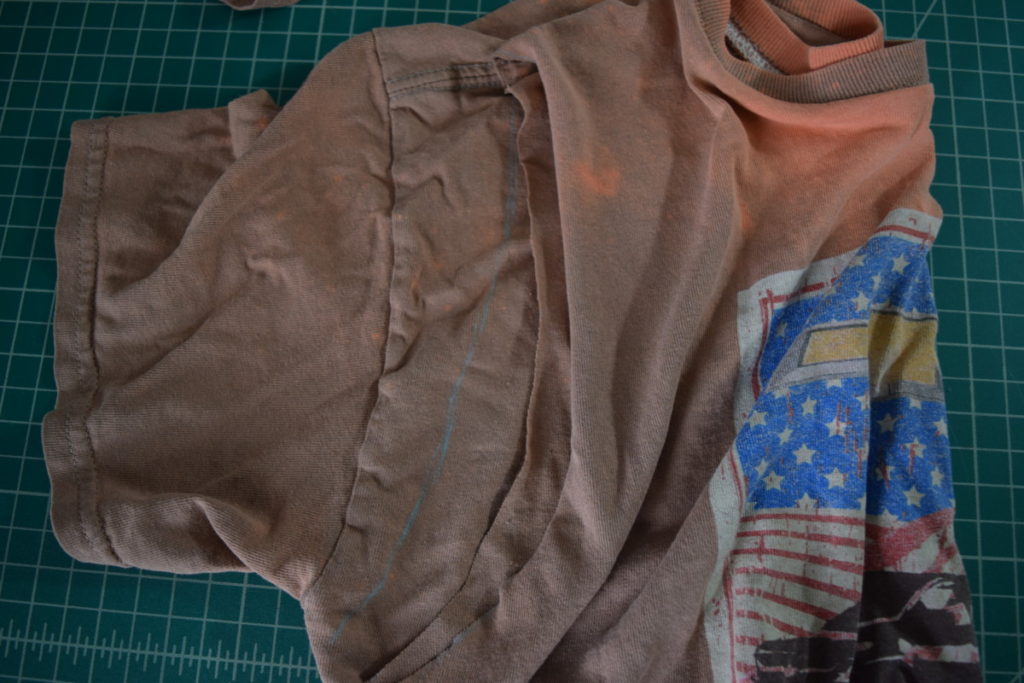
To mark out an identical armhole on the other side, I first folded the shirt with the front to the inside and traced the front armhole.
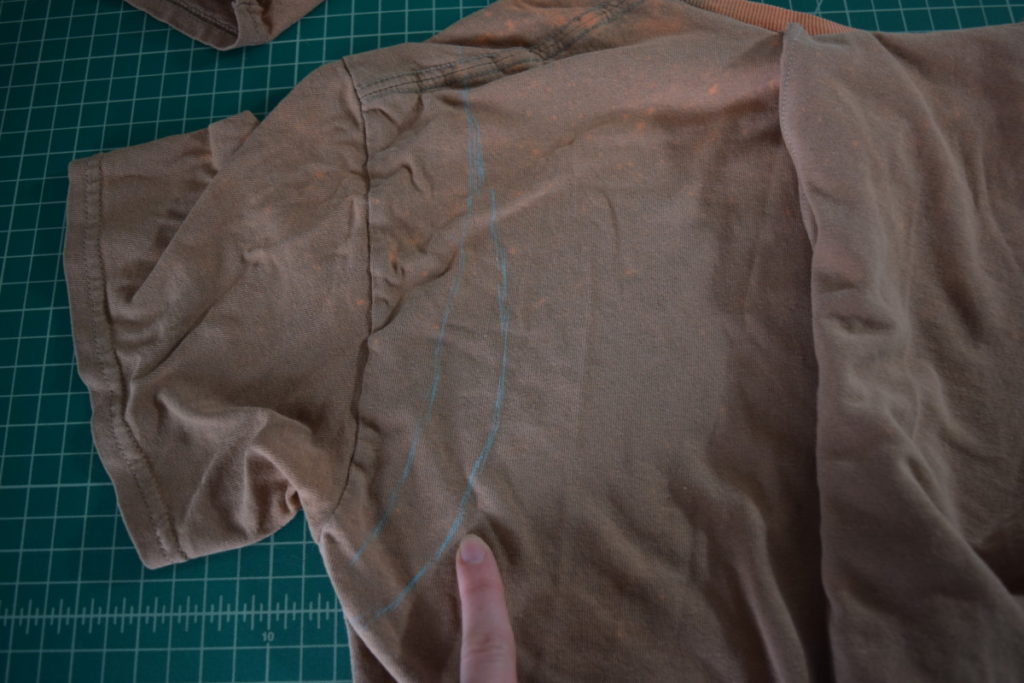
I then folded the shirt the other way (with the back to the inside) and traced the back armhole. This is a bit more challenging than the front because you have to carefully push the front armhole back out of the way so you can trace just the back. I originally accidentally traced the front armhole curve (the line you see in the first photo below) but corrected it to the line I’m pointing at in the second photo.
Next, I cut along my lines to remove the other sleeve, then hemmed both armholes with my double needle. As with everything else, if you don’t have a double needle a regular zigzag works fine.
Just give everything a good ironing to flatten all your stitching and you’re done!
If you enjoyed this DIY and want more DIY and sewing tutorials, I would love for you to subscribe to my email newsletter.
Here’s some of my other t shirt upcycles you might be interested in:
- No sew t shirt upcycle to front tie crop top
- Easy DIY racerback tank top upcycle from t shirt
- DIY strappy tank top upcycled from t shirt
- T shirt upcycle to crop top with lace up detail


Incredible Value At CBD Guru we love to look after our customers with incredible deals, and because of the rise in the cost of living we are actually helping our customers by making our CBD edibles even more affordable. With prices starting from just £16.99 and a special deal of ‘buy one, get one half price’, our CBD gummies are the best value for money you’ll find. Each tub contains enough gummies to last you a month, meaning you always have a delicious and convenient way to enjoy the benefits of CBD.About CBD GuruIt’s no secret that at CBD Guru we take huge pride in manufacturing all our CBD gummies in the UK, adhering to strict quality control measures to ensure that our customers get the highest standards of excellence. Rated 4.4 on Trustpilot and offering fast UK shipping, we are committed to providing our customers with premium-quality CBD gummies and exceptional customer service.Try Our CBD Gummies Today – Buy One, Get 2nd Half PriceGive your body a natural boost with our delicious CBD gummies. Browse our collection and discover why CBD Guru is the trusted choice for high-quality CBD edibles in the UK.
There is no penalty for taking a thoroughly tested and carefully formulated cannabidiol product. Your mind and body will thank you, and local law-enforcement agents recognise the legal availability of these hemp items. You never need to worry when purchasing a CBD gummy product.
CBD gummies UK are a form of CBD edibles. These are foods containing the natural compound cannabidiol (CBD), derived from the cannabis plant, and form an easy, tasty, and discreet way of ingesting CBD on a regular basis. Although we can’t legally support these claims, many people anecdotally consume CBD gummies for anxiety on a regular basis as an easy and convenient way of helping to control and ease their anxiety levels. Our products are made with the purest ingredients, and they are pharmacist formulated to ensure efficiency. Once the items are ready for sale, they have been sent for lab-testing by third party facilities. These tests examine the cannabinoid, THC, and contaminant profile of our fantastic products. For our popular CBD edibles, we opt to use the finest broad-spectrum CBD extracted from Colorado-grown hemp. The signature formula used to create these CBD gummies boosts the delicious sweet flavours while eliminating the hemp taste. Snack away on these cannabidiol supplements every day, just like the multi-vitamins from the years of our youth. Your cannabidiol regimen is an excellent habit to maintain over time, and these CBD treats will keep you coming back day after day.