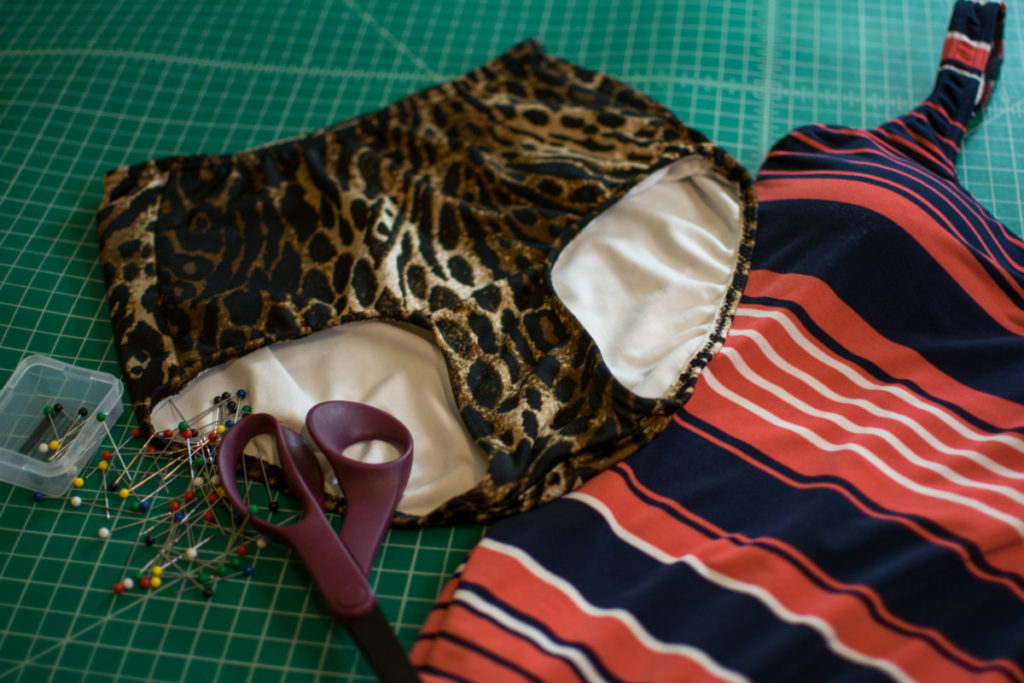
Swimwear is one of my favorite things to sew! I know it may be scary to jump into the world of sewing swimwear. But it can seriously be so much fun! And with a little practice, you’ll be a pro in no time!
By sewing your own swimwear you can make swimsuits that fit exactly the way you want. You also have unlimited style, fabric, and embellishment options!
Now sewing swimsuits does differ a bit from other garments because we want to make something that can withstand repeated stretching, intense sun, chlorine, salt water, and a lot of wear! So I thought that today I would show you everything you need to sew swimsuits that last and look beautiful for many years to come.
And if you want more tips for sewing swimwear, I’ve put together a Quickstart Guide to Sewing Swimwear that contains this list of swimwear tools and supplies, as well as tips for choosing your fabric and sewing your swimsuit. So if you want the guide, you can grab it HERE.
Basics for Sewing Swimwear
So let’s start with the basics. These are things that are pretty much essential as you start sewing swimwear.
*This post contains affiliate links for your DIYing convenience, so I receive a small commission if you buy something through my links. This really helps to support my site so I can keep creating DIY tutorials to help you create your dream wardrobe.
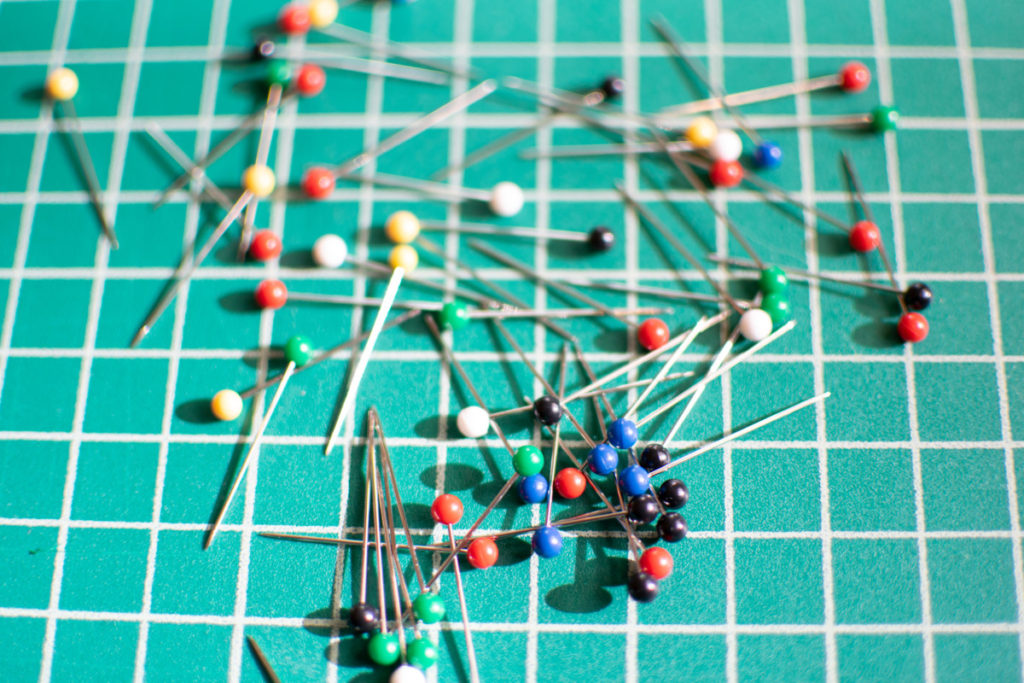
Ballpoint pins or sewing clips
Regular pins will leave tiny holes in knit fabrics that never go away and cause the fabric to weaken. So to get around that, you can use ballpoint pins or sewing clips. I typically use ballpoint pins which have a rounded tip that pushes between the tiny knitted fibers making up the fabric rather than breaking them.
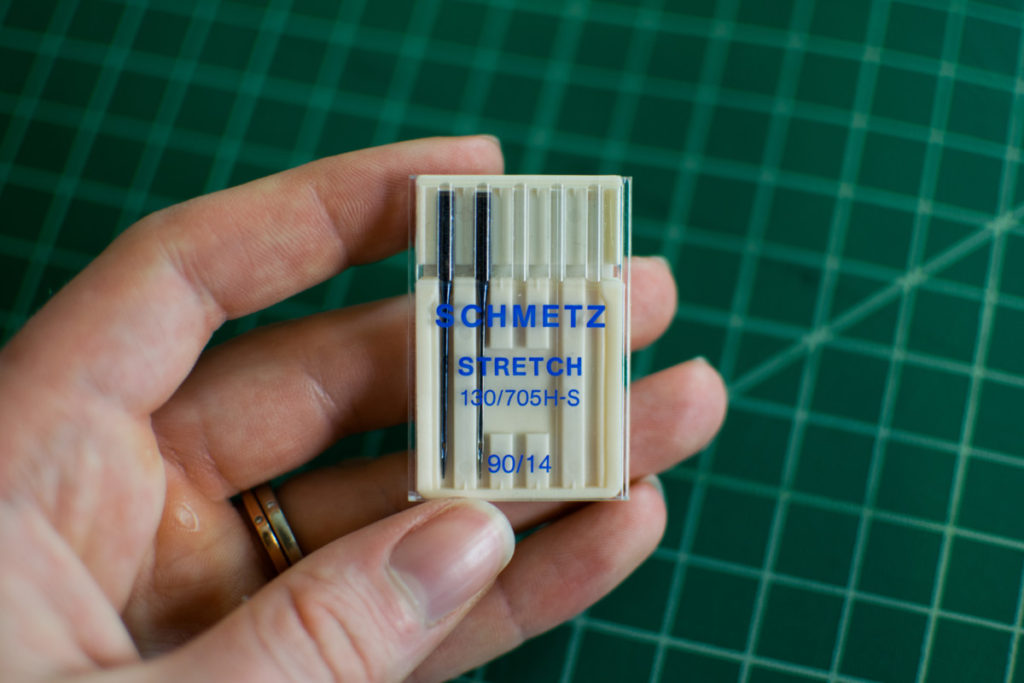
Ballpoint or “stretch” needles for your sewing machine
Using stretch needles in your sewing machine is essential for two reasons: first, a regular needle leaves holes just like the regular pins, and second, the sewing machine handles stretch fabric SO MUCH BETTER when you use stretch needles! So if you start sewing your swimsuit and find that you’re having tons of trouble with skipped and uneven stitches – check that you have a stretch needle in. I’ve had these problems when I forget to switch from a universal needle.
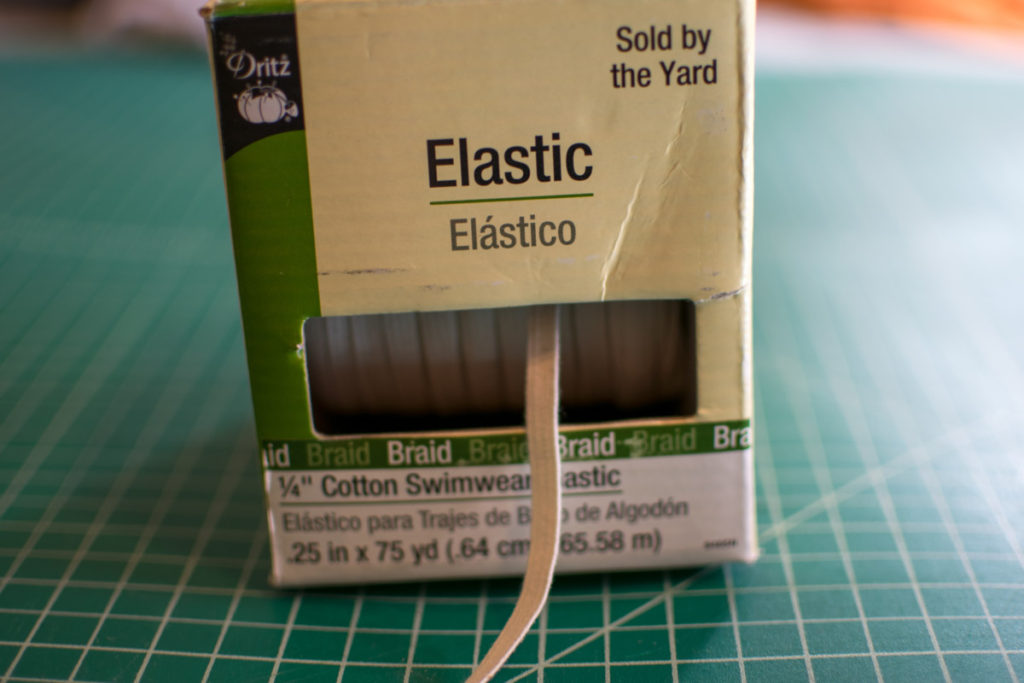
Swimwear elastic
Next, you’ll need swimwear elastic. Your swimsuit will need elastic around the leg and arm openings and in the straps in order to keep everything in place. You can use 1/4 inch or 3/8 inch elastic in swimsuits – I typically use 1/4 inch elastic and I get it on Amazon in a roll of 75 yards. And make sure you get elastic marked for swimwear – this is either treated cotton elastic (so it holds up to chlorine), rubber swimwear elastic, or that clear plastic-y/rubber-y elastic that you sometimes see in ready to wear swimsuits and panties.
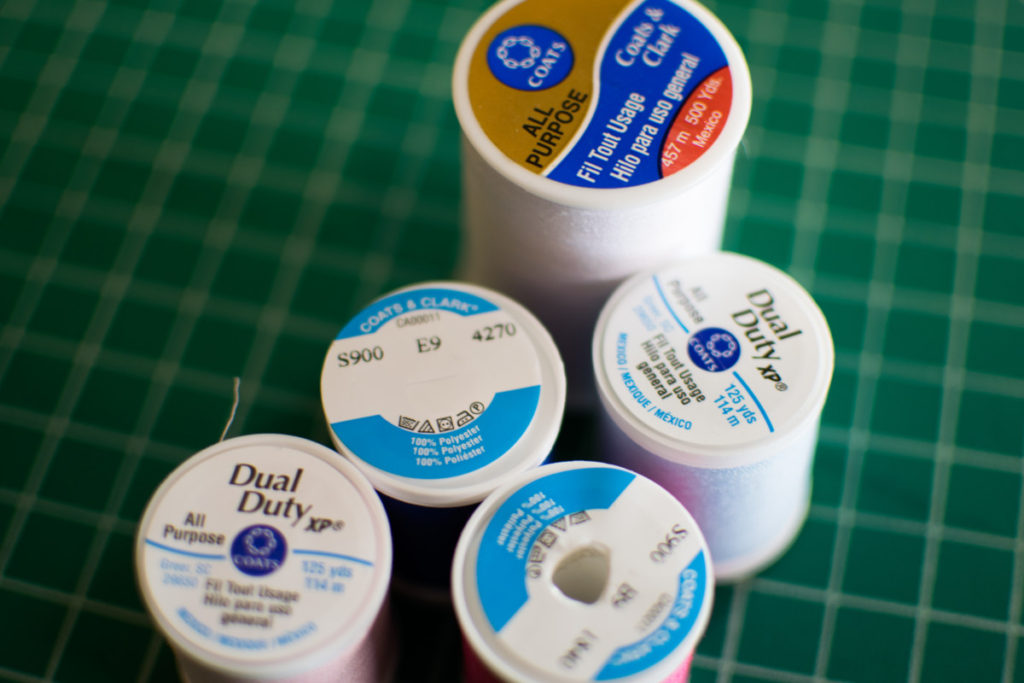
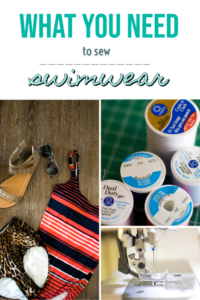
Polyester thread
For swimwear, you’ll want to use polyester thread because it holds up better to chlorine than cotton thread. Now, most likely you’re already using polyester thread because All-Purpose thread is typically polyester – but just check to make sure before you sew your swimsuit!
Swimsuit fabric
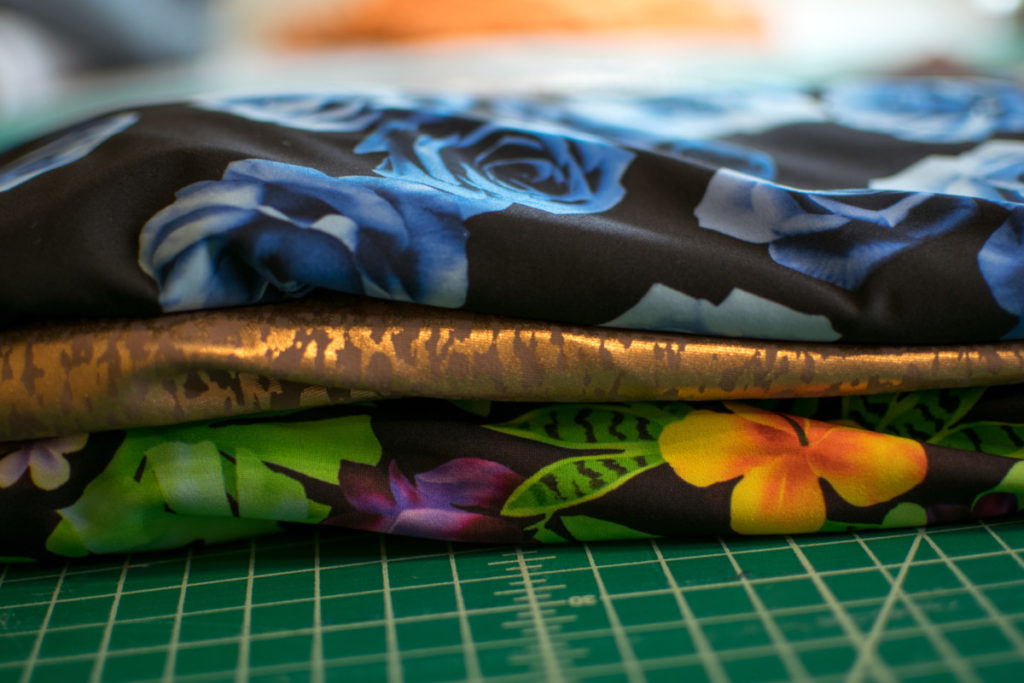
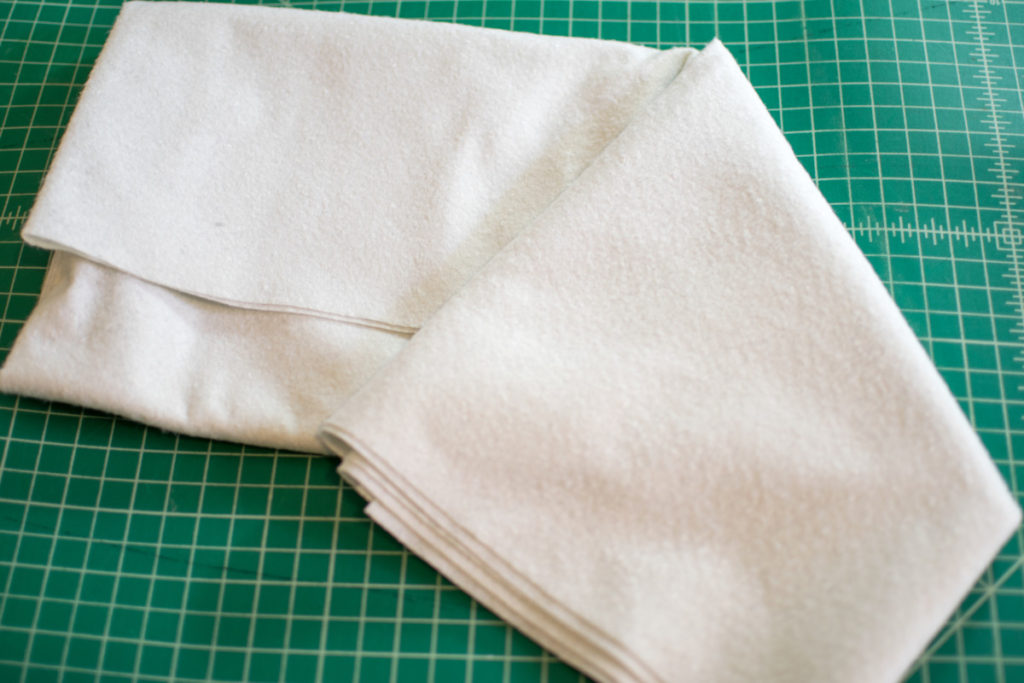
Alright, now let’s talk fabric! So for swimsuits, there are a few things to keep in mind when selecting fabric: it needs to stretch in all four directions (at least 50% stretch is best), it needs to dry quickly and not soak up a lot of water, and it needs to be sturdy. Going for something marked for swimwear is usually a safe bet, but in general, swimwear fabric is either 90% nylon/10% spandex (or lycra) or 80% nylon/20% spandex.
Swimsuit lining
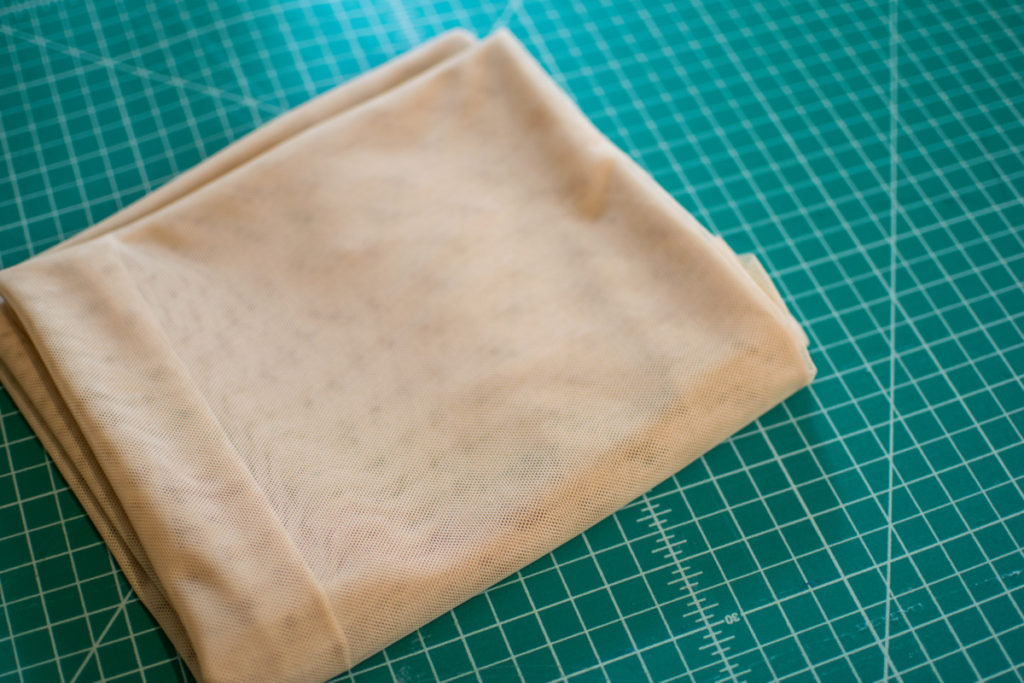
Most likely, you’re going to want to line your swimsuit. You’ve got a couple options here! You can line it with the same fabric as the outer suit or line it with a contrasting swimwear fabric. Another option is to use a lighter weight swimwear fabric such as a tricot knit in either a contrasting color or a neutral. And the final option – you can use power mesh! This will give some extra shaping. You can either use it on its own (but it might be a bit rough on your skin) or put it between the lining and main fabric – maybe even in just the areas you want shaping.
What you need to Make Sewing Swimwear Easier and More Fun
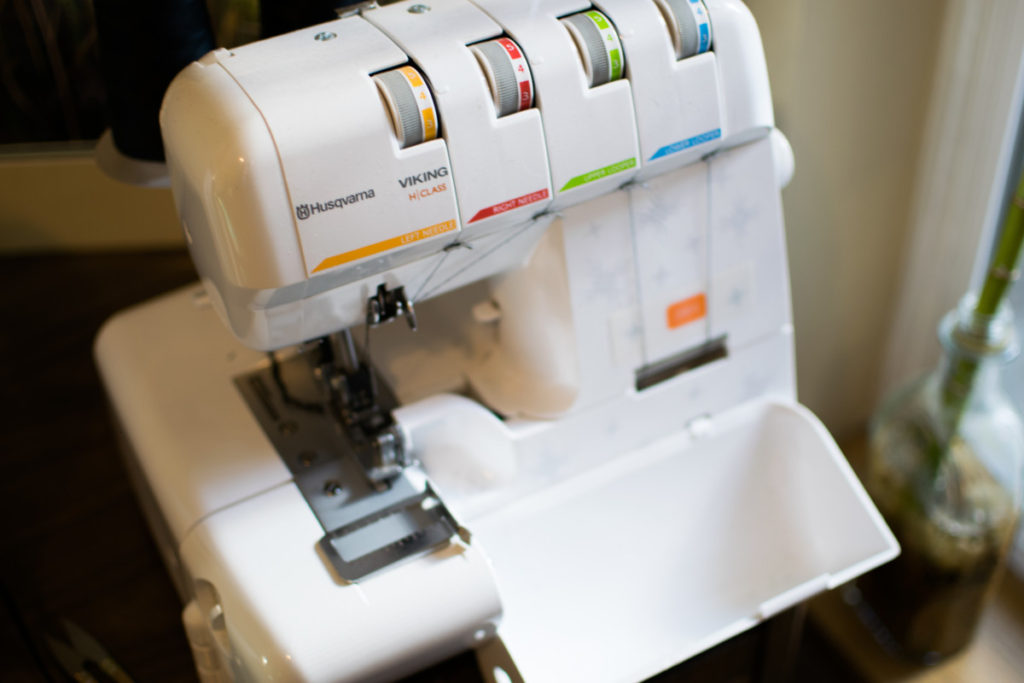
Serger
A serger will literally make the process of sewing swimwear WAY FASTER and WAY EASIER! Now I know sergers can be scary if you’ve never worked with one before, but they’re really not as complicated to use as they look, and you will be so happy you got one! I promise!
Bra cups or wadding
If you want padding or support, you’ll want either bra cups or wadding to make cups.*affiliate link* And if you’re really resourceful you can even seam rip an old worn out bra and steal the cups out of it to use in your swimsuit. I’ve done this a couple times before and it worked great!
Walking foot
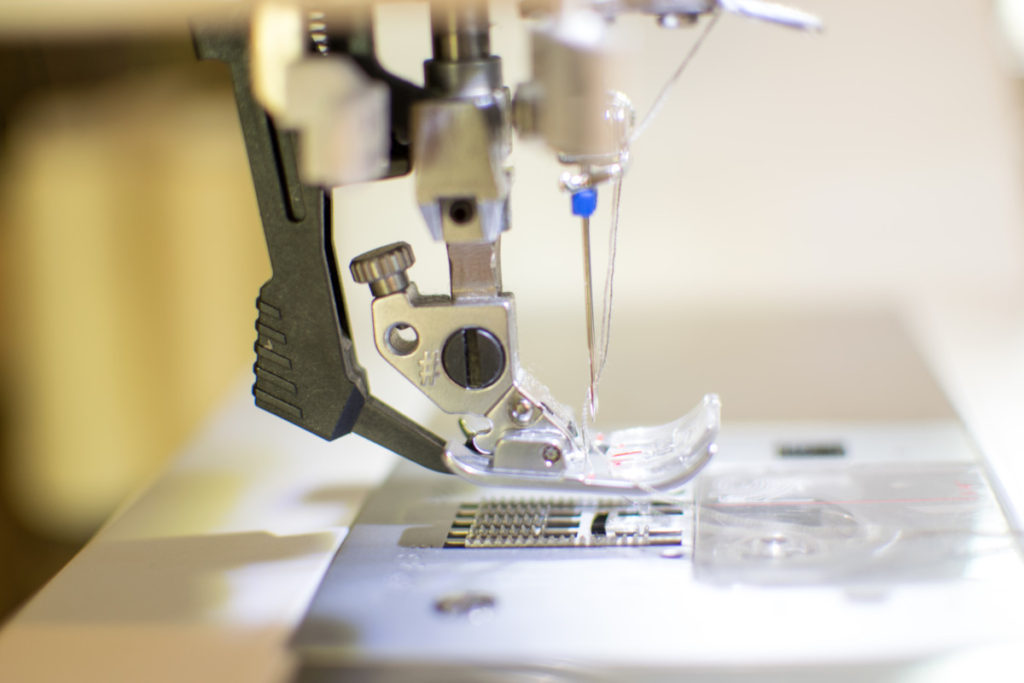
If you plan on sewing lots of stretchy fabrics, a walking foot will be your best friend. Seriously! These magical contraptions have feed dogs that grab the fabric from above. This helps pull knits through evenly because they’re getting pulled from both above and below. Now my Pfaff machine has a built in walking foot (shown below), so if you have a Pfaff, maybe check to see if yours has this too. But if you don’t have one built in, you can buy one just like you would buy any other type of specialty presser foot – you can check one out HERE so you can see what I’m talking about.
Rotary cutter and cutting mat
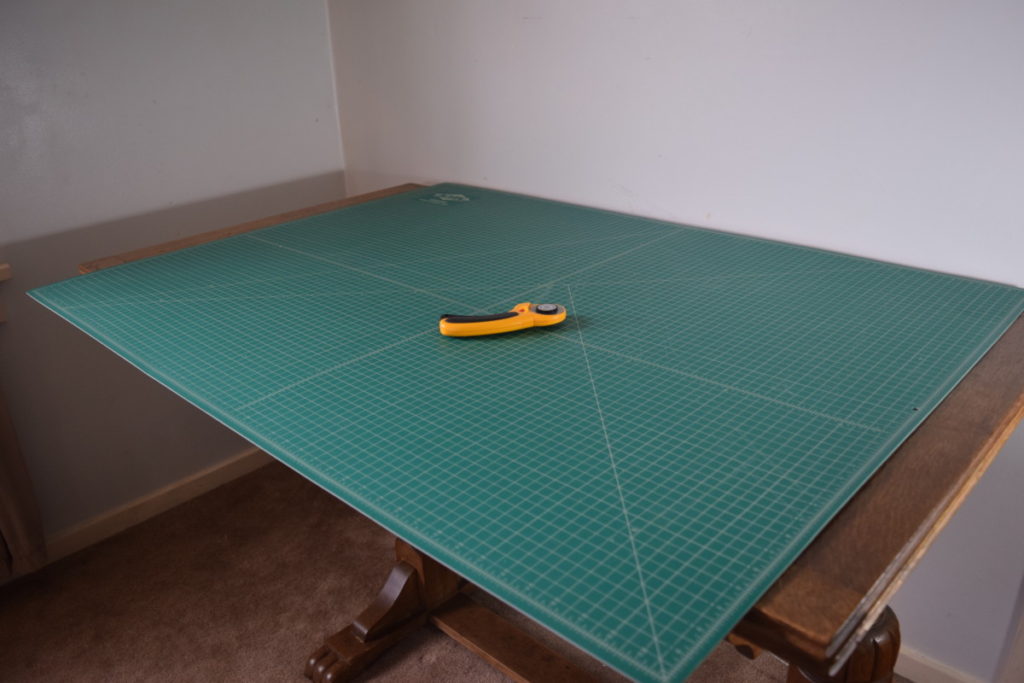
And, finally. The holy grail! The cutting mat and rotary cutter will make your life easier in all your sewing endeavors – but especially when working with knits. If you were to ask me what the first thing you should invest in would be once you’ve got all the absolute basics, it would be this. Even before a serger!
I hope you feel inspired to go out and start sewing some swimsuits! To help you out a little further, I’ve put together a Quickstart Guide to Sewing Swimwear that contains this list of tools for sewing swimwear as well as tips for choosing fabric and sewing your swimsuit. You can GRAB THE GUIDE HERE.

We offer our sweets in grab bags and small and large tubs. You can purchase our sweets to try or keep stored for the coming days. They’re tasty and packed with bursting flavours. Our grab bags are ideal for those who are new to CBD and want to try out our products before committing to buying a larger amount. Our grab-bag sweets come in a variety of fun shapes, from gummy bears to cherries. Each bag contains 200mg of broad-spectrum CBD, providing between 15mg to 25mg of CBD per sweet, depending on what gummies you choose. Our grab bags offer you an affordable way to try CBD sweets for the first time. Our sweet treats can be bought in tubs so you have enough to last you until your next order. Our sweets come in a variety of different flavours, including cherry, mixed fruit, strawberry and peach. We offer smaller tubs that hold 20 to 25 sweets, and larger tubs that hold 70 to 110 sweets, depending on which type you go for.
CBD edibles do not need to be refrigerated unless you are living in a hot climate. They will be comfortable below 25 degrees Celsius. However, CBD edibles should be avoided from coming into contact with direct sunlight. Excessive heat for a sufficient period can cause long-term damage to the taste and potency of this item.
cbd for kids anxiety
convert vhs tapes