
Today’s post is the first installment of a mini-series I’m doing on seam finishes. And first up we have french seams! This is one of my absolute favorite seam finishes. French seams are perfect for those times when you want a little extra special finish, for sheer fabrics, and for those of you without a serger. This is because all the raw edges are encased nicely inside the seam allowance.
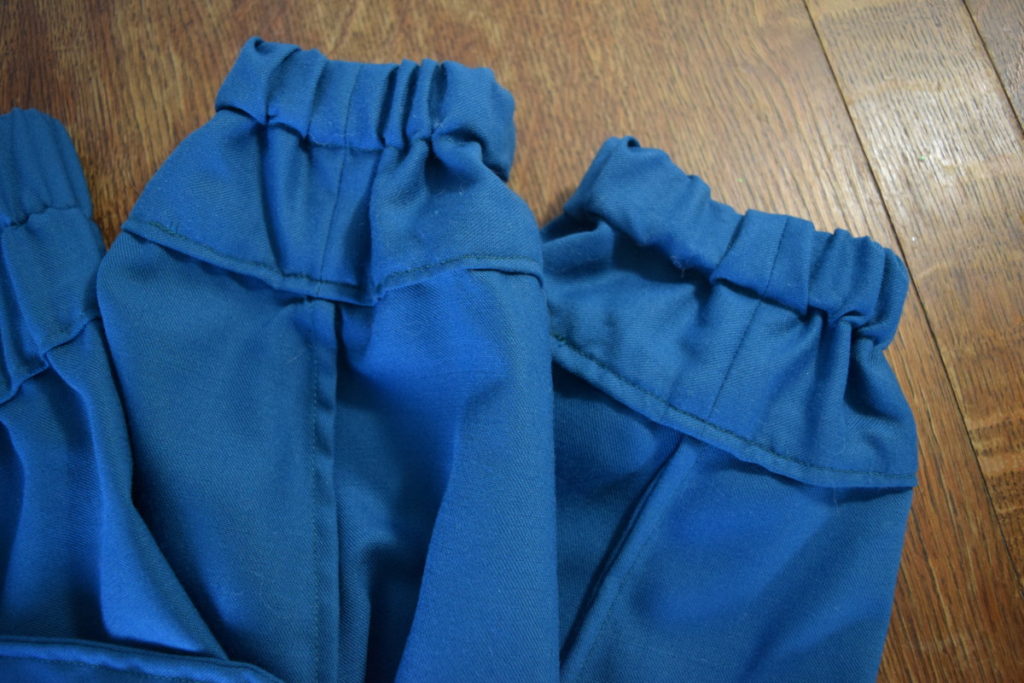
Here is the inside of a pair of pants I sewed completely with french seams.
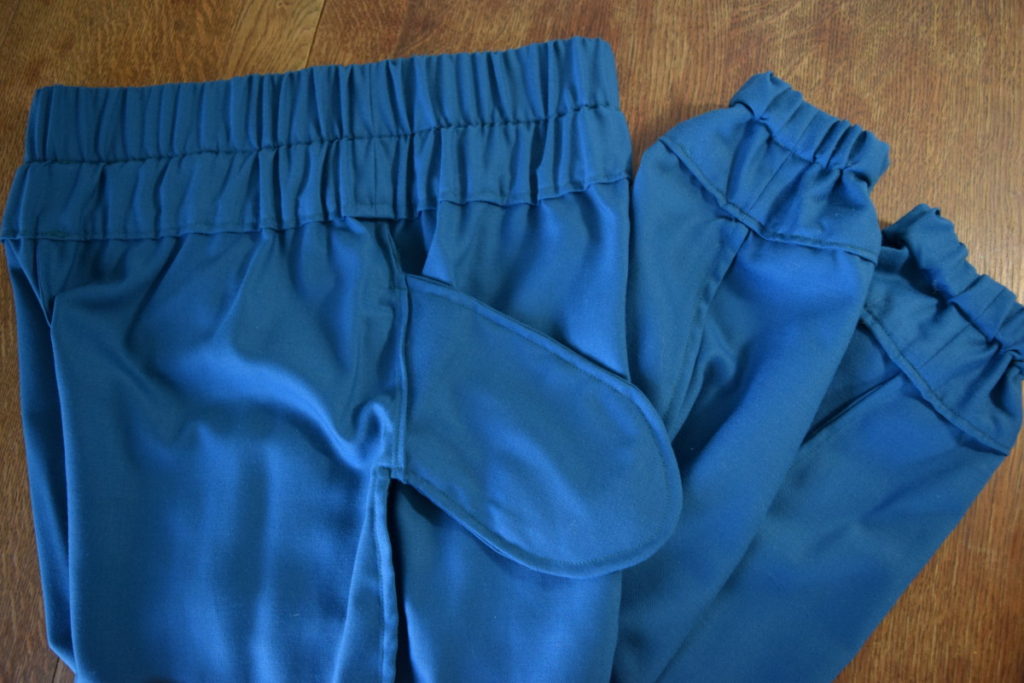
I feel like the french seams just take the quality of these simple elastic waist pants up a notch.
I have a full video tutorial below that will take you through sewing a french seam, but first I’ll outline the steps.
Steps
- Sew your seam with WRONG sides together using half of your seam allowance
- Trim the raw edges to 1/8 of an inch
- Iron the raw edges to one side
- Fold your fabric at the newly sewn seam so that the RIGHT sides are now together
- Sew the seam again using half of your seam allowance (so in total you’ll have used the whole seam allowance)
- Iron the seam to one side
- Done!
Video
Here’s the full tutorial, taking you through the process of sewing your first french seam.
I hope you enjoyed this tutorial and feel confident enough to tackle your first french seam! If you want new sewing and DIY tutorials, I would love to have you sign up for my email newsletter!


138014 843429Thank you a whole lot for giving everybody an extraordinarily special possiblity to check ideas from here. 90547
45569 318365Thank you for the auspicious writeup. It in fact was a amusement account it. Appear advanced to far more added agreeable from you! Even so, how could we communicate? 551559
750497 980754Wow you hit it on the dot we shall submit to Plurk in addition to Squidoo effectively done انواع محركات الطائرات | هندسة نت was wonderful 296122