
Sewing your own t shirts is probably one of the most rewarding sewing projects ever. You can sew several in a day because they’re just so quick to sew up and you’ll likely get tons of wear out of them.
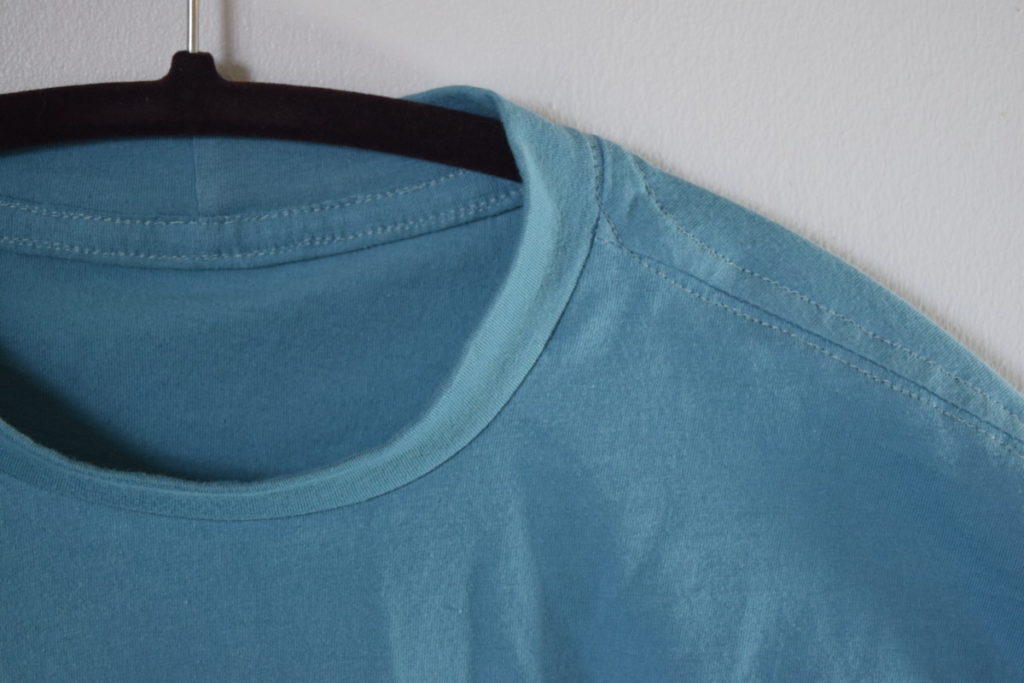
But with wear comes stretched out, wonky seams in those high wear areas like the neck and shoulder seams. That’s why in many ready to wear t shirts, you’ll see a strip of fabric sewn over the seam at the back neck and shoulder seams to stabilize these areas.
In the past, I never bothered trying to figure out how to sew in this stabilizer, but recently I’ve been sewing a lot of t shirts for myself and my husband. So I thought I should figure out how to stabilize my t shirt seams so they last over the long run.
After lots of trial and error to find a method I liked, the method I share below is my favorite!
Up first, the video tutorial – if you want a written tutorial, just scroll on past the video for that!
Video Tutorial
How to stabilize back neck and shoulder seams of t shirts
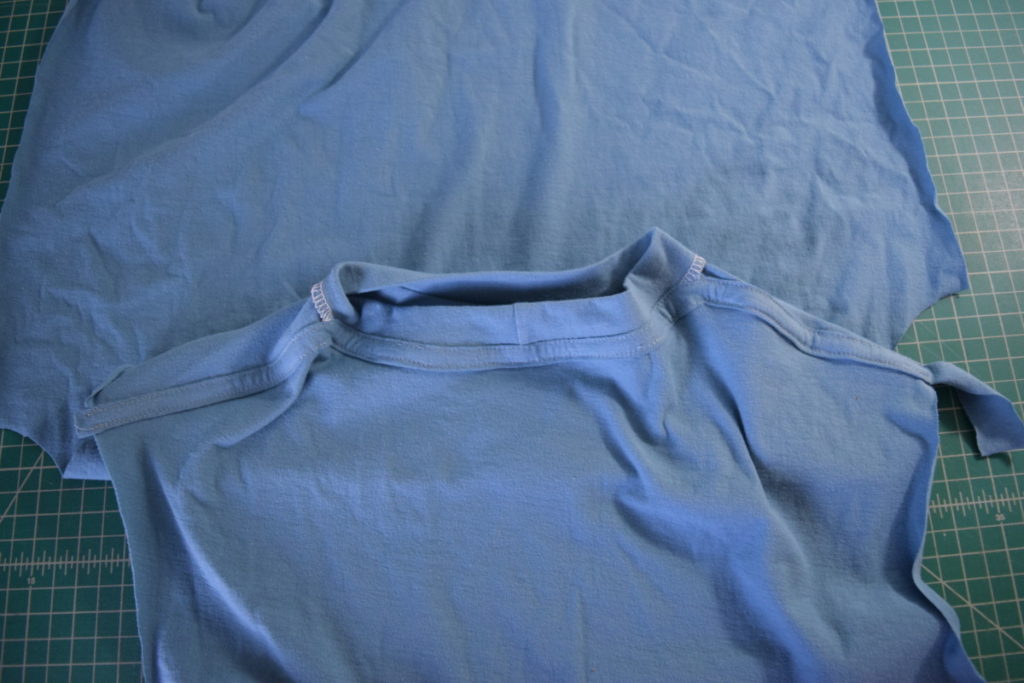
First, we’re starting from the point of having your shoulder seams sewn and the neck band inserted. The side seams and sleeves are not sewn yet. The shoulder seams should be pressed towards the back and the neckband seam allowances pressed down.
Cut out stabilizing strip
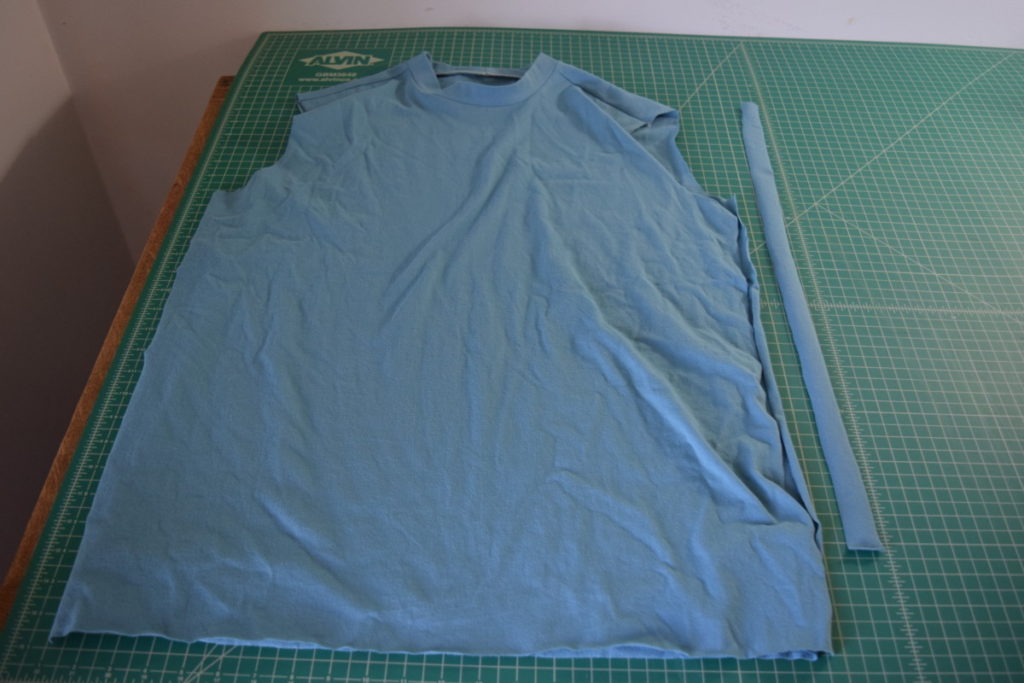
Cut out a strip of your t shirt fabric that is 1 inch wide and a couple inches longer than the distance across the shoulder seams and around the back neck. Mine was 23 inches long, which gives me plenty of room to work with and should work for most t shirts. Also, cut the strip so that the grain of the fabric is running parallel to the short edges of the strip.
Next, lay the t shirt so that the inside of the neckband is facing up and the back of the neckband is towards you, like this:
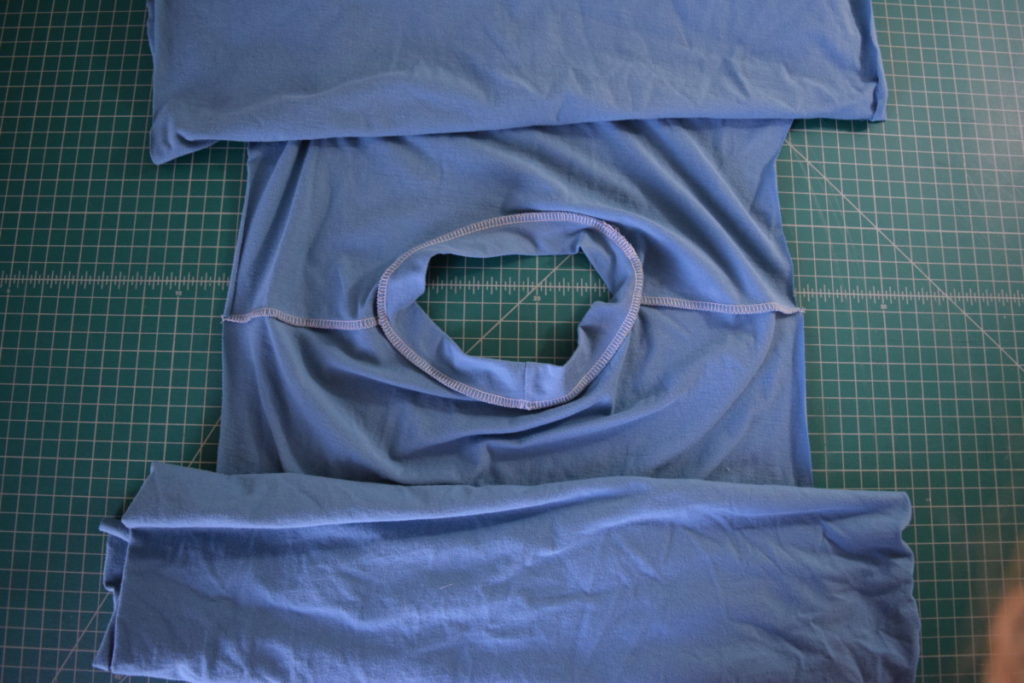
Wrap the bottom edge around the serging
Then grab your strip of fabric and beginning at the end of one shoulder seam, begin pressing one edge of the strip under the serged edge.
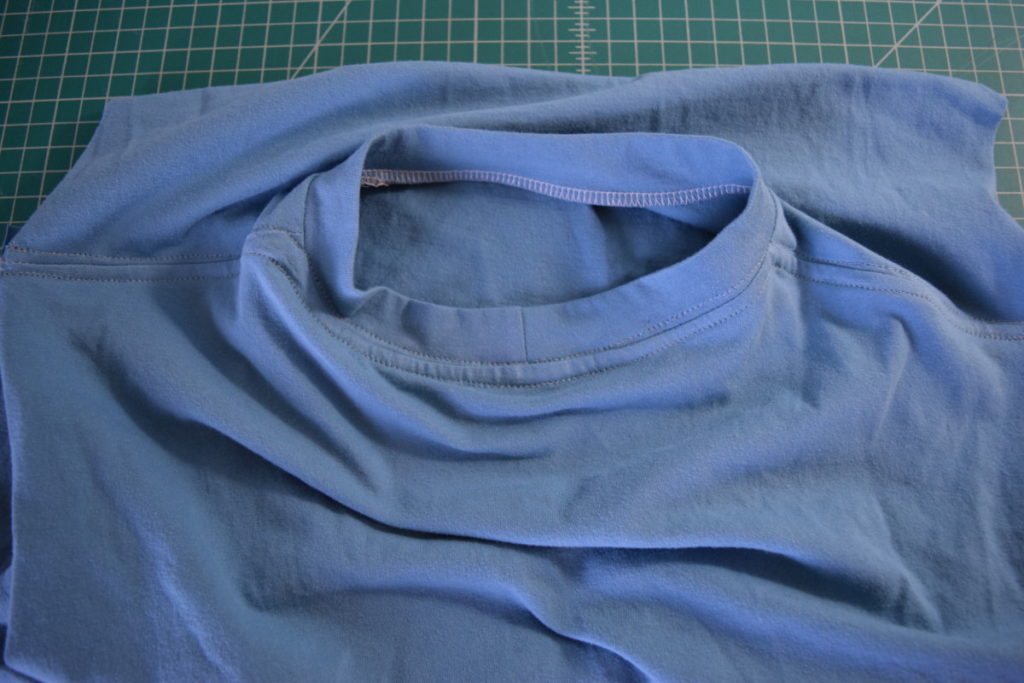
Next, keeping the edge of the strip under the serging, press the rest of the strip up over the serging and pin in place. The other raw edge of the strip will still be showing, we’ll deal with that edge later.
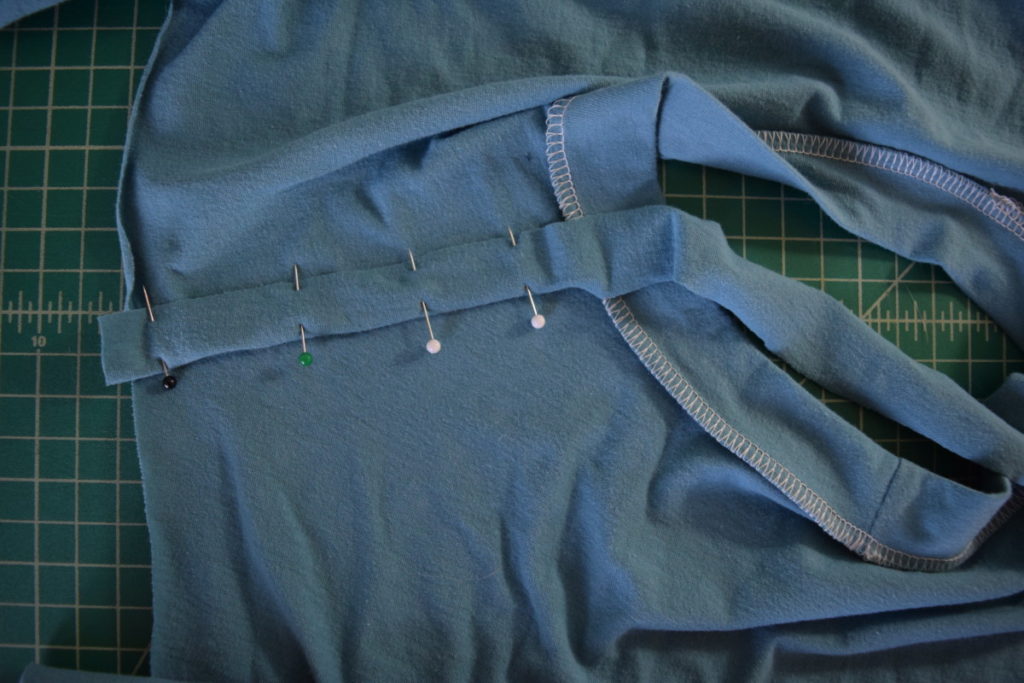
Next, continue pressing the edge under the serging and encasing the serged edge in the stabilizing strip. Around the corners, just do your best to get as much of the serging encased as possible.
Then, using a straight stitch, sew the strip in place close to the folded edge. I have found that a straight stitch works fine because the front of the neckband can still stretch plenty to easily fit the shirt over your head.
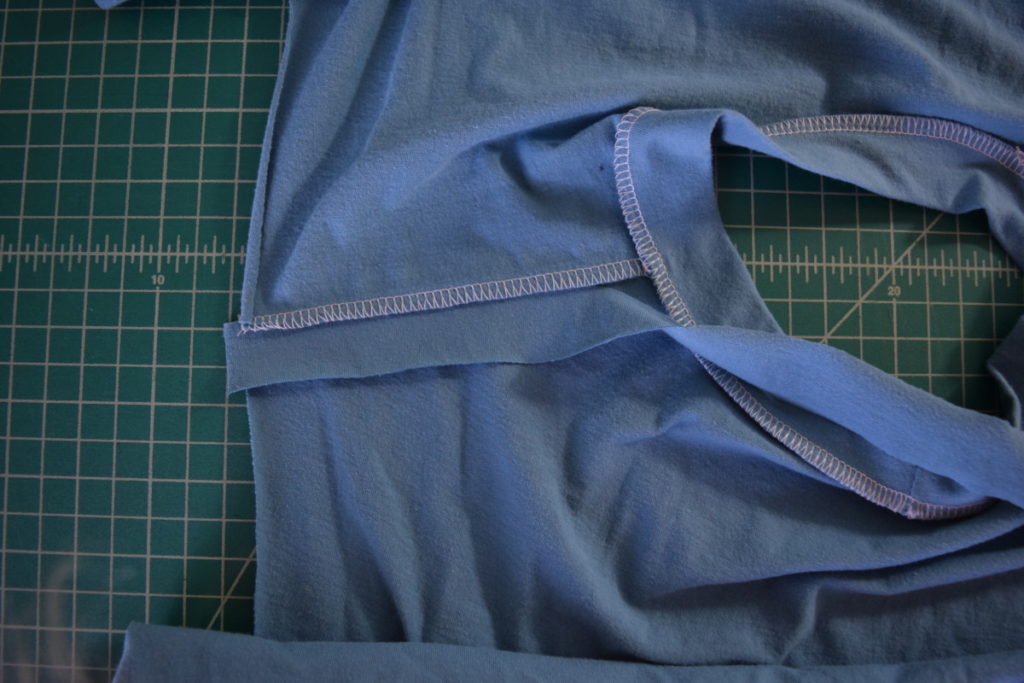
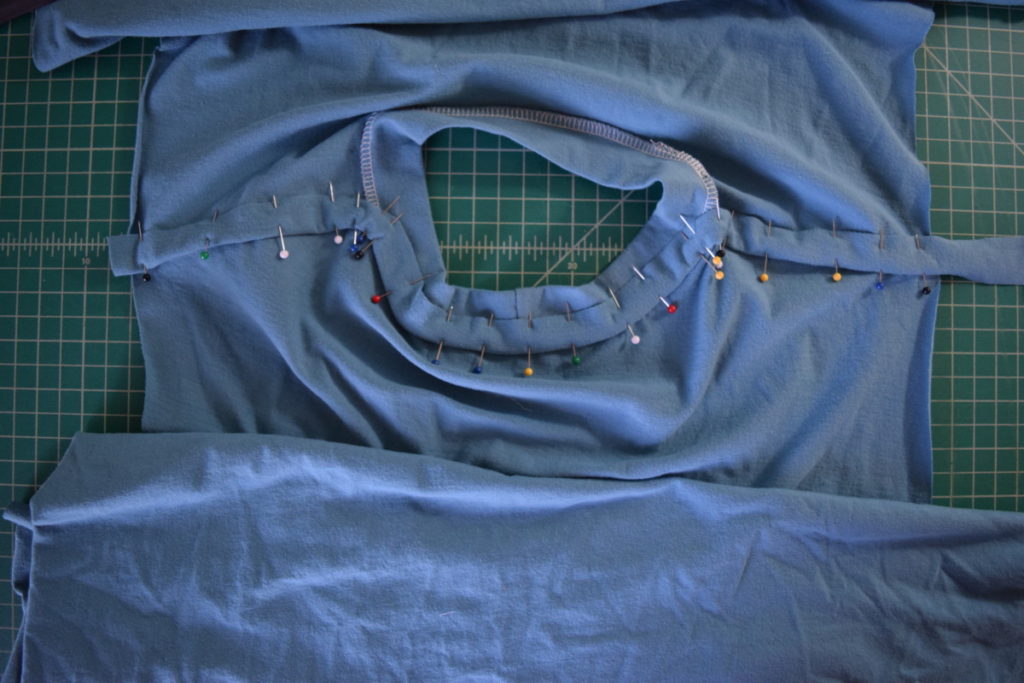
Fold under the top edge
Next, fold the other raw edge of the stabilizing strip down so that the top edge of the strip is 1/8 inch to 1/4 inch above the top of the serging, hiding it. Pin in place.

Finally, just sew close to the top folded edge of the stabilizing strip.
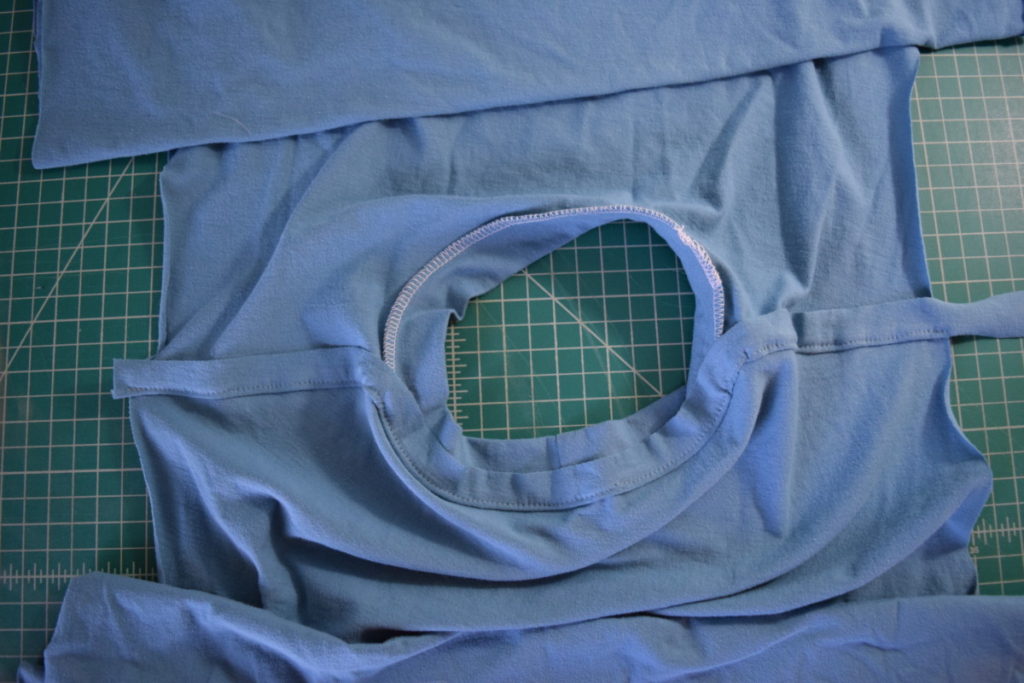
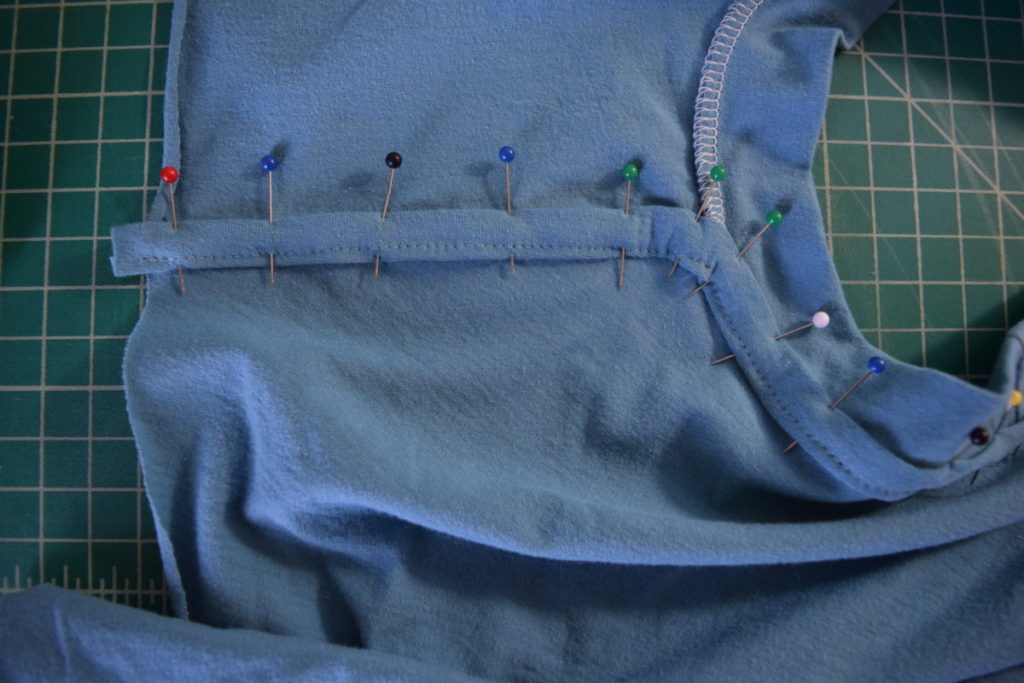
And that’s it! Sometimes I sew another two rows of stitching over the original stitching for some extra stong hold. Here’s what it looks like from the outside:
Now you can trim the ends of the strip to lie even with the shoulder edges and continue sewing up your t shirt as usual!

If you found this useful and want more sewing tips and DIY tutorials, I would love for you to sign up for my weekly newsletter!


Thank you for these instructions!!!! I made 2 100% merino wool shirts for my son and I didn’t want it to look home made. I still need some practice, but they look more professional than the very first T-shirt I made him without this tutorial!
[…] If stability was the only concern, however, shirt manufacturers could reinforce those seams with staples or wire and be done with it. Which is to say not only that part of the structural solution shown in the photo obviously relates to comfort, but over time that method of ensuring comfort has become standardized even at relatively low price points. Cover all of the stabilizing material with a strip of like-colored fabric, so the reinforced seams at the shoulder and back of the neck do now saw into the bodies of the people wearing those garments, and customers will come back for more. In fact, it works so well that even though you have probably never noticed that construction detail, it is probably present on the shirt you are wearing right now. (You can see a step-by-step description of how those seams are stabilized in a hand-made shirt here.) […]