
I looooove sewing knits. They are definitely my go-to for wearing and for sewing. Most ready to wear knit tops, dresses, swimsuits, skirts (and more!) are hemmed with a coverstitch machine. That’s how they get that beautiful finish with a double row of stitching on the right side of the garment and what looks like serging or overlocking on the inside. And while getting a coverstitch machine is on my “someday” wish list, I don’t have one yet!
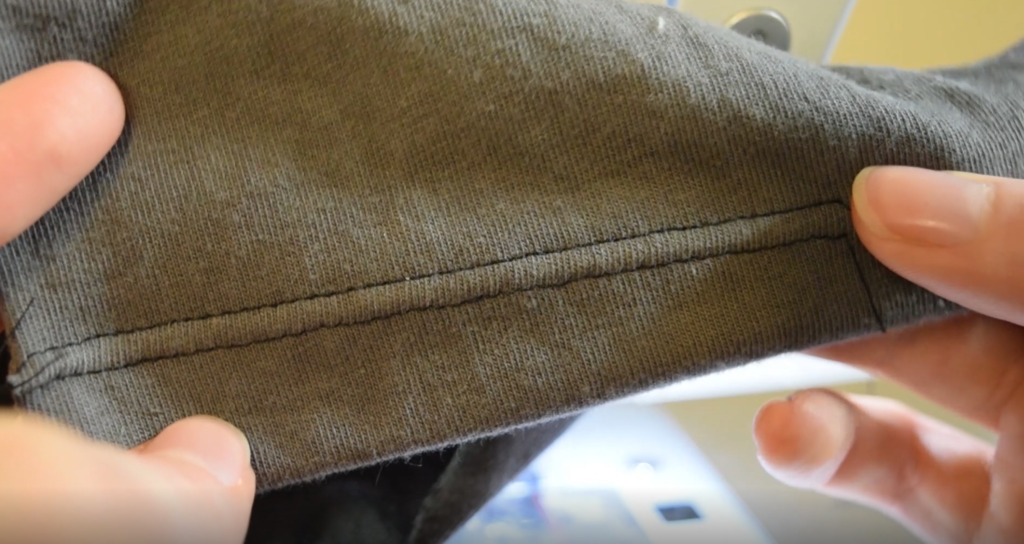
So, to get a similar finish without a coverstitch I use a double needle on my regular sewing machine! This results in a beautiful double row of stitching on the outside and a zigzag stitch on the inside. It’s not quite as beautiful on the inside as the coverstitch, but from the outside it’s pretty much identical!
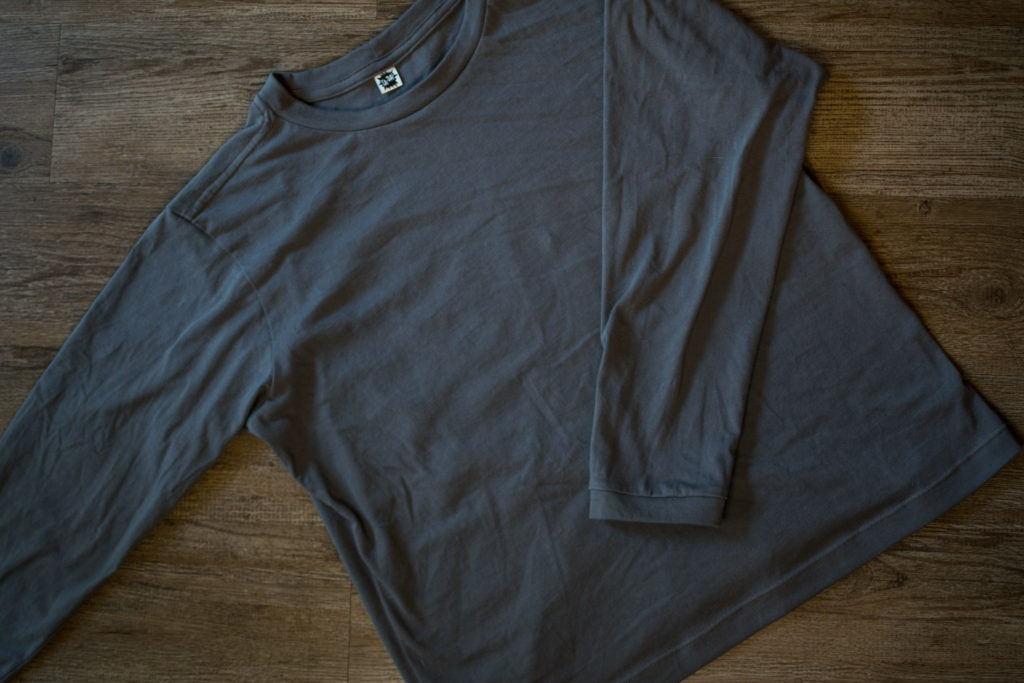
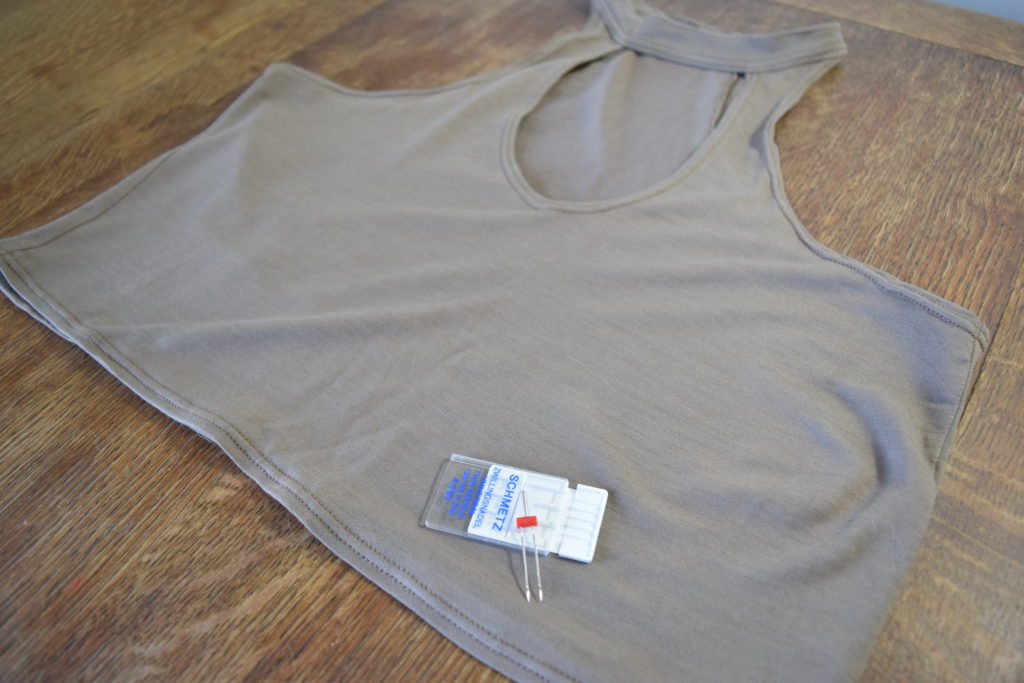
These shirts were finished with my double needle – it looks great, right??
And the best part of all this is – the double needle is really super easy to use! I have a video below showing you how to use a double needle on your sewing machine! And if you prefer reading, I have written instructions farther down… just scroll on past the video!
What you need
- double needle *affiliate link
- two full bobbins
- one thread spool (matching color to bobbins)
- sewing machine
Video
Written Instructions
Ok, so I like to just use an extra bobbin instead of another thread spool as my source of thread for my second needle. I just find this easier than always having two thread spools of a certain color on hand because other than black and white, I usually only have one spool of each color at a time. So the first thing you’ll want to do is fill two bobbins with thread matching you project.
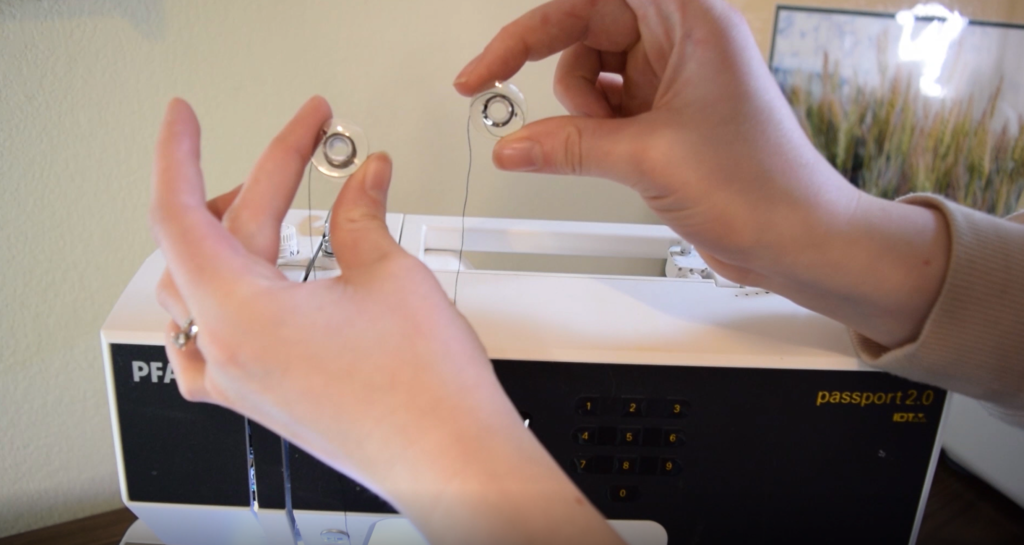
Next, you can insert one of the bobbins into the bobbin case just like you normally would.
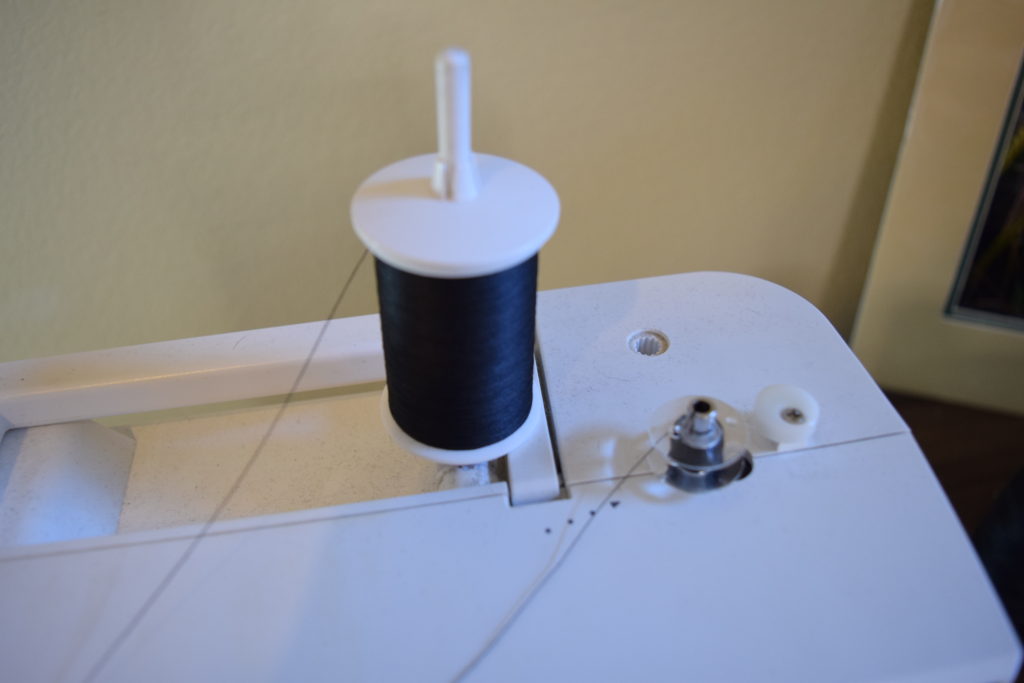
Then put the other bobbin onto the bobbin winder – but DON’T engage the winder. We’re just using it as a place to hold the bobbin while we sew. You can place the regular spool of thread onto the spool pin on your machine – just like normal.
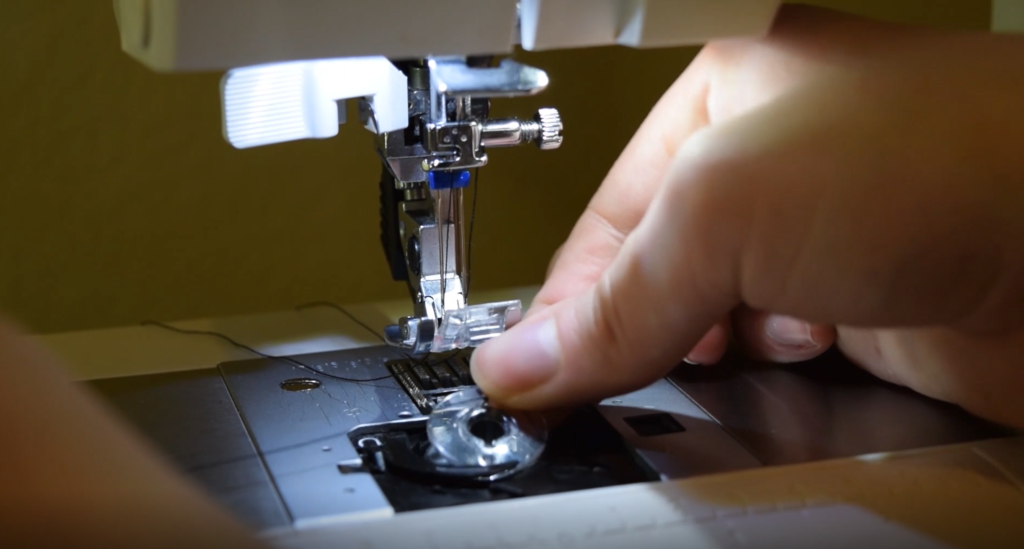
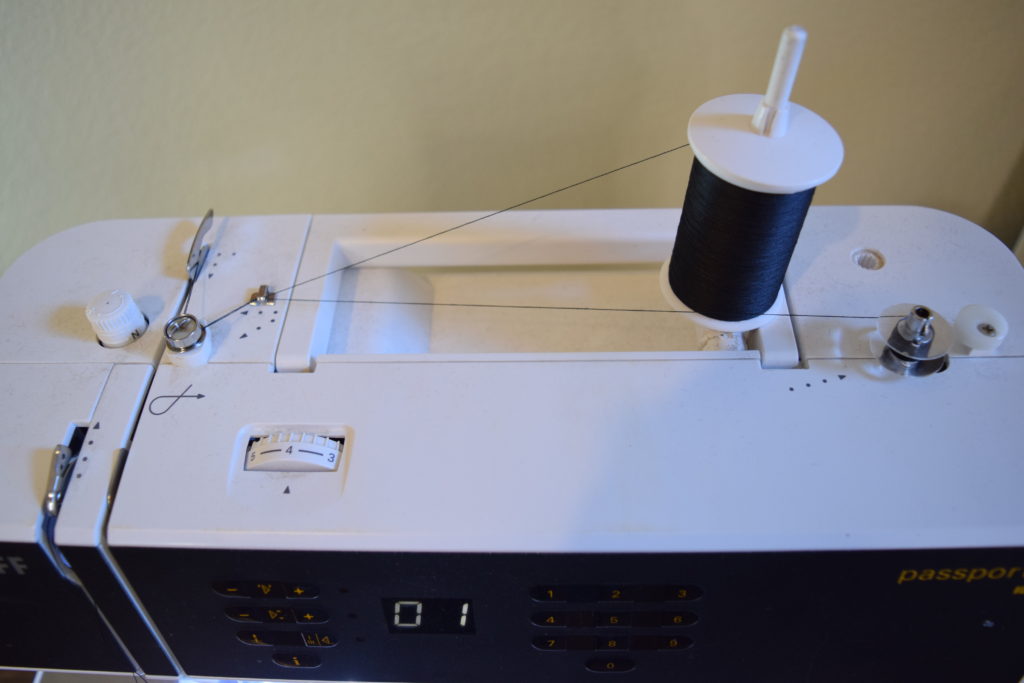
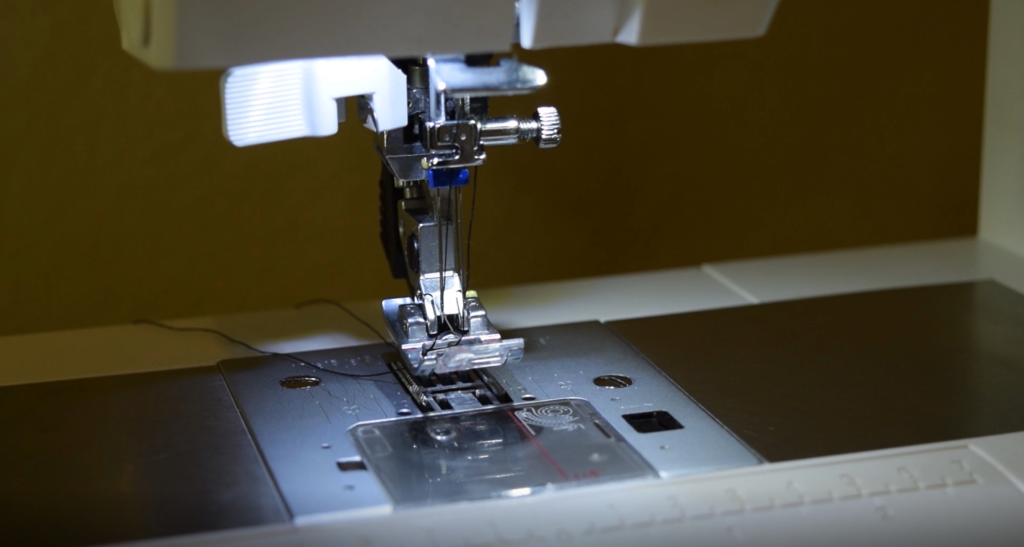
Next, thread the regular spool thread through your machine exactly like you normally would – literally. There’s nothing different about threading! And then thread it through ONE of the needles. It doesn’t matter which one, I chose to thread my regular spool thread through the left needle.
Then take the thread from the bobbin that’s on top of your machine (your second needle thread) – and thread it through you machine JUST LIKE NORMAL! It goes through all the same places through your machine as the first thread – literally follow the same path as the first thread. Once you get to the needle, simply thread it through the other needle. So for me, I threaded the right needle with my upper bobbin thread.
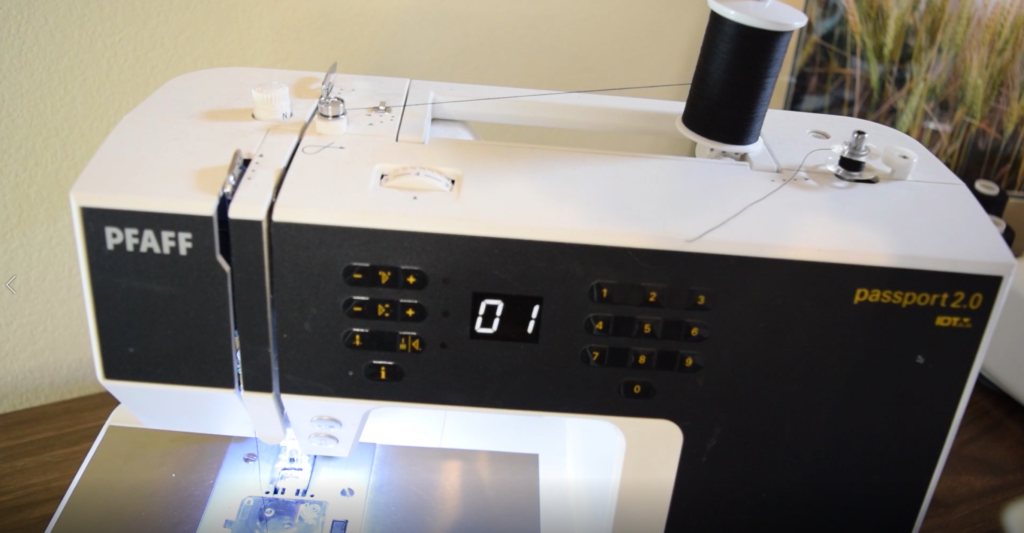
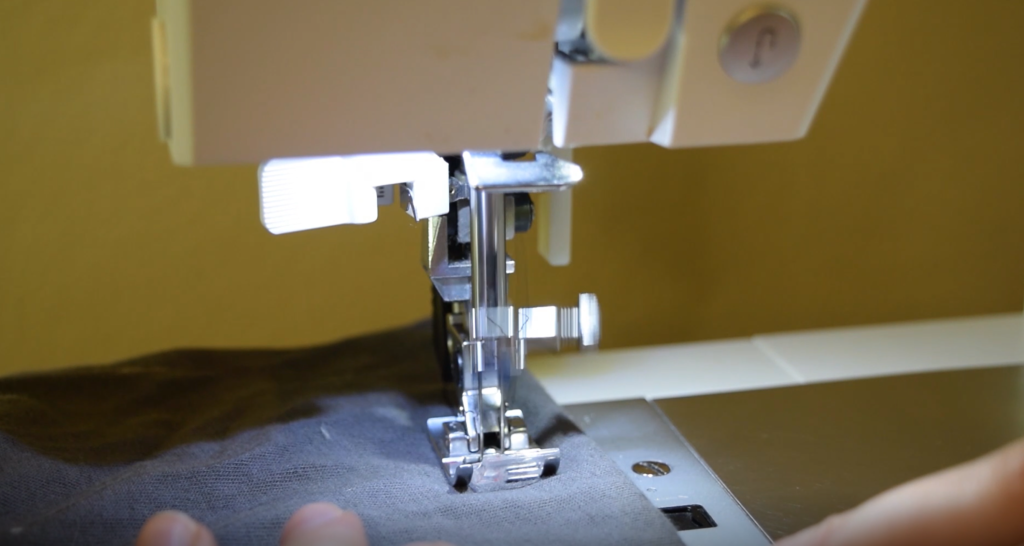
Now it’s time to sew! This whole thing is probably sooo much easier than you expected – and the sewing part is no different. Simply set your machine to a regular straight stitch – usually the typical 2.5 mm stitch length works fine. And start sewing! Simple as that!
Now here are some tips for sewing with a double needle:
- Make sure you sew with the RIGHT SIDE of the garment facing up – this is so important because whichever side is facing up gets the double row of stitching and the side facing down gets the zigzag.
- Try to sew AT LEAST 1/4 inch from the folded edge of your fabric. I have found that trying to sew right along the edge is super difficult with a double needle – I get tons of bad tunneling and the fabric gets constantly sucked down into the machine. So sewing a little farther in helps a ton!
- If you really need to sew close to the edge, or if you are having major issues with the fabric “tunneling” (or getting a raised bubble of fabric between the two rows of stitching) try using wash-away spray starch (*affiliate link) or stabilizing/basting tape (*affiliate link). You can also try messing with the tension settings on some scrap fabric.
- And finally – I recommend not backstitching, and instead leaving long thread tails to tie off when you’re done – I’ve found this to be more sturdy and long-lasting, and it looks nicer! However, if I’m being honest… I don’t always follow my own advice here… 😉
Alright, that’s all there is to it! I hope this helped and you’re feeling ready to try out a double needle. I promise you’ll love it!
If you want more sewing and DIY tips, tricks, and tutorials I would love to have you sign up for my email newsletter! I’ll even send you a free circle purse sewing pattern as a thank-you for signing up 🙂


Using CBD sweets & gummies is an easy task. All you need to do is to savour and eat these delicious products to get your daily dose. You can eat these back to back, but pay attention to the dosage. We know that the flavour of our gummies can be quite enticing, but you may want to save your gummies and eat only the minimum effective dose. Before purchasing these items, check the amount of total CBD mg in your selected package and the CBD mg amount of individual pieces. If you are buying CBD for the first time, start with pieces with low mg amounts such as 20mg gummies. This will allow you to easily explore various dosages and find out how your body responds. Shop our award-winning CBD gummies – voted the Evening Standard’s best CBD product. The fruity, juicy and vegan Bright Days CBD Gummies give you a bite-sized dose of our Gold Standard CBD in a CBD sweet, and the freshest burst of natural orange flavour.
CBD Gummies are a new twist on the CBD supplement, providing a convenient and fun way to get your daily dose of CBD. These chewy sweets are made of CBD and come in a variety of flavours and shapes. They are also THC-free. Gummies are the most convenient way to take CBD.The CBD in these gummies is not a sedative, so it will not make you fall asleep. You should be mindful of your body’s signals to know how much CBD you should take.Some people may feel more energised in the morning or after a workout. In such a situation, best CBD gummies UK can also work as a reminder to drink water or eat a snack. Ingredients in CBD Gummies UK:Before purchasing any sort of CBD gummy, be sure to know what they are made of. Your gummies should come with a certificate of analysis, which certifies that they contain no more than 0.3 percent THC.These certificates will also show that the gummies passed laboratory tests to determine whether they are free of harmful adulterants or pesticides. When shopping for the best CBD Gummies UK, check what’s in them. Many of them contain the CBD isolate, which is devoid of other Cannabinoids. In contrast, full-spectrum Hemp extract contains most Cannabinoids.Full-spectrum gummies may contain traces of THC, but that is minimal. Other common ingredients found are sweeteners and other natural flavours. When buying them, you should also check the ingredients for any allergens. aking CBD Gummies with you to work:Taking CBD gummies with you at work is a convenient way to boost your energy levels and combat anxiety. These tasty treats do not take up much space and will not disturb your day. Besides, there are no obvious side effects that will draw attention to your consumption.These tasty gummies are as harmless as any other supplement or medication. So, you can use them without worrying about being judged or ridiculed.CBD is an effective pain reliever. When taken regularly, these gummies can significantly boost your energy levels. It has been shown that CBD improves the ECS, which regulates sleep-wake cycles. This in turn leads to less pain.CBD gummy is a delicious way to boost your energy levels and get the rest you need at work. For optimal results, use a single dose every day.Are CBD Gummies worth buying?CBD Gummies is a great option for those who is looking to incorporate CBD into their daily routine in a tasty and convenient way. There are several benefits that make them worth considering. Firstly, they provide a easy method of consumption, allowing you to enjoy the benefits of CBD without drawing attention. Secondly, CBD Gummies are pre-dosed, making it easy to control your CBD intake and experiment with different dosages. Additionally, they come in a wide variety of flavours, which adds a fun and delicious twist to your CBD experience. However, it’s important to note that the efficacy of CBD Gummies can vary depending on factors such as the quality of the product, individual metabolism, and the desired effects. What are the potential benefits of CBD gummies in the UK? CBD Gummies in the UK offer a range of potential benefits. CBD engages with the body’s endocannabinoid system, a vital regulator of numerous physiological processes.Consuming CBD Gummies may lead to various benefits such as relaxation, decreased stress or anxiety levels, enhanced sleep quality, cbd gummies for pain and an overall sense of well-being. Some individuals also report CBD Gummies aiding in pain relief, promoting a calm mind, and supporting overall balance.Read more about CBD Gummies can you drive. It is important to keep in mind that the specific benefits can differ among individuals, making it advisable to begin with a lower dosage and gradually adjust as necessary. What is considered a strong CBD gummy? A strong CBD gummy typically refers to a gummy with a higher concentration of CBD. Typically, the strength or the strength of CBD gummies is determined by the quantity of CBD milligrams in each gummy.For example, gummies with 25mg or more per serving are often considered strong. However, what is considered strong for one person may not be the same for another, as individual tolerance and desired effects can vary.To ensure optimal results and accommodate individual requirements. It is crucial to commence with a lower dosage of CBD and make adjustments based on personal needs and the body’s response. Can you take a CBD gummy every day? Taking a CBD gummy every day is generally safe for most individuals. CBD is widely tolerated and does not cause intoxication in most individuals. Nonetheless, it is always advisable to seek advice from a healthcare professional before initiating any new supplementation routine, including CBD.They can provide guidance based on your specific health condition, medications you may be taking, and any potential interactions or considerations. Adhering to the manufacturer’s recommended dosage instructions is of utmost importance. What are the best CBD gummies in the UK? etermining the best CBD Gummies in the UK can depend on various factors such as quality, taste, potency, and customer reviews. Some highly regarded options include BRITISH CANNABIS, ACCESS CBD, CBD by BRITISH CANNABIS, and Elixinol.