
I have had this sketch in my sketchbook for a long time. This idea for making a pair of fitted wool pants with a quilted leather detail on the lower leg just wouldn’t get out of my head.
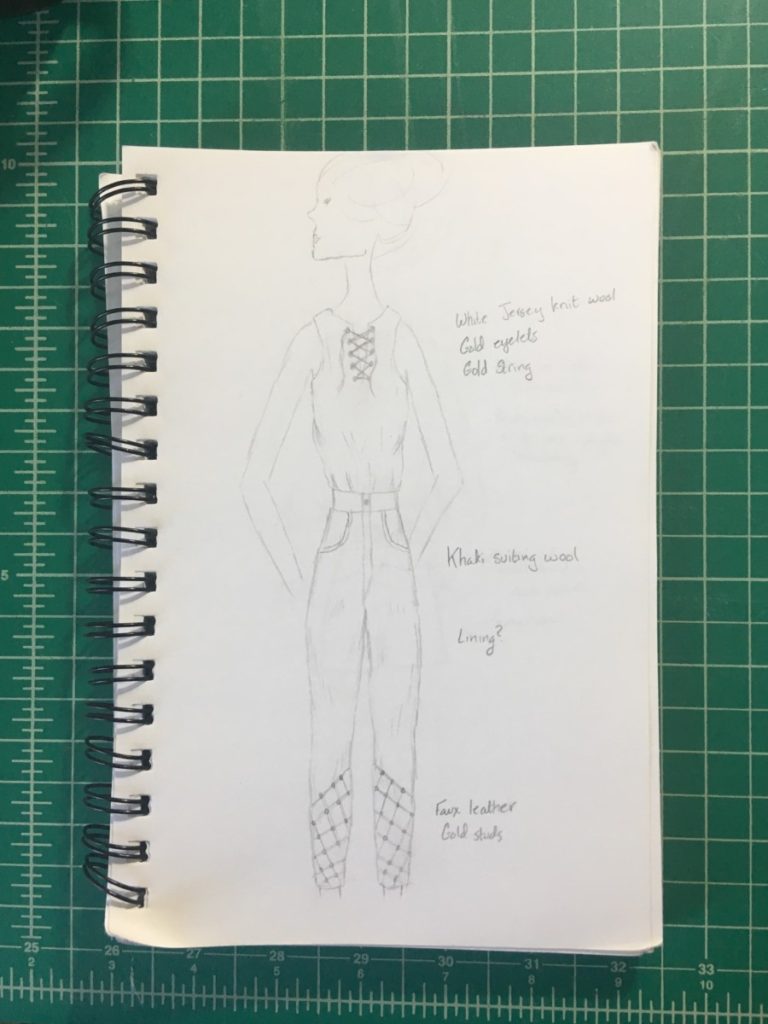
So, back in December (yes, this project took me 7 months to complete!) I decided to make it a reality and picked up McCall’s M5894 jeans pattern from JoAnns. This was before I had learned about indie patterns and this was the closest pattern fit-wise that I could find in the Big 4 pattern books to the idea I had in my head. I decided to alter this pattern to make my pants because I had only sewn a fly once before and didn’t feel confident enough to pattern one myself. Although looking back at all the alterations I made, I should’ve just made my own pants pattern and added in the fly from the McCall’s pattern.

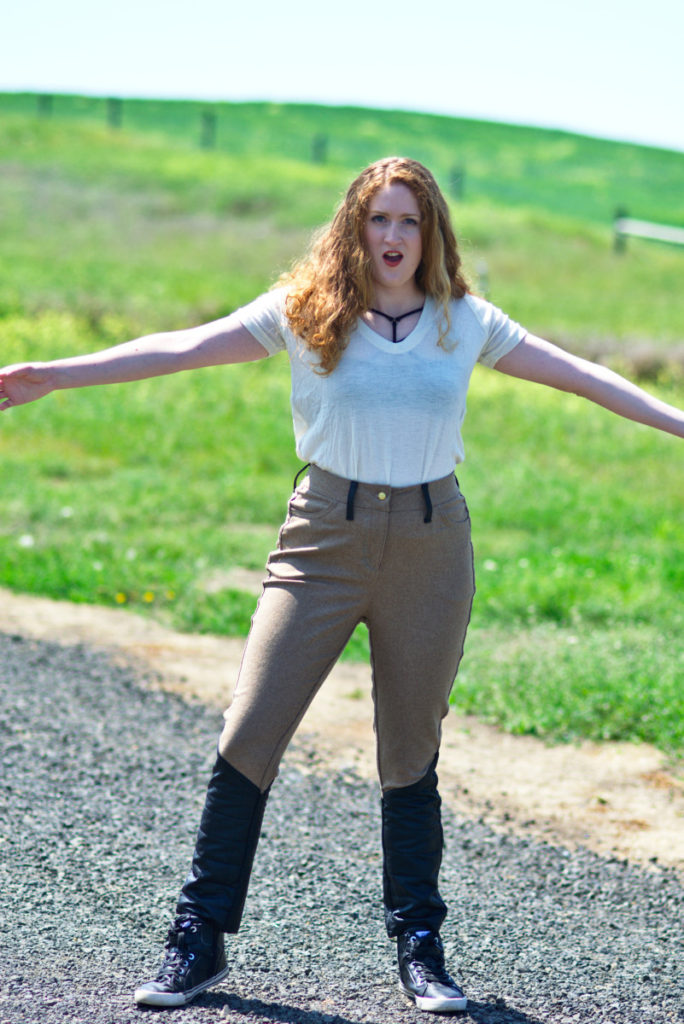
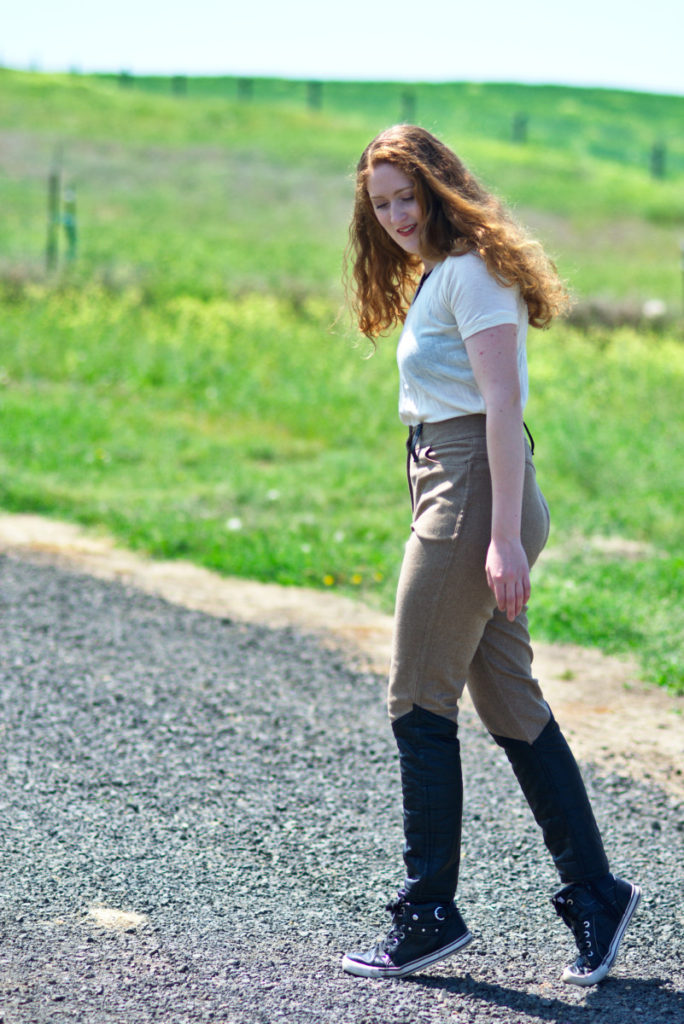
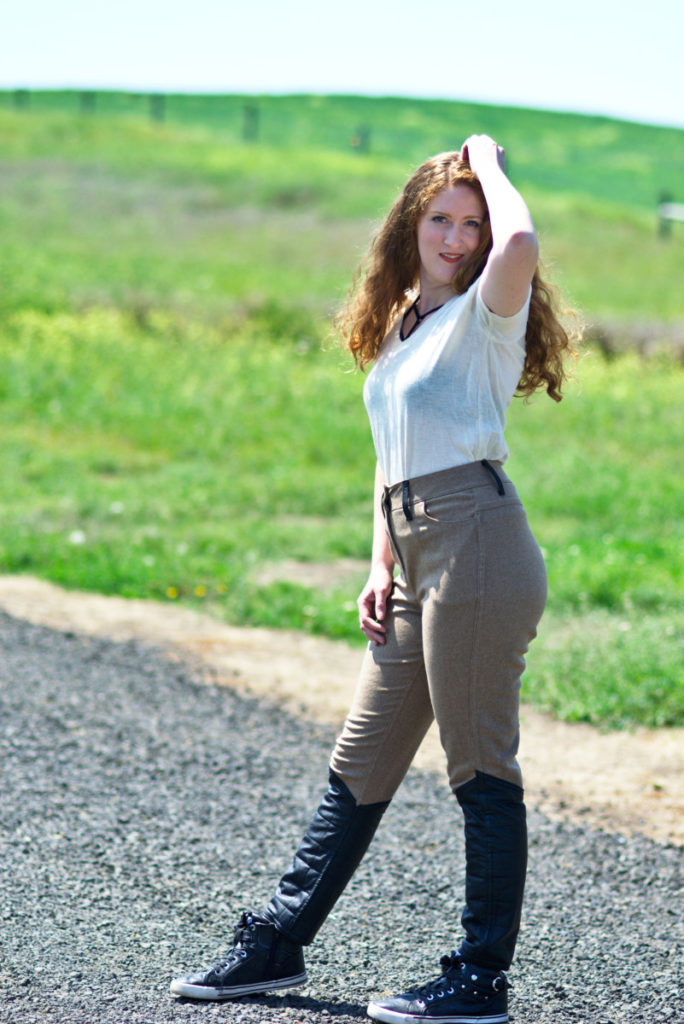
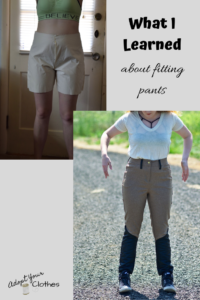
And after 6 muslins and 6 iterations of changes to the pattern and 7 months of work, I finally got the pants right! My face says it all… And yes, there are still some faded blue chalk marks around the fly in these photos because I couldn’t even wait to take photos until I’d gotten the chalk out.
Muslin 1
So I wanted to go through my process of fitting the pattern for these pants. The first thing I did was add 3 inches to the rise because I wanted high-waisted pants and the pattern was mid-rise. I then sewed up a muslin without any other changes to just see where I was starting fit-wise. Here is what that first muslin looked like:
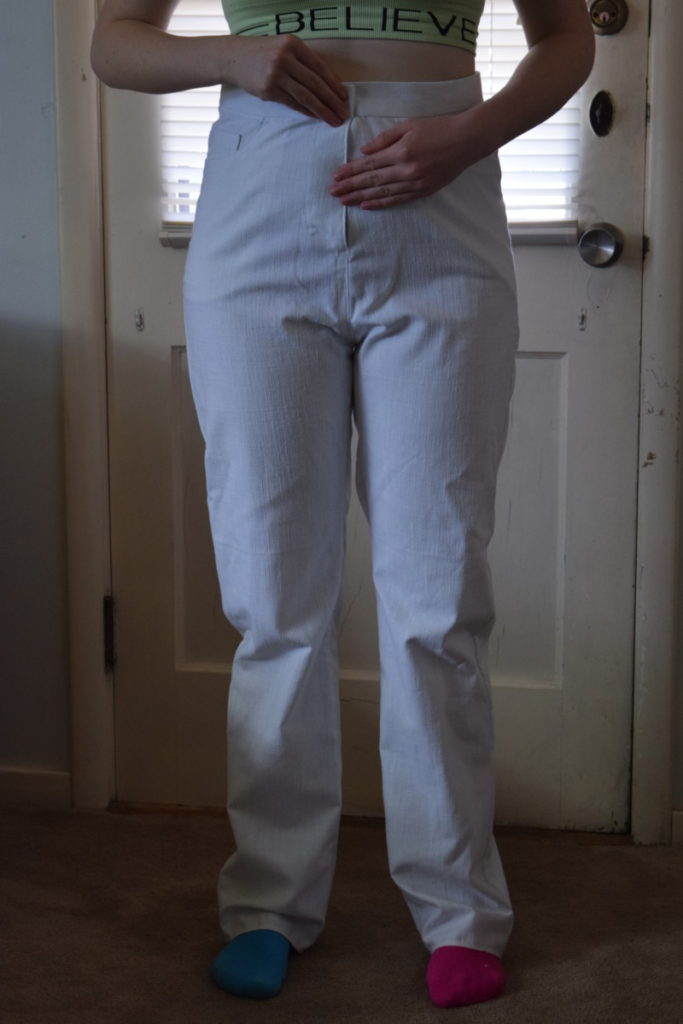
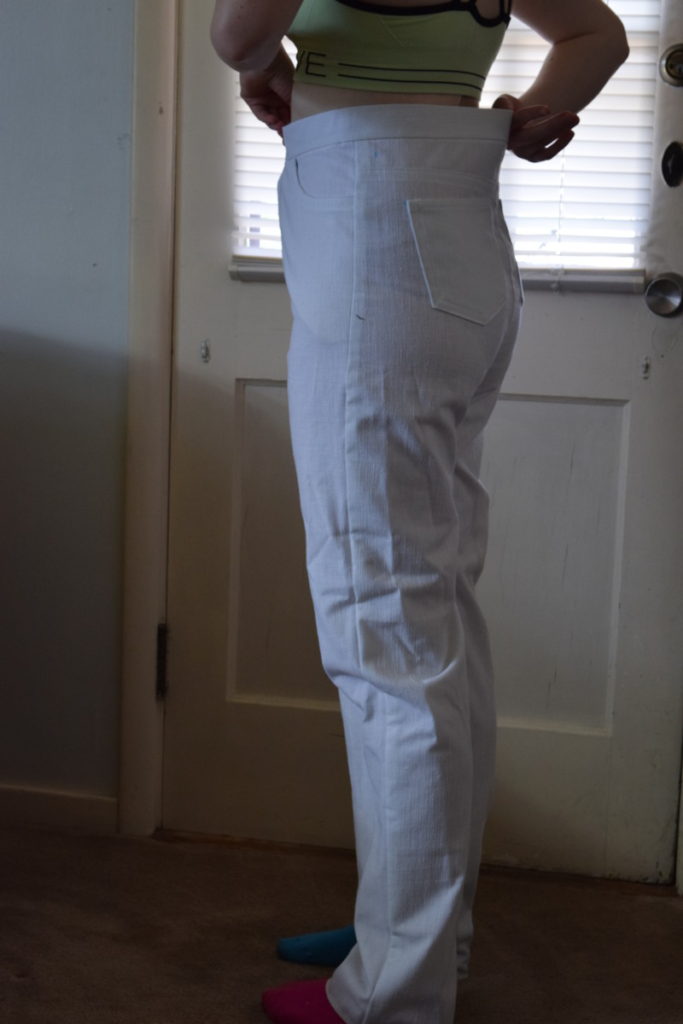
So the fit problems I was dealing with were: I had increased the rise too much, the lower legs were baggy, the thighs were too tight, the crotch looked weird, and the center back of the waistband gaped like crazy. Yikes.
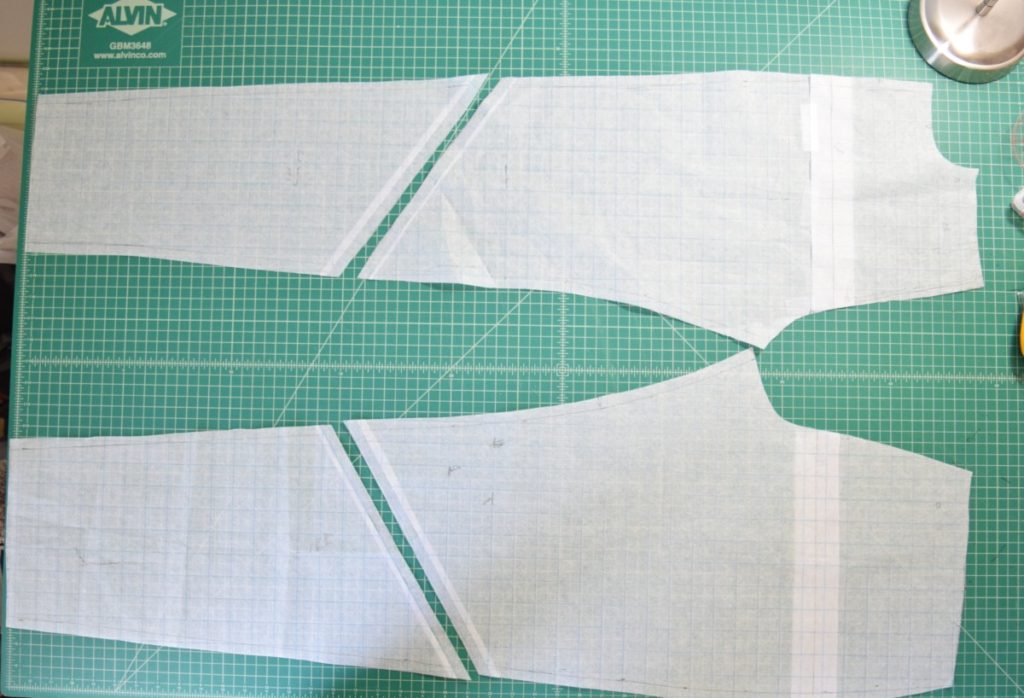
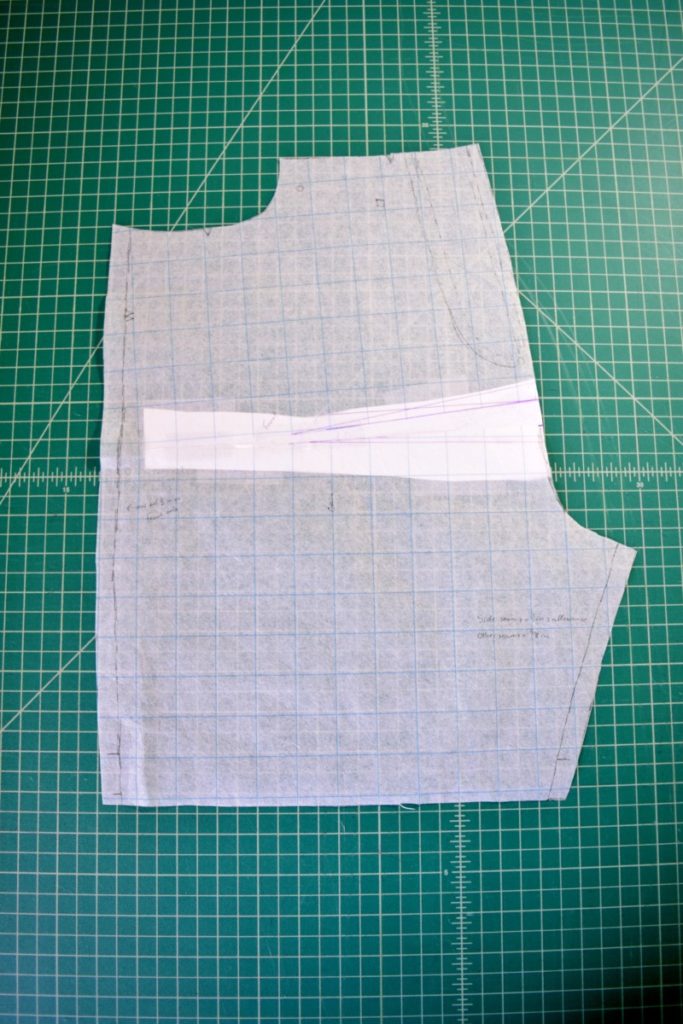
On to more adjustments to the pattern! I took 2 inches off the rise, tapered the lower leg in for a slimmer fit, added 1/2 inch to each side of the thigh, and tapered in the center back to decrease the gaping waistband. At this point I also added in my design detail of the angled lower leg seam. To do this, I marked the position of the knee at the outer leg seam on both the front and back pattern piece. Then I marked a spot several inches lower on the inner leg seam of the front and back, making sure that it was the same distance from the hem on both pattern pieces. I used a ruler to draw a line from one mark to the other. Then I cut along this line and added seam allowance. This was my new pattern:
Muslin 2
So I did a full test run of this pattern because I wanted to practice quilting the leather. If you want to know how I quilted the leather, you can read that post HERE. This is my test run of this second set of adjustments:

I was relatively happy with how this pair of pants turned out, but I still wanted a slimmer lower leg and the crotch still looked weird. It also still gaped a tad in the back, but not enough for me to really worry about it.
Muslin 3
So, I decided to first focus on the crotch problem, which led to a series of shorts muslins. I did a lot of reading and couldn’t quite figure out what my problem was, so I decided to try taking a 1 inch “dart” out of the front crotch pattern. This definitely DID NOT work!
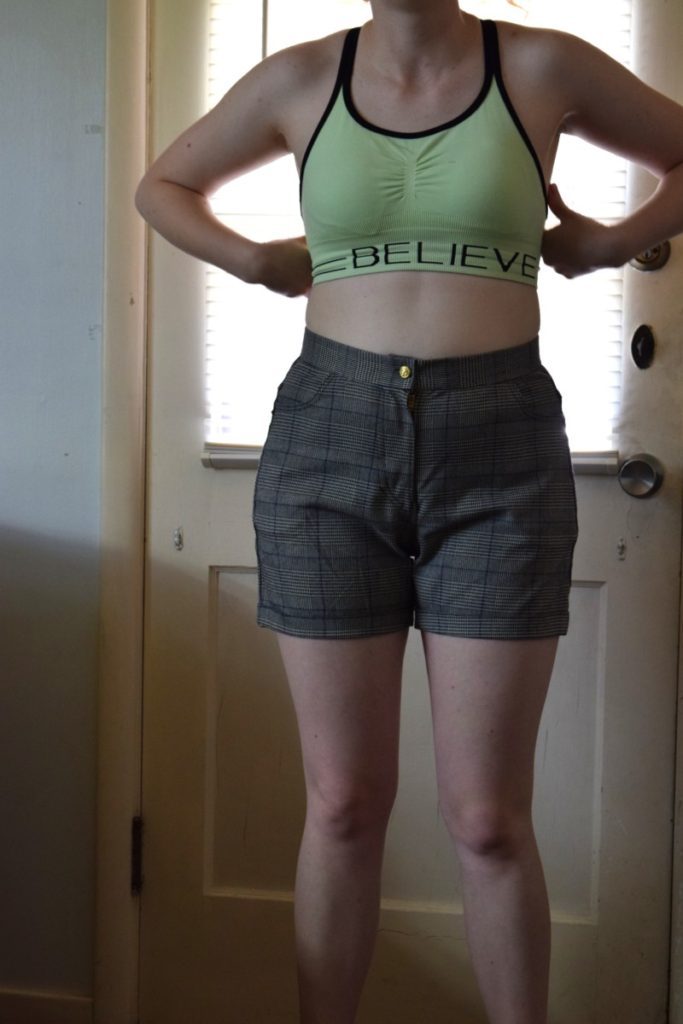
MAJOR camel toe, ugh. And to top it off, I sewed the waist band on way too tight in an effort to eliminate the slight gaping at the back. This made me think that I probably went in the wrong direction by taking OUT fabric from the crotch curve, so I decided to instead ADD a 1 inch triangle to the crotch pattern.
Muslin 4
This is when I realized I was wasting good fabric, and I better start actually using muslin for this process. So adding the triangle to the crotch curve resulted in this:

Still a bad crotch fit and now the thigh fit is wonky. As you can see, this process was so frustrating! But I did learn a lot.
So I went back to the drawing board with the crotch fit. I decided to instead add back one inch of rise to both the front and back, thinking that maybe the problem was that I had caused issues by not adding fabric evenly across the pattern. I also tapered in the lower legs a lot more and took a “dart” out of the center back of my pattern below the bum to reduce excess fabric below the bum. For some reason I hadn’t noticed this problem until now.
Muslin 5 and 6
I made a muslin out of this new pattern and the fit was SO MUCH BETTER! I didn’t get pictures because it ended up getting cut up to make my final adjustments though. The only problems I had with this muslin was one horizontal fold all the way across the crotch and excess fabric at the outer thighs that didn’t fit with the new tapered lower legs.
I decided at this point to go the easy route and just pinned out the fold at the crotch and the excess fabric at the outer leg. Then I cut the muslin apart at the stitching and traced each piece onto pattern paper. I then added seam allowances and was done! I did a final muslin and the fit was great! So I finally cut into my beautiful wool/cashmere suiting!
While sewing up the final pair of pants, I came across an article on Sew Altered Style (HERE) about making a curved waistband to eliminate gaping at the center back. So I decided last minute to try it. And it worked beautifully!
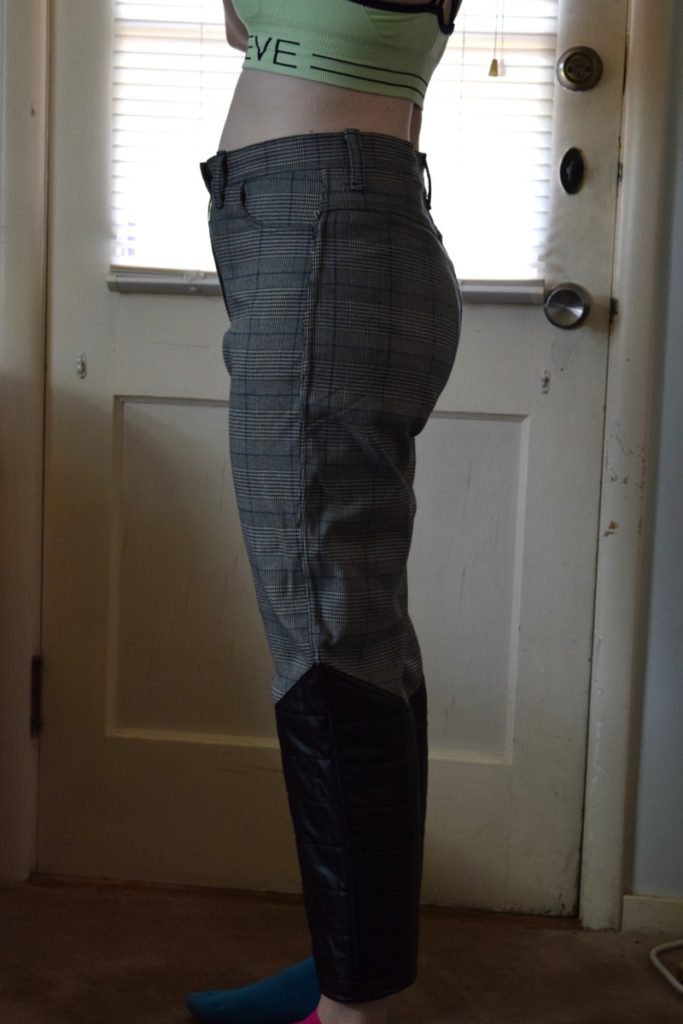
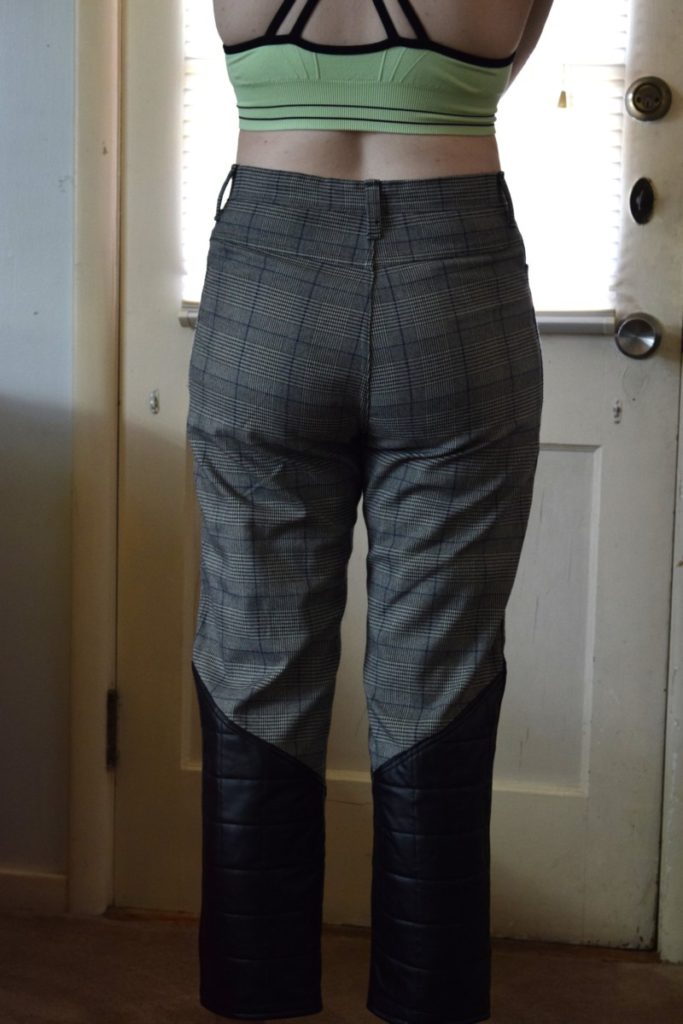
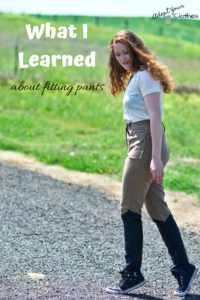
And here’s the final result! I’m so happy with it!


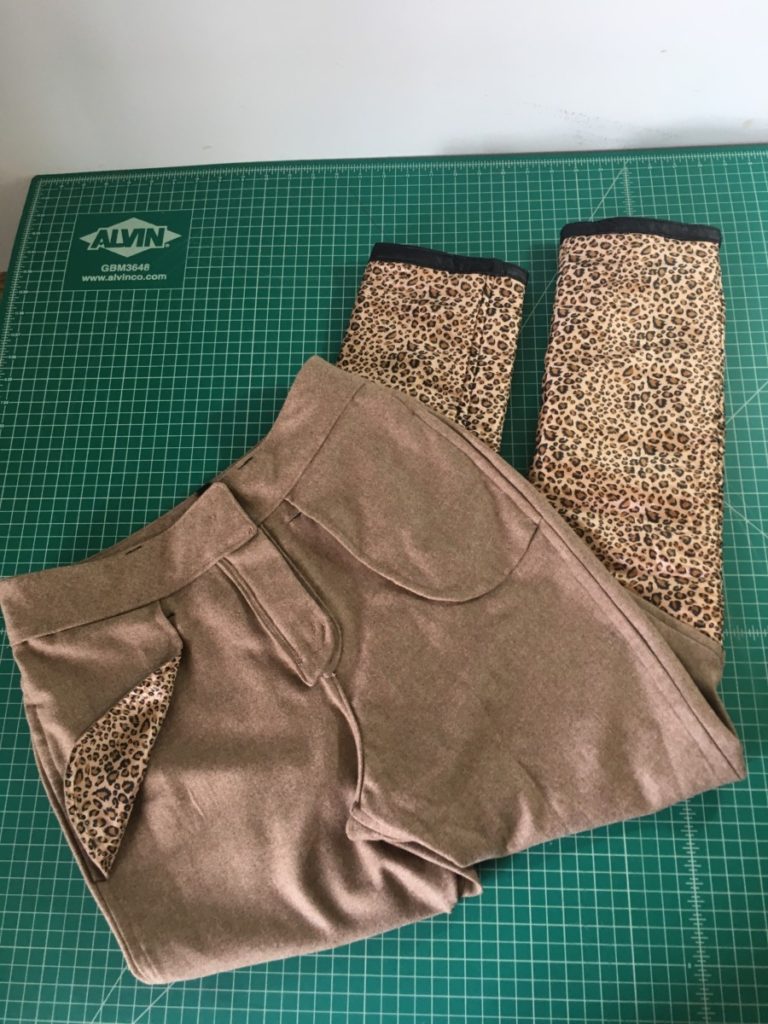
And for a special detail I used this cute lining from JoAnn to line the leather and for the pockets.


Thanks, for this. It’s very helpful to read of your experience as I am about to try on my muslin…again. Anyway, I learned that I will have to be patient and persistent but I will get there.
your pants are beautiful!!!
Yes I think persistence is key with pants! It’s so worth it when you get it right though 🙂
These reputable brands are recognised for their dedication to quality, transparent sourcing and manufacturing practices, as well as positive feedback from customers. However, it is vital to consider that the optimal selection for you may be influenced by your personal preferences and specific necessities.It’s advisable to explore different brands and read reviews to find the best CBD Gummies that align with your needs and taste preferences.