
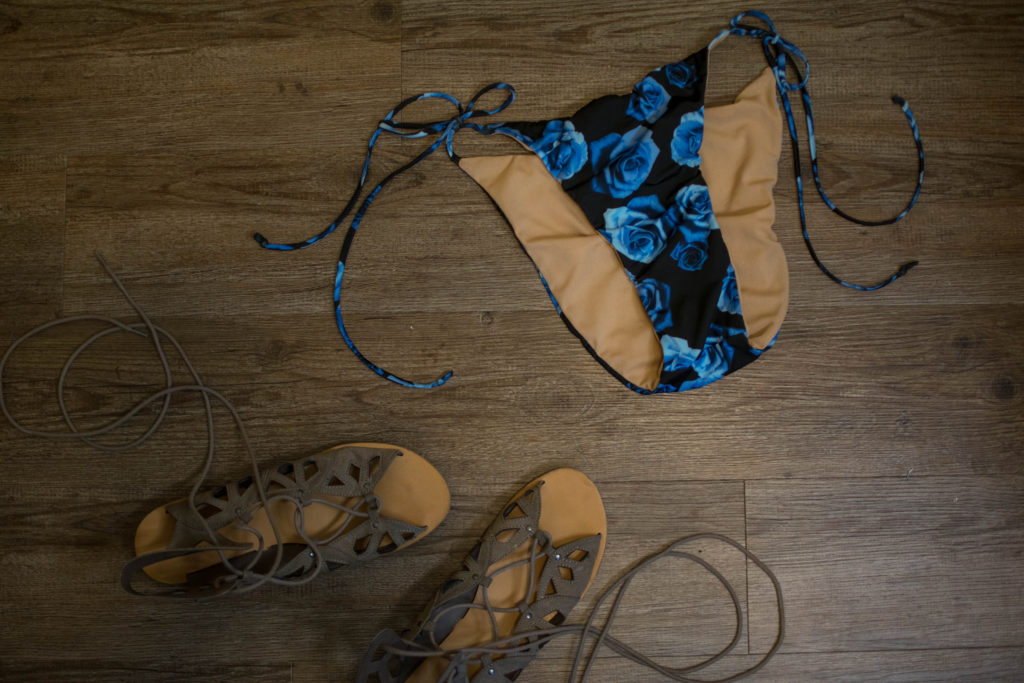
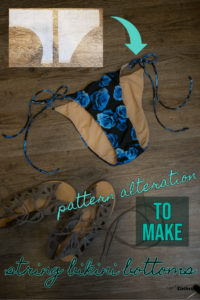
Recently I wanted to make a string bikini bottom. But I really didn’t want to go buy another pattern… so I just traced off a regular bikini bottoms pattern I already had and hacked it to make string bikini bottoms!
It worked pretty well, so I thought I would show you how to do it too! I love having a basic collection of patterns that I can hack to create all sorts of different styles. It saves you money and by hacking patterns regularly you up your sewing knowledge!
So I have a video tutorial for you below, but if you prefer the written version, just scroll on past the video! I’m not going to go into actually sewing up this pattern in this tutorial – I’m just showing you how to make the pattern. But I have another tutorial showing you how to actually sew it up once you’ve made your pattern! You can find that tutorial HERE. 🙂
What you need
*This list contains affiliate links for your DIYing convenience, so I receive a small commission if you buy something through my links. This really helps to support my site so I can keep creating DIY tutorials to help you create your dream wardrobe.
- regular bikini bottoms pattern (I used the bottoms from the Chic Bandeau Bikini Pattern from Swim Style)
- straight edge ruler
- french curve ruler (or freehand the curves – it’s up to you)
- pen
- pattern paper (or taped together regular paper, wrapping paper, or newspaper)
- scissors or rotary cutter
Video Tutorial
Written Tutorial
First, you’ll want to trace off your regular bikini bottoms pattern. Just pick one that you like the fit of. This is so you don’t cut up your original pattern – you may still want to use it in the future for other projects!

Now I started with altering the front pattern piece, so I’ve pulled the front piece out. The first step is to decide how far in from the side seam you want the tie to start. And keep in mind that the further in you go, the more skimpy your bottoms will be! I ended up deciding to go in 4 inches from the side seam, which ended up being probably more skimpy than I intended – but it still turned out pretty cute!
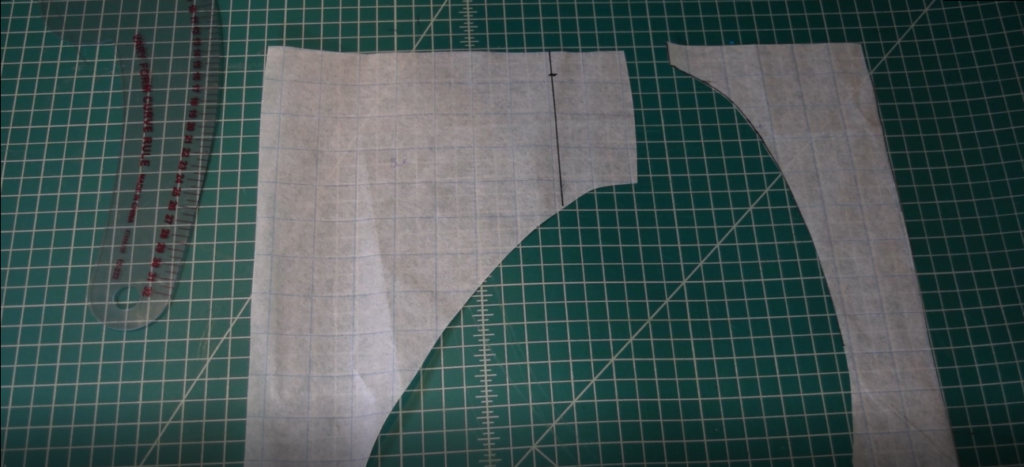
So draw a vertical line through the pattern however far over you decided to go from the side seam – so mine is 4 inches in.
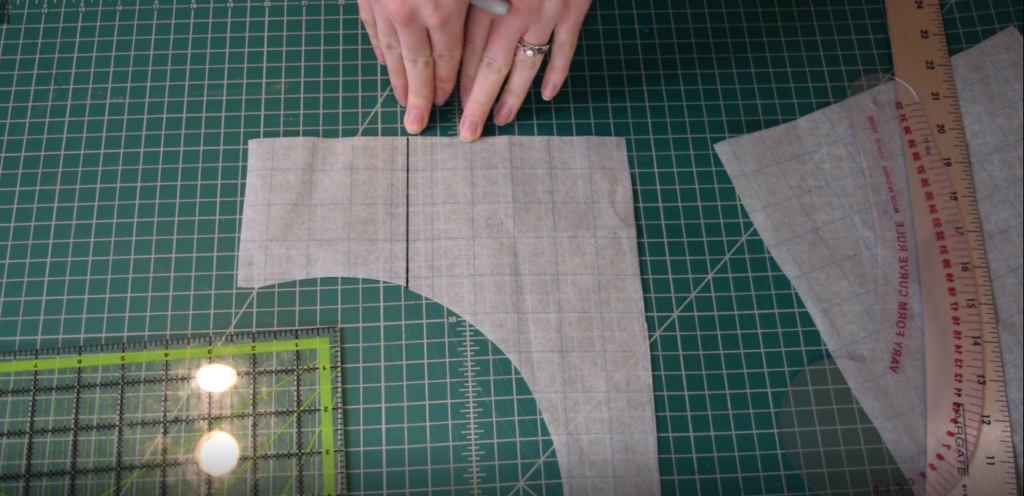
Next, make a mark 3/4 inch down from the top of the pattern on the vertical line you just drew. This is going to be where you insert your side ties/straps. Now here’s how I came up with 3/4 inch: I wanted 1/4 inch wide straps, so the straps will take up 1/4 inch, then I need another 1/4 inch both above and below the strap for seam allowance. So if you add all that up, you get 3/4 inch. So if you plan on making straps of a different width – you’ll use that width in the calculation instead of the 1/4 inch I used, then add seam allowances.
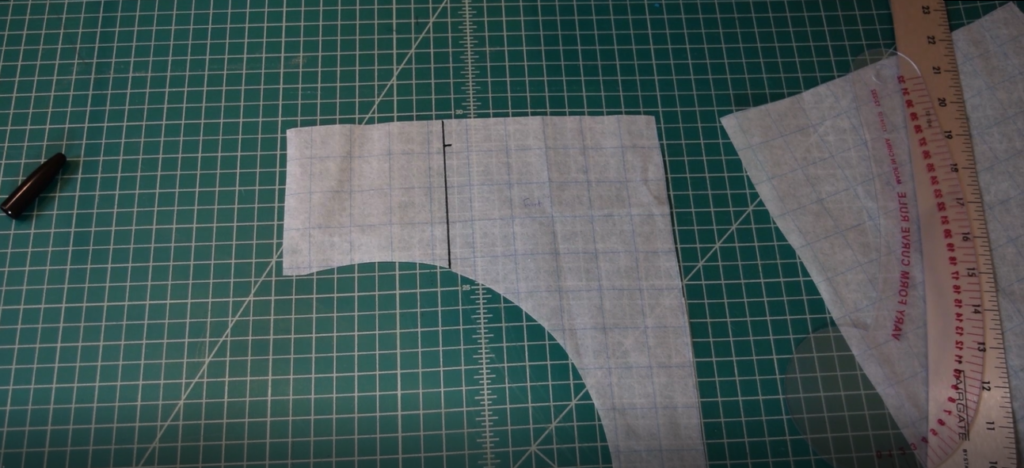
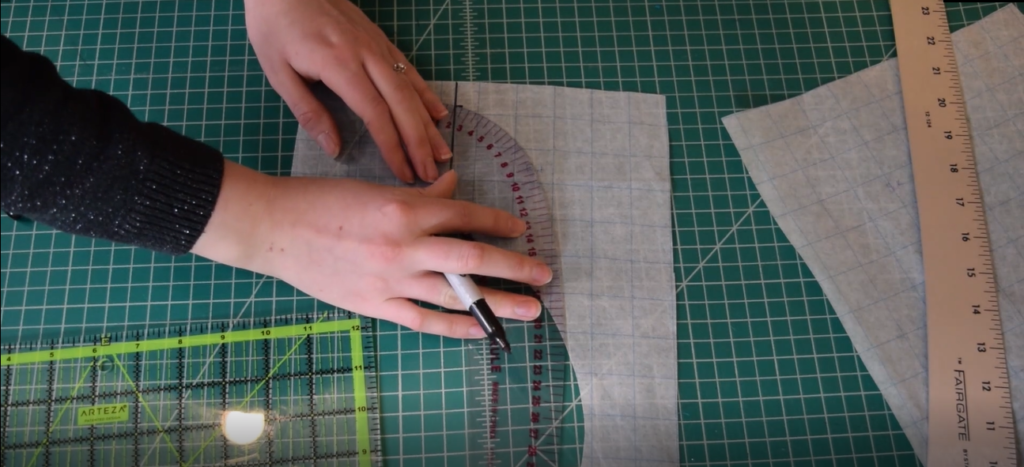
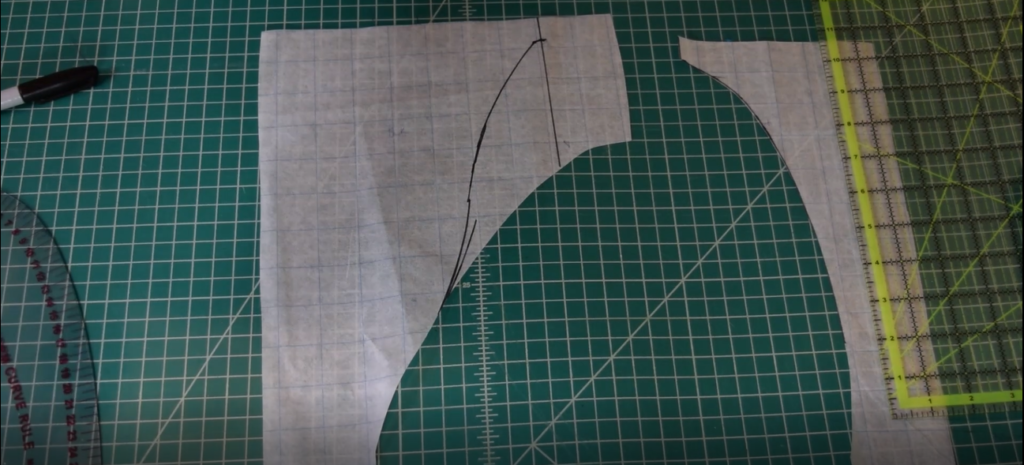
Now you need to draw in the leg curve! I used my french curve ruler to get a nice curve, but you can totally freehand it if you’re feeling confident. So you need to use a curve to connect the mark you drew 3/4 inch down from the top to somewhere in the original leg curve. So just play with it until you find a curve that you like.

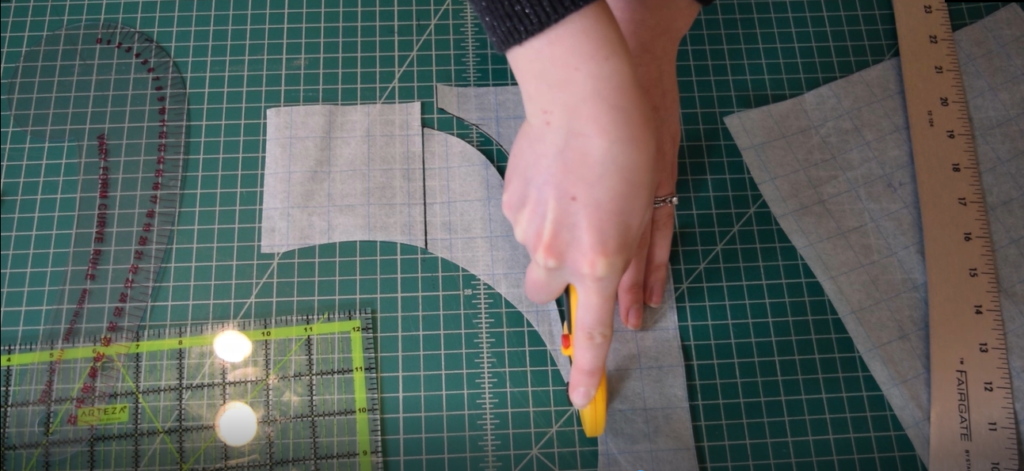
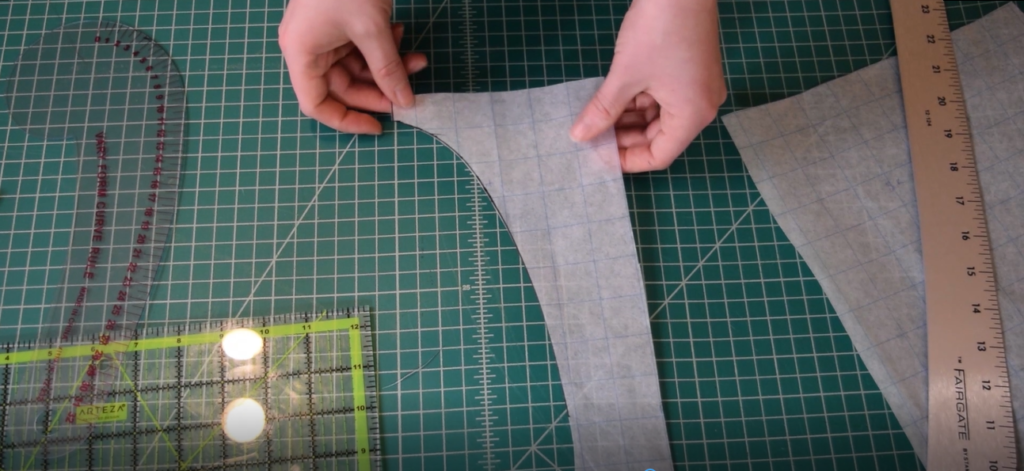
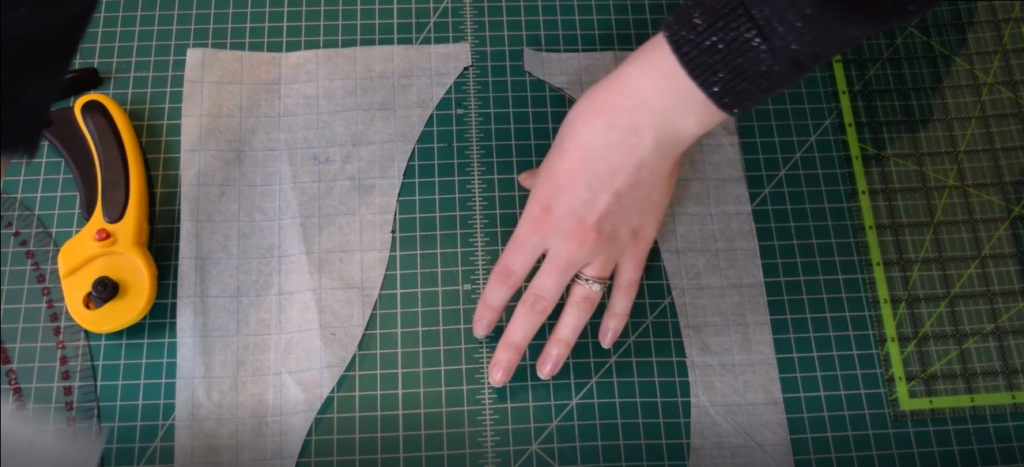
Once you’ve got you leg curve drawn in – just cut the new front pattern piece out!
Now it’s time to move on to the back pattern piece. So we’re going to go through basically the same process. Start with deciding how far from the side seam you want your tie to start on the back and draw a vertical line. I decided on 2 inches because I definitely wanted more coverage on the back than the front. Then make a mark 3/4 inch down from the top (and again, use YOUR strap width + YOUR seam allowances to calculate this).
Now, draw in a leg curve just like you did with the front. But for the back I like to angle the curve in at the top and then angle it back out near the bottom for more bum coverage. You can see that in my curve below. But if you want less coverage, or more of a thong style, than just angle it in the whole way down, and you can decide how far in on the bum to go with the curve.
And cut that piece out, and you’re done with your pattern! And like I said, I’m not going into how to sew this up in this tutorial – but you are going to want to cut one front and one back in your main fabric, one front and one back in your lining fabric, and then cut four strips of fabric for the ties. The ties I cut were about twenty inches long and one inch wide. If you’re going to be inserting elastic into the straps though, I would cut them a bit wider – around 1 1/4 inch – to account for the thickness of the elastic.
I hope you enjoyed this tutorial and are ready to go make yourself a string bikini bottoms pattern!
If you want more help with learning to sew swimwear, I have a Quickstart Guide to Sewing Swimwear PDF that will take you through all the basics – what supplies and fabrics to use and tips for sewing swimwear fabric.
Get the guide here:


[…] That’s what we’re going to be talking about today – how to sew a string bikini bottom with side ties. Now, I also have another tutorial showing you how to turn a regular bikini bottoms pattern into a string bikini bottoms pattern. So if you want to make your pattern first, and then come back to this tutorial, you can find the pattern making tutorial HERE. […]