
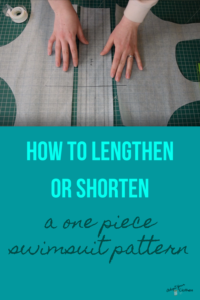
One of the most common problems people have with one piece swimsuits, whether buying or making a swimsuit, is the length of the body! If you have a long torso, it can be so hard to find a swimsuit that’s long enough – and if you have a short torso, it can be hard to find a one-piece that’s not too long! But as a sewist, you can make a swimsuit that fits perfectly!
That’s why today I’m bringing you a tutorial to show you how to easily lengthen or shorten the length of a one piece swimsuit sewing pattern. So you can make your own custom-made one piece swimsuit that fits better than anything you’d find in a store!
So before we get into the tutorial, I want to talk a little bit about deciding how much to shorten or lengthen the pattern by. What I normally do is sew a test garment or “muslin” out of my lining fabric before even cutting into my main fabric to test the fit of the pattern. Then, if the muslin fits, I can seam rip it and use it as my lining. And if it doesn’t fit I can adjust my pattern.
So if you make a muslin and find that the pattern is too long for you (so you’re getting folds of excess fabric), bring all the folds of fabric up to your waist to make one big fold, pinch it out and measure how much fabric you’re pinching out – that’s how much you want to remove.
Now if your muslin is too short (it’s pulling down the armholes under your arms, pulling down the neckline, and pulling up the legholes), determine how much it is being pulled in by – and this is really personal preference – but add up how much higher you want the armholes to be and how much lower you want the legholes to be. That’s how much you want to add to your swimsuit.
Alright, now for the tutorial! I have a video tutorial for you here, but if you’re just looking for the scanable version – scroll on past the video for the written tutorial.
What you need
*This list contains affiliate links for your DIYing convenience, so I receive a small commission if you buy something through my links. This really helps to support my site so I can keep creating DIY tutorials to help you create your dream wardrobe.
- swimsuit pattern that you want to adjust
- extra pattern paper (or just regular paper) – if you’re planning to lengthen the swimsuit pattern
- pen or pencil
- ruler
- optional: french curve ruler
Video
Written Tutorial
So these first couple steps are the same regardless of if you are lengthening or shortening the swimsuit. And also keep in mind that you’ll need to repeat this whole process on both the front and the back pattern pieces – because they need to match!
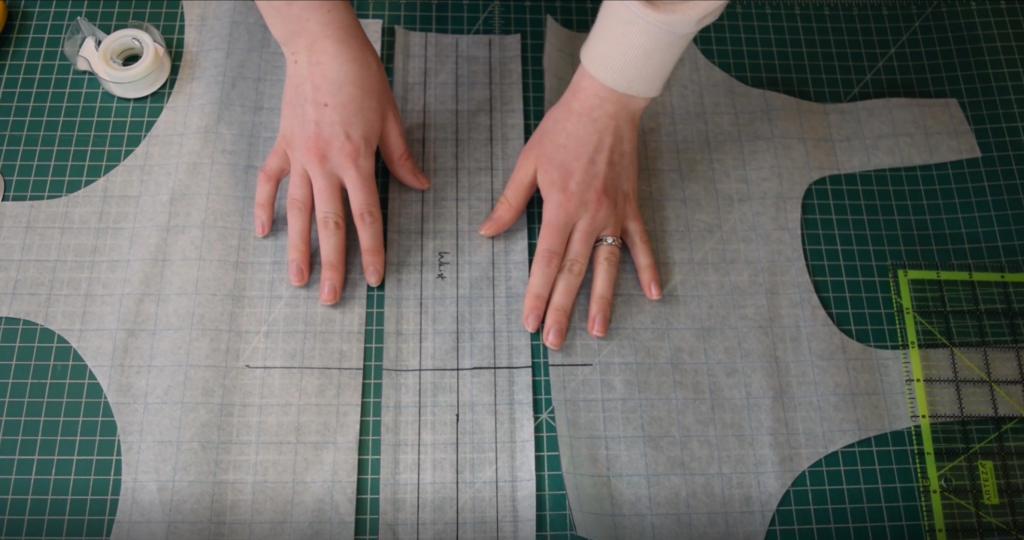
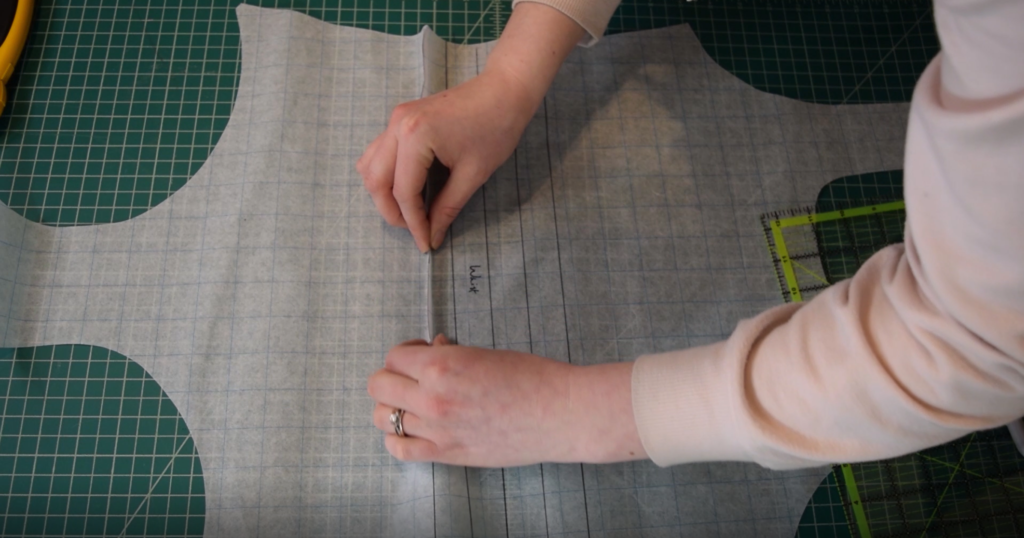
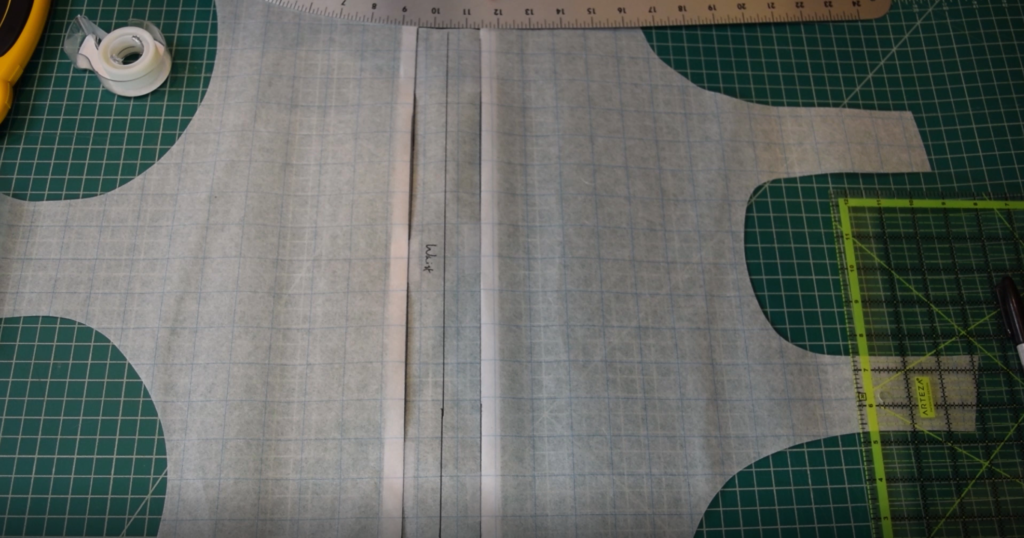
First, mark the waist of your swimsuit pattern with a horizontal line. The waist is just the narrowest part of the body of your swimsuit – and you can totally just eyeball this!
Next, draw another line 2 inches below the waist and a third line 2 inches above the waist. I like to split the amount I plan to remove/add and distribute it evenly above and below the waist. This is because if you add all the length in the waist area (which is the narrowest area), you’ll end up with this narrow part of the suit being much longer or shorter than it should be. What I’m trying to say is, it’s best not to mess with the waist! Hence, we alter above and below the waist.
Now is where things start to change depending on whether we are adding or removing length. So, let’s start with making the suit shorter!
Shortening the Swimsuit Pattern
So let’s imagine we want to take 2 inches of length out of the swimsuit. So I’m going to split that evenly and take 1 inch each out of above and below the waist at the lines we drew. So the next thing I’m going to do is draw another line 1 inch above our lowest line and a final line 1 inch below our top line.
Then fold the pattern paper all the way along the lowest line.
Then fold it up and match up the edge of the lowest line with the line we drew 1 inch above it.
Tape this in place, and you’ve successfully taken 1 inch out below the waist!
Next, repeat the same process to remove 1 inch from above the waist – fold along the upper most line and tape it down to match the line 1 inch below it.
You’ve removed 2 inches from the length of the suit! Next, just grab your french curve ruler (or just freehand it) and even out the curves along the edges of the suit where we folded up the pattern paper. Trim off the excess, repeat the process with the back pattern piece, and you’re done!
Lengthening the Swimsuit Pattern
Now let’s talk lengthening the pattern. So I’ve untaped the pattern so I can show you can lengthen it.

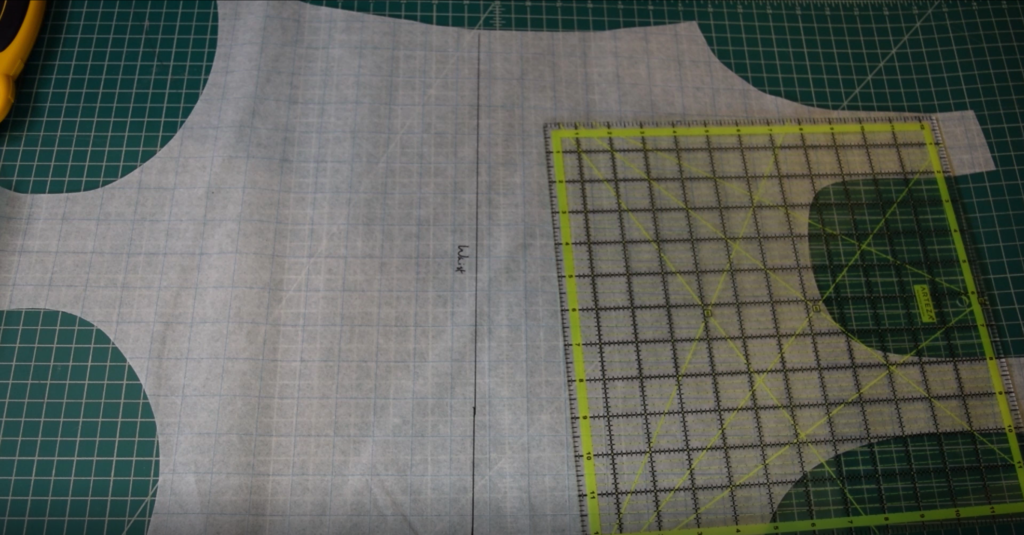
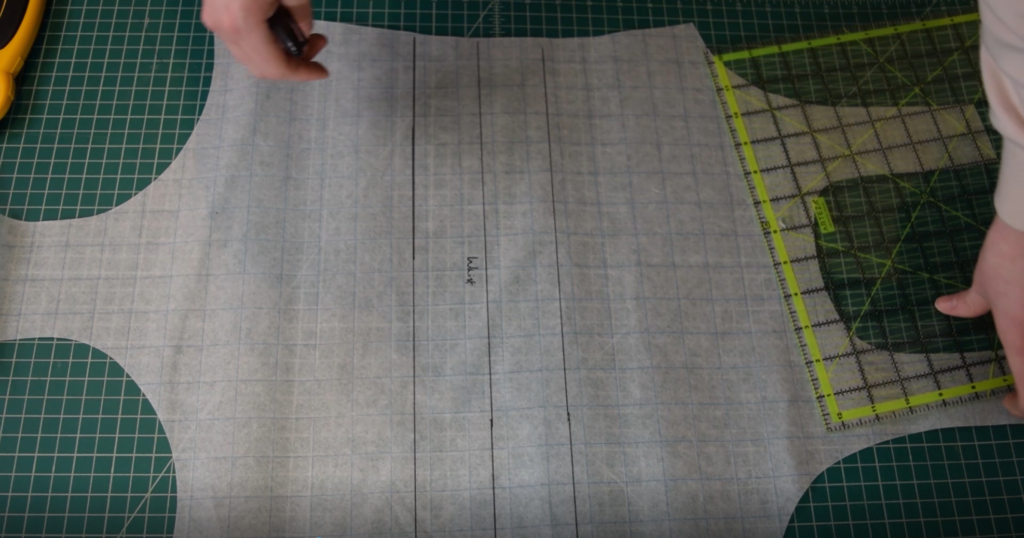
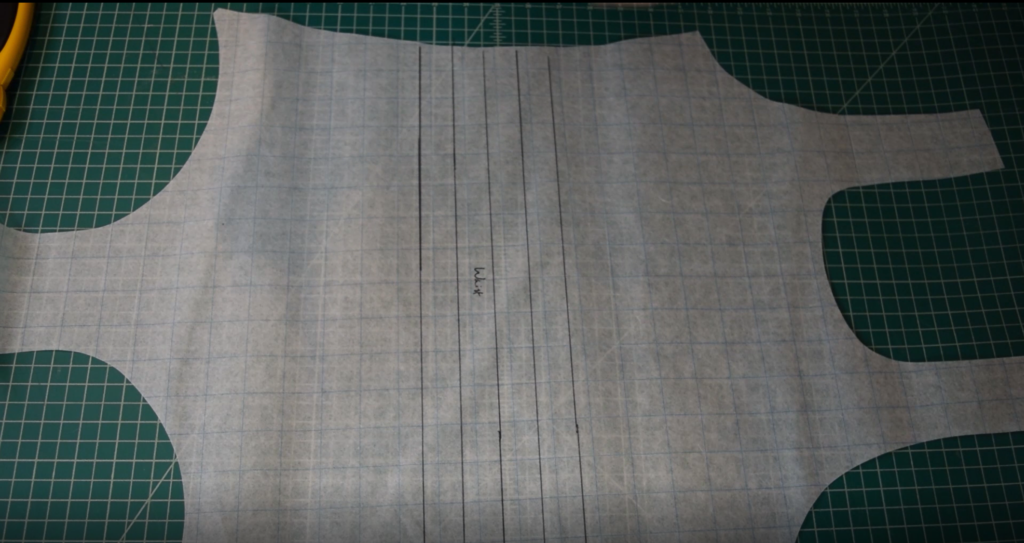
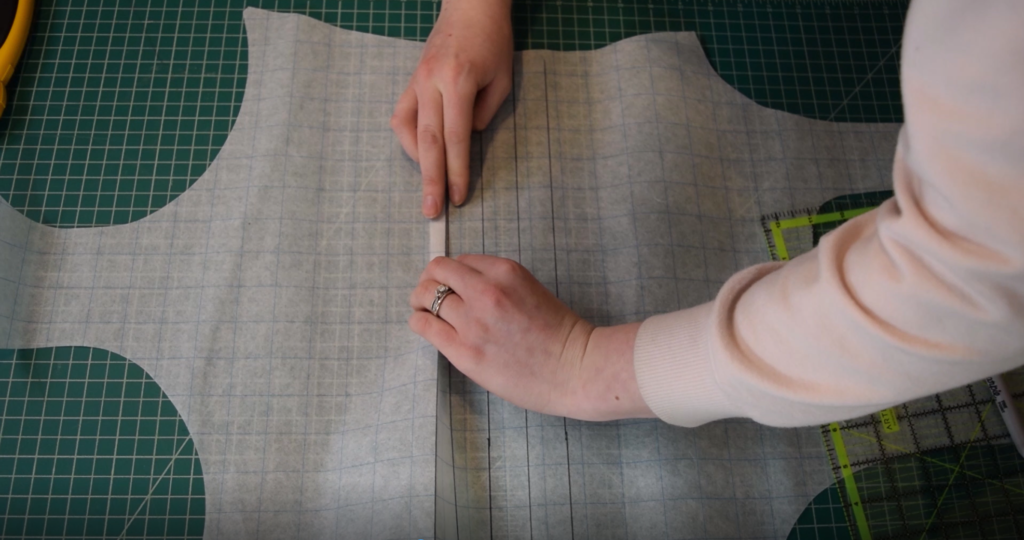
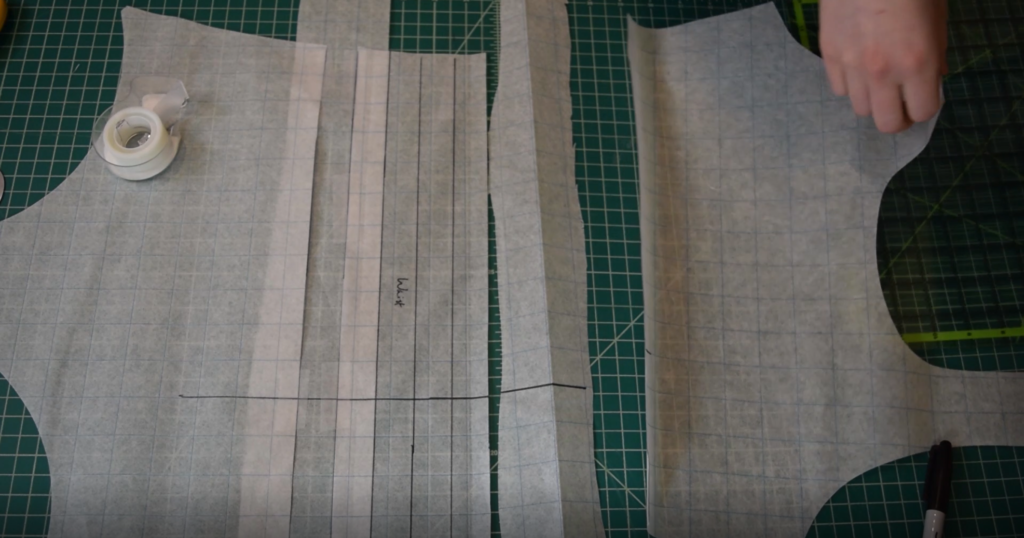
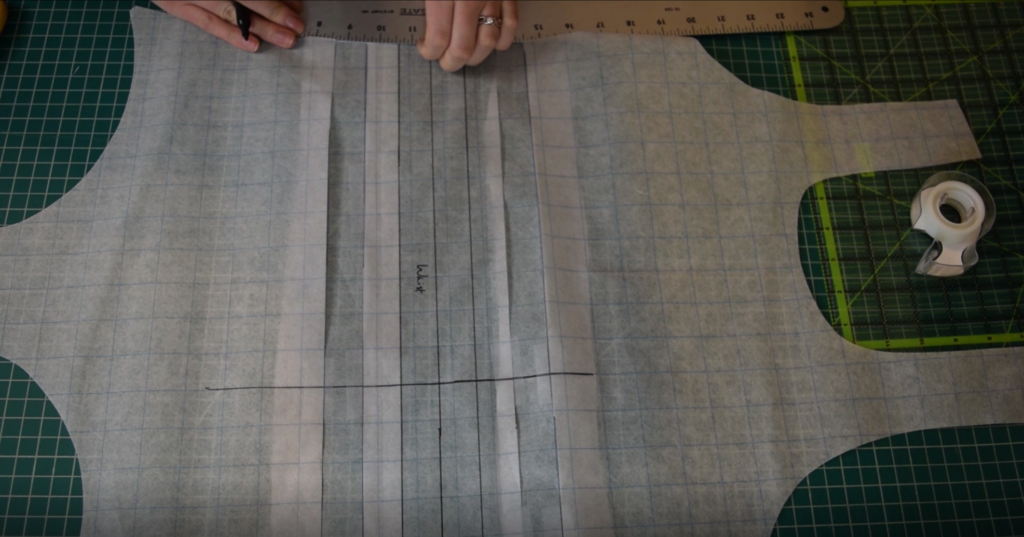
To lengthen the pattern, we need to “slash and spread” it to add more pattern paper to it. But first, draw a vertical line through all our horizontal lines – this is going to help us keep everything in line when we add more pattern paper. Then cut all the way across the pattern along the line 2 inches below the waist and the line 2 inches above the waist. So we’ll end up with 3 pieces of our pattern: upper, middle, and lower.

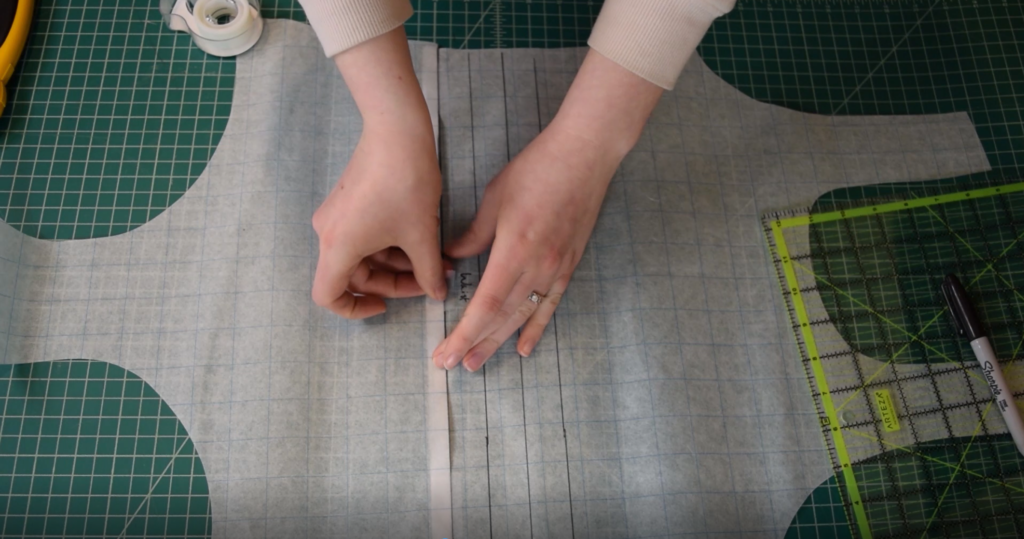
Next, I’m going to add 1 inch below the waist. So grab an extra piece of pattern paper, make sure it’s longer than the width of the swimsuit. Then draw a vertical line through the extra pattern paper.
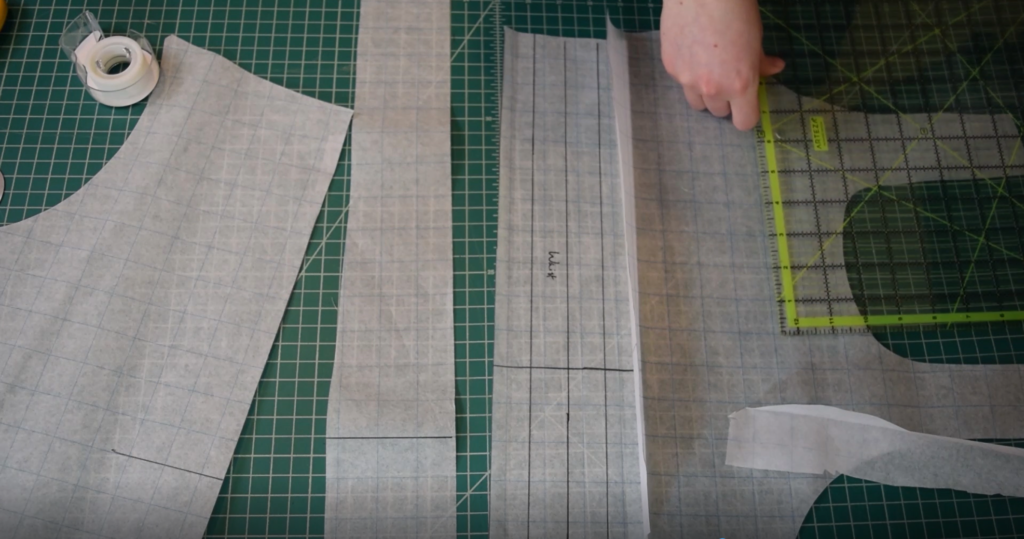
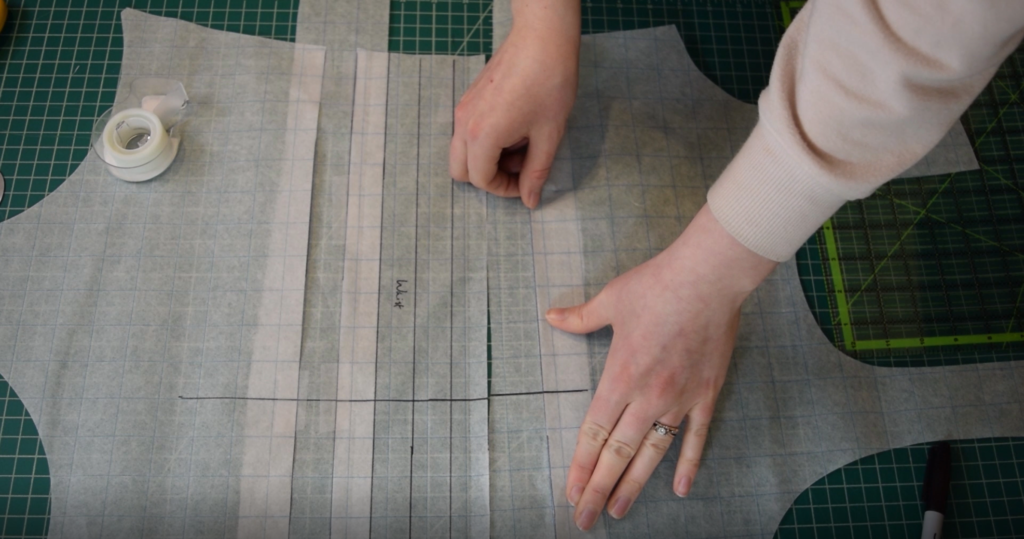
Then line up the vertical line on the middle/waist pattern piece with the vertical line on the extra pattern paper. Tape it in place!
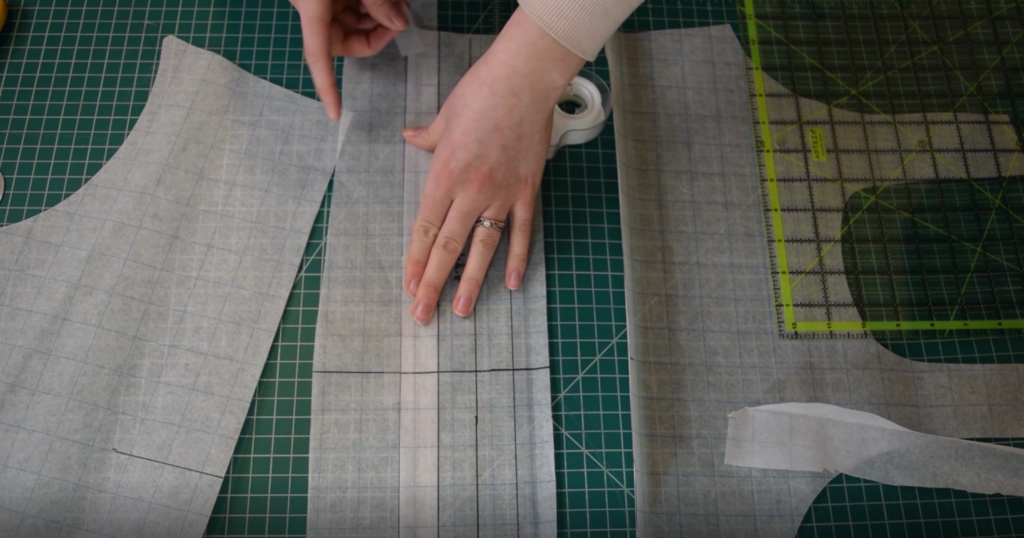
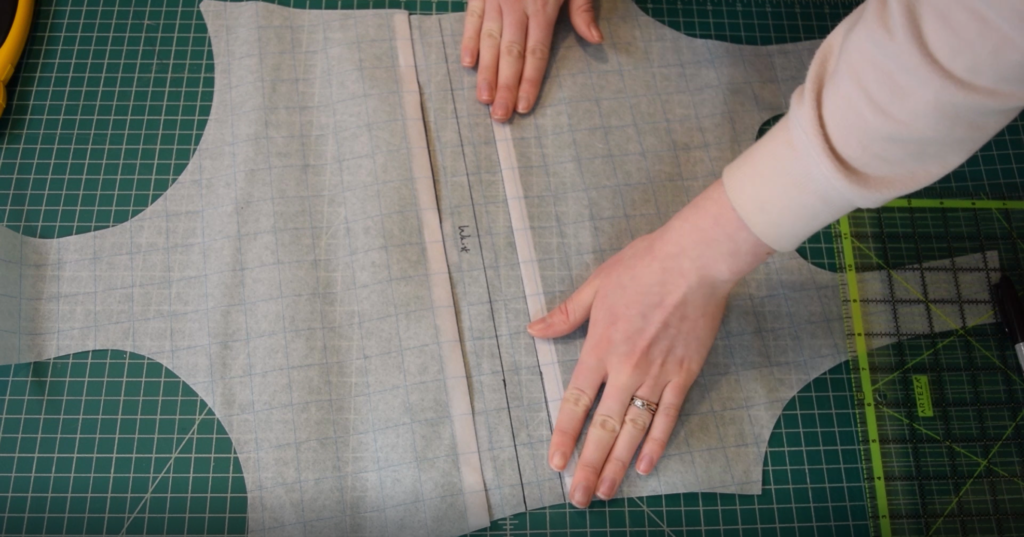
Next, line up the vertical line on the lower pattern piece with the vertical line on our taped down extra pattern paper. Make sure it is 1 inch below our original waist piece and tape it down.
Now let’s add an inch above the waist. Grab another piece of pattern paper and draw a vertical line through it.
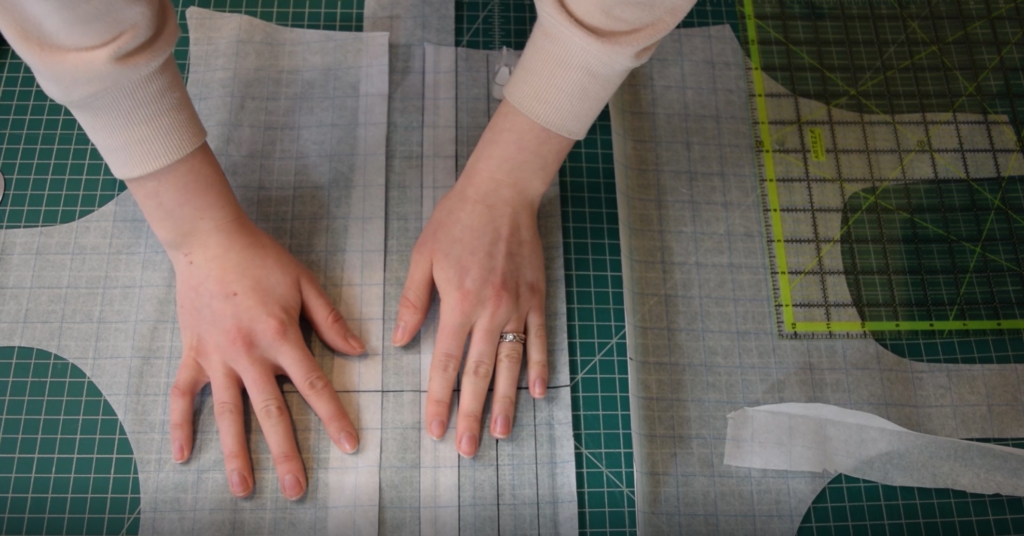
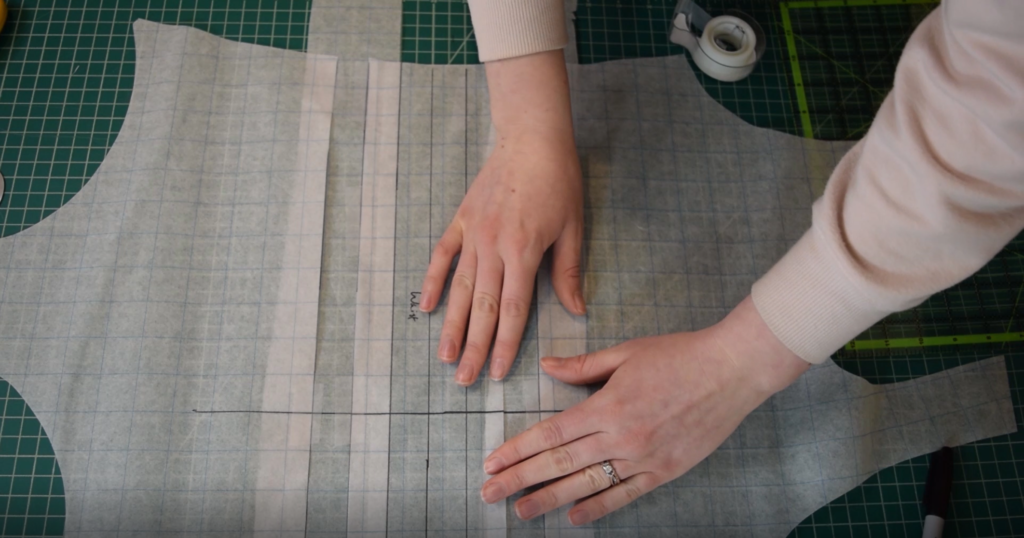
Next, line up the vertical line on the upper pattern piece to the line on our strip of pattern paper and tape it down.
Then line up the vertical line on the waist piece with the line on the strip of paper taped to the upper pattern piece. Measure to make sure the waist piece is 1 inch below the upper piece and tape it down!
And the final step! Just even out the curves on the edge of the swimsuit with the french curve ruler, trim the edges, and you’re done!
I hope you found this tutorial helpful and you’re ready to go out and make a one piece swimsuit that fits! If you want more help sewing swimwear, I have a Quickstart Guide to Sewing Swimwear to help you get started – GRAB IT HERE .


1