
String bikini bottoms are a real basic when it comes to your swimwear collection. You can mix and match it with just about any bikini top. And it’s also a pretty simple style to sew!
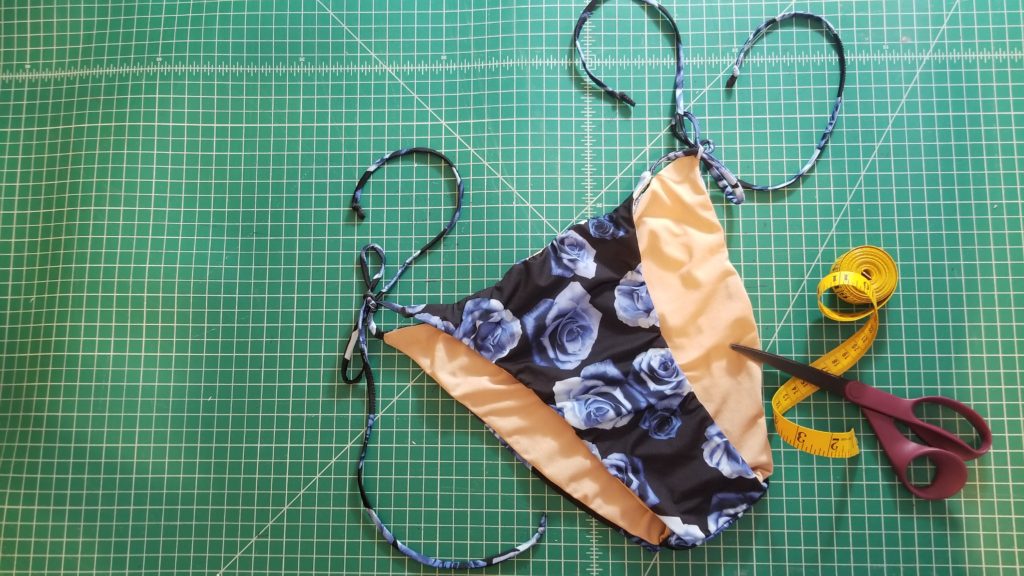
That’s what we’re going to be talking about today – how to sew a string bikini bottom with side ties. Now, I also have another tutorial showing you how to turn a regular bikini bottoms pattern into a string bikini bottoms pattern. So if you want to make your pattern first, and then come back to this tutorial, you can find the pattern making tutorial HERE.
So now onto the sewing! Down below the materials list for this project, you’ll find a full video tutorial. And if you scroll down a little further you’ll find the written tutorial. So it’s completely up to you if you prefer to watch the video or go through the written instructions!
What you need
*This list contains affiliate links for your DIYing convenience, so I receive a small commission if you buy something through my links. This really helps to support my site so I can keep creating DIY tutorials to help you create your dream wardrobe.
- string bikini bottoms pattern – check out THIS post to learn how to hack a pattern
- swim fabric and lining fabric (or you can use two swim fabrics because it will be reversible)
- scissors or rotary cutter and mat
- sewing machine with needles (stretch needles) and thread
- serger (optional)
- hand sewing needle and thread
- swim elastic (1/4 inch)
- ballpoint pins
- loop turner or safety pin
Video Tutorial
Written Tutorial
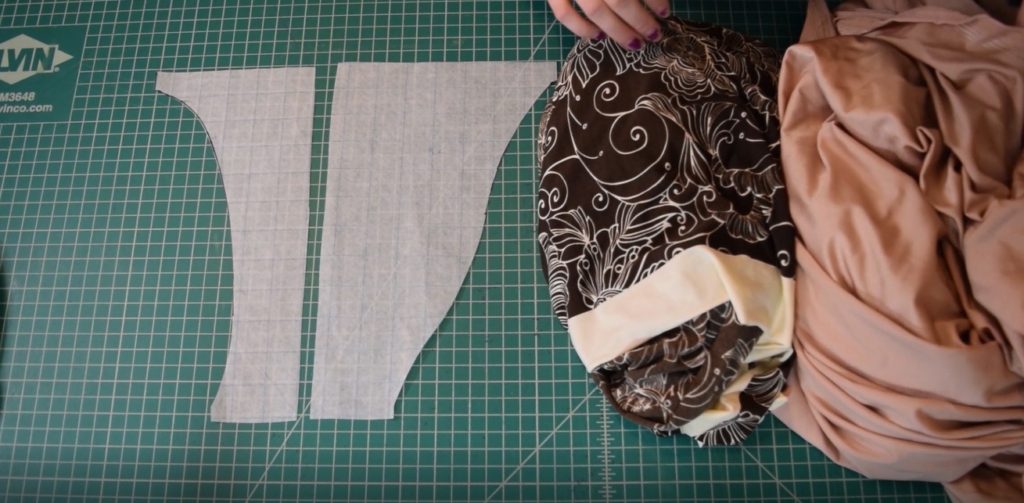
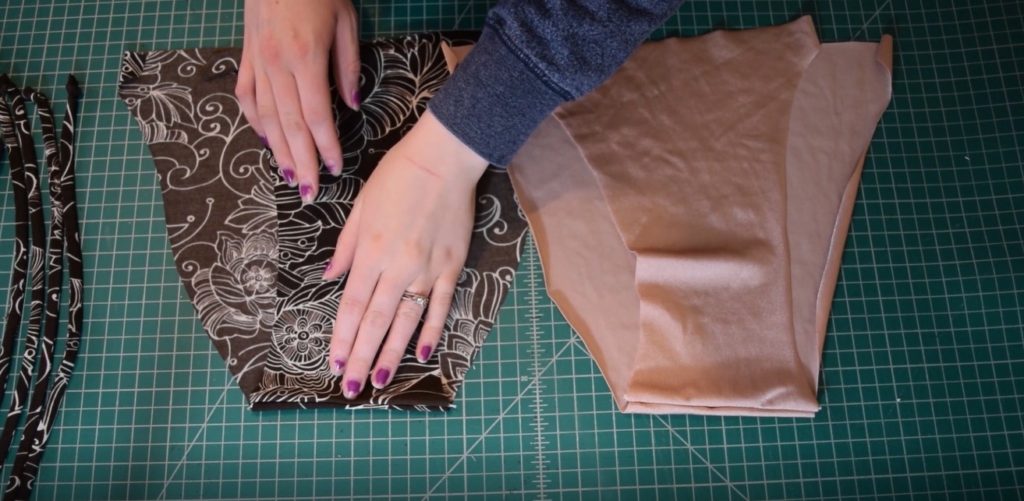
Of course, as with almost any sewing project – the first step is to cut out your swimsuit. Cut one front and one back out of your main fabric and one front and one back out of your lining.
Once the main pieces are cut, it’s time to cut the straps/ties. To cut the ties, I cut 4 15 inch long strips of my main fabric that were 1.25 inches wide.
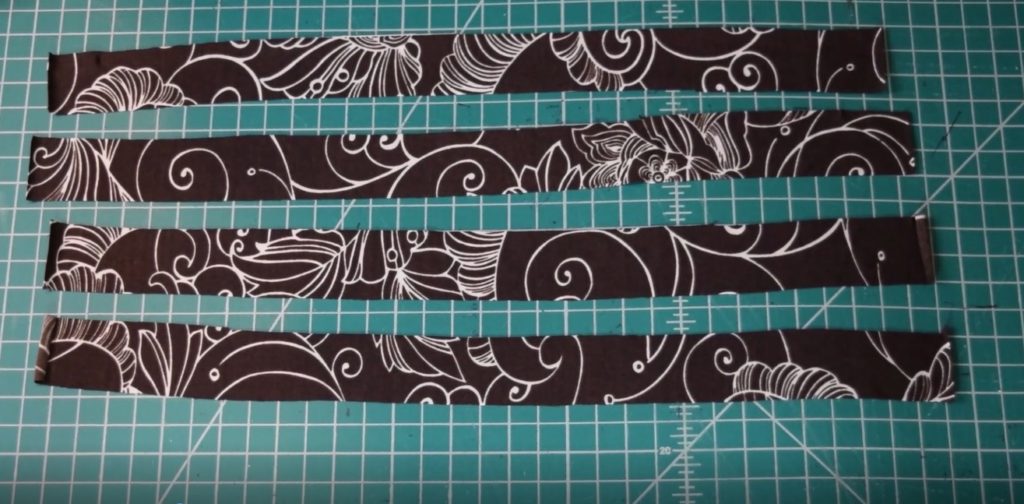
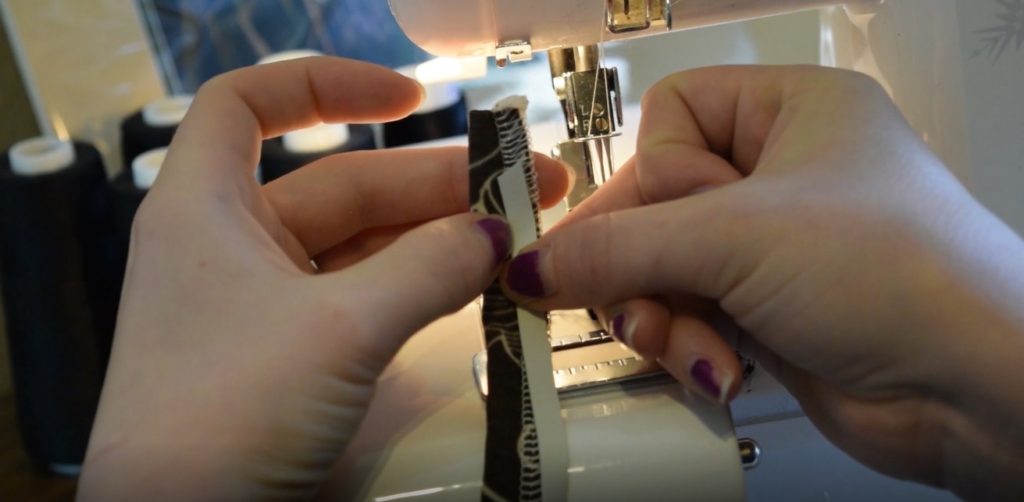
Now that everything is cut out, let’s start preparing the ties. The first thing we’re going to do is fold them in half lengthwise with right sides together. Then sew or serge the raw edges together to form a tube. You can pin this if you want, but I usually fold as I sew.
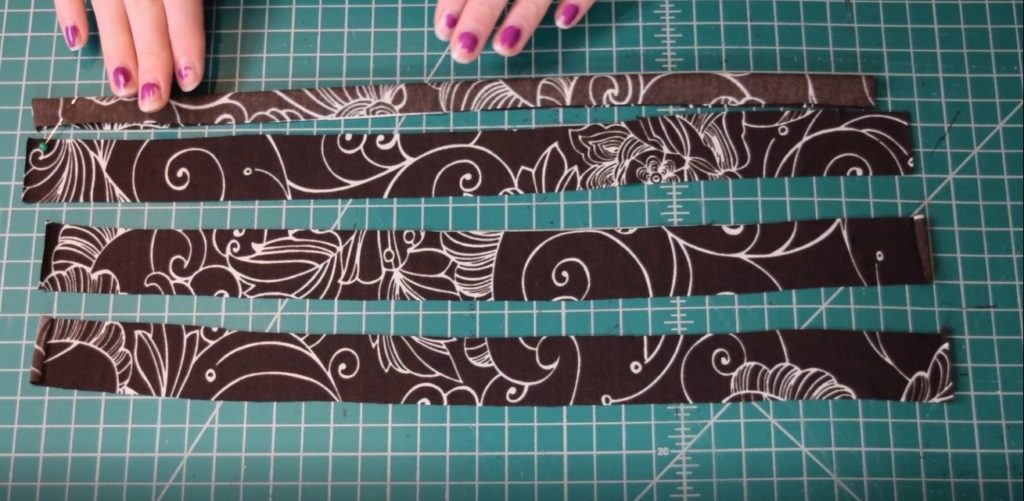
Once you get the four ties sewn into tubes, we need to add some elastic. You can skip the elastic if you want, but I just find it lasts a lot longer and stays up a lot better with elastic in the ties. So I sewed some 1/4 inch swim elastic into the seam allowances of each of the ties – just going right back over my original stitching with the elastic. I also made sure to start and end the elastic about 1/2 inch from the ends of the ties to reduce bulkiness later. Another thing – I do NOT stretch the elastic or the fabric as I sew. You’ll get a much nicer tie if you don’t stretch it.
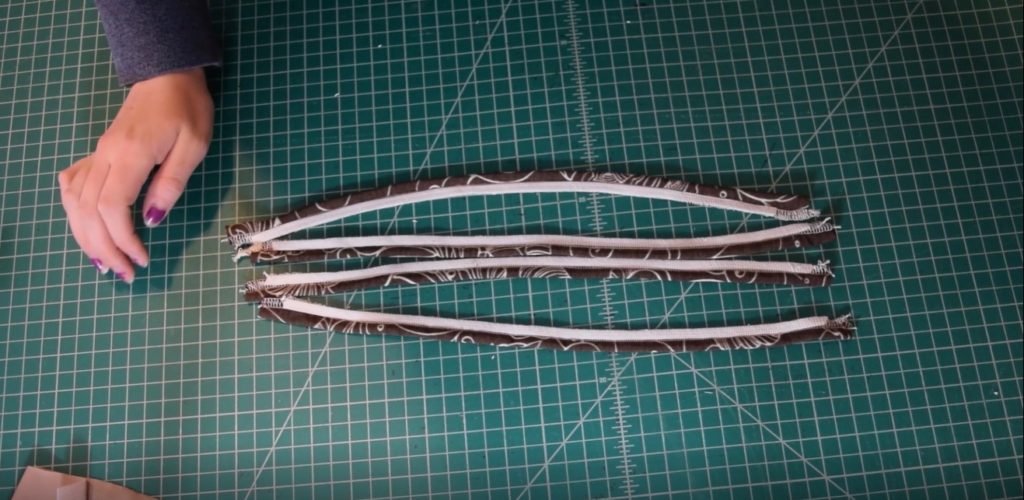
Here’s how they look with all the elastic sewn in:
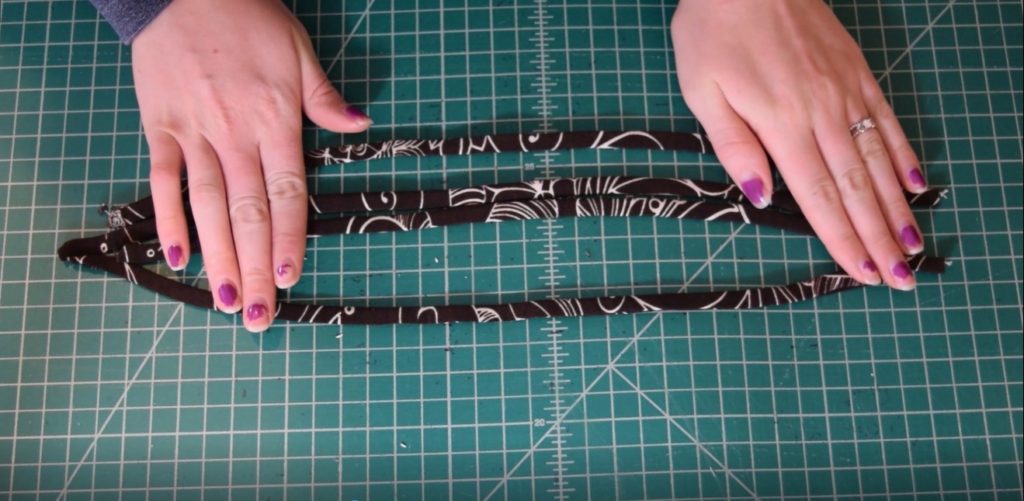
Next, I turned the four ties right sides out with my loop turner. You can use a safety pin if you don’t have a loop turner.
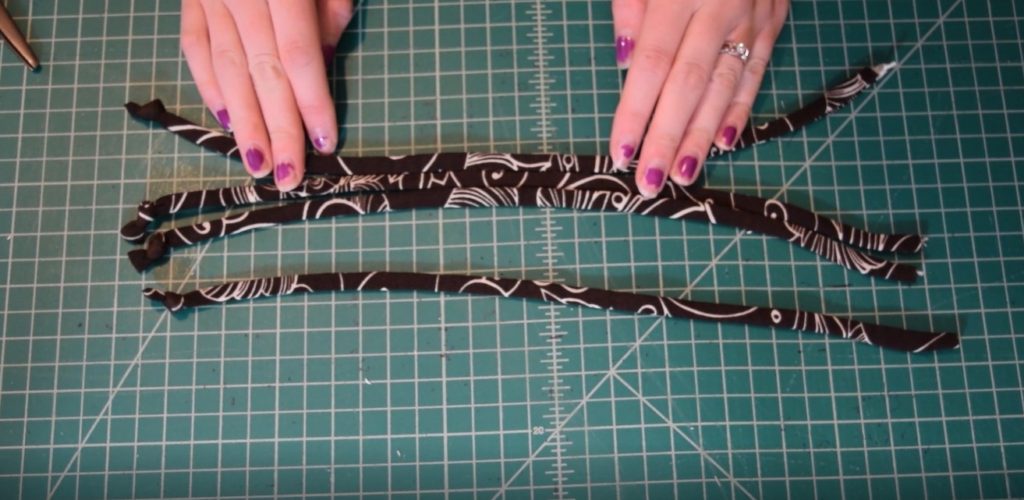
Next, we need to finish just ONE side of each of the ties. The other side will be sewn into the body of the swimsuit, so can be left raw. To finish one side of each, I pushed the raw edges to the inside of the ties, then sewed the openings closed with a hand sewing needle. Once I finished that, I tied a little knot in the finished end of each tie – just because I think it looks cute. The knot is totally optional though!
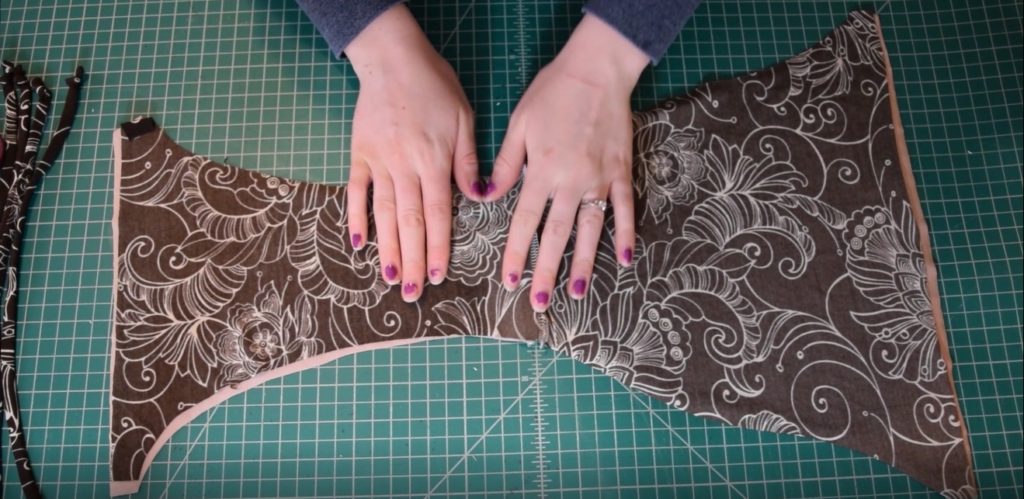
Now that our ties are ready, we can set them aside and move on to putting together the rest of the swimsuit. First, sew the crotch seams of the outer fabric front and back together as well as the two lining pieces. On the lining pieces though, leave a one inch opening in the crotch seam. This is how we will turn the swimsuit right sides out later.
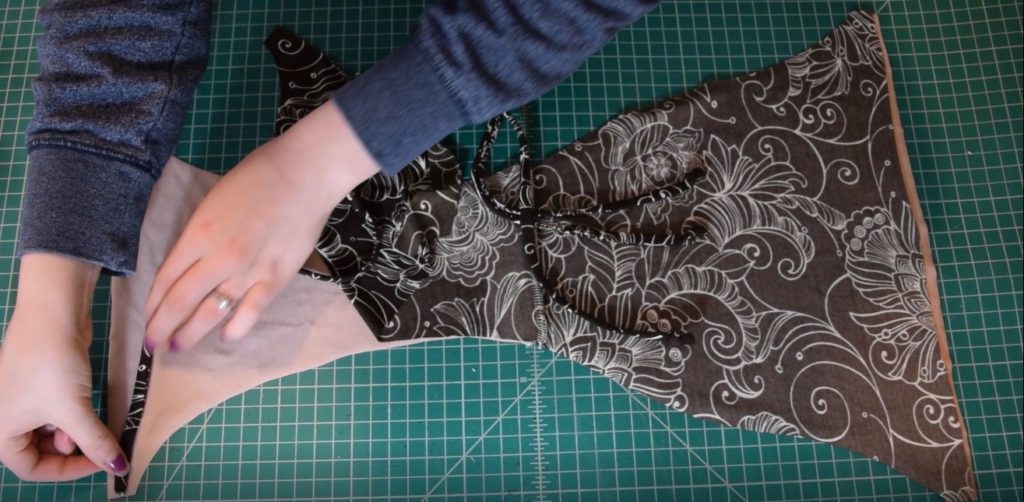
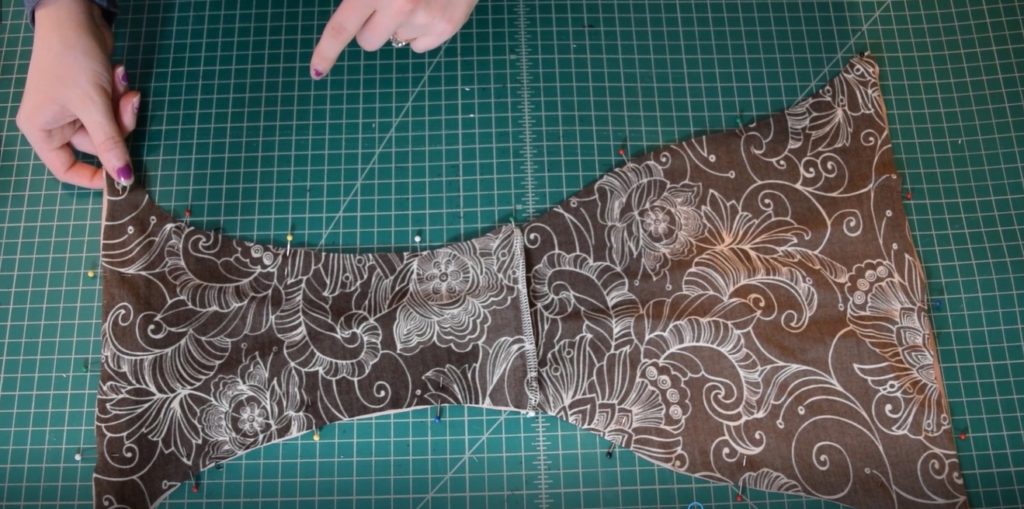
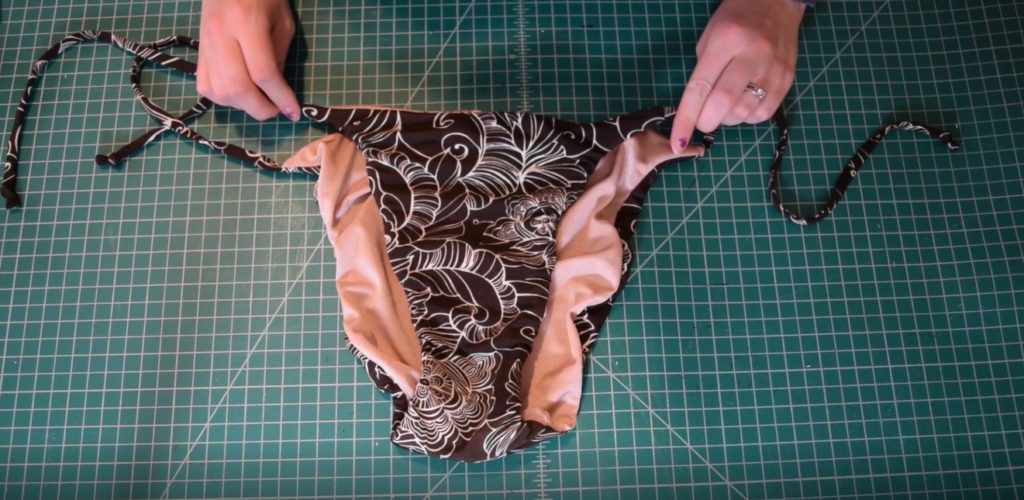
Next, lay the lining out on the table with the right side facing up. Then lay the main fabric swimsuit on top of it, with right sides together, lining up the swimsuits.
Next, grab a tie and line up the RAW edge of the tie with one of the little square tie attachment points at the sides of the bikini bottoms. Make sure to line it up on top of the lining, pulling the main fabric back.
Next, place the main fabric back on top of the lining, sandwiching the strap between the layers. Pin it in place, then repeat the process to pin one strap to each of the four tie attachment areas.
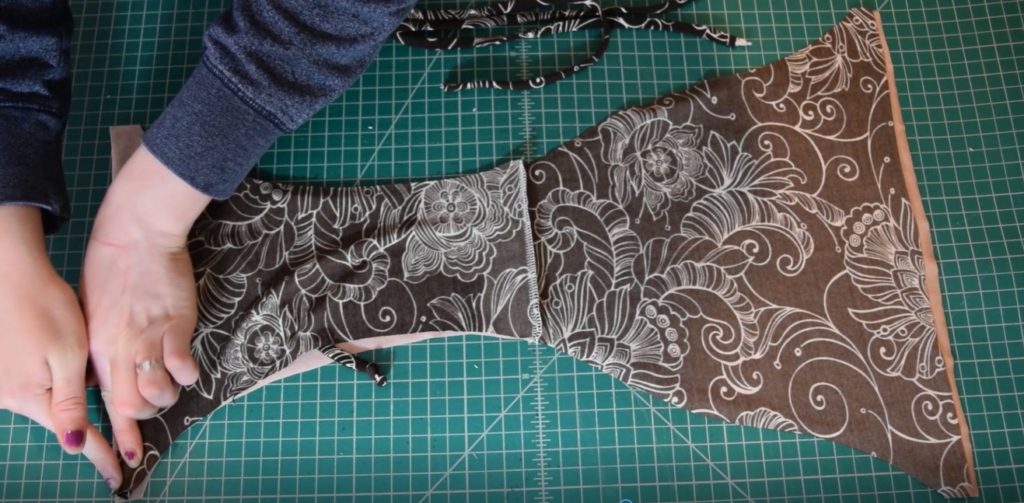
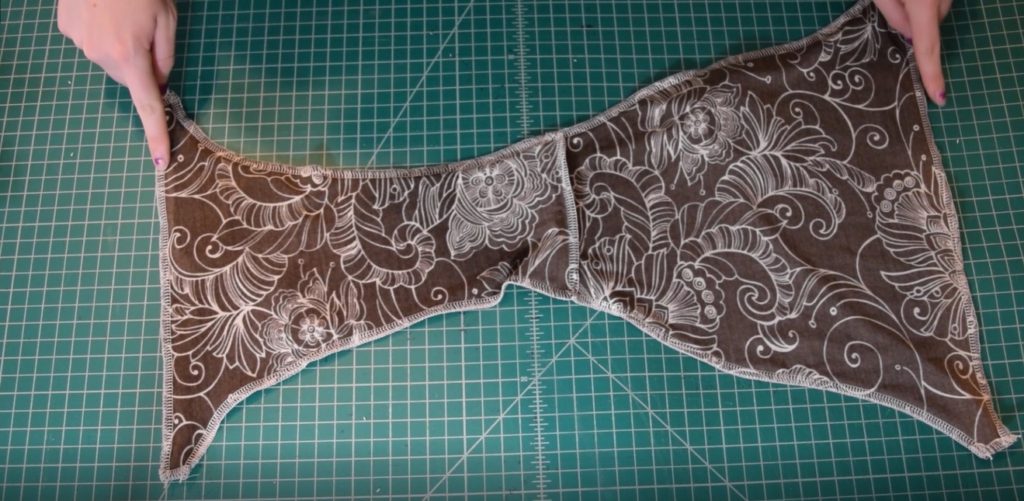
Next, continue pinning the lining to the main fabric around the rest of the swimsuit. So the ties will be encased inside the swimsuit.
Then just take it to your serger or sewing machine and sew ALL of the edges together. So the only opening remaining is the one we left in the crotch of the lining.
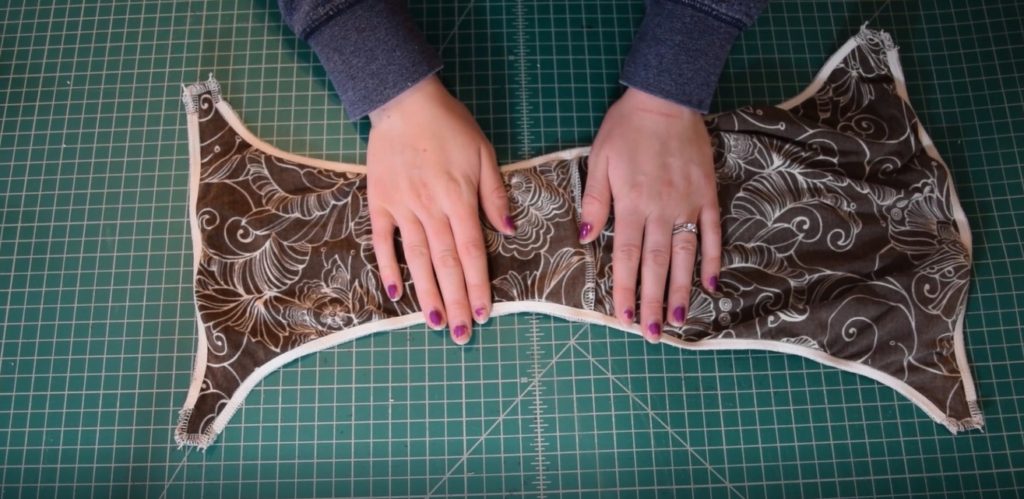
Now we need to add some elastic. I sewed my elastic into the leg openings and the front and back waistlines, making sure to stay 1/2 inch away from the strap attachment points to reduce bulkiness. I did stretch the elastic slightly while sewing, especially around the bum area – just because I like a very snug elastic fit. But that is optional. If you want the swimsuit to lay flatter and look pretty when it’s laying on the table, then don’t stretch the elastic as you sew. You also want to make sure you apply the elastic to the SAME side all the way around – I like to apply mine to the main fabric side.
We’re almost done! Next, just turn the swimsuit right sides out by pulling it through the opening left in the lining crotch.
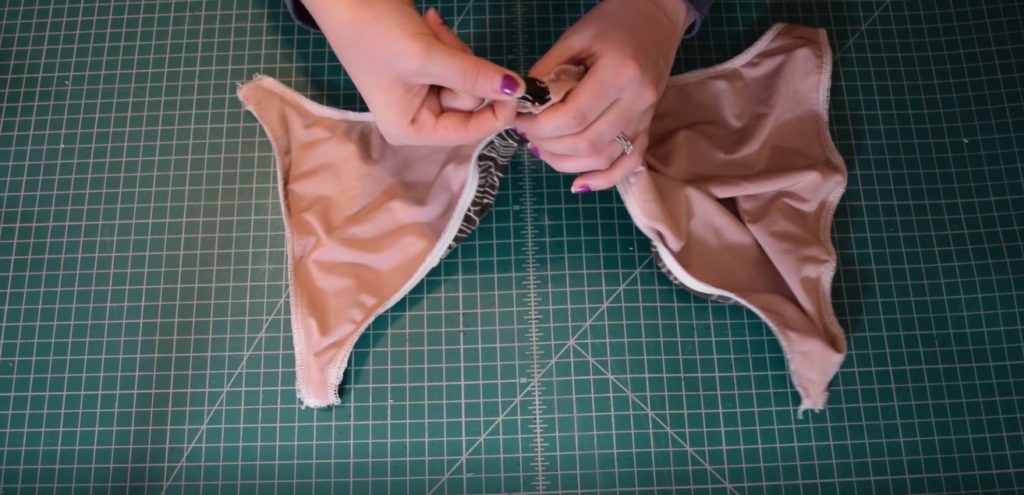
And once it’s turned right sides out, just close up the opening in the crotch lining with a hand sewing needle or a machine straight stitch close to the edge. And you’re done!
I hope you enjoyed this tutorial! If you are new to sewing swimwear, I have a downloadable PDF Quickstart Guide to Sewing Swimwear that will help you get started right! You can grab it HERE , just put in your email and I’ll send it straight to your email inbox.


[…] you how to actually sew it up once you’ve made your pattern! You can find that tutorial HERE. […]
1