
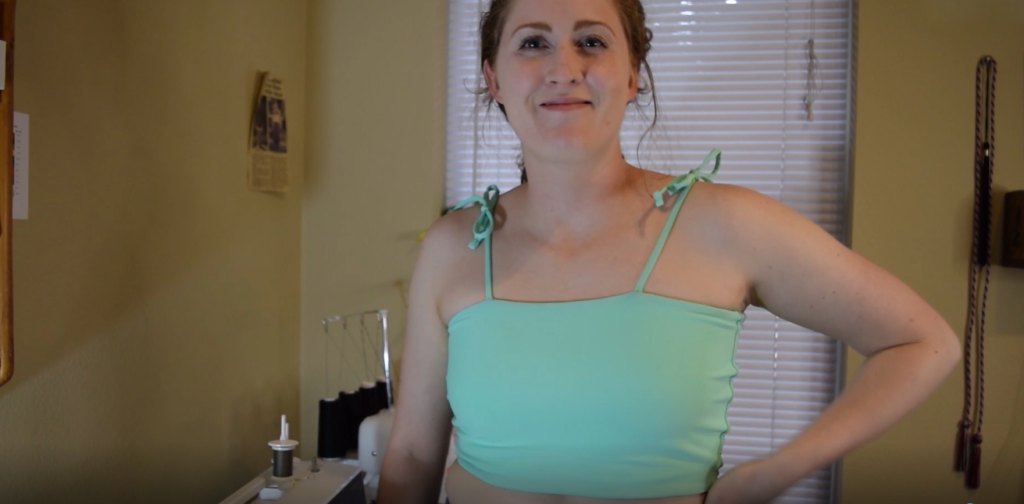
Today we’re going to be doing a little pattern drafting together! I’m going to show you how to use your measurements to draft a pattern for a simple bandeau top. The version I made also had shoulder ties, but you can totally eliminate those if you want a strapless top.
After showing you how to make the pattern, I’ll then show you how to sew it up into a bandeau bikini top. You could also use another type of knit if you’d like to make a non-swimsuit version – but it needs to have at least 25% stretch!
Ok, let’s get into the tutorial! I have a video tutorial, but if you prefer to skim a written tutorial, just keep on scrolling past the video. But first, what supplies you’ll need.
What you need
*This list contains affiliate links for your DIYing convenience, so I receive a small commission if you buy something through my links. This really helps to support my site so I can keep creating DIY tutorials to help you create your dream wardrobe.
- pattern paper
- pen
- ruler
- french curve ruler (optional)
- measuring tape
- fabric
- ball point pins
- sewing machine
- thread
- stretch needle (for swim fabric)
- scissors
- 1/4 inch elastic
- serger (optional)
- hand sewing needle
Video Tutorial
Written Tutorial
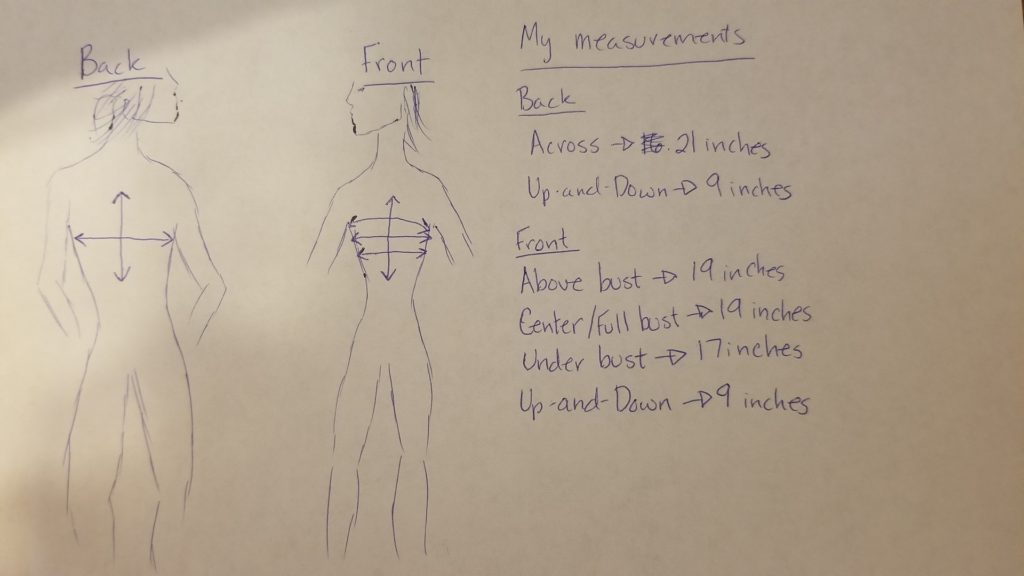
Ok, so the first thing you’ll need to do is take a few measurements. I have a little diagram of the measurements I took in the photo below. But basically for the back measurements, I took the width across the widest part of my back, from side seam to side seam. I also took the vertical measurement from where I wanted the top of my bandeau to be to where I wanted the bottom to be. On the front I took three horizontal measurements from side seam to side seam: the upper bust (above the bust), the bust (widest part of the chest), and the under bust (right below the chest). I also took the same vertical measurement as the back to just check my measurement – but you want the vertical measurement to be the SAME on the front and back, so just pick one and stick with it.
Next, you want to subtract 20% off each of your measurements, except the vertical measurements. This is because you want the bandeau top to stretch across your body – so the measurements of the top need to be smaller than your actual body measurements. I find taking off 20% is usually a good place to start, but I will say – after sewing it up, I would have preferred to have taken off more like 30% for my specific fabric. My fabric was super stretchy (over 50% stretch), so taking more off would have given me a more snug fit.
So to take 20% off, you multiply your measurement by 0.2 and then subtract that amount off the original measurement. So with this formula: measurement – (measurement x 0.2) = your final measurement with 20% removed.
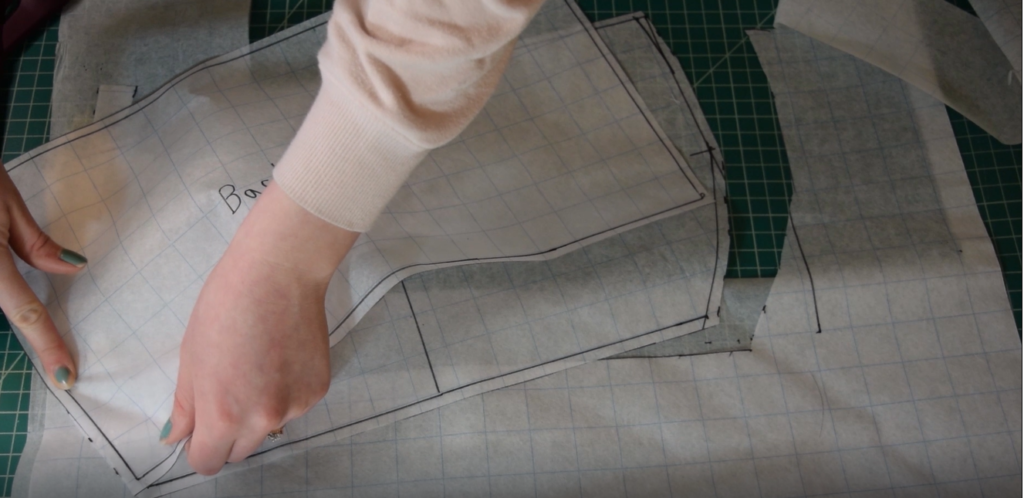
Next, draw out your pattern for the front and back on pattern paper according to the following diagram, but just input your measurements. A ruler will help you get nice perfect lines and measurements. Also, for the curves along the side seams of the front, you can use a french curve ruler or just freehand the curves if you’re feeling confident. After drawing your pattern pieces, you’ll want to add 1/4 inch seam allowances to all the edges.

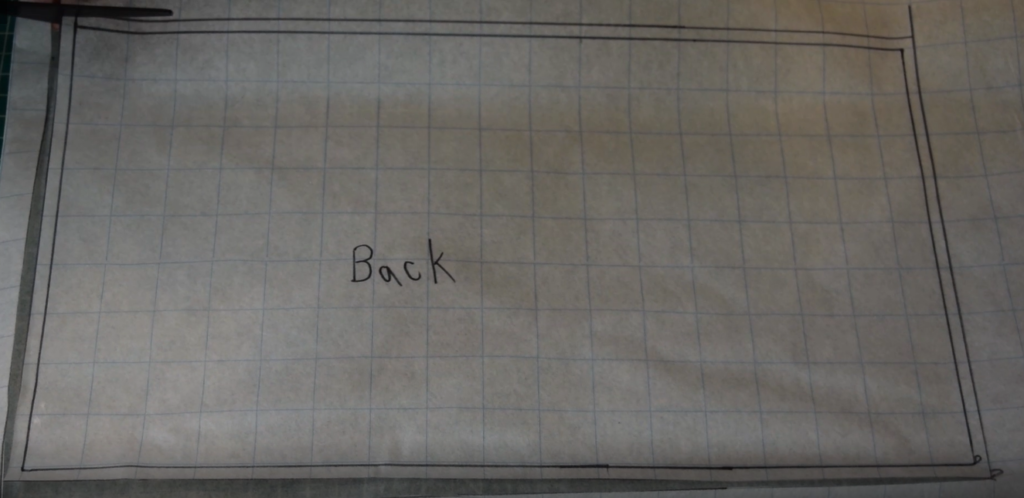
Next, cut your pieces out of the pattern paper.
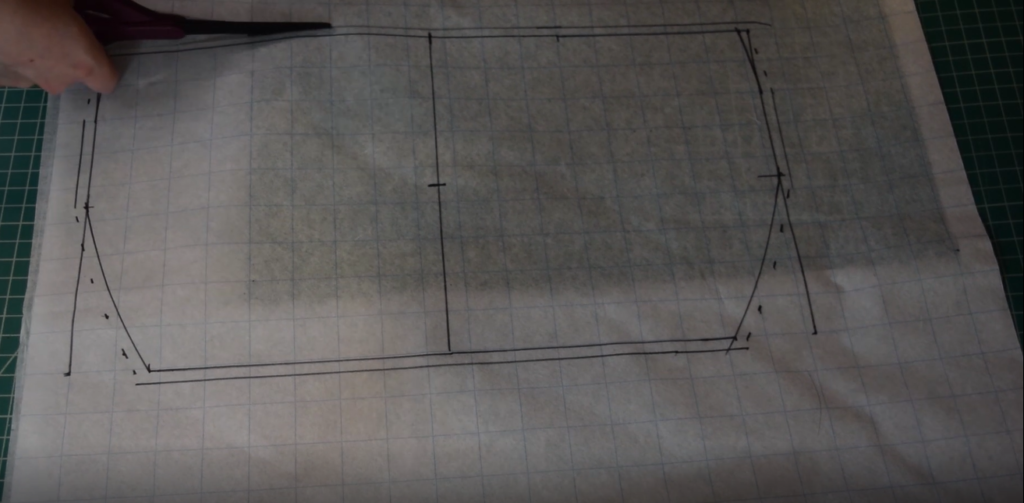
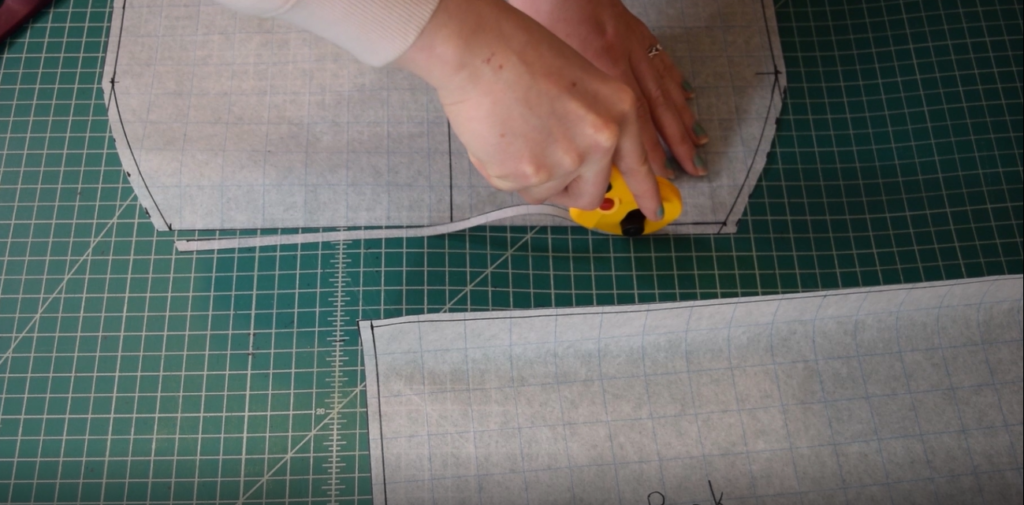
Next, because we added a curve to the side seams of the front pattern piece, the side seam no longer measures 9 inches like the side seam of the back. So I just walked one of the side seams of the back along one of the side seams of the front and measured how much longer the front was than the back. It turned out to be just 1/4 inch longer. So I just lopped 1/4 inch off the bottom of the front piece to make the side seams the same length as the back side seams.
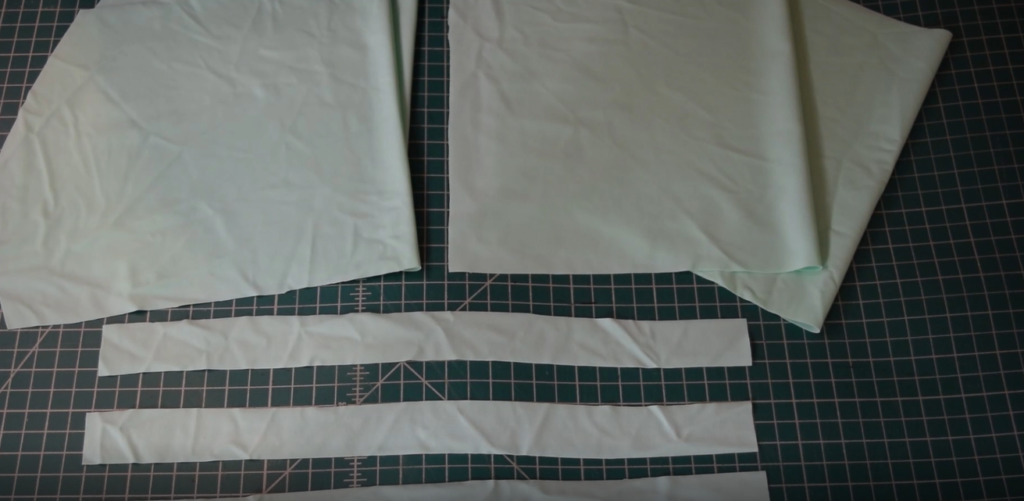
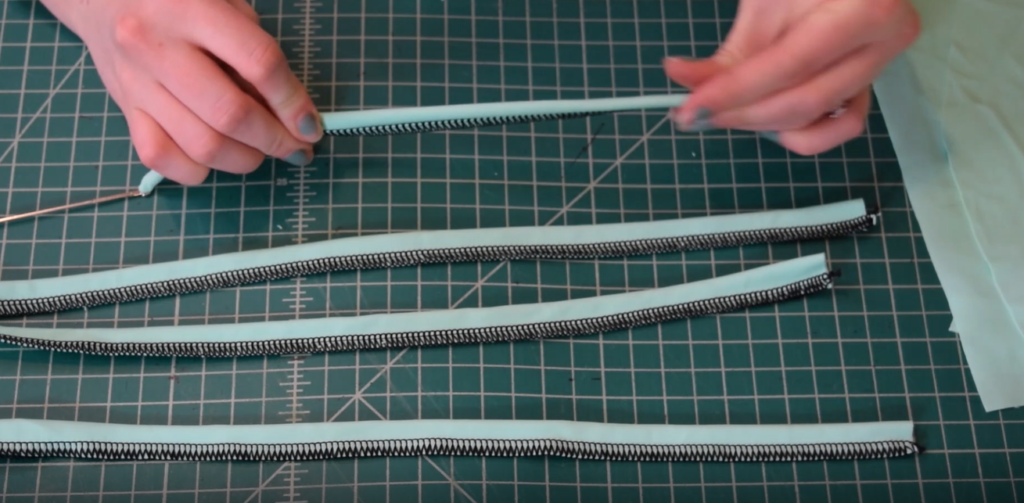
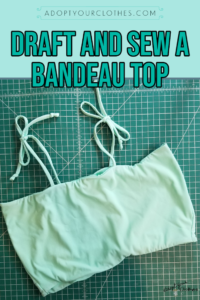
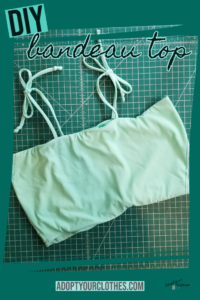
Now your pattern is DONE! Super fast right? So let’s get into sewing the bandeau top. First, cut out 2 of the front piece, 2 of the back piece, and 4 strips of fabric that are 1 1/4 inch wide by 16 inches long.
Now to start sewing. First, let’s put together the straps. I folded each strap in half lengthwise (with right sides together) and serged with a 1/4 inch seam allowance. You could also use a zigzag stitch on your sewing machine.
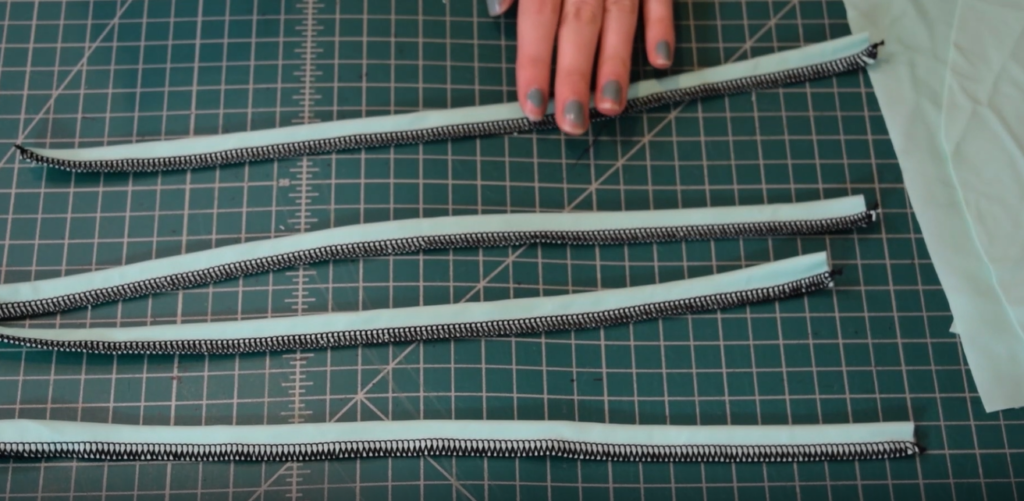
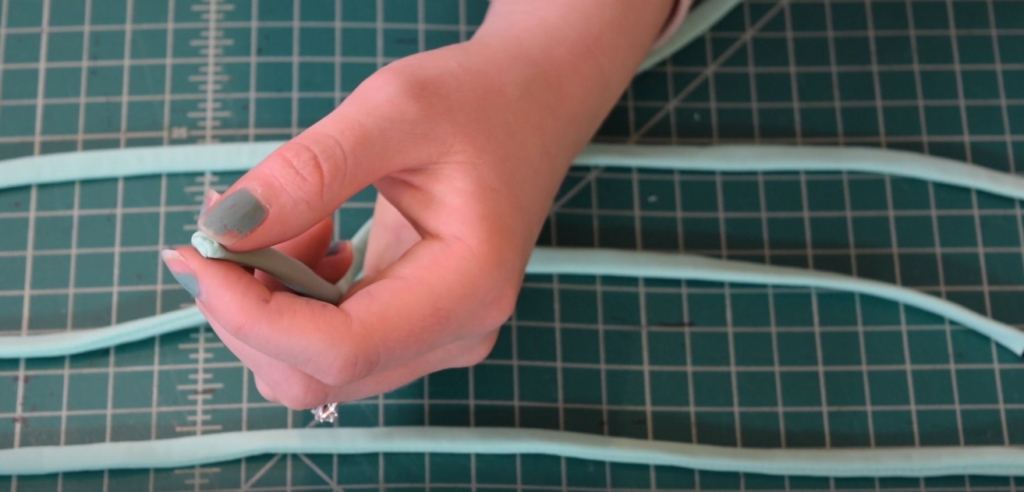
Then turn the straps right sides out with a loop turner or a safety pin.
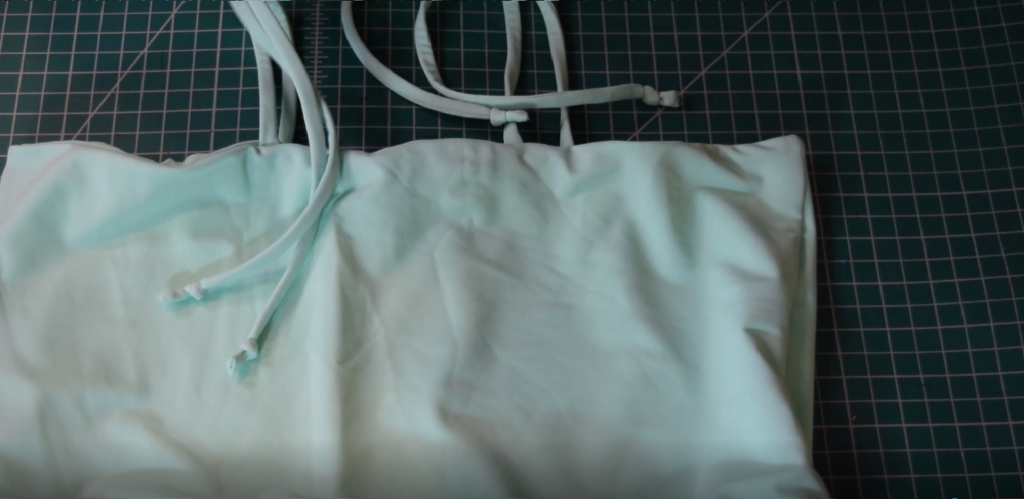
Next, I gave the straps a little press with my iron to just make them nice and flat. Then I finished ONE end of each strap by pushing the raw edges to the inside, then hand stitching the opening closed to hide all the raw edges inside.
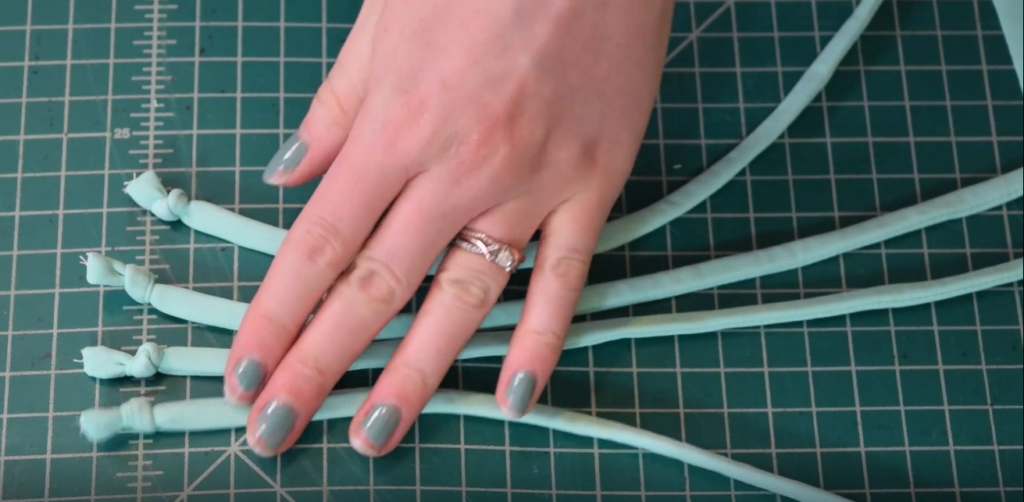
Once each strap had one finished end, I then tied a knot in the finished end of each strap. I just like the look of straps with a knot at the end, but it’s totally up to you if you want the knot.
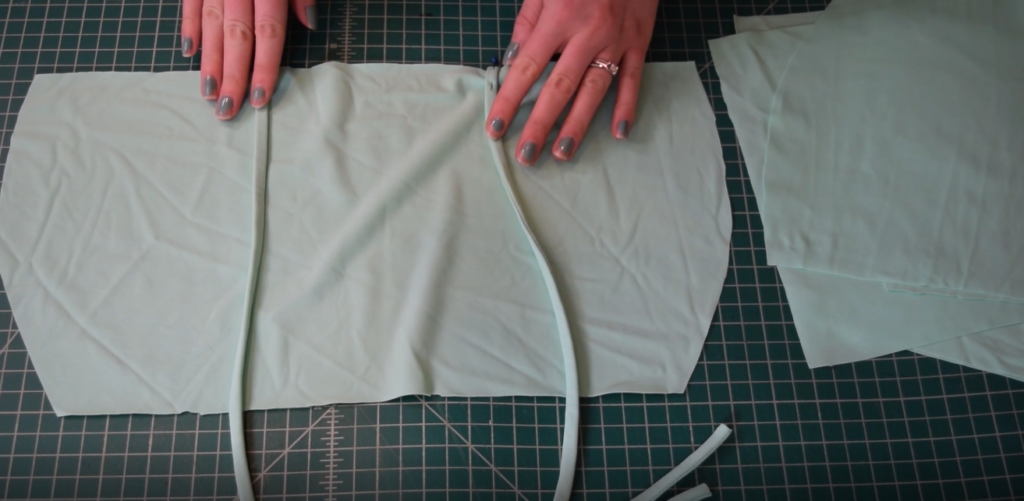
Now the straps are ready and it’s time to start putting together the swimsuit. First you’ll want to hold one of the front pieces up to your body and mark where you want the straps to attach. Then do the same with one of the back pieces.
Next, lay one of the front pieces with the right side facing up and pin the straps along the top edge where you marked. You’ll want to pin the unfinished edges of the straps, leaving the knotted ends loose.
Next, pin the other front piece to the first piece, with right sides together, along the top and bottom edges. So the unfinished strap ends are encased between the two front pieces along the top edge. Just tuck the finished ends of the straps in between the two pieces where they won’t get caught in the stitching.
Then repeat the same process to pin the two back pieces together with the other two straps sandwiched between the layers.
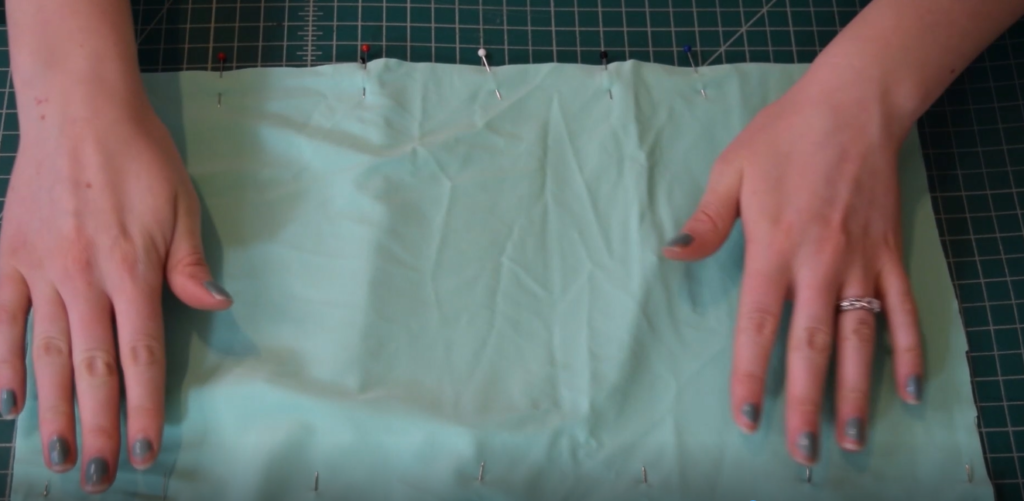
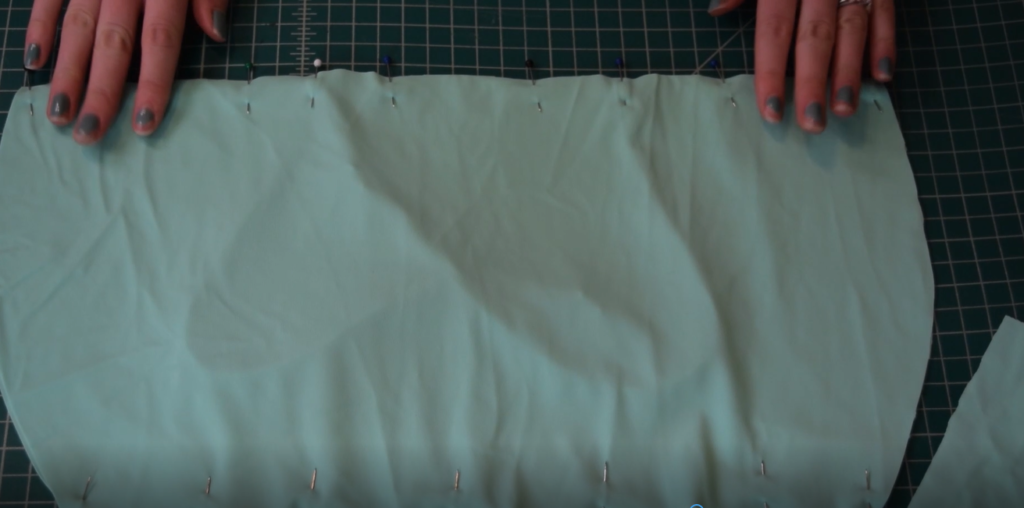
Next, sew the top and bottom edges of the front pieces and the back pieces (where you just pinned) with a 1/4 inch seam allowance. Make sure the ONLY place you are catching the straps is the ends that are pinned to the top edges of the pieces. Also, leave an opening of about 1 inch in the top edge of the back pieces – this is where we will turn everything right sides out later.
Next, sew 1/4 inch elastic into each of the seams you just sewed, starting and ending the elastic about 1/2 inch from each side seam. I like to stretch the elastic slightly as a sew, because I get a nice snug fit. Also, make sure you don’t sew down the elastic where the opening in the back is, you’ll want to make sure to keep that area open.
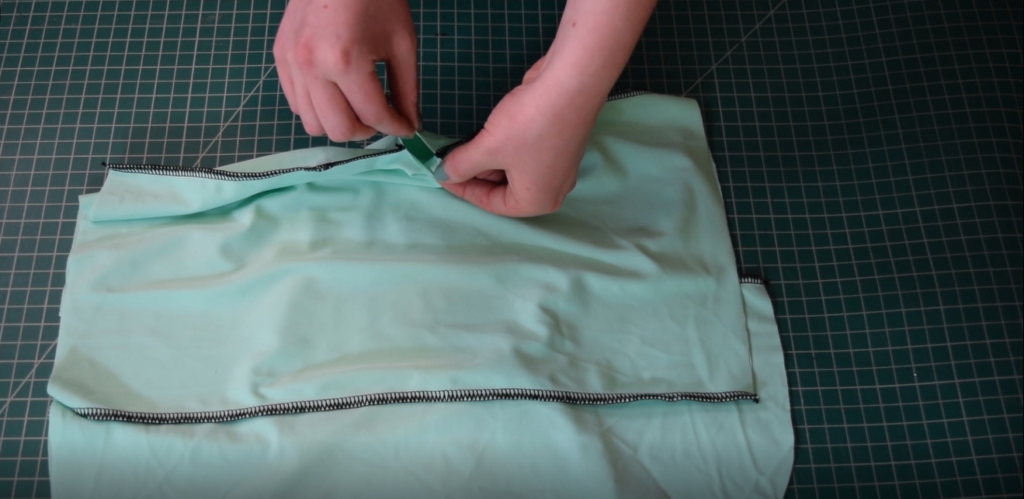
Then turn just the front piece right sides out, leaving the back inside out.
Then insert the front piece into the back piece, making sure the top of the front is in line with the top of the back and that there are no twists in the front piece. Then line up each of the side seams and pin through all four layers. Try to be as careful as possible when lining up and pinning the side seams because the better matched up the seams are, the better your results will be.

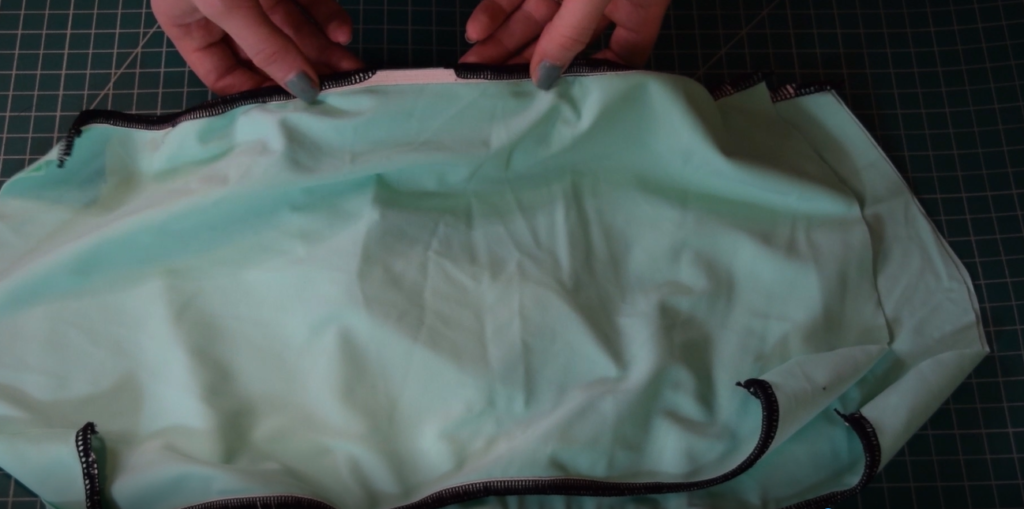
Then sew the side seams you just pinned through all four layers. The result will be this nice rectangle with the front encased inside the back and the only opening is that one inch hole you left in the top.

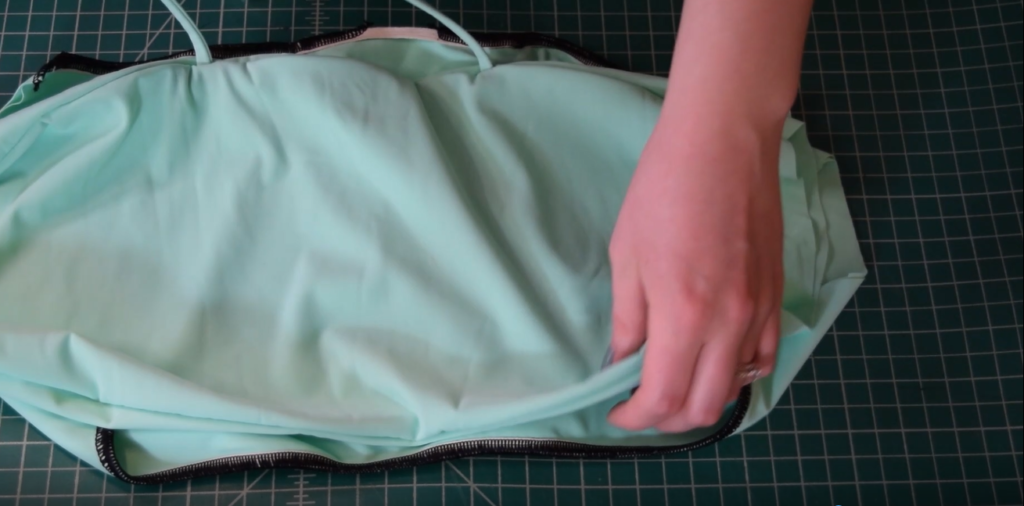
Next, pull the swimsuit right sides out through the hole in the top edge. The last thing to do is hand sew that opening closed and you’re all done!
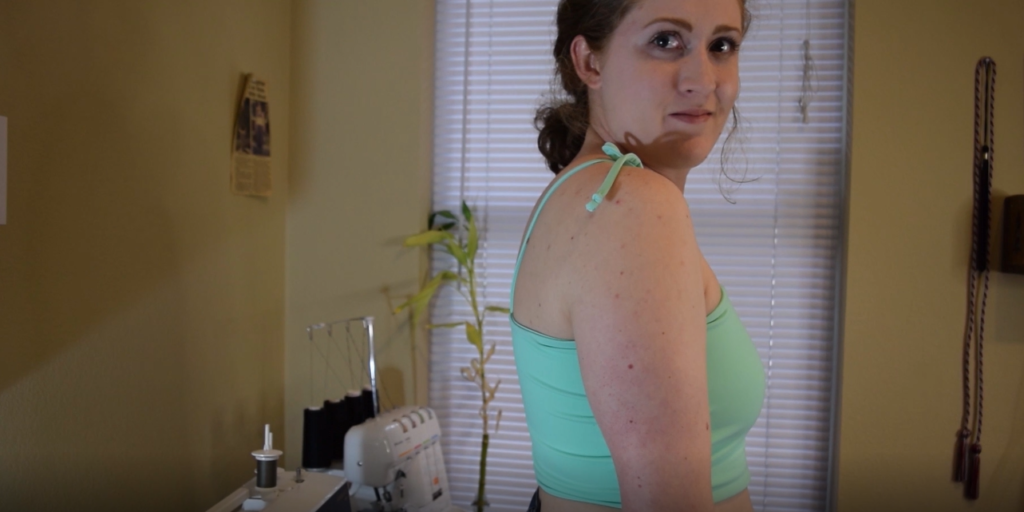
I hope you enjoyed this DIY project and will try sewing your own bandeau top! If you’re new to sewing swimwear, you might want to grab my free Quickstart Guide to Sewing Swimwear that lays out all the basics for you. You can get it HERE .


[…] Click for more details […]
1