I don’t know why but I always start getting the itch to start sewing swimsuits in the spring when it’s still super cold outside – not swimsuit weather AT ALL! I think it has something to do with the days getting longer or something… I’m not really sure… does anyone else experience this? Just me?
Either way, sewing swimsuits in the spring is great because then I’ll be ready when summer does finally decide to start!
So today I’m bringing you a tutorial for sewing this front tie swimsuit. I used the Opian Pilatus swimsuit sewing pattern and for my fabric, I used this ADORABLE blue and black rose print swim fabric from Fabric.com and nude lining from Mood.
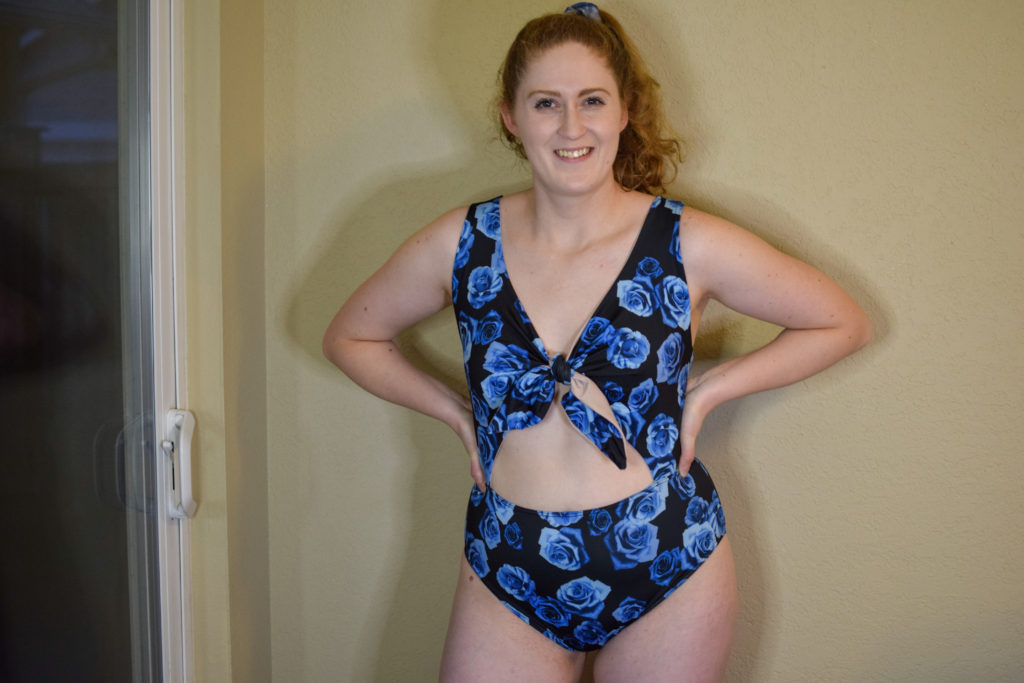
I had a lot of fun putting this swimsuit together and I filmed the whole thing to bring you a sew-a-long tutorial in case you want to sew up this pattern too! The tutorial video is down below for you 🙂
I also wanted to do a quick review of the pattern here on my blog, so if you scroll on past the video you can find my review of the Opian Pilatus sewing pattern. Plus, I have more pictures of the finished swimsuit down with the review as well!
Ok, let’s go!
What you need
*This list contains affiliate links for your DIYing convenience, so I receive a small commission if you buy something through my links. This really helps to support my site so I can keep creating DIY tutorials to help you create your dream wardrobe.
- Opian Pilatus Swimsuit Sewing Pattern
- Swimsuit fabric
- Swimsuit lining
- Sewing machine
- Polyester thread
- Ballpoint or stretch needles
- Ballpoint or stretch pins
- Scissors OR rotary cutter/mat
- Iron
- Double needle (optional)
- Serger (optional)
Video Tutorial
Pattern Review
Sizing
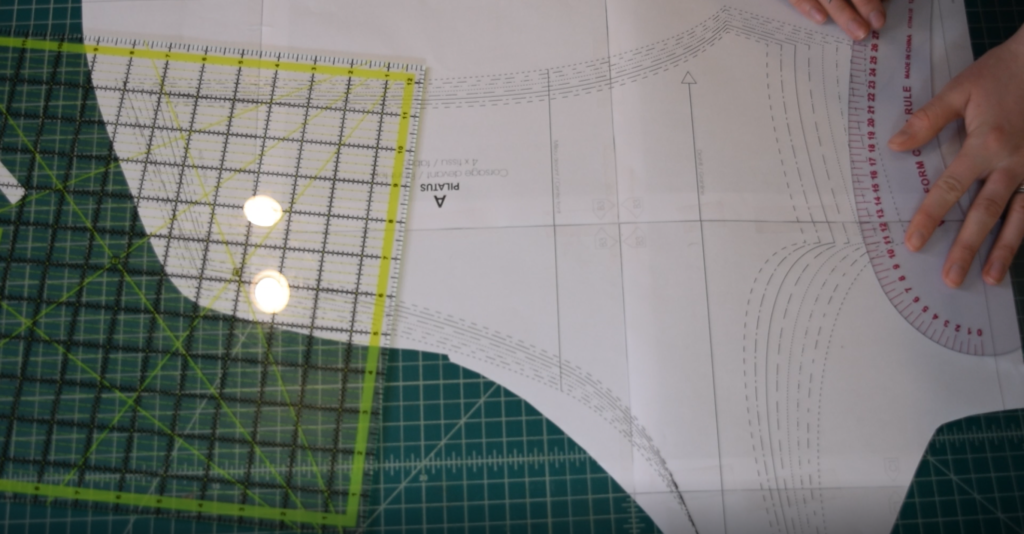
The sizing was quite accurate in my experience! I measured myself before cutting the pattern (as always!) and found that my bust was a Size 5 and my waist and hips were Size 7. So on the pattern pieces for the top of the swimsuit, I graded from a Size 5 at the bust to a Size 7 at the waist. Then I just cut a straight Size 7 for the pattern pieces for the bottom of the swimsuit. I did test the sizing out by sewing up a test garment in my lining fabric and found that the fit worked well, so I seam ripped the test garment and used it as my lining for the final swimsuit!
Sewing it up
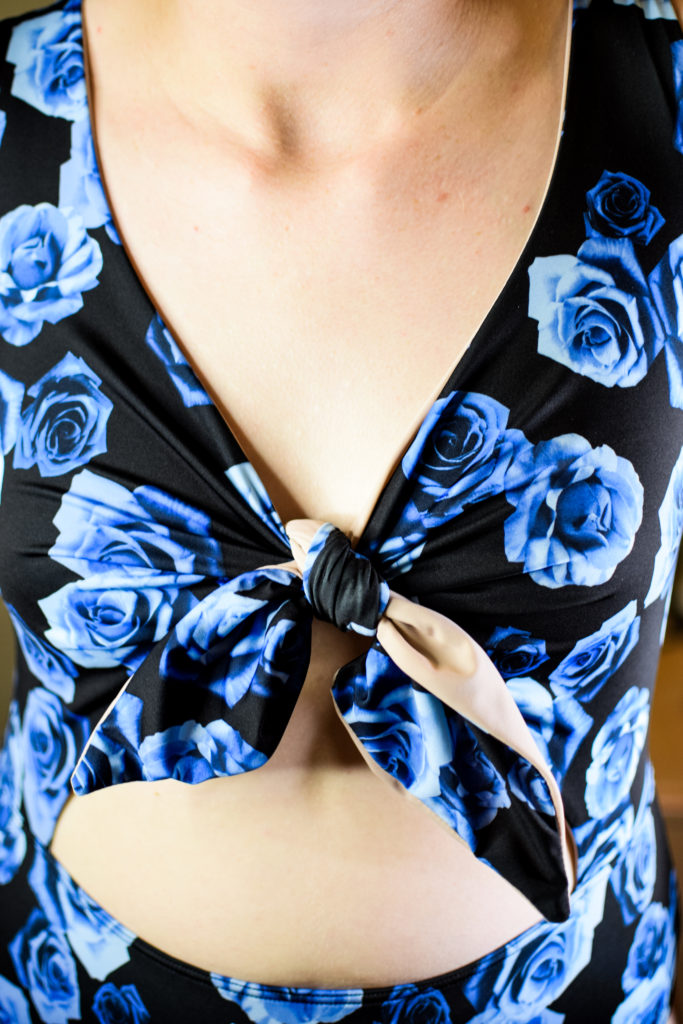
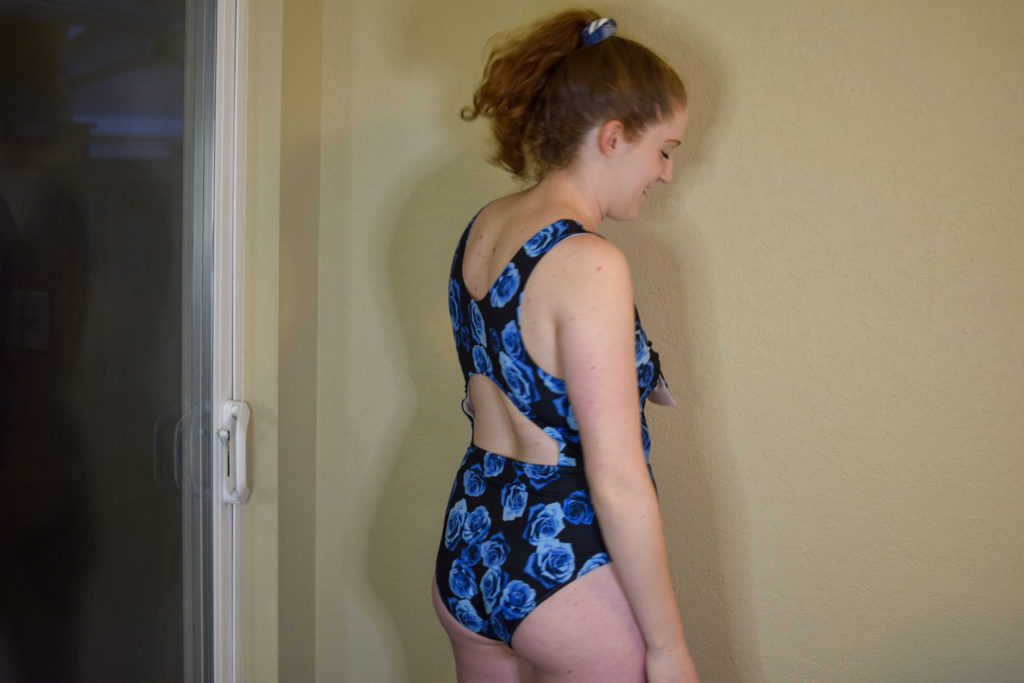
I had a lot of fun sewing this swimsuit! I thought it came together well and relatively quickly too! The way the side seams of the top are sewn is clever and gets you a really nice finish – though the instructions were really hard to understand here. I also added some elastic into the back cutout to avoid some gaping, so maybe keep that in mind.
But for the most part I loved sewing this up! And aren’t the details just so cute??
Conclusions
Did it turn out as expected based on the pattern envelope?
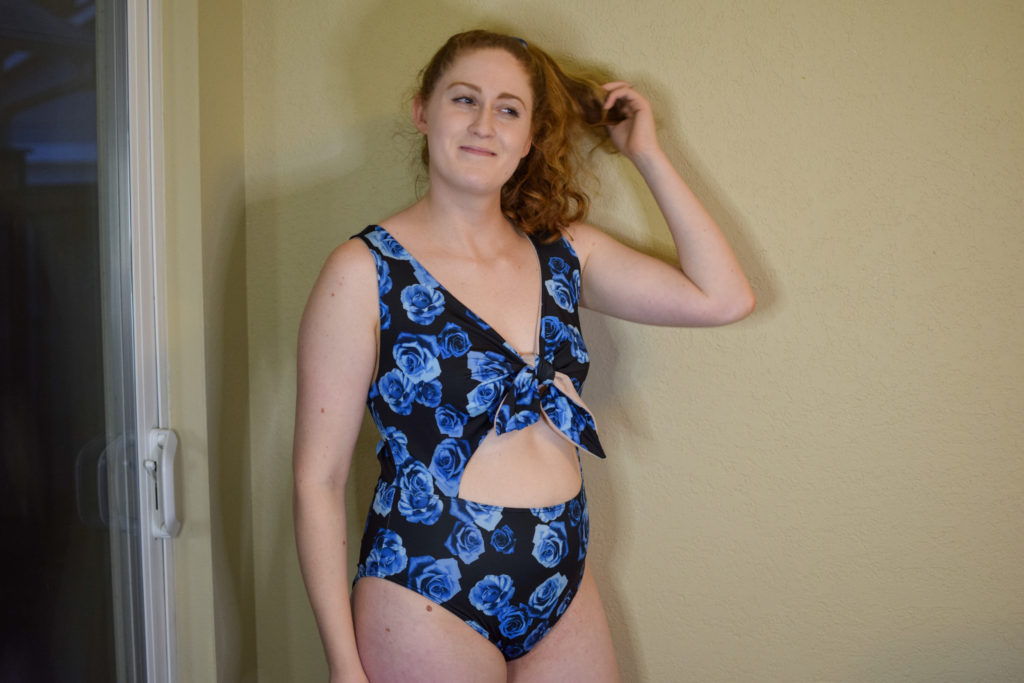
For the most part… I think the swimsuit the model was wearing had a bit of a higher cut on the legs, which wasn’t the case with mine. I’m not sure if this is just the way my body is shaped that resulted in not getting the same high cut leg or if it’s the pattern. But either way, I think I actually prefer the slightly more conservative leg!
How challenging is it to sew?
This pattern wasn’t super complicated to sew, but there were a few tricky parts. And understanding the pattern instructions was a bit challenging in some parts. So I would recommend this pattern mostly for intermediate and advanced sewists!
Would I sew it again?
YESSSS! I’m surprised at how much I love this look! I was worried the cutout would be unflattering on me, but I actually love it!
Overall Rating
I think I’m going to go with 4/5 on this one. I love the pattern, but have to admit that the instructions were brief and somewhat confusing in parts – at least they were for me.
I hope you enjoyed this tutorial and pattern review and are ready to sew this pattern up yourself! If you want extra tips on sewing swimwear, I have a Quickstart Guide to Sewing Swimwear that you can grab HERE . Enjoy and go sew some swimsuits!


smoke shop in Syracuse, New York
DELTA 8 DISPOSABLES
smoke shop in Sevastopol, Ukraine