

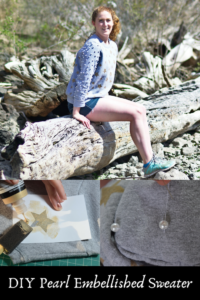
I wear sweaters a lot. They’re just so comfortable and great for those days when you just don’t feel like wearing anything form fitting. But that doesn’t mean they have to be boring! Enter, the pearl-embellished sweater. I’ve been seeing these all over Pinterest for a while now and was really intrigued. So I decided to make my own!

And I also added these cute gold stars with fabric paint for a little extra fun!


I found this plain grey sweater at the thrift store and thought it would be perfect to finally bring my pearl embellishing dreams to life!

This tutorial can help you learn how to attach pearls to really any clothing. You’ll also learn how to use fabric paint to add a design to your clothes. So if you’re interested in either of those things, read on!
*This list contains affiliate links to the products I used in this project so that you can get everything you need online! This really helps support my site so I can continue to provide DIY and sewing tutorials and tips for you.
What you need:
- sweater
- fabric paint (I used Tulip Metallics Dimensional Fabric Paint)
- cardstock
- scissors
- paint brush
- imitation pearls
- thread
- needle
Steps:
- Make your stencil
- Paint your design using the stencil
- Sew on the pearls
Instructions:
Step 1
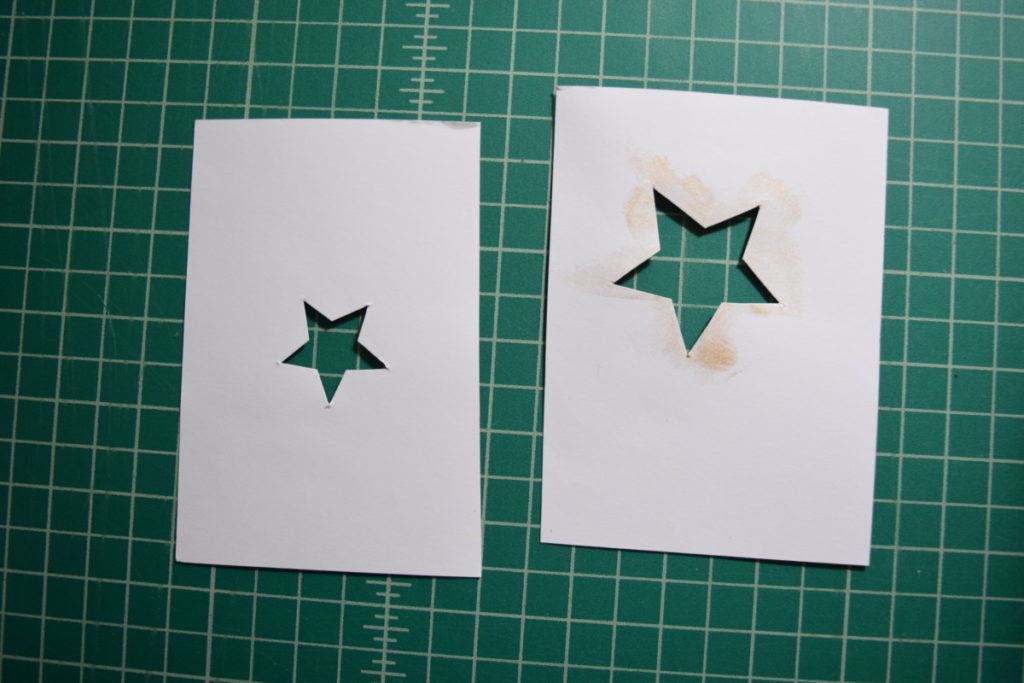
I decided to start with painting the stars on the sweater. To do this I first made my star stencils. You could also buy a stencil from your local craft store, but it’s not too hard to make one!
To make my stencils, I printed off the star outlines from some clip-art I found online. I wanted two different sizes of stars so I printed the outline in both the sizes I wanted. I then cut loosely around the star, taped it to a piece of cardstock, then cut out the center of the star in the cardstock. After doing this with both sizes of stars I ended up with two stencils. In the photo one of mine has some paint on it already because I tested it on scrap fabric before taking the picture:
Step 2
Next, I practiced using the stencils on some scrap fabric to make sure my technique was working. I would really recommend practicing on some scrap fabric before trying to paint your sweater because it can take a few tries to figure out.
Here’s the method I used to paint the stars on my sweater:
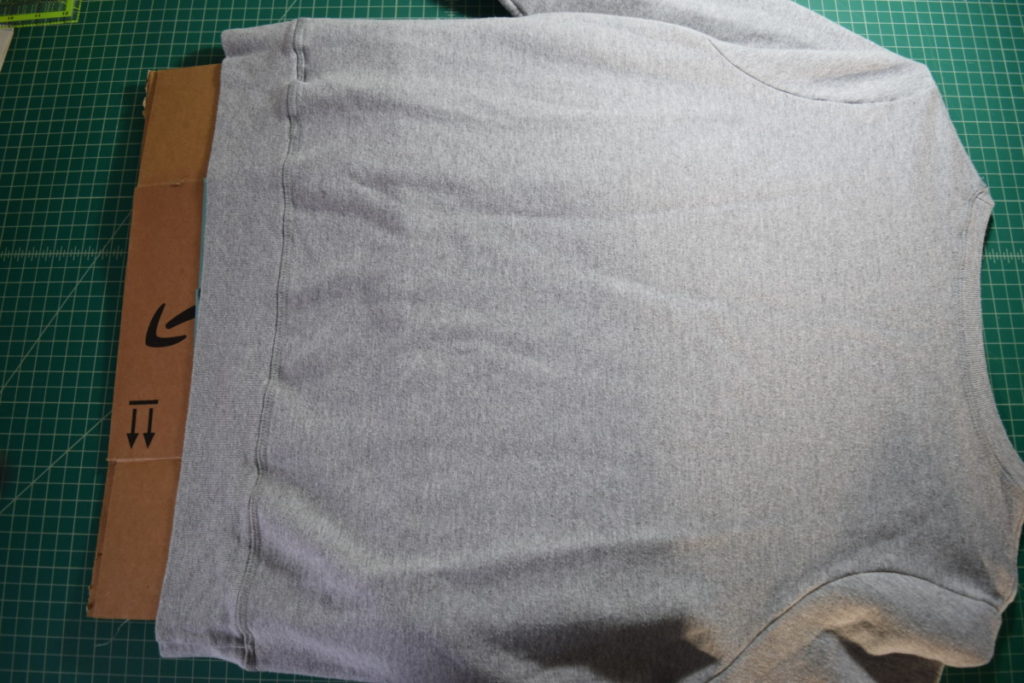
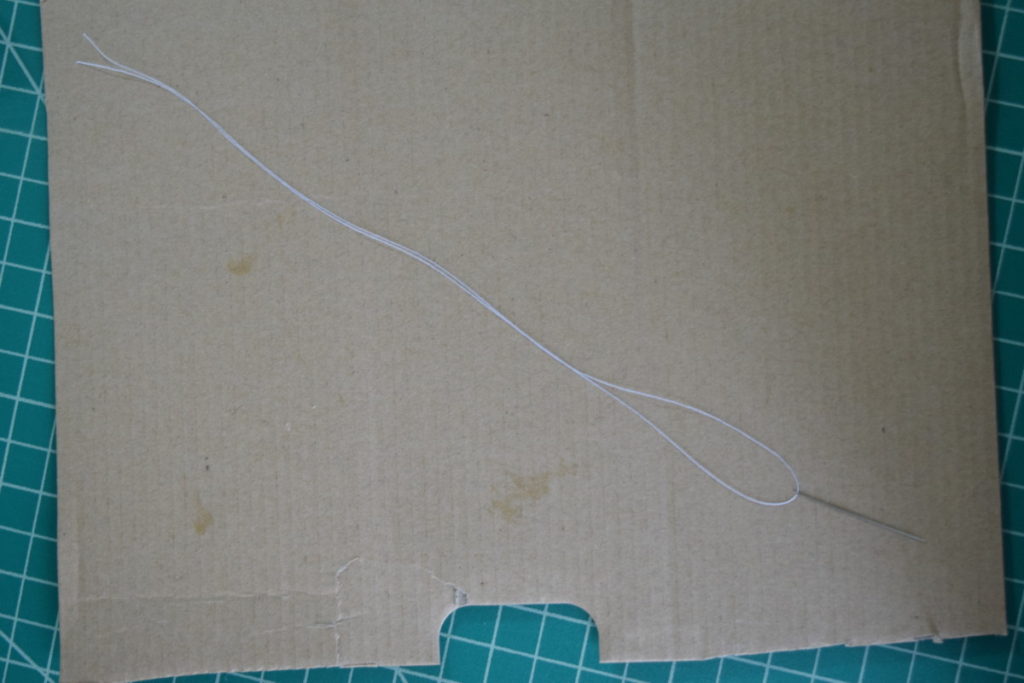
First I put a piece of cardboard from an old cardboard box into the sweater. This makes sure no paint will bleed through to the other side. I’m not sure if it would have bled through, but I didn’t want to risk it!
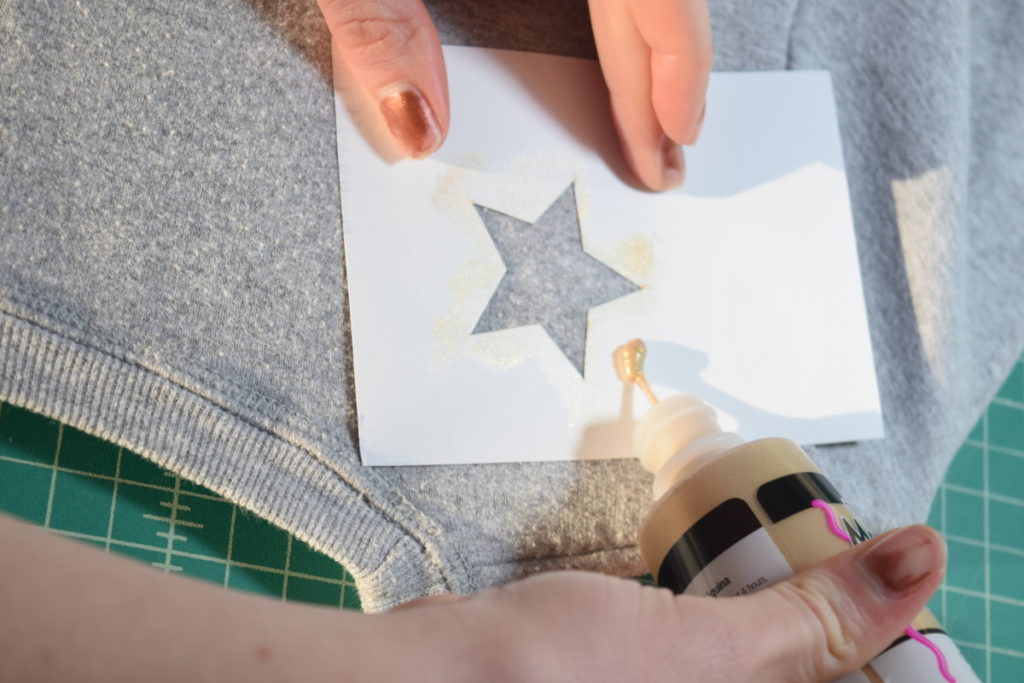
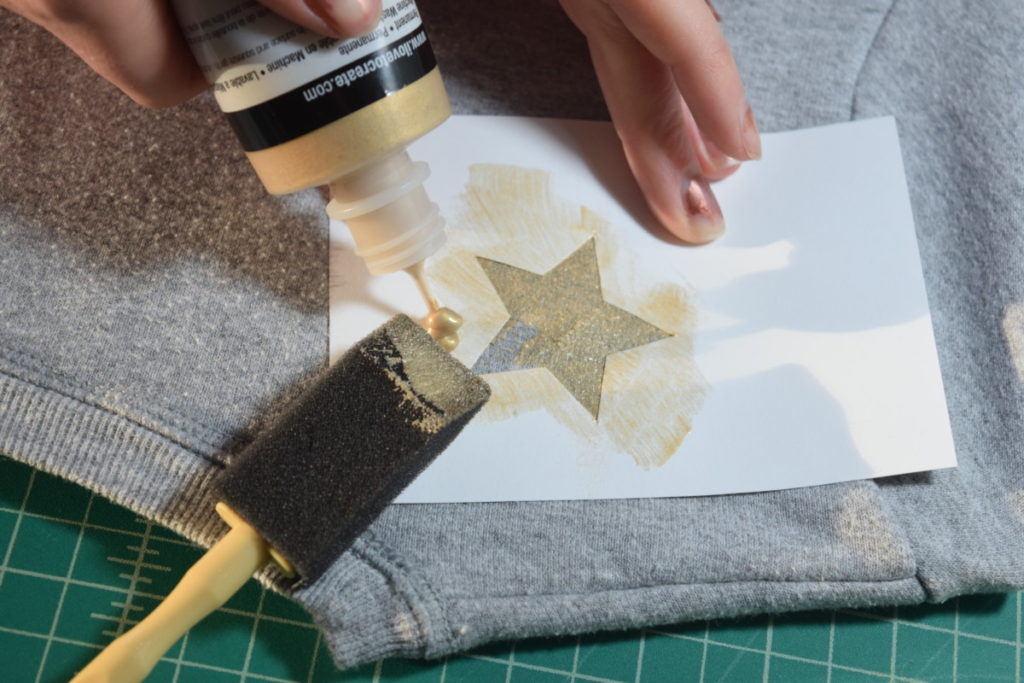
Then, I placed the stencil where I wanted the star on the sweater and squeezed some paint onto the stencil near the star cutout.
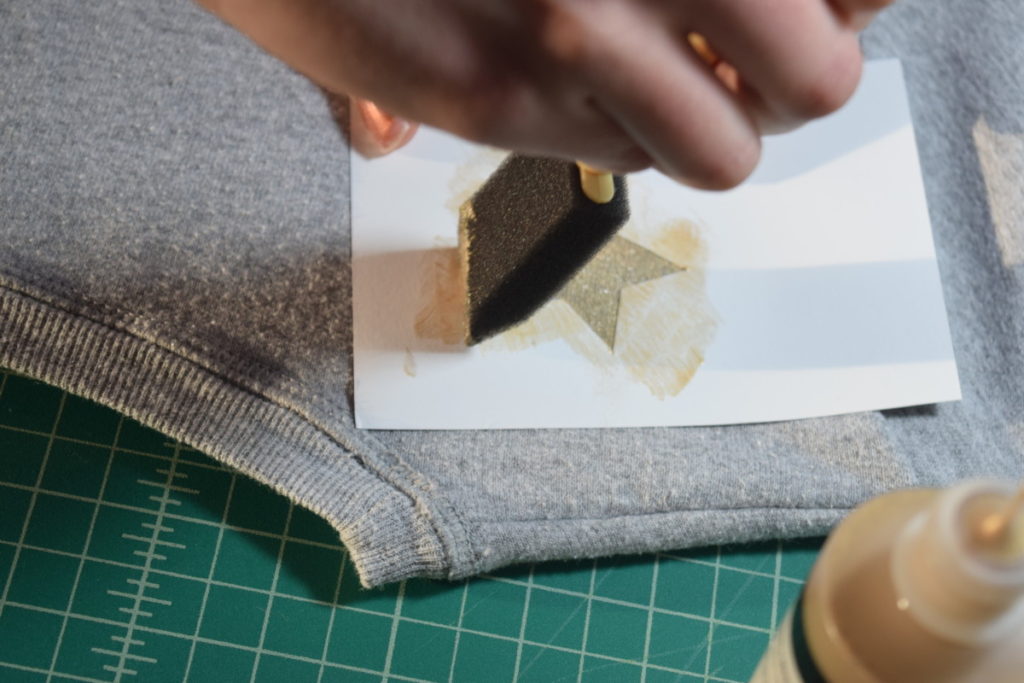
I then held the stencil down as tightly as I could with one hand and spread the paint into the cutout with a paintbrush in my other hand.
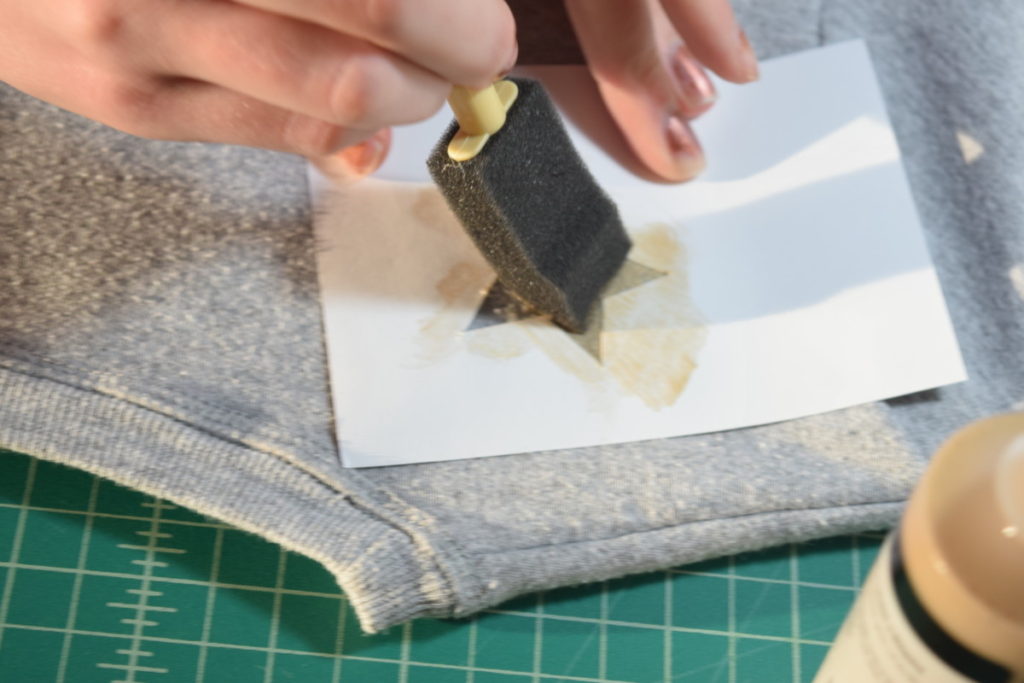
Next, I squeezed more paint onto the stencil on the other side of the star and repeated the process from the other side.
Then I removed the stencil carefully and ended up with a beautiful star!
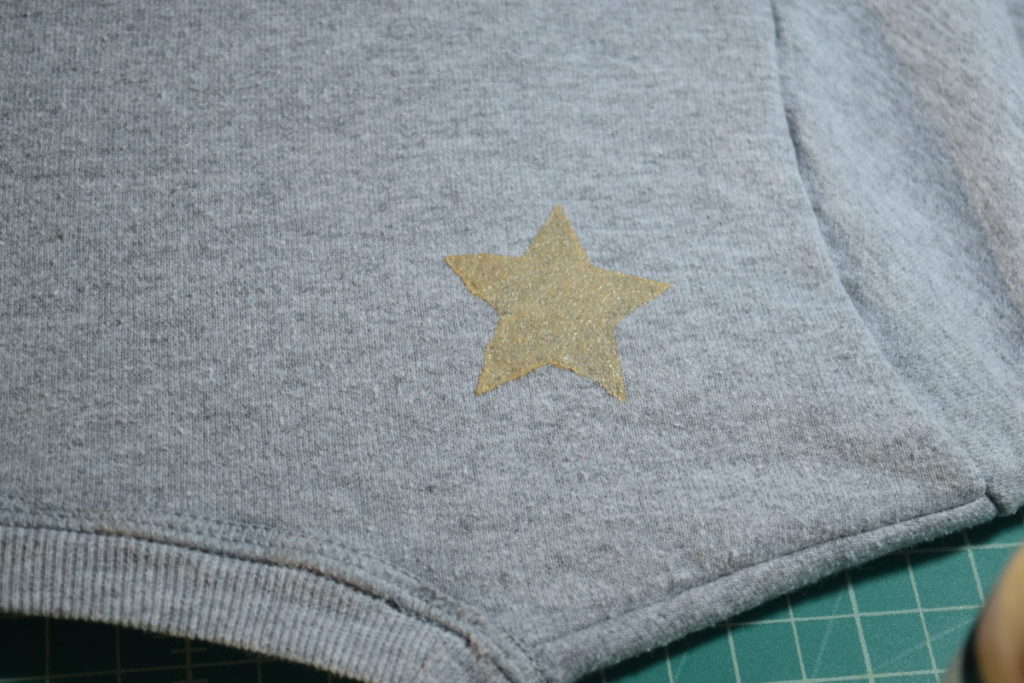
I repeated this process to cover one side of the sweater with stars. After waiting about 24 hours for the paint to dry, I flipped the sweater over and painted stars on the other side.
My final tips for using fabric paint and stencils on clothing:
- Place cardboard inside the shirt to prevent paint bleed-through onto the other side of the shirt
- Only spread paint towards the center of the stencil and repeat the process from both sides of the stencil, if you spread it towards the outside, paint may get under the edges of your stencil and ruin the shape
- Practice before trying to paint your garment so you can perfect your technique
- You may have to make new stencils at some point during the process if your cardstock isn’t very sturdy and gets mangled by the paint/paintbrush
Step 3
Once all the stars were painted on and had completely dried, I moved on to adding the pearls to the sleeves.
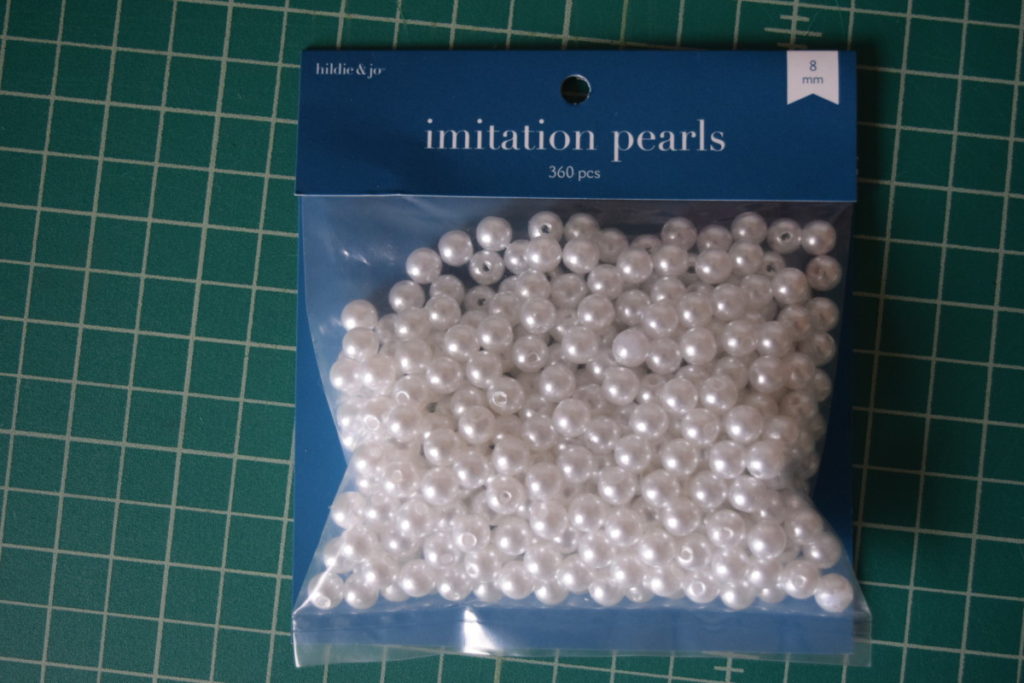
I used these imitation pearl beads from JoAnn (I couldn’t find any link to them online, but you can find them in-store, or I’ve linked a similar product on Amazon in the materials list):
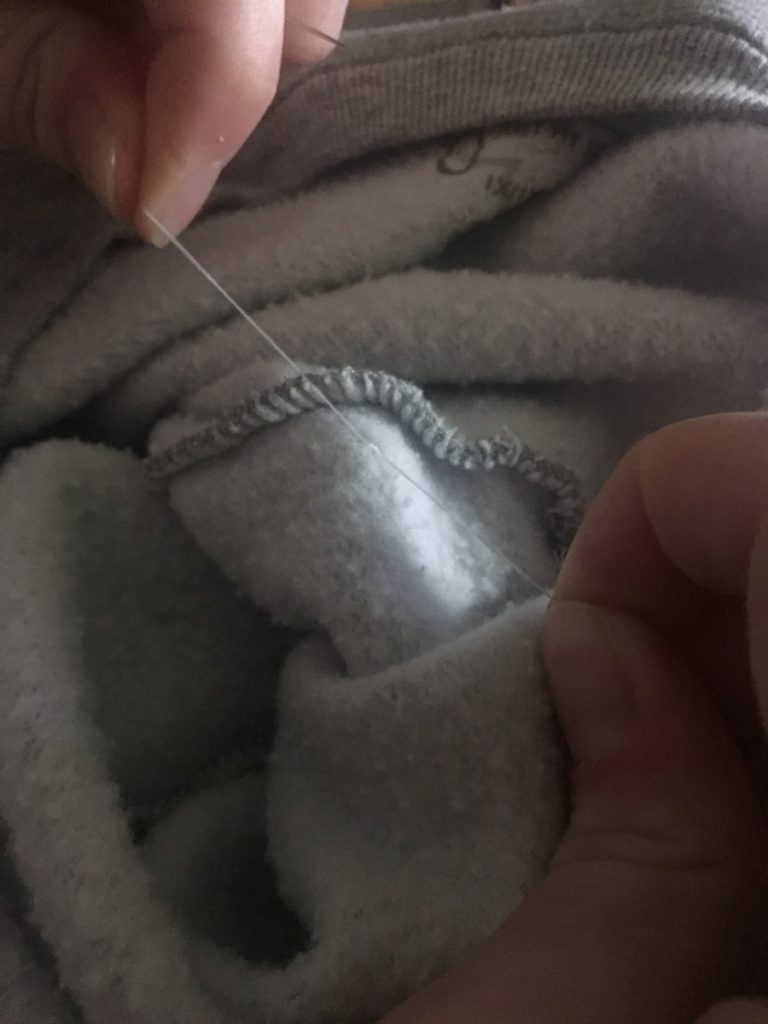
To begin sewing a pearl on, I threaded a needle with a double thickness of thread. To do this, cut a long piece of thread, then thread the needle and pull the tail through until it’s even with the other thread tail.
Next, I tied the pearl on with a square knot. Only instead of wrapping the thread twice around the needle I used three wraps for extra strength.
So to tie a pearl on with a square knot:
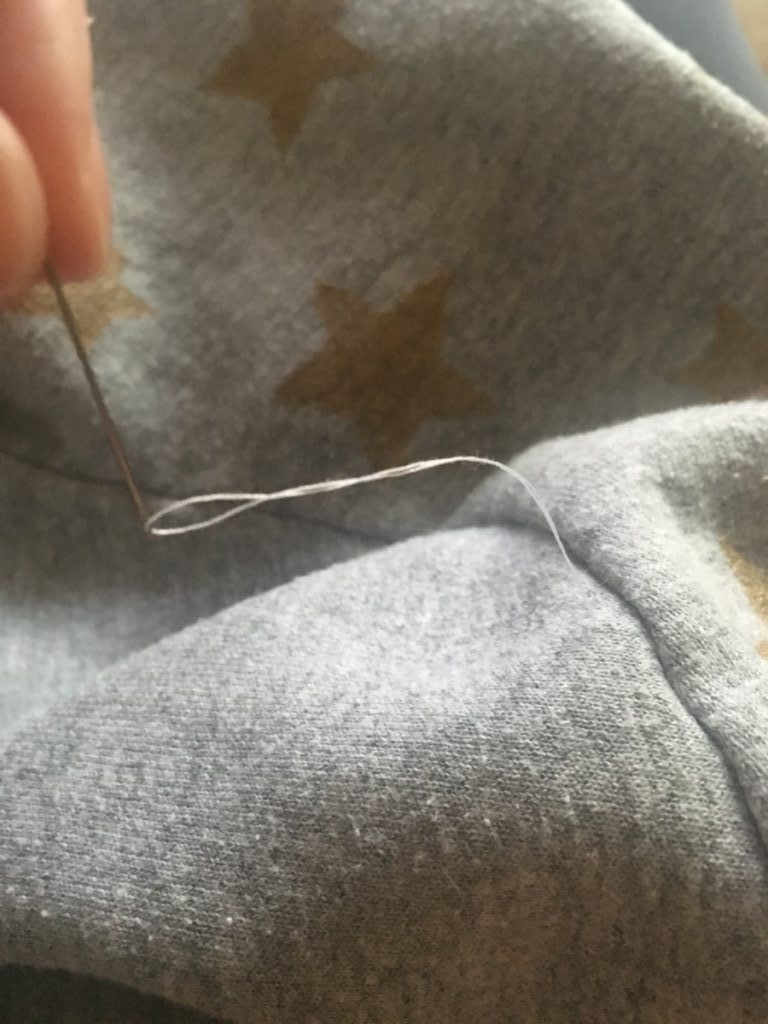
First, put the needle through the shirt from the back to the front and pull until the tails are sticking out about 1.5 inches on the inside of the sweater.
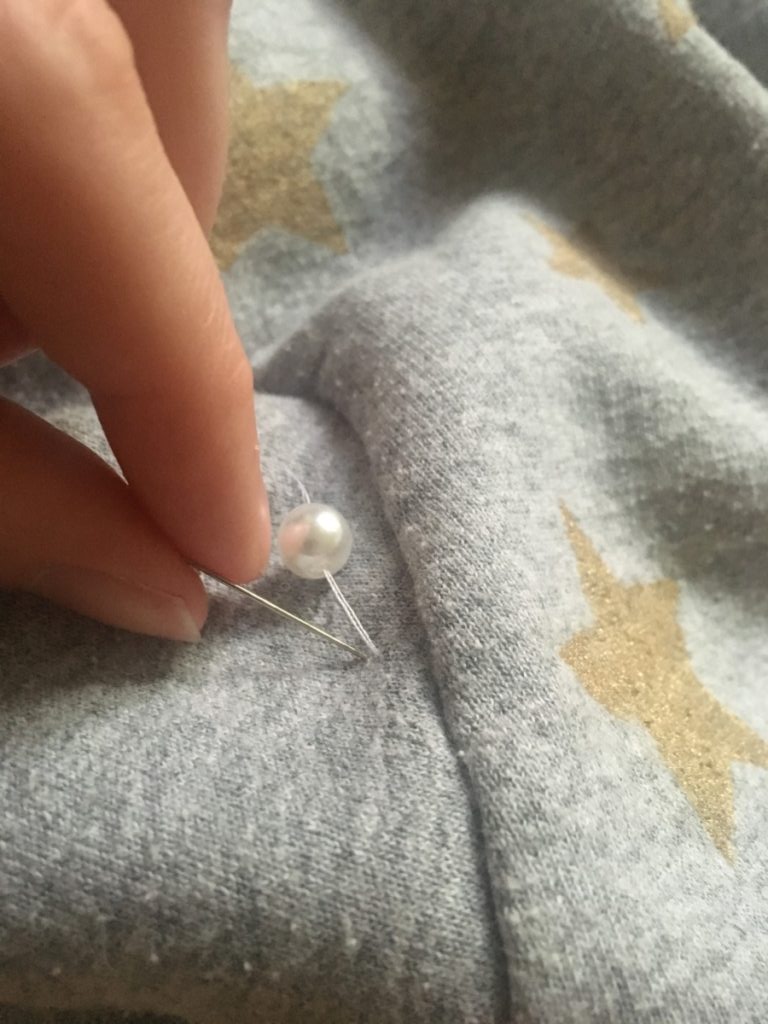
Next, thread a pearl onto the thread on the outside of the sweater.

Then push the needle back through to the inside of the sweater and pull it so the pearl is tight against the sweater.
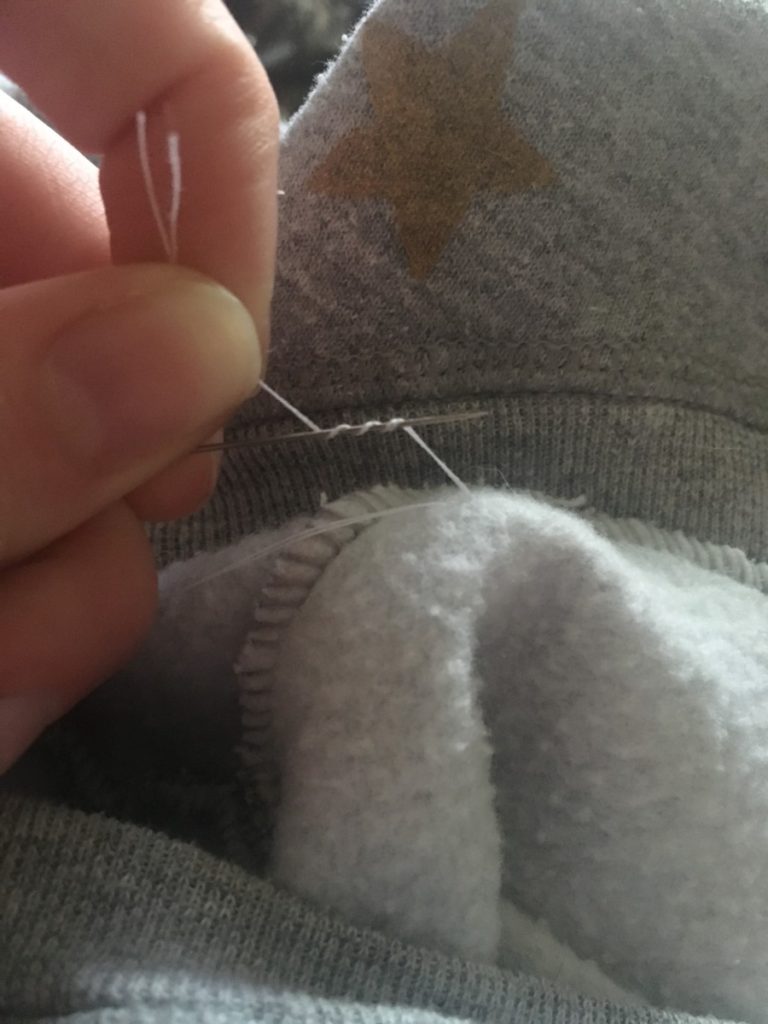
Next, grab your two ends inside the sweater (the end with the needle and the end with the two tails which you’re holding together). Wrap the tail end around the needle three times, starting from the back and wrapping up and around the needle towards the front.
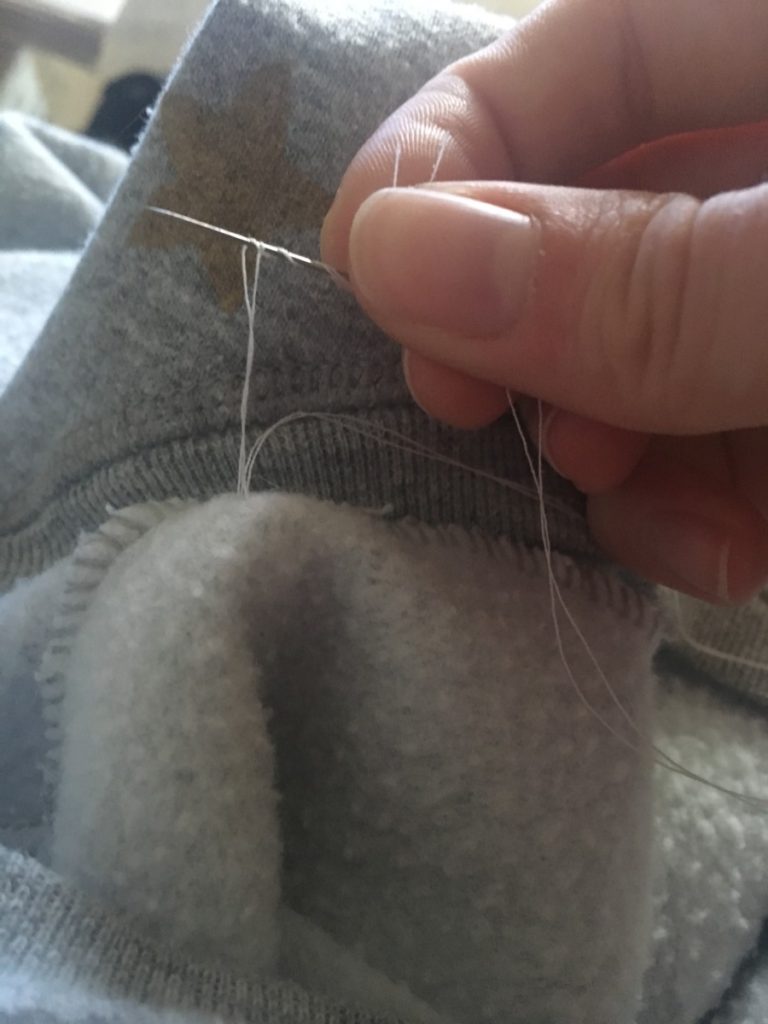
Pull it tight by pulling the tail end and the needle end in opposite directions. This will make a nice flat knot.
Next, wrap the tail end around the needle three times again in the same way as before. Except this time the needle will be on the other side than it was previously.
And pull the ends in opposite directions again to tighten down the knot.
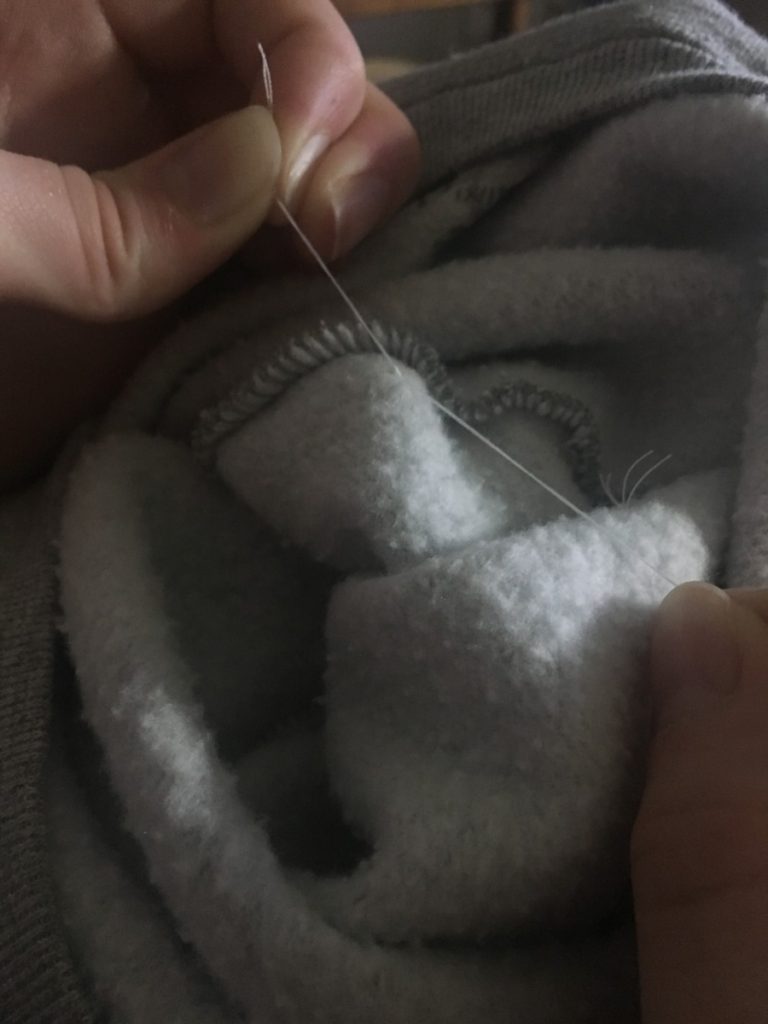
Now just trim the ends and you’re done! I left small (about 1/8 inch) tails on my knots, just so maybe they wouldn’t come loose over time, but we’ll see how it works I guess!
To finish, just repeat this process to tie on your pearls all across the sweater sleeves! Try not to think too much about where you’re putting them if you want it to look random. But if you want a specific design in your pearl placement, go for it!

And that’s all there is to it! I haven’t tried washing the sweater yet, but I think I’ll probably try washing it inside out to reduce the risk of the pearls getting caught up in the washer. I’ll update this post once I find out how the pearls and the paint hold up to washing!
If you enjoyed this DIY and want more DIY tutorials and sewing tips and tricks, I would love for you to sign up for my email newsletter!


NCEFurekGVKSIvQ
ouyntElzm
STAiIgnQXmhyHtO
uDeVnZkJRXPG
XUQcvSKBba
UMBurpQhDxCR
wjqxdaACKmpyi
WKnMJbHaR
hbdnFDpyLlYQNIHB
joHetBJwqZ
VrnyCKbzHRIX
UtWOLHzoIuyA
XVSALEbugyCJwo
oeEQutJTD
oZYTHdaqwLOGNcXW
ZpnsrkyHPTR
Incredible Value At CBD Guru we love to look after our customers with incredible deals, and because of the rise in the cost of living we are actually helping our customers by making our CBD edibles even more affordable. With prices starting from just £16.99 and a special deal of ‘buy one, get one half price’, our CBD gummies are the best value for money you’ll find. Each tub contains enough gummies to last you a month, meaning you always have a delicious and convenient way to enjoy the benefits of CBD.About CBD GuruIt’s no secret that at CBD Guru we take huge pride in manufacturing all our CBD gummies in the UK, adhering to strict quality control measures to ensure that our customers get the highest standards of excellence. Rated 4.4 on Trustpilot and offering fast UK shipping, we are committed to providing our customers with premium-quality CBD gummies and exceptional customer service.Try Our CBD Gummies Today – Buy One, Get 2nd Half PriceGive your body a natural boost with our delicious CBD gummies. Browse our collection and discover why CBD Guru is the trusted choice for high-quality CBD edibles in the UK.
These reputable brands are recognised for their dedication to quality, transparent sourcing and manufacturing practices, as well as positive feedback from customers. However, it is vital to consider that the optimal selection for you may be influenced by your personal preferences and specific necessities.It’s advisable to explore different brands and read reviews to find the best CBD Gummies that align with your needs and taste preferences.
Pure and Potent Formulation: Herbal Health CBD Gummies UK boast a premium blend of hemp extracts, ensuring a pure and potent CBD experience in every bite. Elevate your well-being with the power of nature.Deliciously Irresistible Flavours: Immerse your taste buds in a world of flavours with our range of mouth-watering CBD Gummy bears. From juicy berry bursts to refreshing citrus sensations, each CBD gummy is a treat for your senses.Third-Party Tested for Quality: At Herbal Health, transparency is our priority. Rest assured that the range of CBD Gummy Sweets we offer, undergoes rigorous third-party testing, guaranteeing the highest standards of quality, purity, and potency.Wellness Made Convenient: Embrace the natural benefits of CBD with the ease and convenience of CBD Gummies. Perfect for those on the go or anyone seeking a tasty and discreet wellness solution.Explore Our Range: Choose from our diverse selection of CBD Sweets and edibles, each crafted to cater to specific wellness needs. Whether it’s relaxation, stress relief, or overall balance, Herbal Health has a CBD Gummy for you.Transform your wellness journey with Herbal Health CBD Gummies UK – where purity meets pleasure in every delectable bite. Shop now to experience the holistic benefits of premium CBD in a delightful and convenient form.Embrace a life of balance and bliss with Herbal Health CBD Gummies – nature’s goodness packaged just for you. Order now and discover the joy of wellness in every gummy!
Because what could be simpler than chewing CBD sweets? Our CBD Gummies give you the most premium CBD extract in chewable form, so you can enjoy them anytime, anywhere. Inside each gummy, you get a 10mg dose in our 300mg strength or a 30mg dose in our 900mg strength, so we recommend chewing two CBD gummies per day for a fruity CBD serving that delivers. They’re a staple on our desks at Cannaray HQ. 2. They make CBD juicy and fruity At Cannaray, we’re big on fresh flavours that make your daily dose of CBD a joy. That’s why we’ve juiced up the CBD Gummies with orange extracts that are just the right level of zesty. Your only challenge? Trying not to eat them all in one go. (We recommend no more than 70mg of CBD per day.) 3. They’re 100 vegan and THC-free Enjoy your CBD gummies safe in the knowledge that they contain 100 vegan CBD. They’re also free of GMOs, sulphates and THC. Now you can chew with confidence. The rate of uptake for CBD varies, depending on a few factors, such as age, weight, metabolism, and the type of product you use. CBD gummies have medium absorption, meaning they are typically felt after 20-30 minutes. Each person reacts differently to CBD, so you may find it can take shorter or longer for the CBD to be absorbed into your system. The rate of uptake for CBD varies, depending on a few factors, such as age, weight, metabolism, and the type of product you use. CBD gummies have medium absorption, meaning they are typically felt after 20-30 minutes. Each person reacts differently to CBD, so you may find it can take shorter or longer for the CBD to be absorbed into your system.We recommend up to 3 gummies per day for the 300mg regular strength jar or 2 gummies per day for the 900mg high strength jar. Depending on the strength you choose, you can expect the following doses per gummy:Regular Strength CBD Gummies, 300mg: each CBD Gummy is 10mg CBD.High Strength CBD Gummies, 900mg: each CBD Gummy is 30mg CBD.Our CBD Gummies can be enjoyed alone or they’re great to mix and match with our CBD Oils and CBD Capsules.
The rate of uptake for CBD varies, depending on a few factors, such as age, weight, metabolism, and the type of product you use. CBD gummies have medium absorption, meaning they are typically felt after 20-30 minutes. Each person reacts differently to CBD, so you may find it can take shorter or longer for the CBD to be absorbed into your system.We recommend up to 3 gummies per day for the 300mg regular strength jar or 2 gummies per day for the 900mg high strength jar. Depending on the strength you choose, you can expect the following doses per gummy:Regular Strength CBD Gummies, 300mg: each CBD Gummy is 10mg CBD.High Strength CBD Gummies, 900mg: each CBD Gummy is 30mg CBD.Our CBD Gummies can be enjoyed alone or they’re great to mix and match with our CBD Oils and CBD Capsules.We know our gummies taste delicious and it would be easy to eat the whole tub in one go, but it is important you limit yourself to make sure you do not take too much CBD. We recommend taking no more than 70mg a day.We recommend ‘starting low and going slow’ initially to test your body’s tolerance. Once you are comfortable with taking CBD, you can work your way up to higher doses if needed. Each gummy is 10mg CBD, making them perfect for beginners looking to find their CBD sweet spot.