
I love making my own sewing patterns. I find that it’s a super fun and creative process. Developing the shape of a garment by draping the fabric directly on the body (or dress form) is amazing. For my draping, I use a DIY dress form that I made by making a cast of my body and filling it with expandable foam. This dress form is amazing because it is my approximate size (I’ve lost a bit of weight since I made it) and the foam is easily pinnable. A plus from making my own patterns is that they usually need less fitting alterations than commercial patterns.

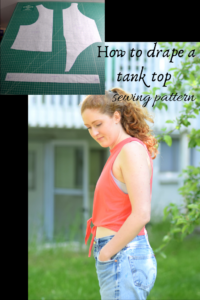
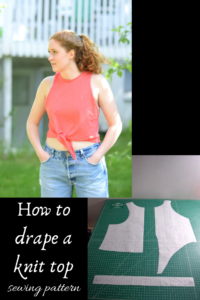
Today I’m going to take you through the process of draping the pattern for this cool tie front knit top on your dress form! Once you’ve made your pattern, check out the next post in this mini-series (HERE), where I show you how to sew it all together!

Ok, let’s get going on making our sewing pattern!
*This list contains affiliate links for some of the products I used while making this pattern, so if you purchase something through one of my links, I receive a small commission at no extra cost to you. This really helps to support my site so I can continue to create DIY and sewing tutorials for you.
What you need
- knit fabric (this is the fabric I used, the color is amazing!)
- dress form
- ballpoint sewing pins
- fabric chalk or marker
- pen
- french curve ruler
- rotary cutter or scissors
- pattern paper
Instructions
First, grab your dress form and your fabric.
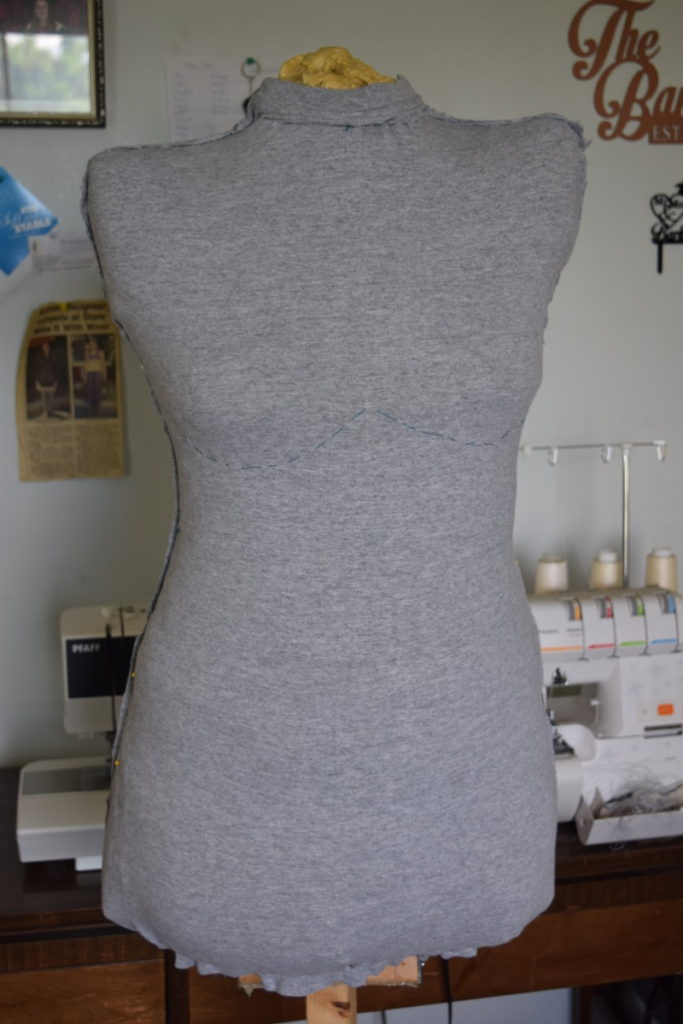
Drape your fabric over the front of the dress form so that it drapes over the neck and shoulders several inches. You also want to make sure there are at least 5-10 inches of extra fabric past the side seams. It’s also important that the direction of the fabric that stretches the most is horizontal. This will allow the fabric to stretch across the body. Trim the fabric so that it falls a couple feet past your desired hem length. This leaves room for long ties in the front.
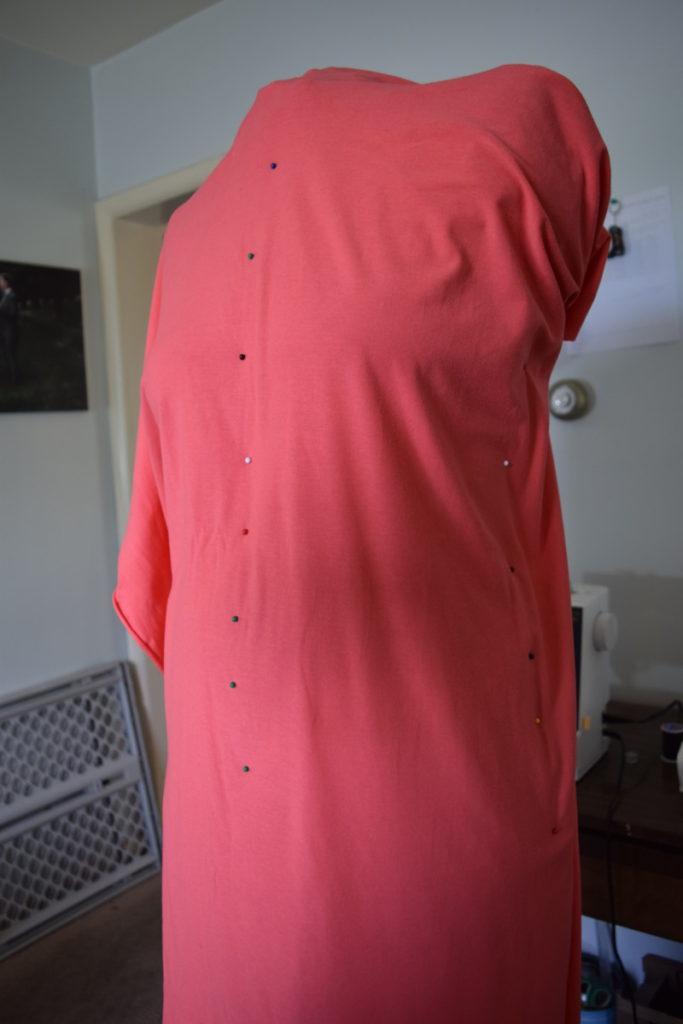
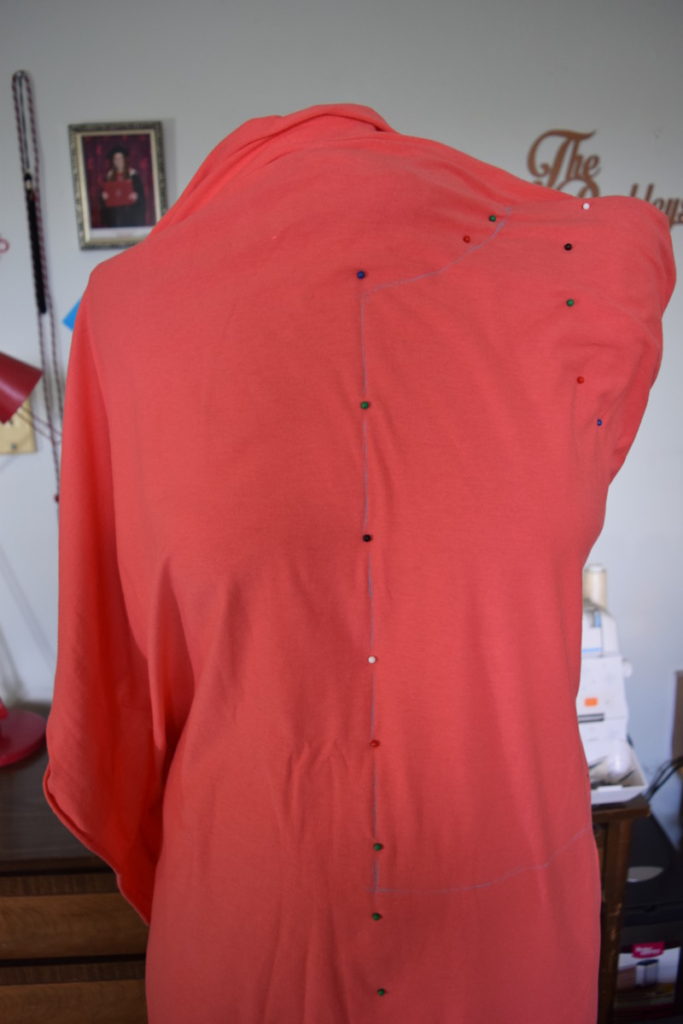
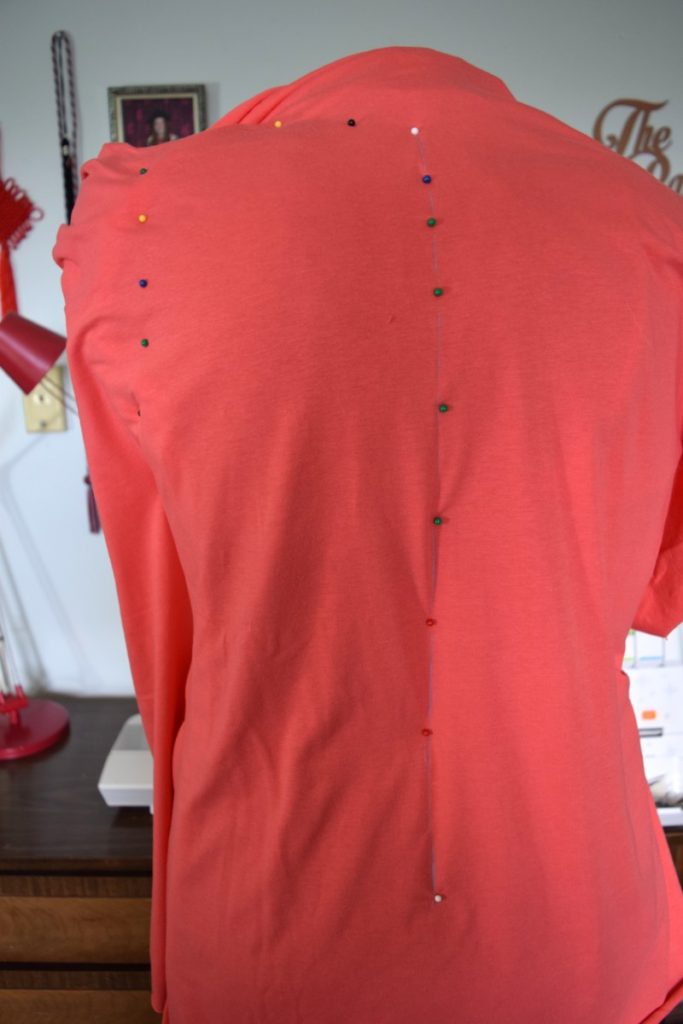
You can place a few pins to hold the fabric in place. Now we’ll pin out our basic bodice shape. We only need to design one side of the shirt because we’ll place our pattern on the center front fold. So I first pinned down the shoulder seam.
Then I pinned all the way down the center front.
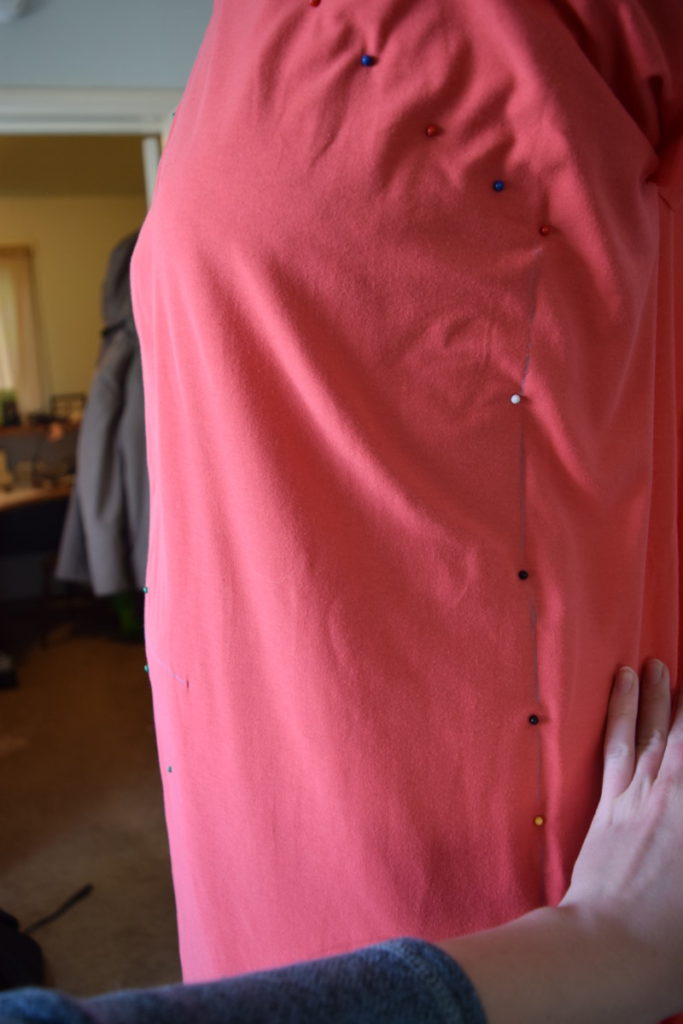
Next, pin down the side seam. At this point is when you can play with how loose or tight you want your shirt. For a tighter fit, smooth the fabric towards the side seam and pin it out. For a looser fit, push a bit of extra fabric towards the front of the shirt before pinning. At this point you’ll also want to make sure the grain lines run as straight as possible so the fabric doesn’t look wonky.
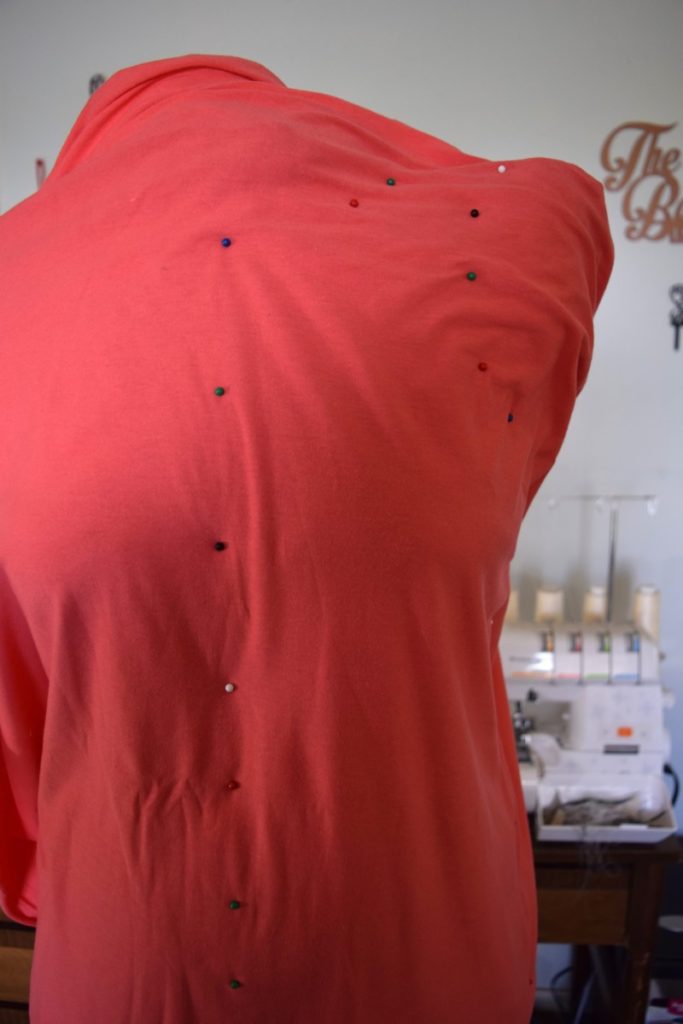
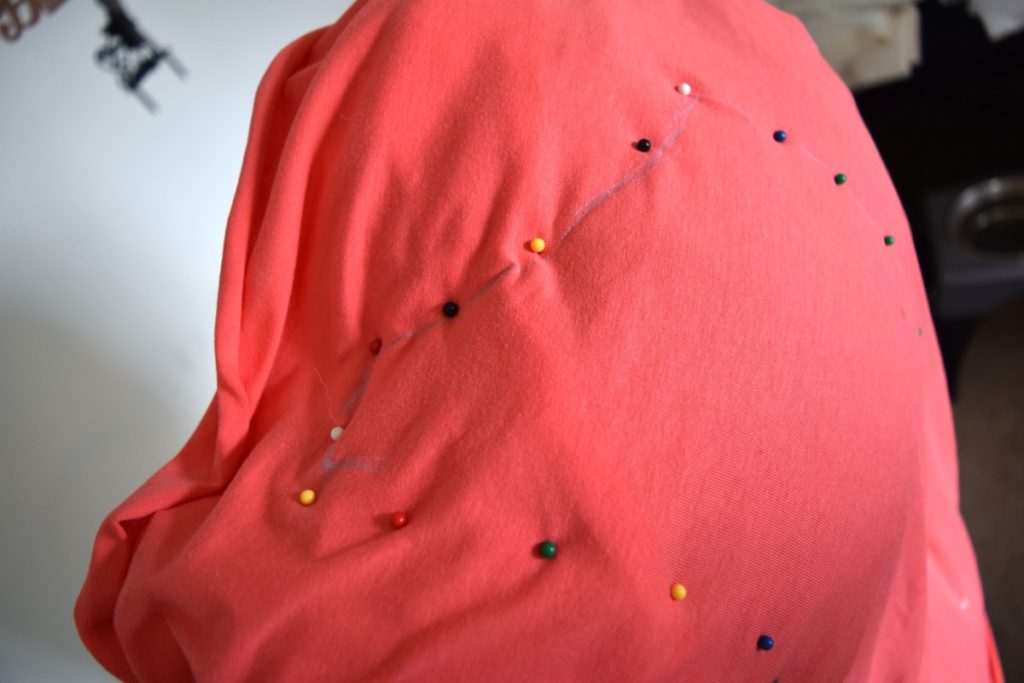
Next, pin around the curve of the armhole and the curve of the neckline. Smooth the fabric as you pin until you’re happy with how in lays. At this point it’s also a good idea to step back and take a look at how the fabric flows over the body. If you’re not happy with something unpin that section and manipulate the fabric until you’re happy with how it looks.
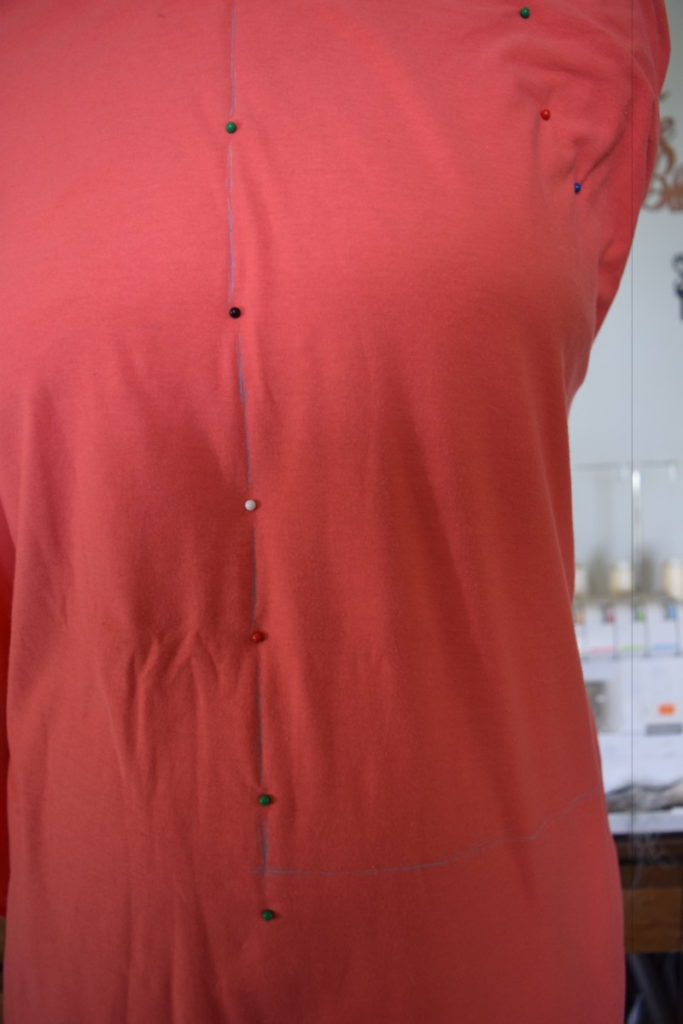
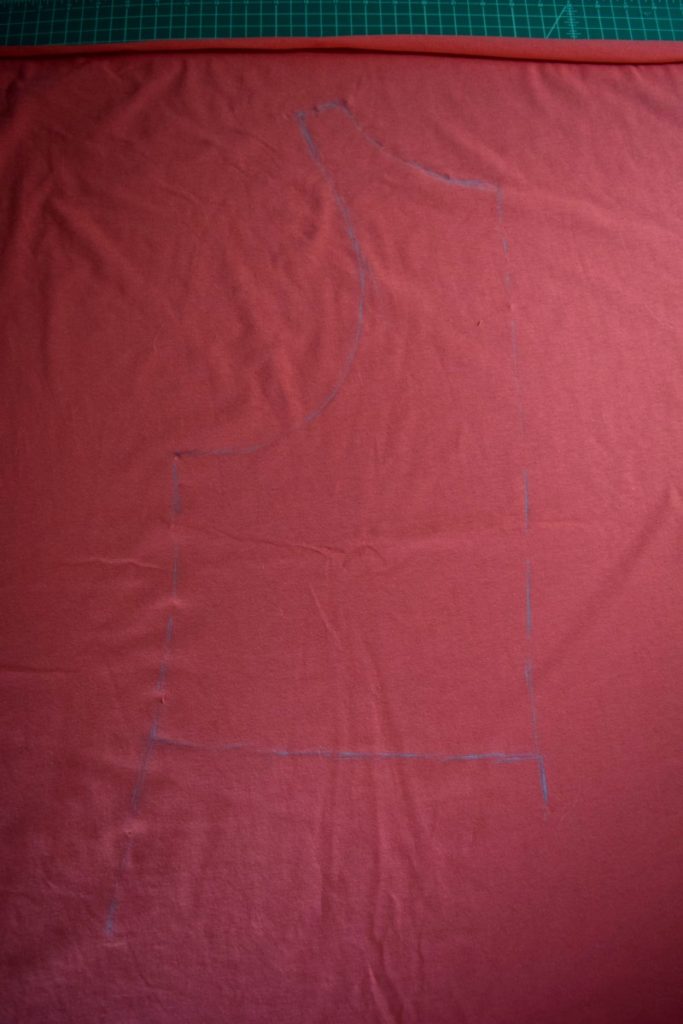
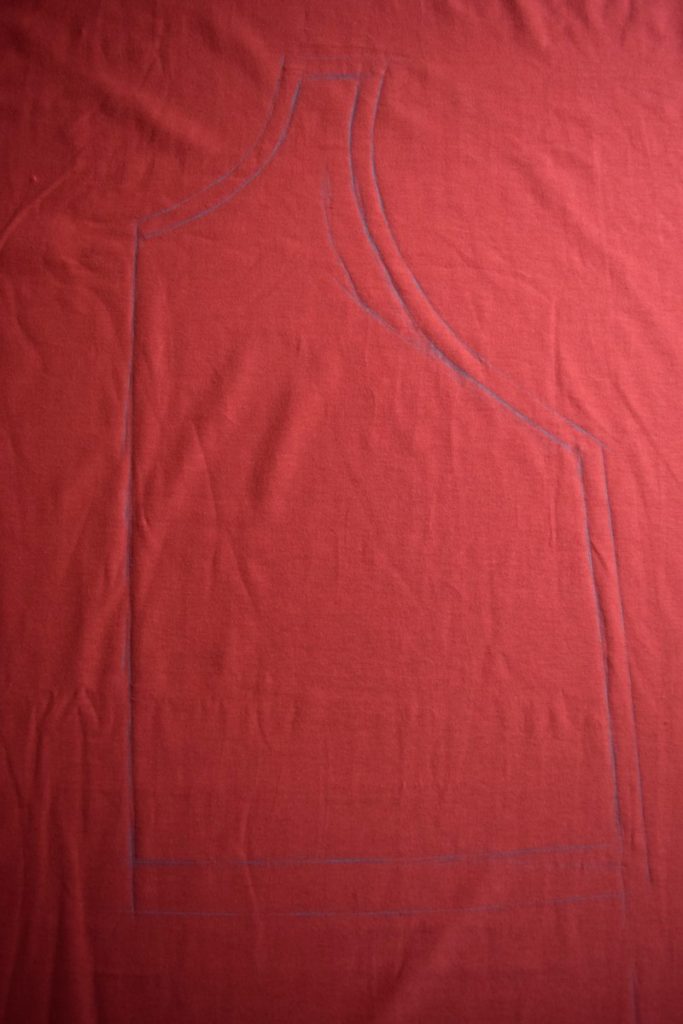
Now we need to use our chalk to mark our seams. First, I marked where I wanted the hem to hit and drew a line parallel to the ground from the center front to the side seam. I also drew a line all the way down the center front.
Next, I marked the side seam. I also marked the shoulder seam (which I didn’t manage to photograph for some reason).
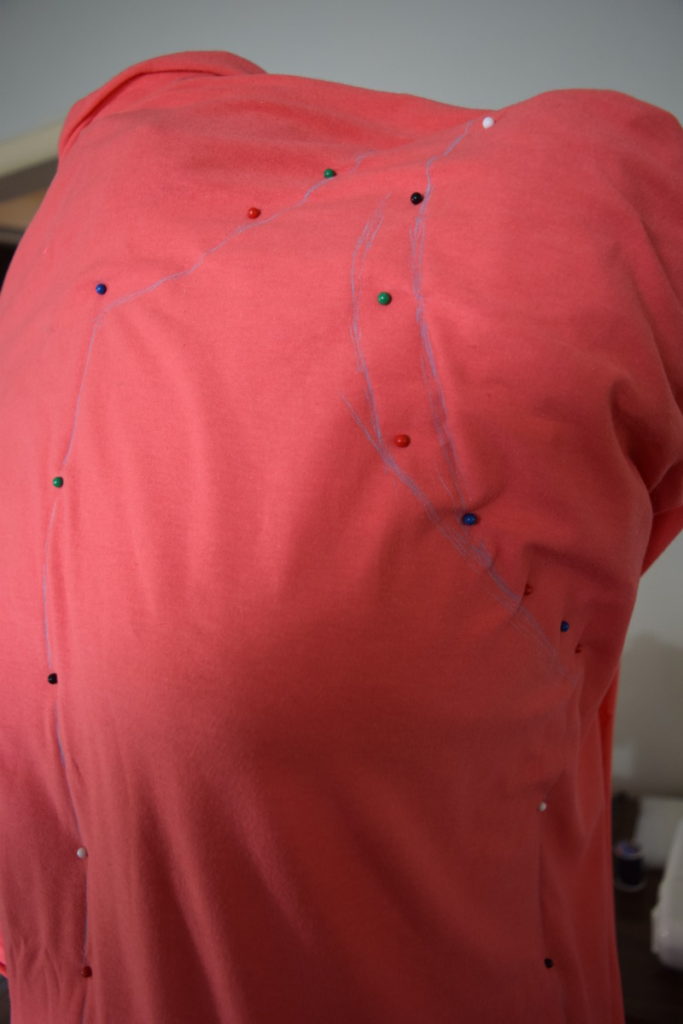
Now the fun part! Draw the neckline shape you want, connecting the center front and the should seam. I wanted just a basic round t shirt style neckline.
Then draw the armhole shape you want your top to have. I made a slightly lower cut armhole because I wear sports bras with my tank tops and like a peek of sports bra above the lower armhole. You can see some extra lines there that I drew as I played with the armhole shape.
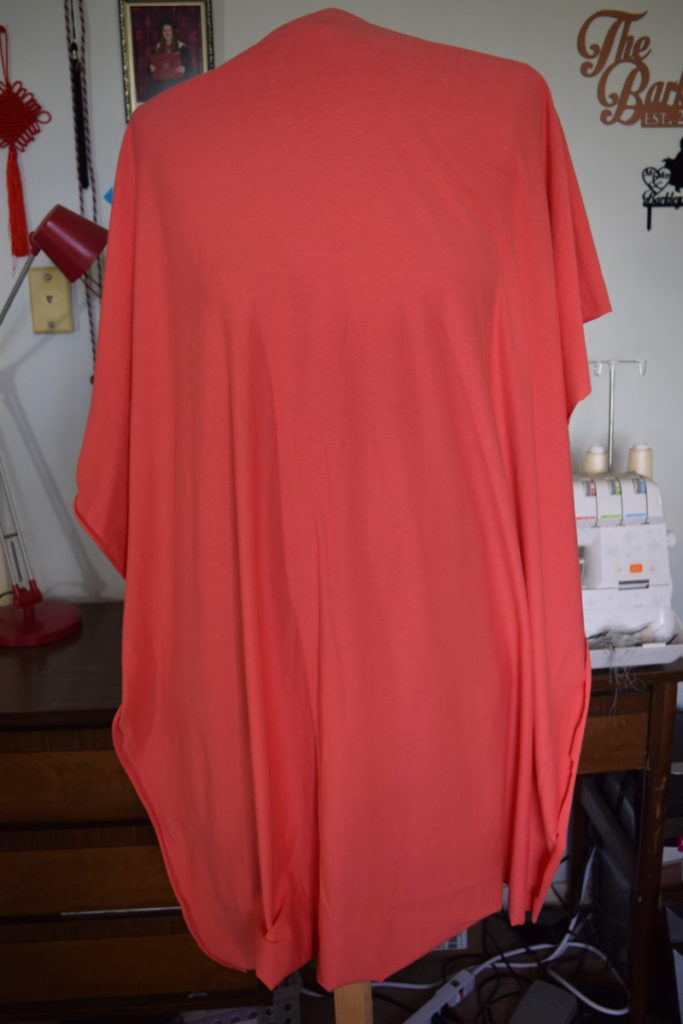
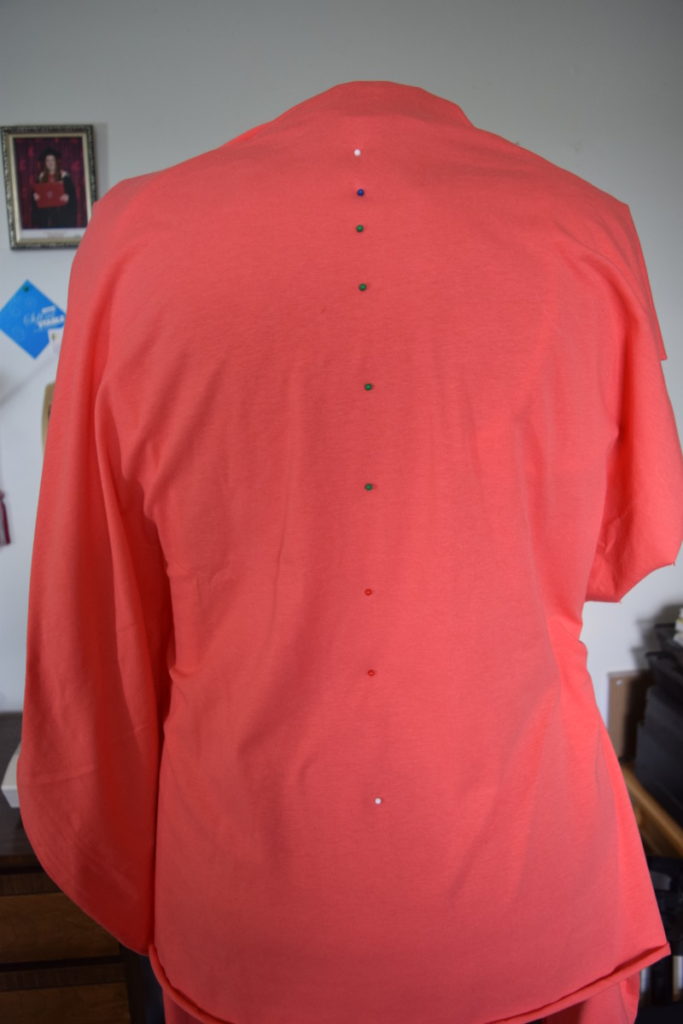
Now lets move onto the back! Pin a piece of fabric to the back of the dress form in the same way you did the front. You’ll want to pin the side that matches up with the front side that you marked. You can pin the shoulder seam, center back, and side seam. Make sure that the shoulder seam and side seam are pinned down the exact same line you drew on the front fabric piece (i.e. make sure the back and front seams match up).
Next, I pinned the arm and neckline.
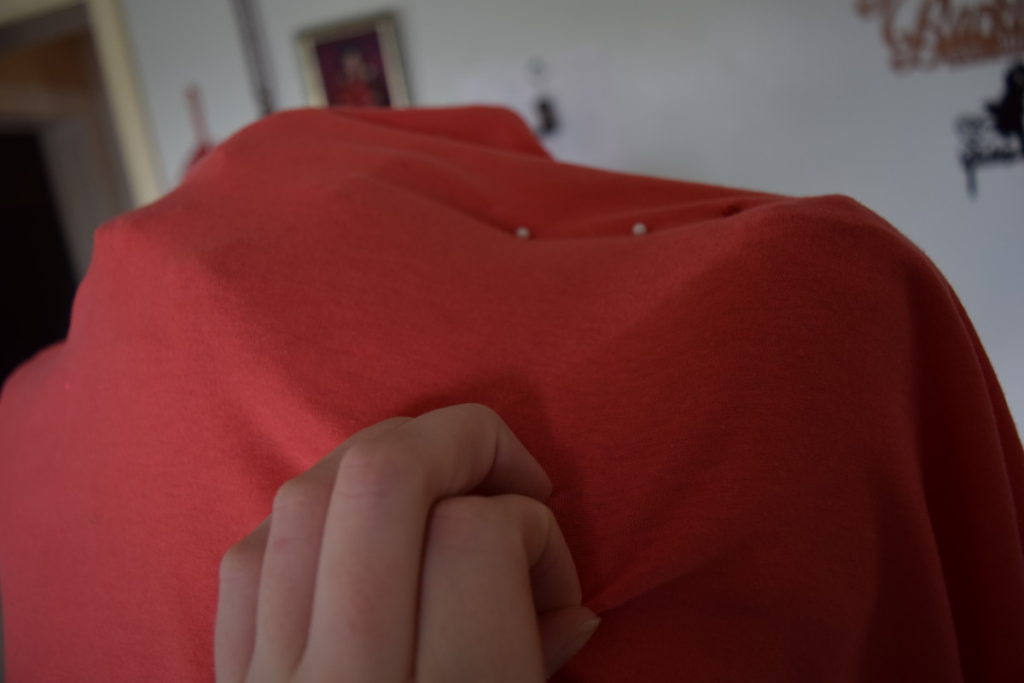
Mark the center back.
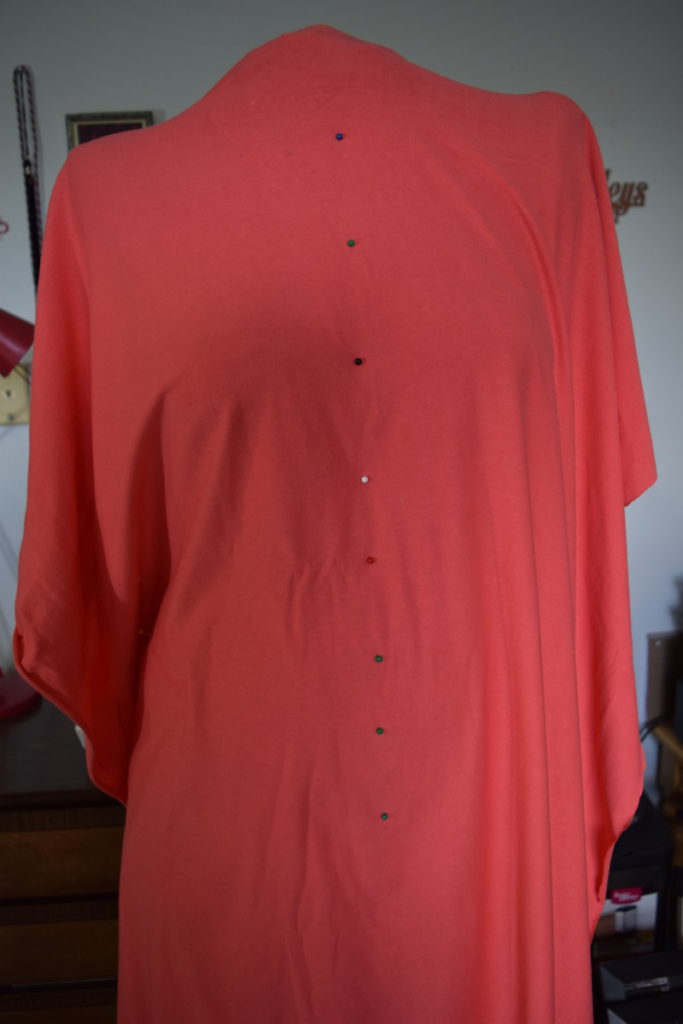
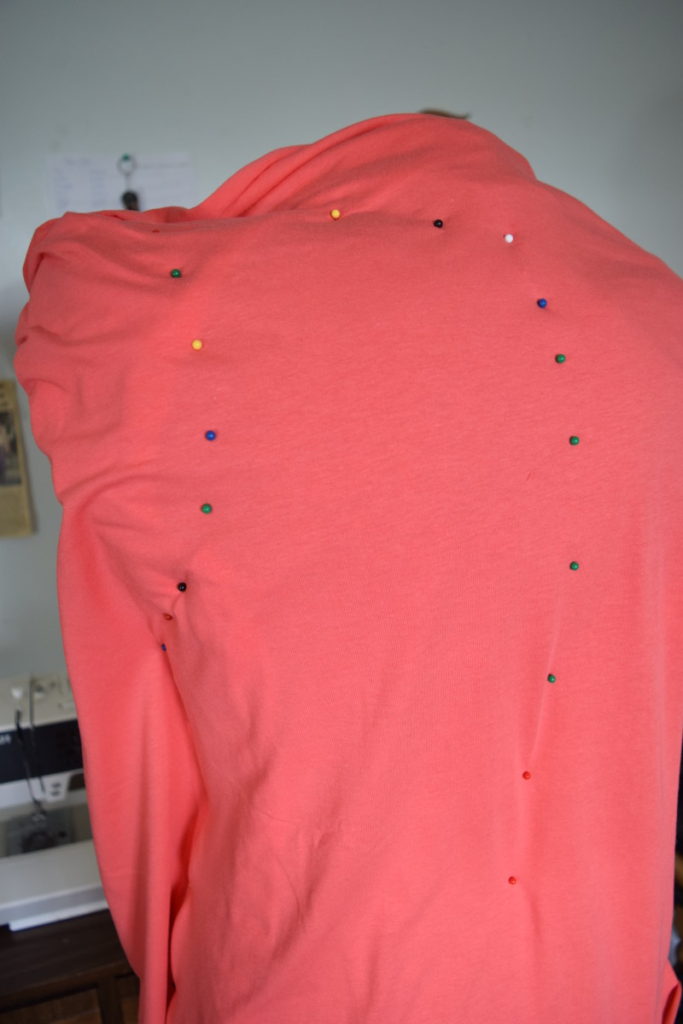
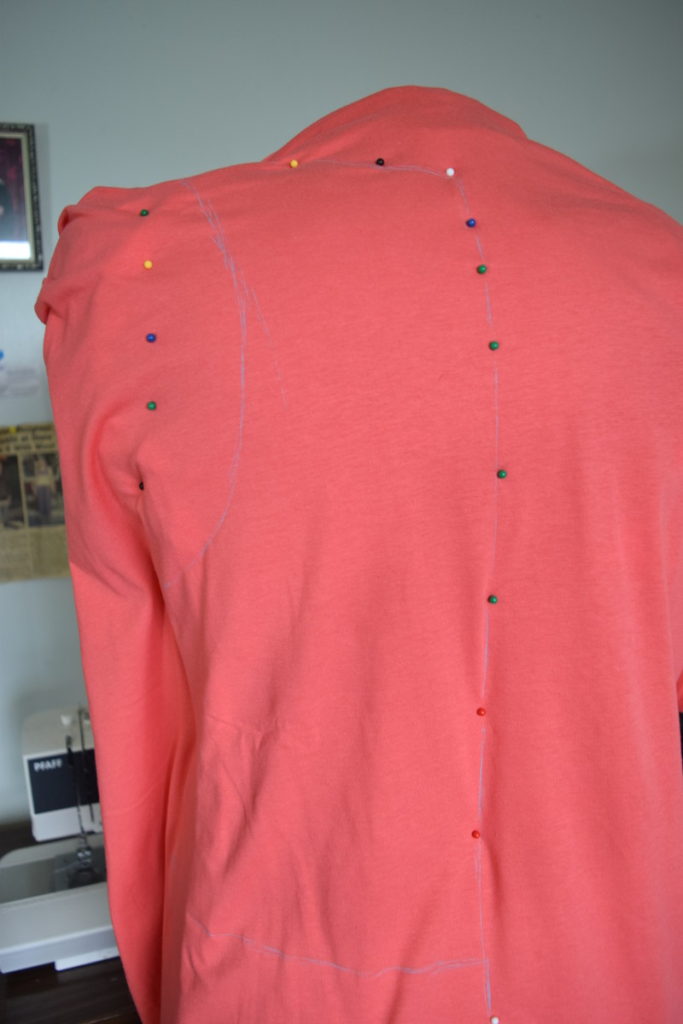
Next, I marked the neckline shape and shoulder seam. At this point you’ll want to make sure that the back and front neckline meet at the same spot and that the shoulder seams match up.
Next, I marked the side seam and the hem. I made sure that the side seam matched the front side seam as closely as possible. It’s also important that the hem matches the front hem at the side seam.
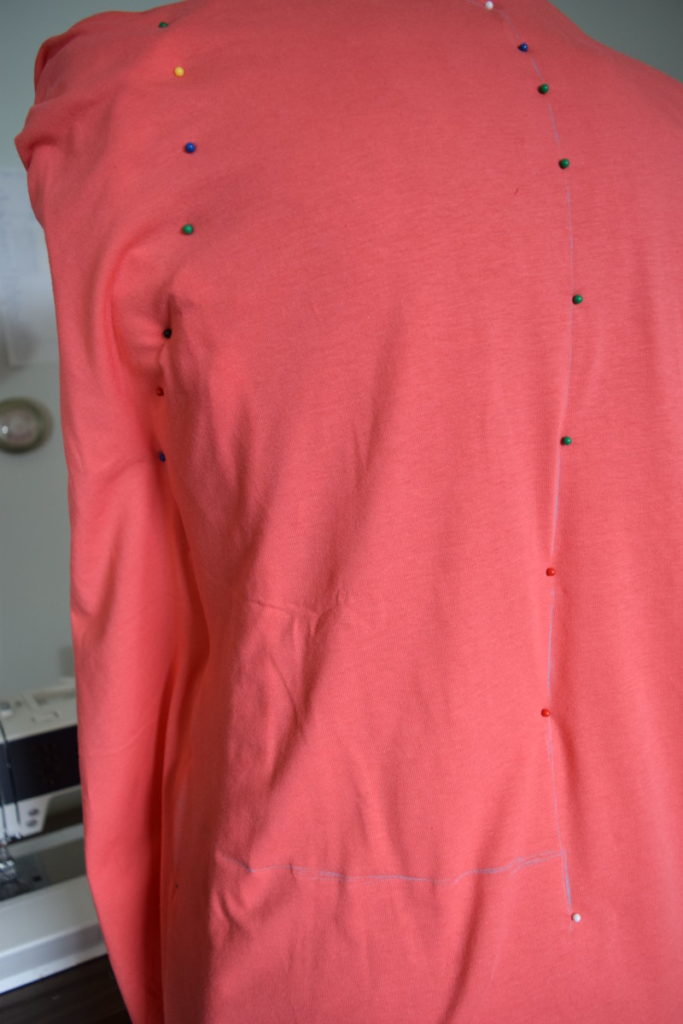
Finally, I marked the armhole curve, marking sure it matched up with the front at the underarm and shoulder. I used a slight racerback shape for my back armhole.
Now we’ve got our design fully draped! Next step: grab that pattern paper and we’ll make our pattern!
You can now unpin the fabric from the dress form and set aside the front for later. Lay out the back piece on your table.
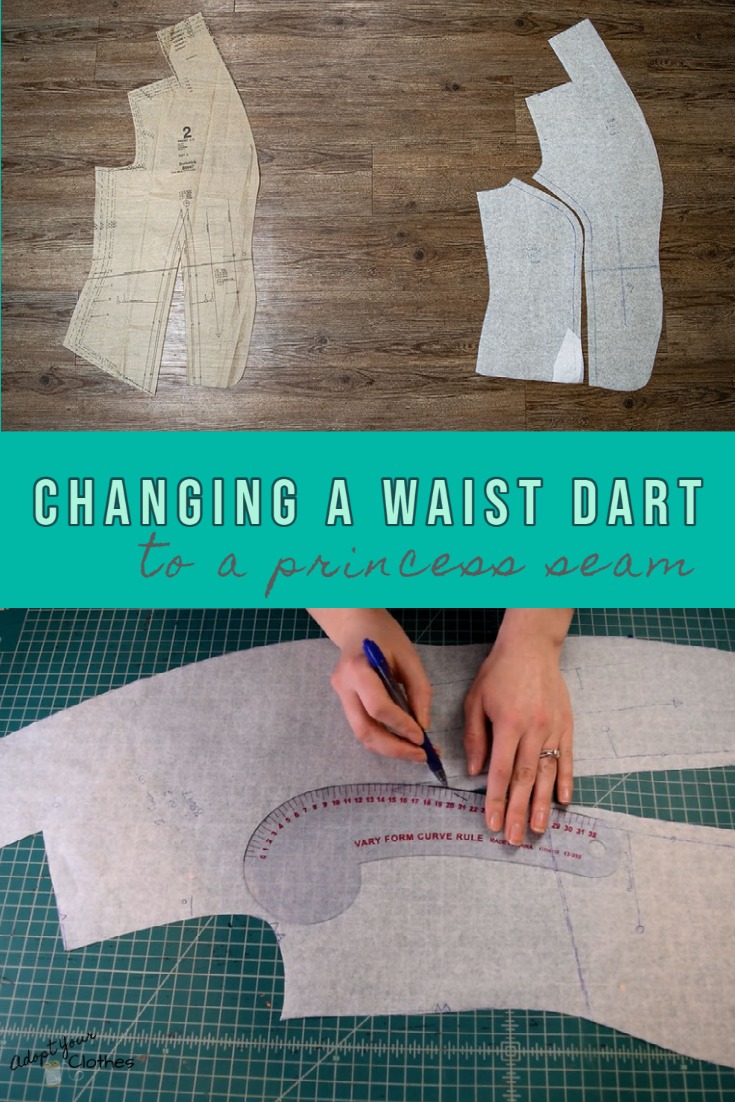
Then use a french curve ruler to “true” (i.e. smooth out) all your curves and lines. The lines usually look a bit rough straight off the dress form, so it’s important to smooth them up (especially the curves). The center back should be a straight line, you can see how I used my ruler to correct the center back line to be perfectly straight.
Next we need to add seam allowance! I usually use 1/2 inch seam allowance and 1 inch hem allowance, but you can choose whatever amount you like. Seam allowance needs to be added around every edge EXCEPT the center back (it will be cut on the fold).
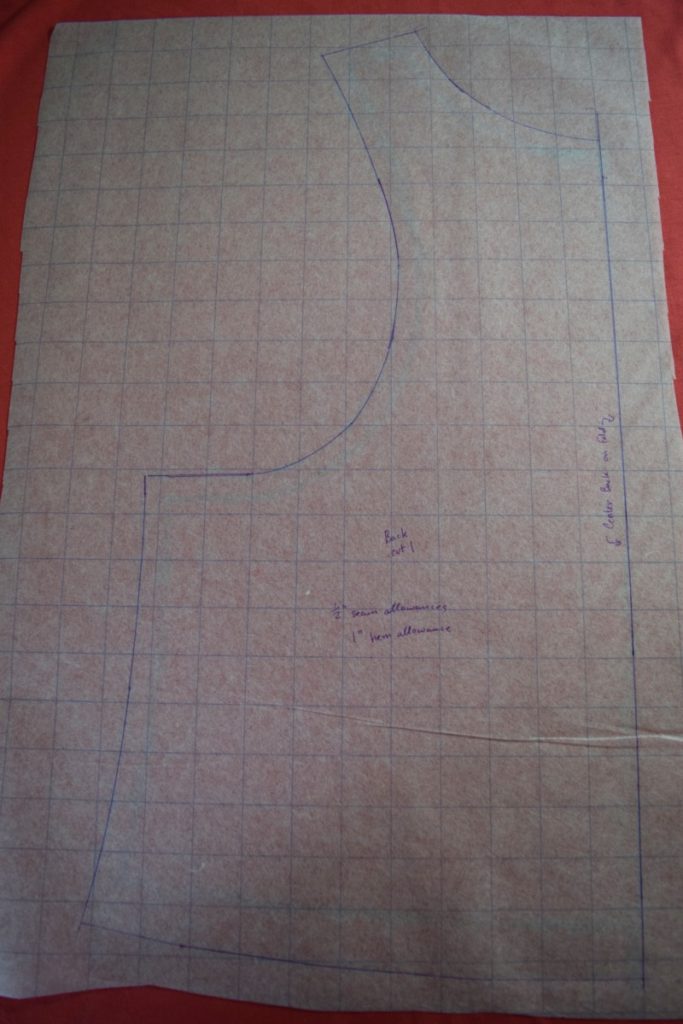
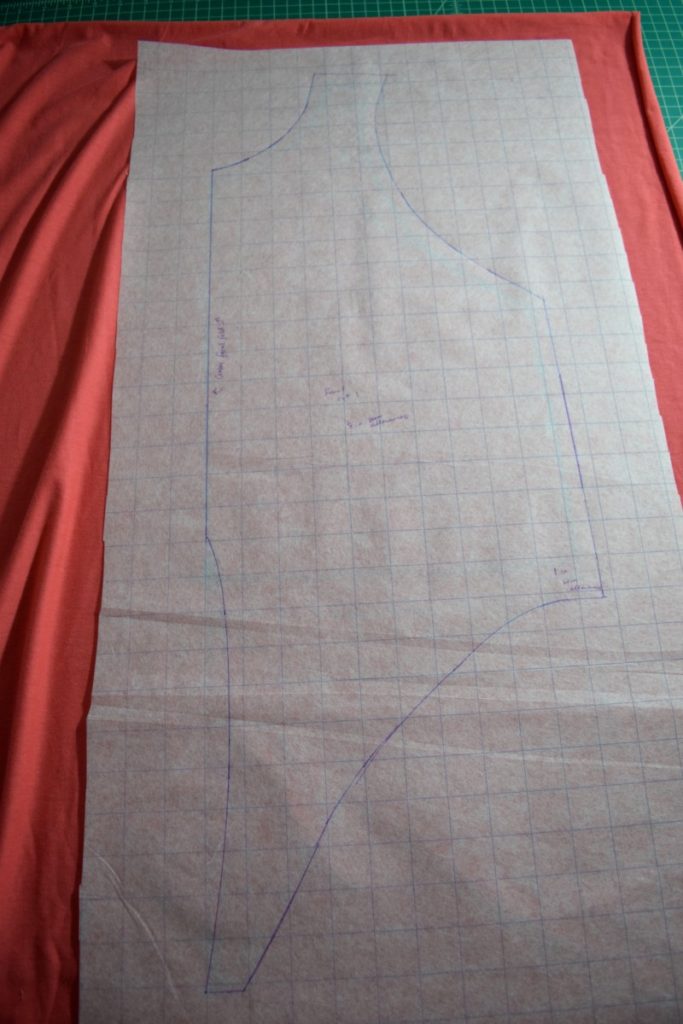
Now we need to trace our pattern onto paper. I cut a piece of pattern paper large enough to cover the entire back pattern and placed it on top of the pattern. I could see my lines through the pattern paper, so I just held the paper still and traced the entire pattern. You don’t need to trace both the stitching and cutting lines, just trace the cutting lines.
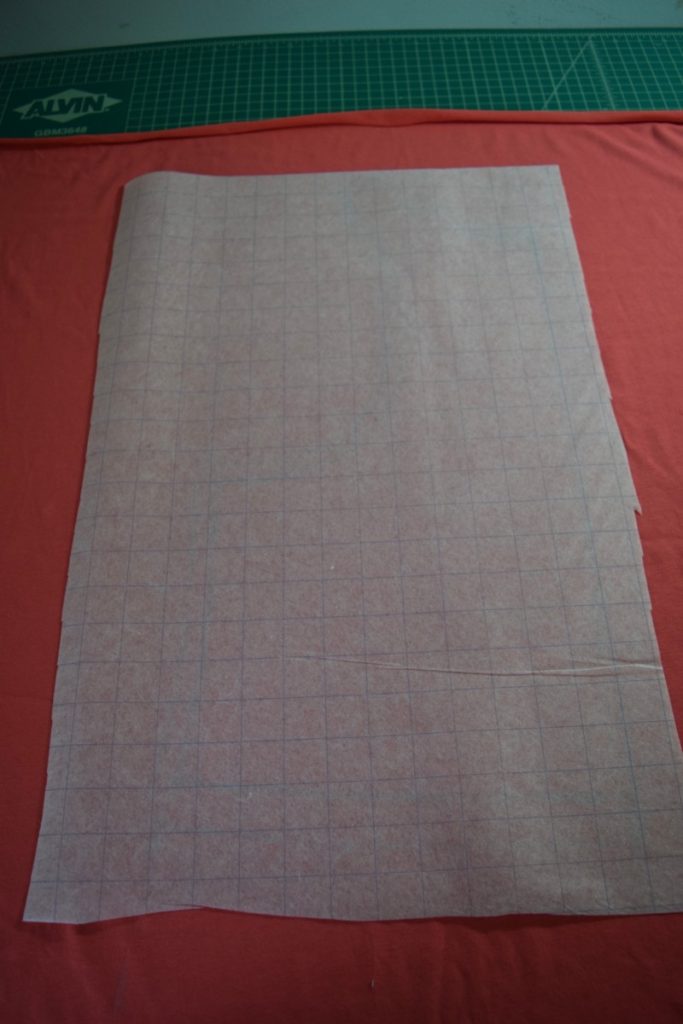
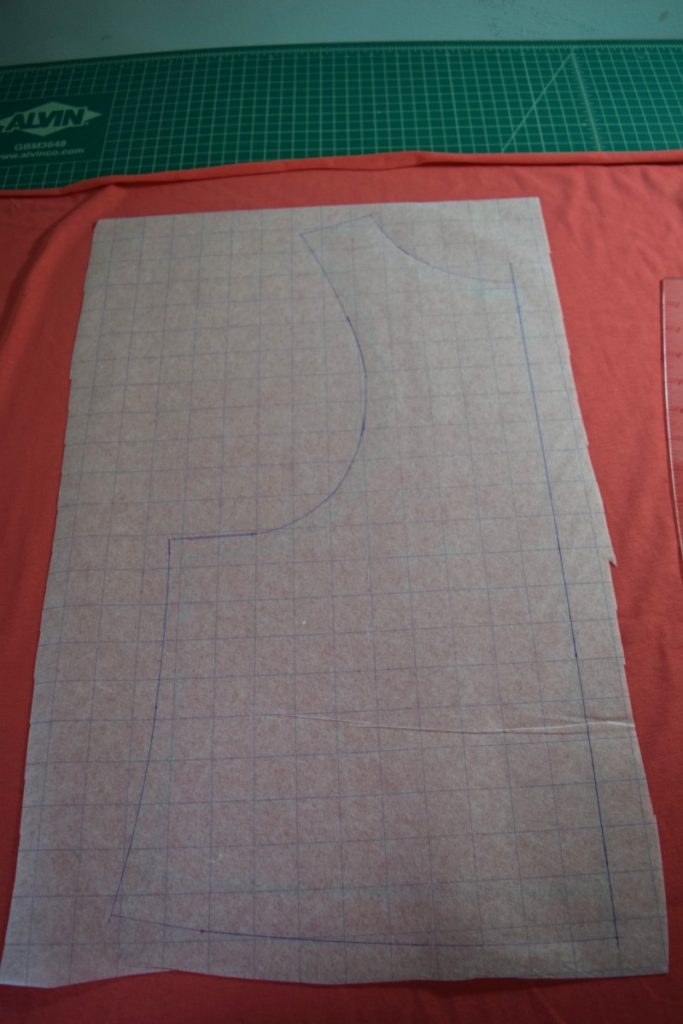
Then add some notes to your pattern piece so you know what it is, how many to cut, and what your seam allowances are.
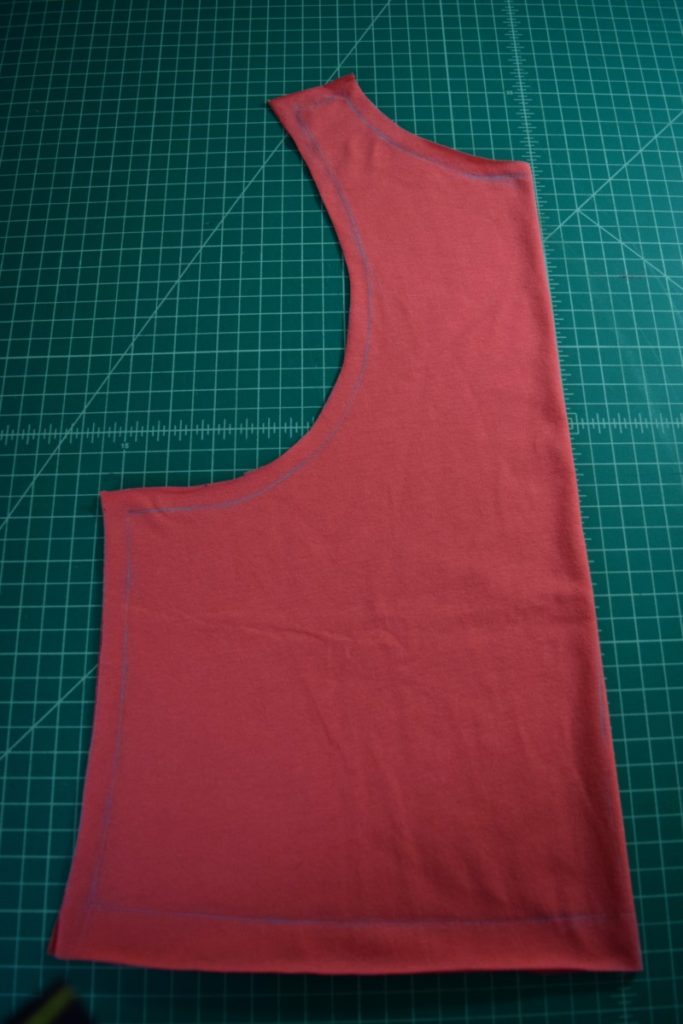
Then just cut out your back pattern piece and set it aside! Now we’ll cut the back out of our actual fabric. Since the pattern is already drawn on the fabric, we don’t need to use the paper pattern for this. That’s for next time you want to make this style of shirt, so you won’t have to remake a new pattern.
To cut it out just fold the fabric along the center back line, smooth out the fabric, and cut around the pattern (leaving the center back intact!).

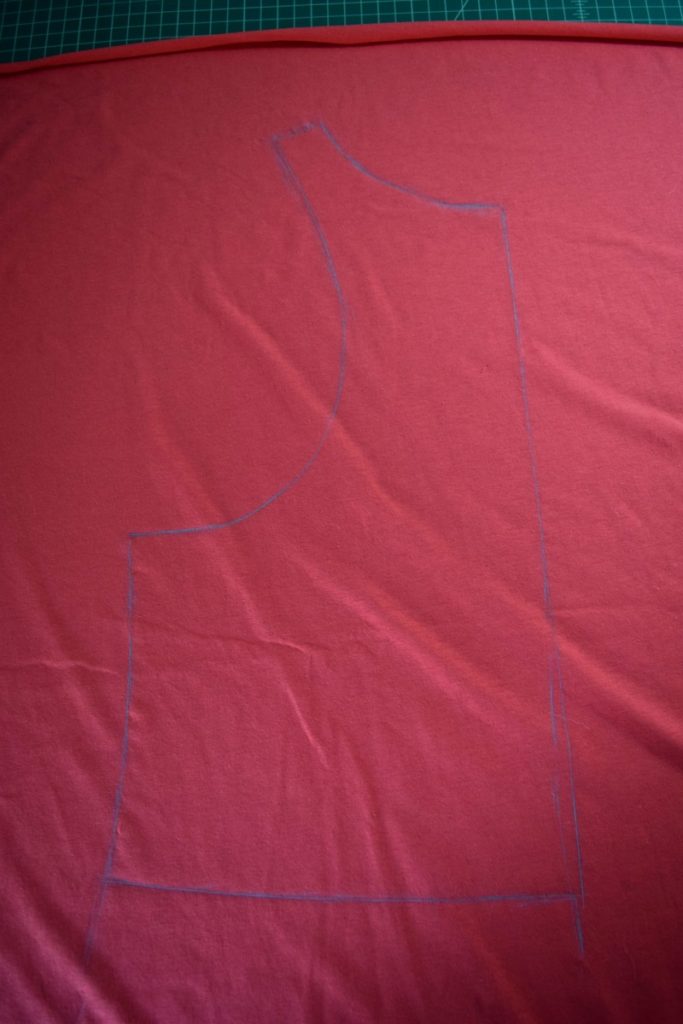
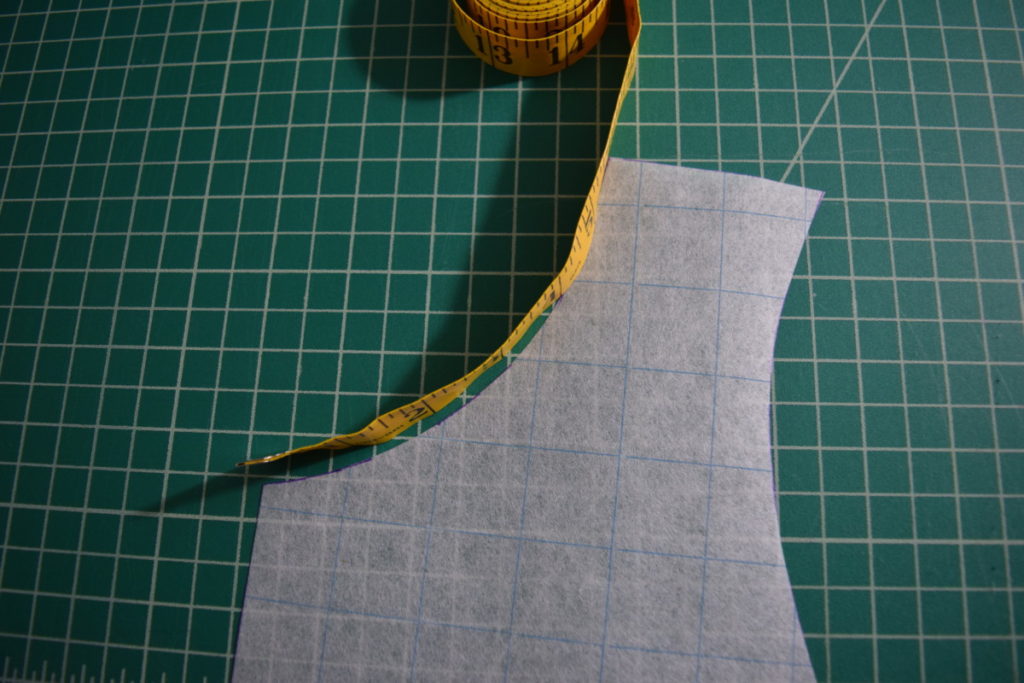
Next, I set aside the back of the shirt to deal with making my front pattern. Lay your front pattern piece out on your table and smooth out the curves and lines just like you did for the back.
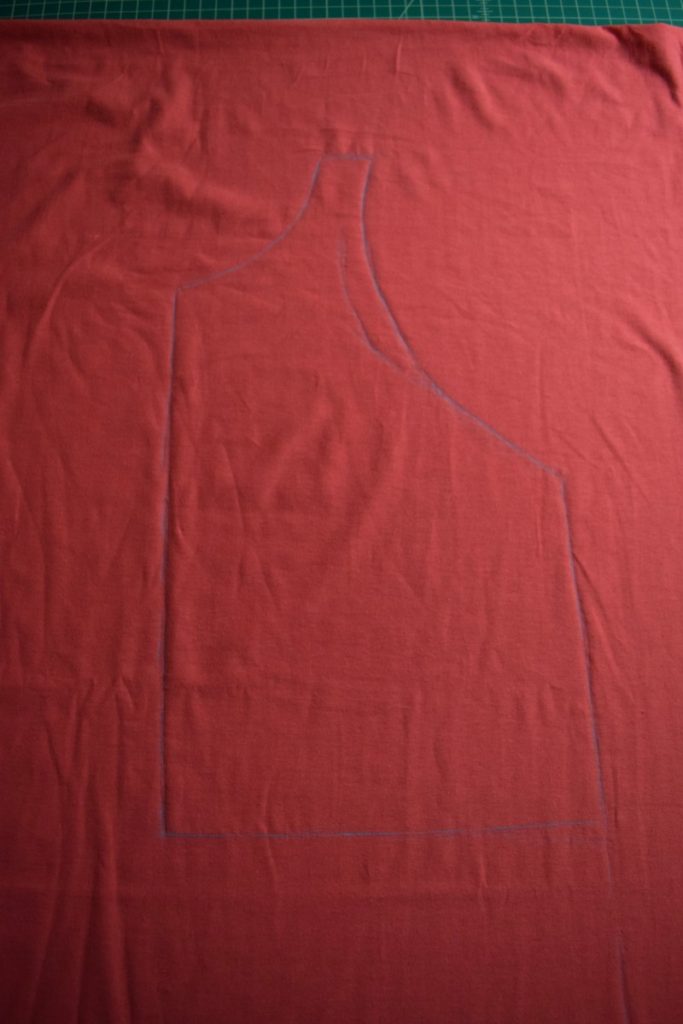
Then add seam allowances the same way you did for the back on all edges except the center front line.
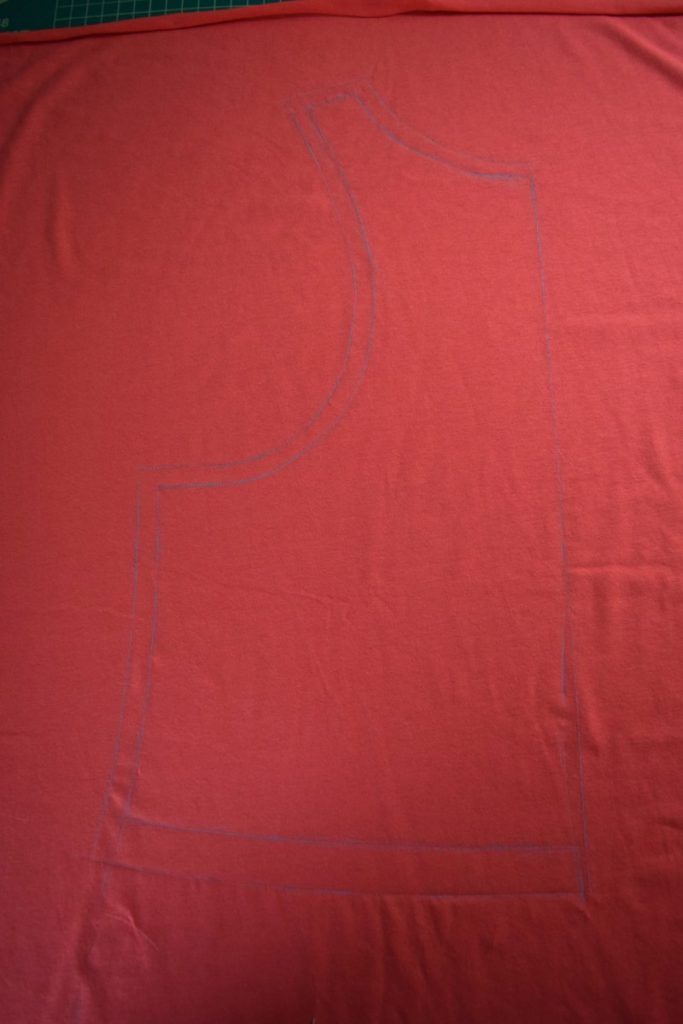
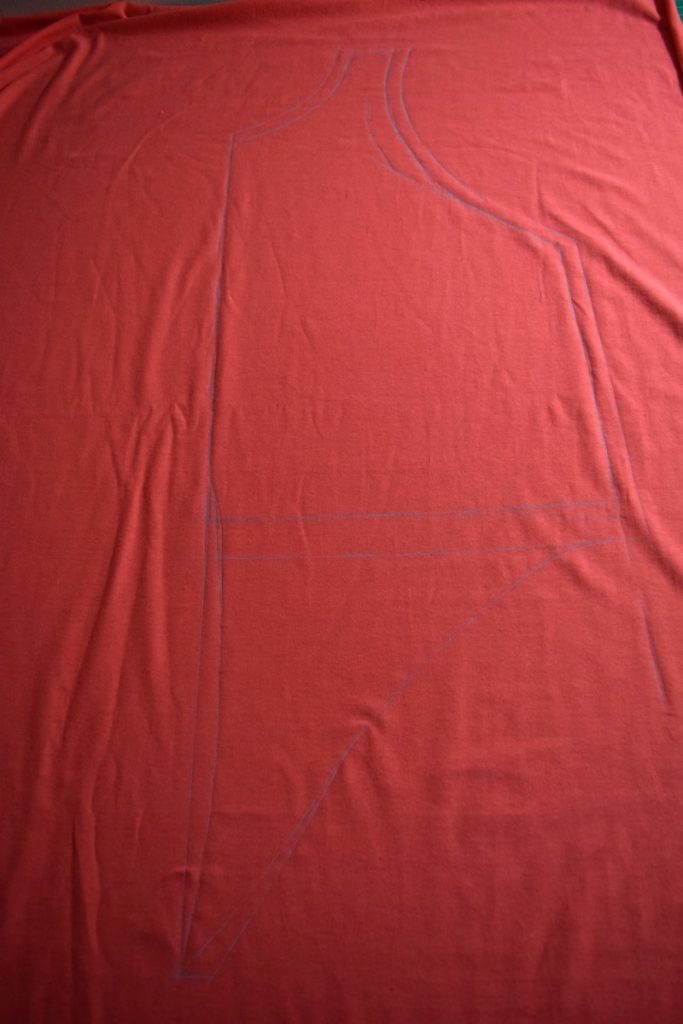
Now it’s time to add the front ties to the pattern! To do this I drew the shape you see in the photo below onto the bottom of the top, curving the lines nicely into the hem at the side and center front. This really isn’t exact, you can draw pretty much any shape of tie and it should work just fine!
Next, trace the front pattern onto pattern paper just like you did for the back. Then cut it out and set the pattern aside.
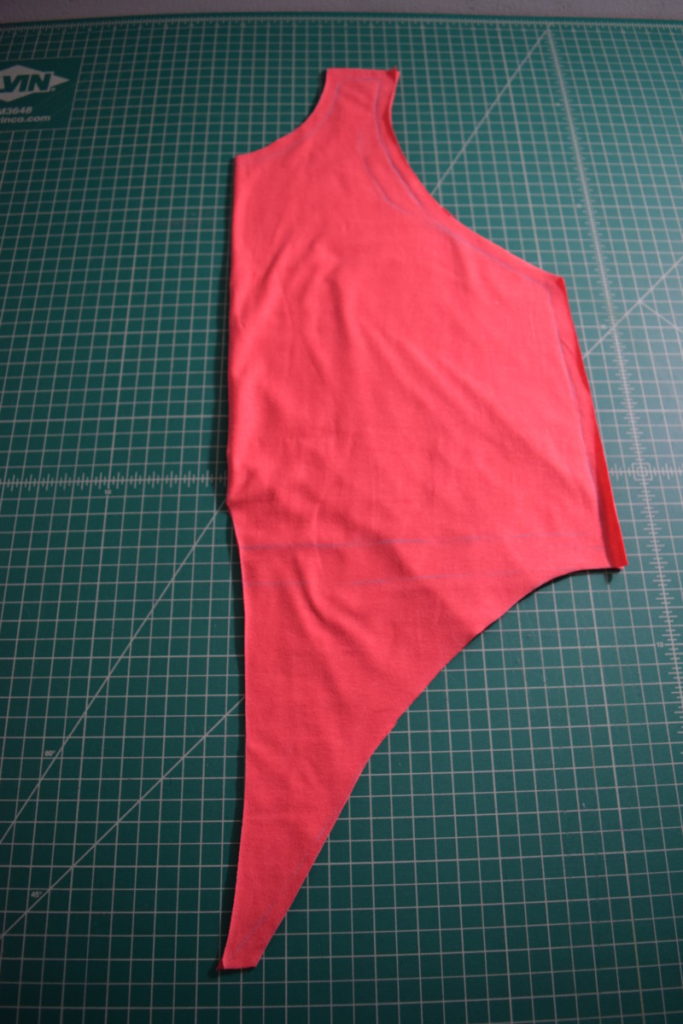
I then cut out the front from my fabric the same way as for the back, folding along the center front line. And I set the front aside for later!
Our final pattern piece is going to be a binding/collar for the neckline! To draft this pattern piece, you need to get the measurement of the front neckline and the back neckline from your pattern. I found these measurements by running my tape measure up on end along the neck edges and recording the measurements.
Once you have the length of the front and back necklines from the pattern pieces, you can find the length of the entire neckline (after shoulder seams are sewn) with this calculation:
((2x front neck measurement)+(2x back neck measurement))-4x seam allowance
My measurements were: front neck=6 inches, back neck=5.5 inches, seam allowance=1/2 inch
So my total neckline length was (12+11)-2=21 inches
Then to find the length of your binding, subtract 1 inch from your total neckline length to get a nice tight fit. So I want my binding to be 20 inches once sewn. But I still need to add seam allowance, so the 1 inch gets added back (1/2 inch seam allowance on each end). So my binding pattern needs to be 21 inches long.
I wanted a 1 inch wide binding, so my pattern will be 3 inches wide. This allows the binding to be folded in half and sewn to the neck with a 1/2 inch seam allowance.
So I cut my binding pattern as a rectangle that was 21 inches x 3 inches.
And that’s all the pattern pieces!

Now just cut your binding from your fabric using the pattern piece you just cut! Once you’ve got all your pieces cut out, head to the next post in this mini-series (HERE), where I show you how to sew it all together. I also share what changes I plan to make to this pattern after sewing up the first version of it! Because every pattern making experience is a journey and every garment you sew with a pattern gives you the opportunity to improve the pattern for a perfect fit and style.
If you loved this tutorial and want more sewing and DIY tutorials, I would love for you to subscribe to my email newsletter.


[…] Previous Next […]
How to take CBD Gummies for the best results: There are many benefits of CBD Gummies, but the question of how to take them is still a bit mysterious. Here are some of the most common questions and answers.You can also read more about their ingredients. You may also be interested in how to take them at work. After all, how can CBD gummy help you in the office? Let’s find out! Keep reading! Then, you will be able to decide if they are for you! Taking CBD Gummies with you to work is a convenient way to boost your energy levels and combat anxiety. These tasty treats do not take up much space and will not disturb your day. Besides, there are no obvious side effects that will draw attention to your consumption.These tasty Gummies are as harmless as any other supplement or medication. So, you can use them without worrying about being judged or ridiculed. CBD is an effective pain reliever. When taken regularly, these Gummies can significantly boost your energy levels. It has been shown that CBD improves the ECS, which regulates sleep-wake cycles. This in turn leads to less pain.CBD Gummies offer a delicious way to boost your energy levels and get the rest you need at work. For optimal results, use a single dose every day CBD Gummies are a popular way to supplement your CBD intake. They are made from hemp extracts and come in a variety of flavours. CBD Gummies dosing:osing depends on your body’s tolerance to cannabidiol (CBD) and how much you’re willing to consume. They are easy to take, but the proper dosage for you will depend on your weight and the strength of the gummy.CBD is a compound extracted from the hemp plant, a member of the cannabis plant family. CBD is extracted from the hemp plant and is known as CBD oil. Dosage will depend on the desired effects. The recommended dose for adults is 0.25mg to 0.5mg per kilogram of body weight. Regular CBD dosages will improve immune function, limit environmental hypersensitivity, and reduce minor discomfort.You can double your dosage to 0.5mg every 8 hours or up to twice a day. If you feel like you need more CBD, you can double or triple it. To take CBD in gummies, you can either take one or two gummies once or twice a day. Taking CBD Gummies with you everywhere:
The time for CBD gummies to leave the body depends on a few factors such as age, weight, and metabolism. In general, CBD stays in the body for 2-3 hours when consumed as a CBD sweet or gummy format, so CBD gummies can be taken in a single daily dose, or smaller doses at intervals throughout the day such as morning, mid-day, and night. The rate of uptake for CBD varies, depending on a few factors, such as age, weight, metabolism, and the type of product you use. CBD gummies have medium absorption, meaning they are typically felt after 20-30 minutes. Each person reacts differently to CBD, so you may find it can take shorter or longer for the CBD to be absorbed into your system.
There is no penalty for taking a thoroughly tested and carefully formulated cannabidiol product. Your mind and body will thank you, and local law-enforcement agents recognise the legal availability of these hemp items. You never need to worry when purchasing a CBD gummy product.