

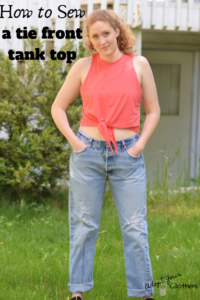
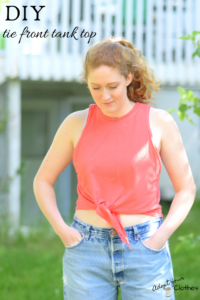
So today I’m going to show you how to sew up this cute tie front tank top that we made the pattern for last week! If you missed the post on how to make the pattern for this top check it out HERE.

I’m in love with this top! It’s so comfortable and trendy. I have to say the color is amazing as well, I’ve really been wanting to add some coral to my wardrobe this summer. Although I must admit, the color showed up SO WEIRD in some of the sewing photos, so I’m sorry!

At the end of the tutorial, I’ve also shared some of the changes I’ll be making to the pattern in light of how this first test run turned out. I think every time you sew up a pattern (whether commercial or self-drafted) you have an opportunity to make changes to continually improve the fit and style to match your needs. So if you’re interested in hearing about my process for determining what changes I’ll be making to the pattern before I sew it again, head to the end of the tutorial!

So let’s make our tank top!
*This list contains affiliate links for the products I used in this project, so if you purchase something through my link I receive a small commission at no extra cost to you. This really helps support my site so I can continue to create DIY and sewing tutorials for you!
What you need:
- cut out pattern pieces (front, back, neck binding): HERE is the post explaining how to make this pattern
- sewing machine
- thread
- ballpoint needle
- double needle (optional)
- iron
- ballpoint sewing pins
- serger (optional)
Steps
- Sew the front to the back at the shoulder seams and side seams
- Make the collar
- Sew the collar onto the shirt
- Finish the armholes
- Finish the hem
Instructions:
Step 1
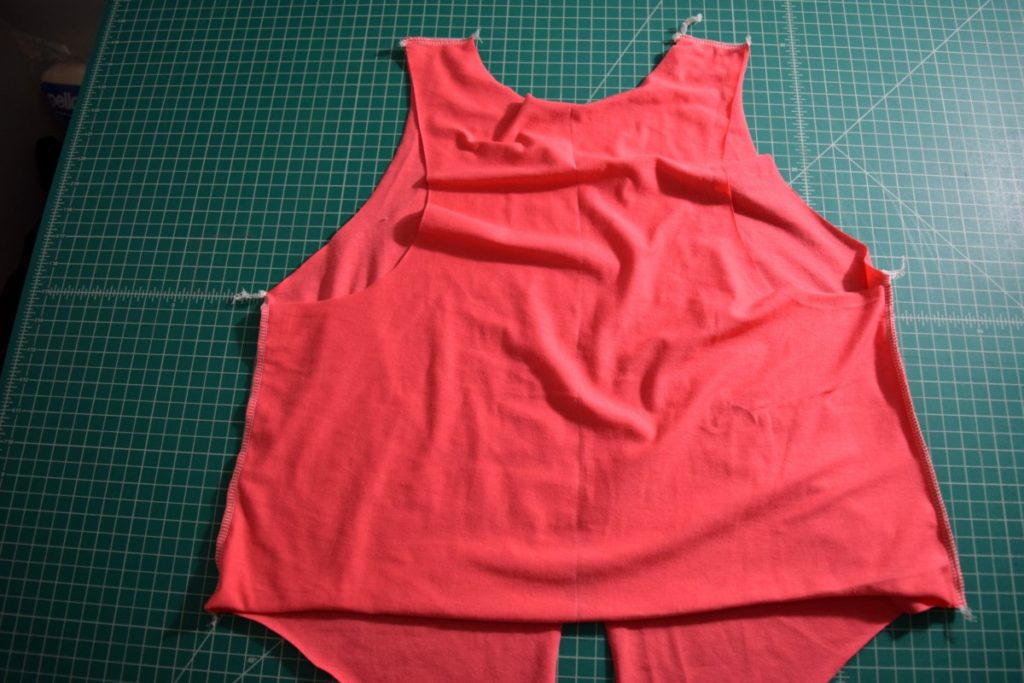
Our first step is to sew the front to the back at the side seams and shoulder seams. So I first pinned the side and shoulder seams with my ballpoint pins. I use ballpoint pins in knits because they don’t leave holes in the fabric like regular sewing pins.
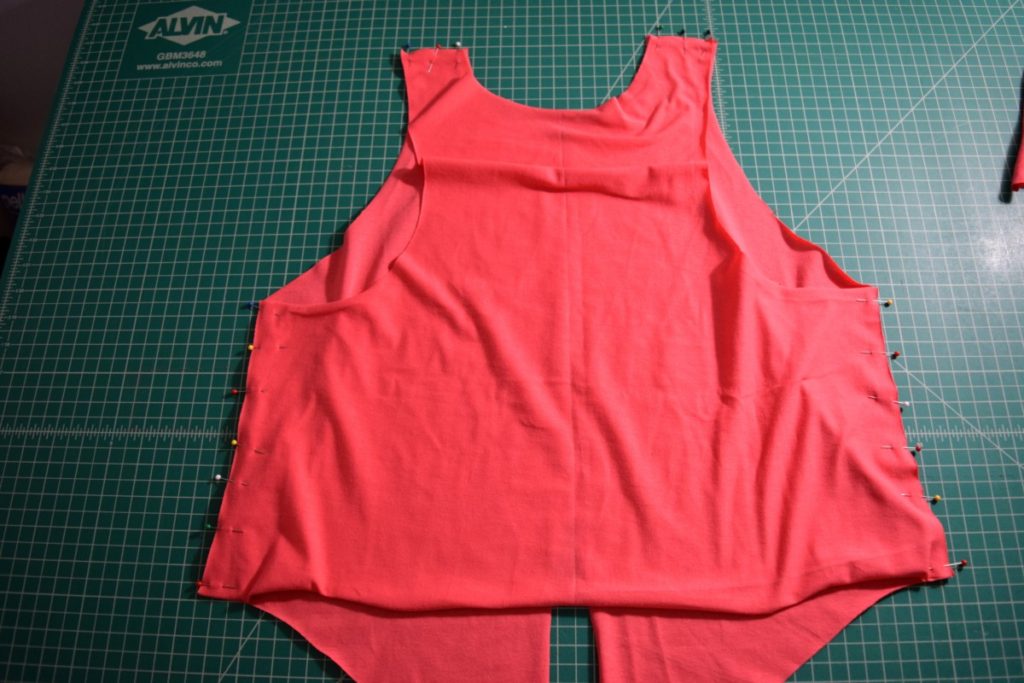
Then I serged the side seams and shoulder seams with a 1/2 inch seam allowance. You can also sew these seams with a zigzag or stretch stitch on your regular sewing machine if you don’t have a serger!
Step 2
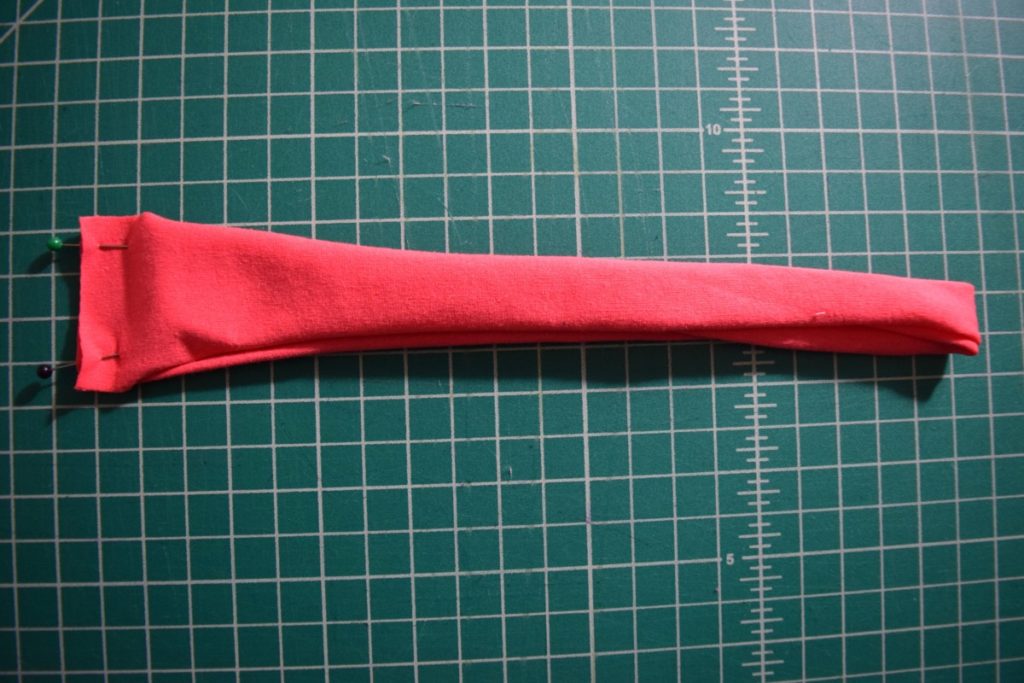
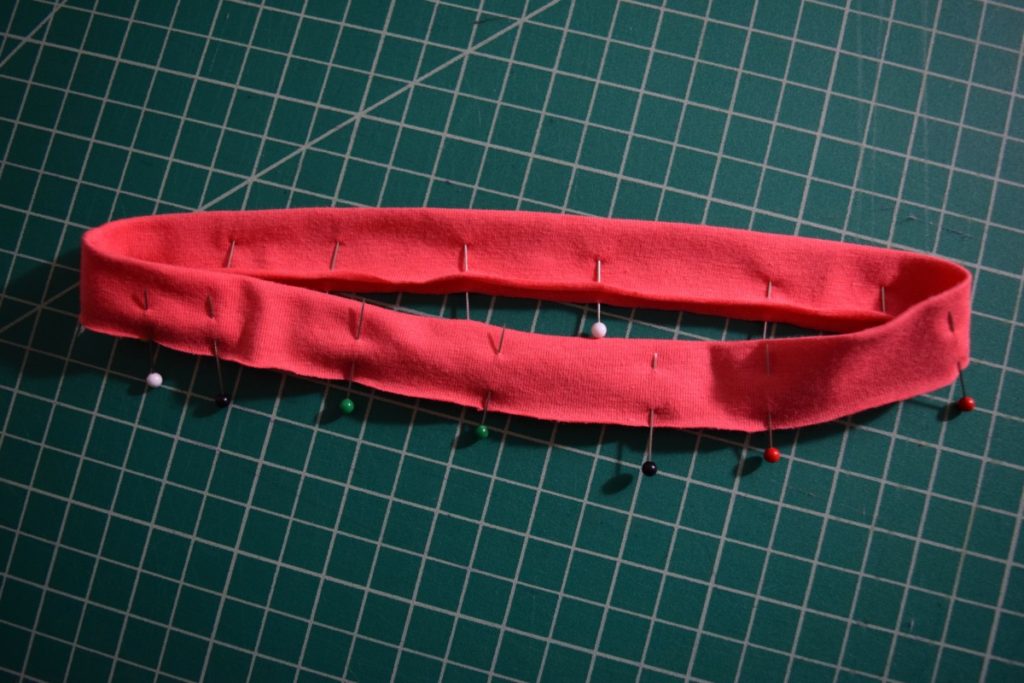
Our next step is the neck binding/collar! First, pin the two short ends of the collar together and sew this seam. Once again, I used my serger but that’s totally not necessary. You should end up with a loop of fabric.
Just a note here, in the photos you can see that the jersey knit I was using tended to roll up on the edges like crazy! If yours does this as well, you can just flatten it out where you’ll be sewing either with your fingers or your iron.
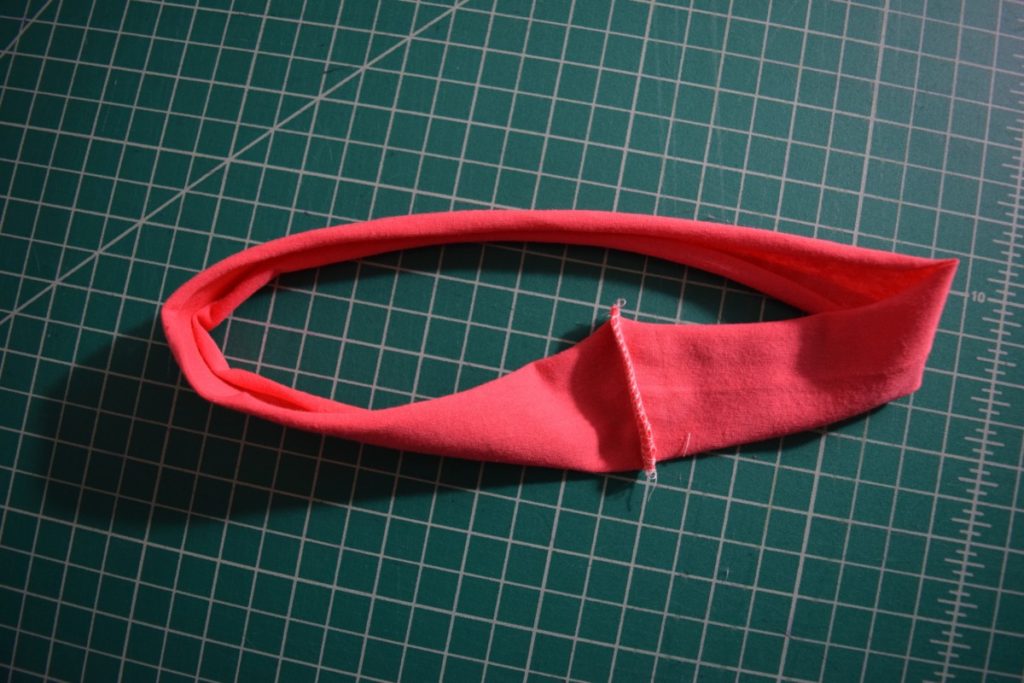
Next, iron the collar in half with the wrong side to the inside and pin it in place.
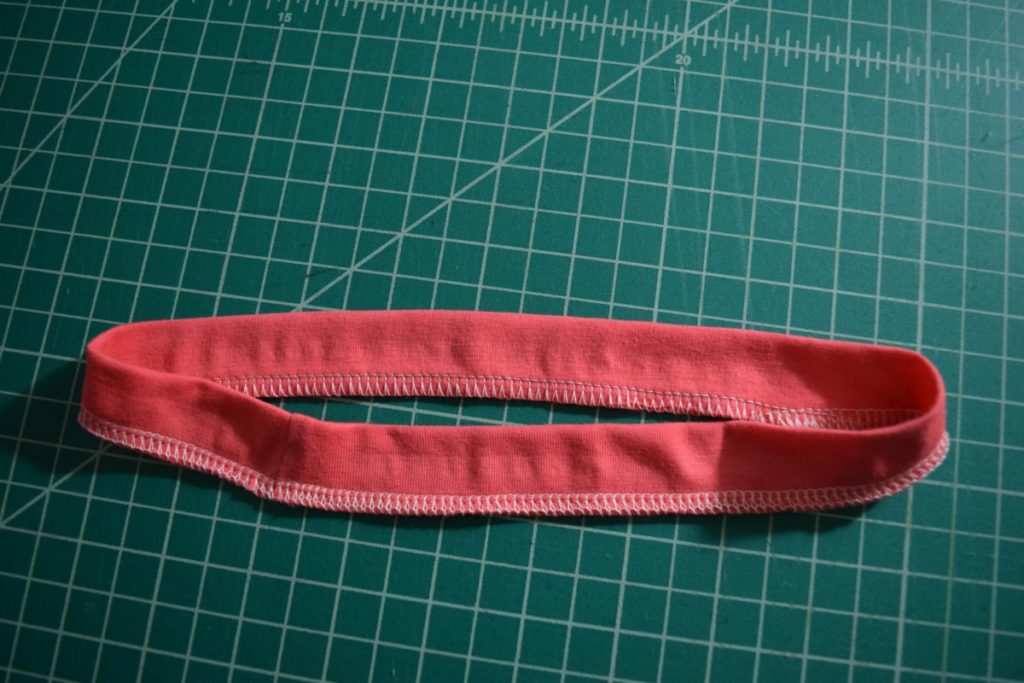
Then I serged the open edges together. You could also do this with a zigzag stitch along the edge.
Step 3
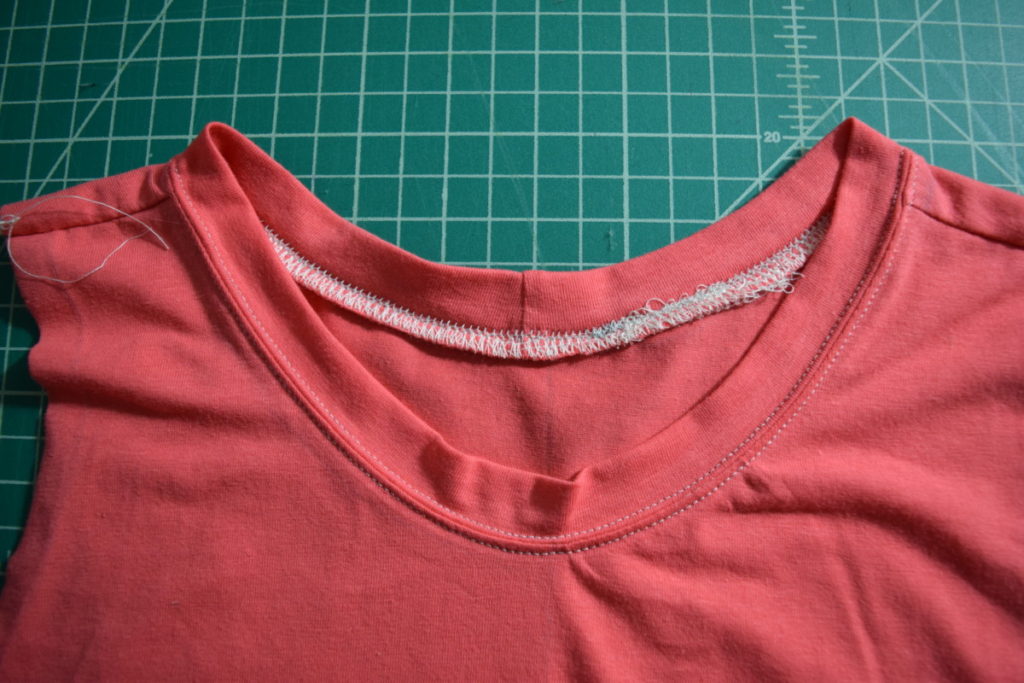
Next, I turned the shirt inside out and pinned the collar to the right side of the neckline with four equally spaced pins. I made sure the collar seam was at the center back.
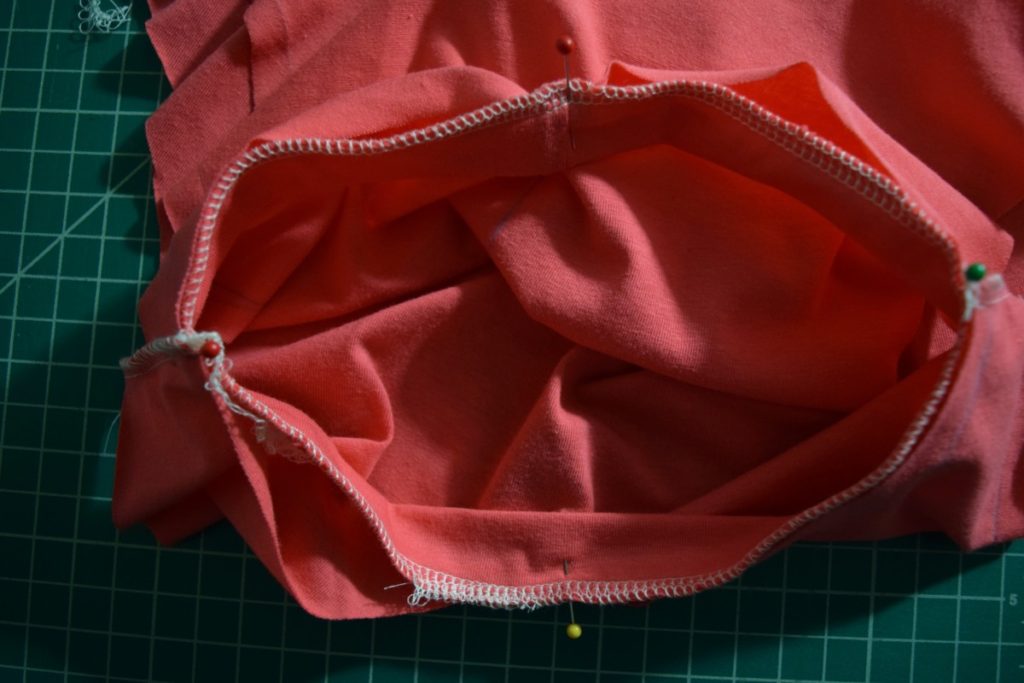
Then I serged the collar onto the shirt, stretching the neckline to fit the collar between the pins as I sewed. After sewing on the collar, I used my iron to press the collar up and the seam allowance down.
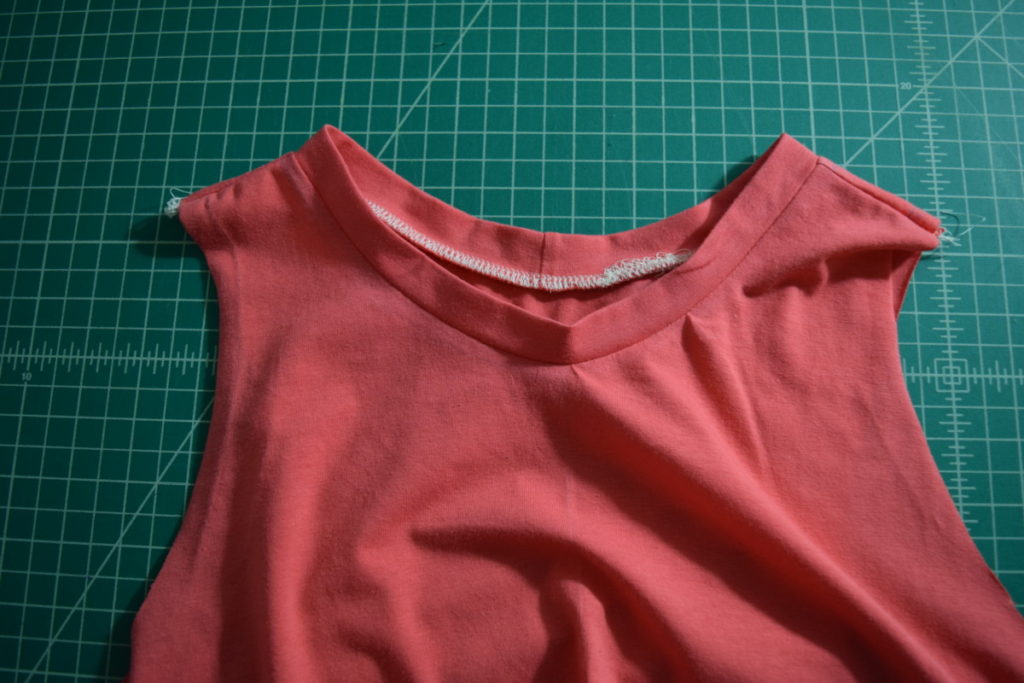
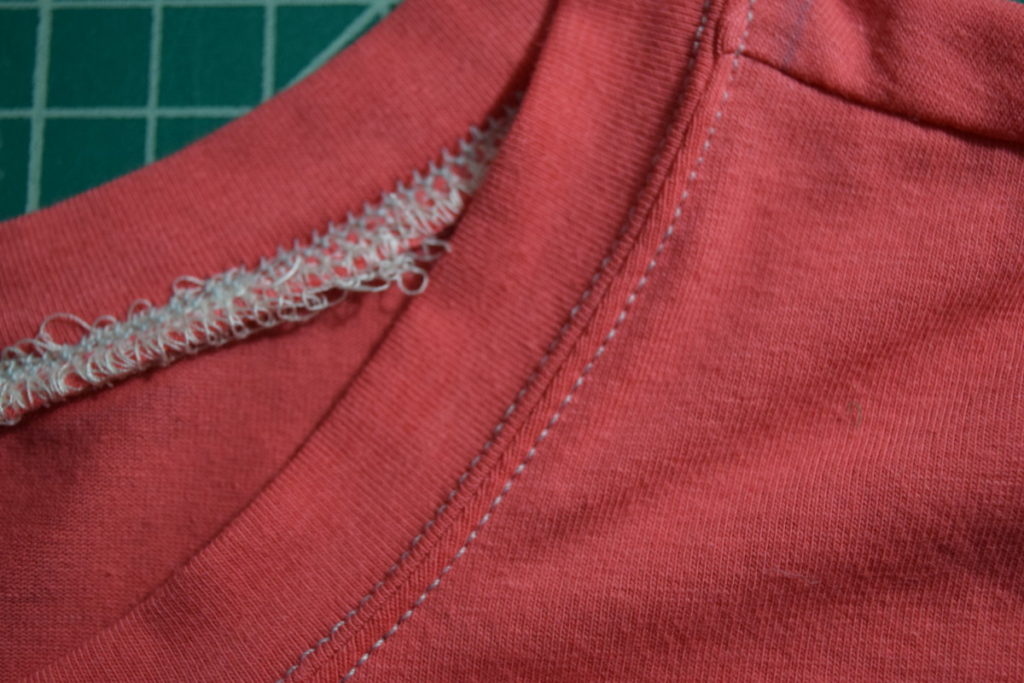
This next part is completely optional, I just like the look of it on my t shirts and tank tops: I used a double needle to sew around the neckline, with one needle on each side of the seam. I think this gives the neckline a really professional look and it also holds the seam allowance down.
Step 4
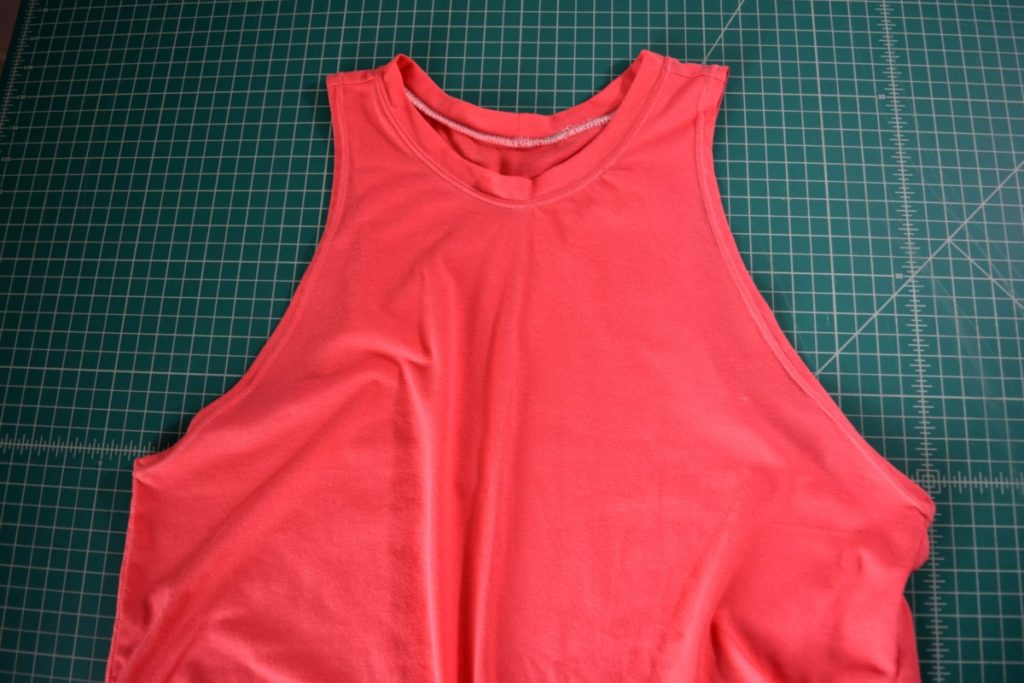
Then I finished the armholes by ironing under my 1/2 inch seam allowance and sewing it down with my double needle. As with everything else, a zigzag stitch could also be used.
Step 5
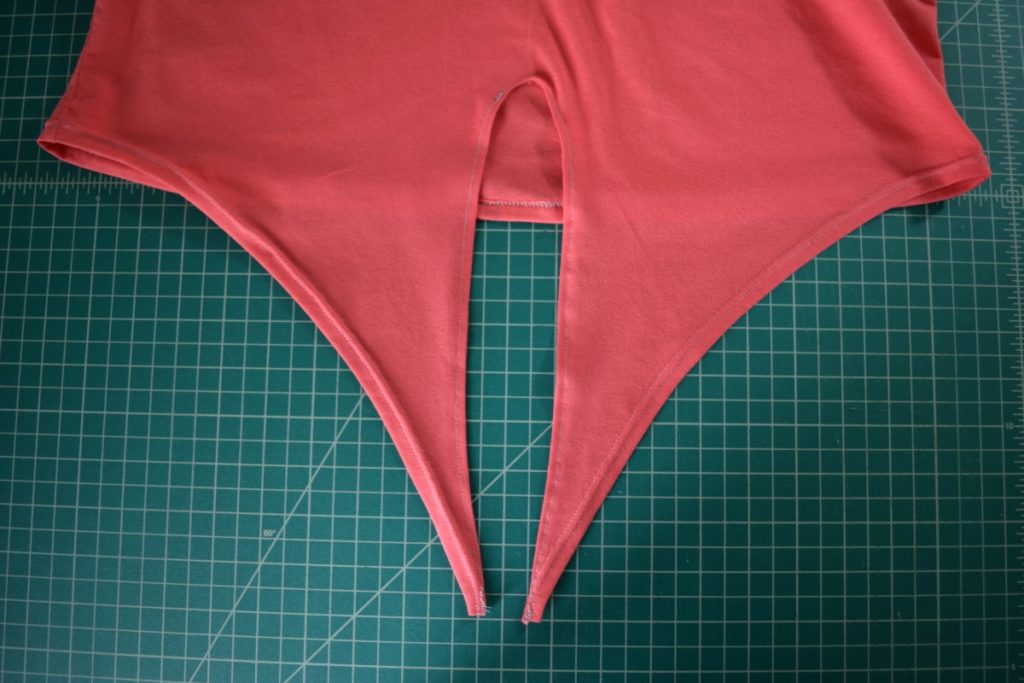
Next, I finished the hem all the way around except the center front between the ties with a double needle. I folded under the ends of the ties before sewing.
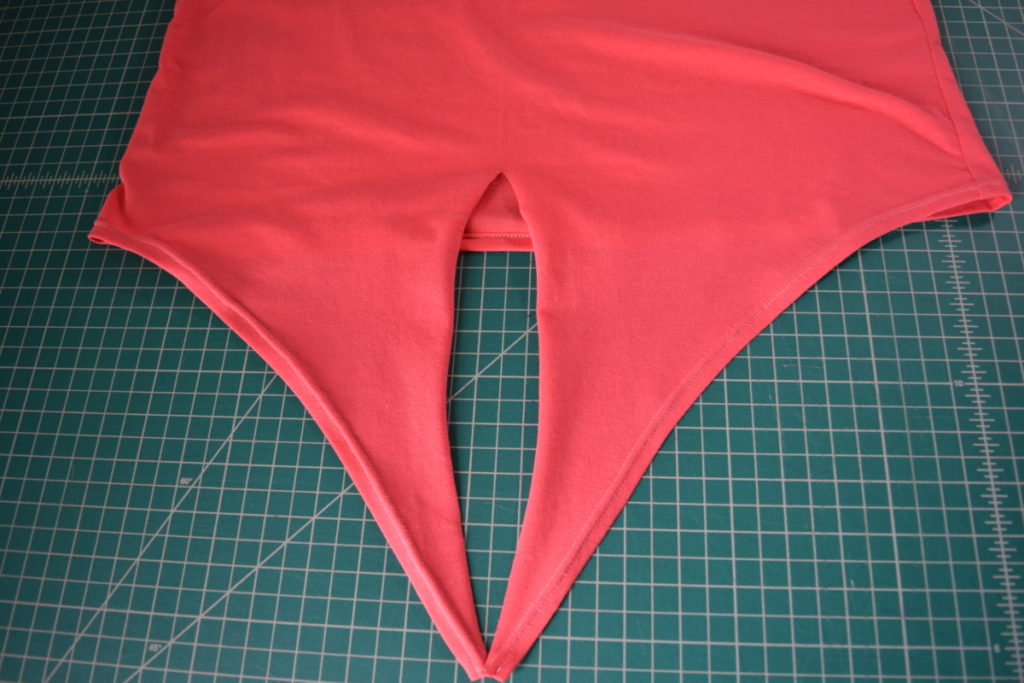
And finally, last step! I finished the center front edges with a regular straight stitch. I folded under a hem as best I could. Folding it under at the curve at the waist was a challenge! I thought a straight stitch would be OK here as this part of the shirt won’t really be stretched. But I just wasn’t super happy with how this part turned out (more details below!).
And that’s it! Now I wanted to really quickly share my thoughts on this first version of this pattern and the changes I’ll be making to the pattern because of it.
- First off, I thought the center front neckline had a bit (barely noticeable) of a sharper angle, almost a mini v-neck. So I’ve changed the pattern to make the center front neckline more rounded next time.
- Next, I thought that the front armholes had a very very slight bit of gaping. To fix this I took a little “dart” out of my front armhole on the pattern so that next time the armholes will lay flatter against my body.
- Finally, the ties. I wasn’t happy with the center front between the ties. So I eliminated the curve at the center front and it will instead be just a slit with a facing between the ties. This will also allow me to use my double needle instead of a straight stitch, which I like. I also made the bottom “points” of the ties wider so that they will be easier to hem next time.
Every sewing project is a chance to improve your sewing and your patterns so that you can make clothes that fit your body and your style perfectly!
I hope you found this useful and maybe you’ll make a tie front tank top as well! Also, I would love for you to subscribe to my email newsletter!


[…] Previous Next […]
CBD is believed to interact with the body’s ECS, which is thought to play a role in regulating various bodily functions, potentially contributing to a sense of overall balance and well-being.For a convenient and enjoyable addition to your wellness routine, CBD gummies can be a practical choice. A single daily dose is typically recommended for consistent support of a health-focused lifestyle.
Your CBD experience will rely greatly on a number of factors. These include personal bioavailability factors (such as height, weight, and body mass), the strength of your CBD oil product, and the supporting ingredients. In general, CBD has a gentle calming effect for the mind and body. In CBD oil sweets, containing ingredients to boost energy or nutrition, that calming effect can help to focus the mind. In relaxation-based products, that calming effect can be more pronounced — especially CBD products formulated for sleep.Is CBD Legal In The UK?Yes! CBD is legal in the UK, provided the product contains less than 0.2 THC as measured by dry weight.
CBD edibles are a simple and delicious way to enjoy the benefits of CBD. Whether you’re looking to reduce anxiety, manage pain, or simply promote relaxation, CBD edibles are a convenient option that can easily fit into your daily routine. At BritishCBD, we offer a variety of CBD edibles that are infused with high-quality CBD oil, providing you with a simple and effective way to enjoy the benefits of CBD. So why not try our CBD edibles today and see the difference for yourself?
CBD Edibles are known for their potent benefits, which include reducing anxiety, assisting with sleep and relieving pain. High CBD edibles are an excellent way to promote relaxation and calmness, making them an ideal choice for those who struggle with anxiety. CBD edibles also have anti-inflammatory properties, making them an effective tool for managing pain and inflammation.CBD Edibles in the UK: Legal and Safe