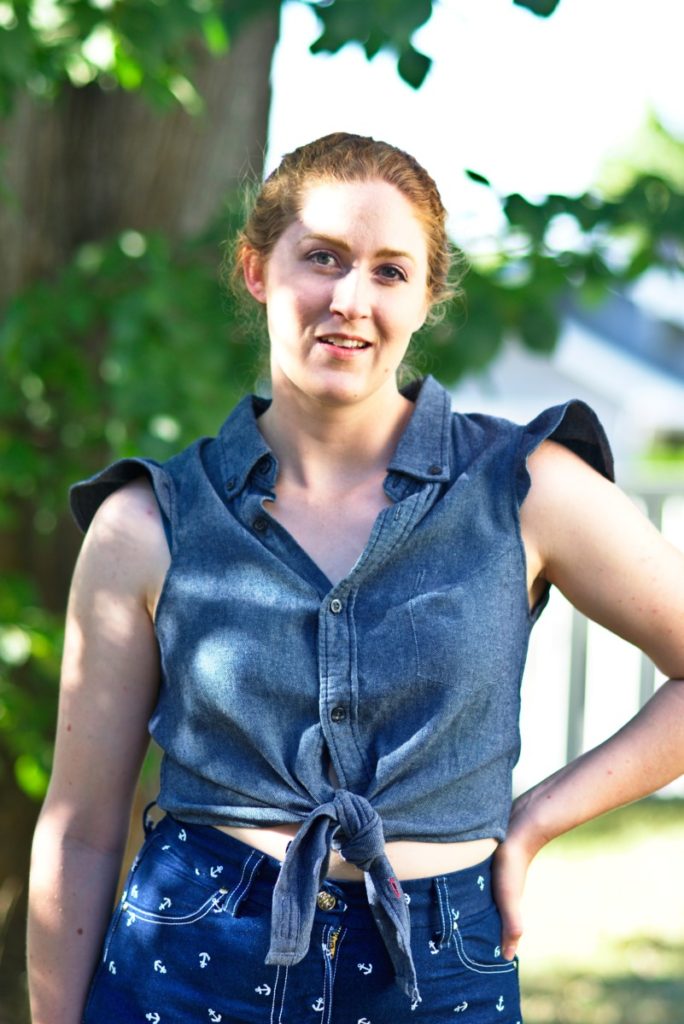
I haven’t been feeling very inspired by my refashion pile lately. I don’t really know what the problem has been, but I just wasn’t feeling it. So, I decided I needed to just grab something from my pile and start cutting to get the creative juices flowing again.
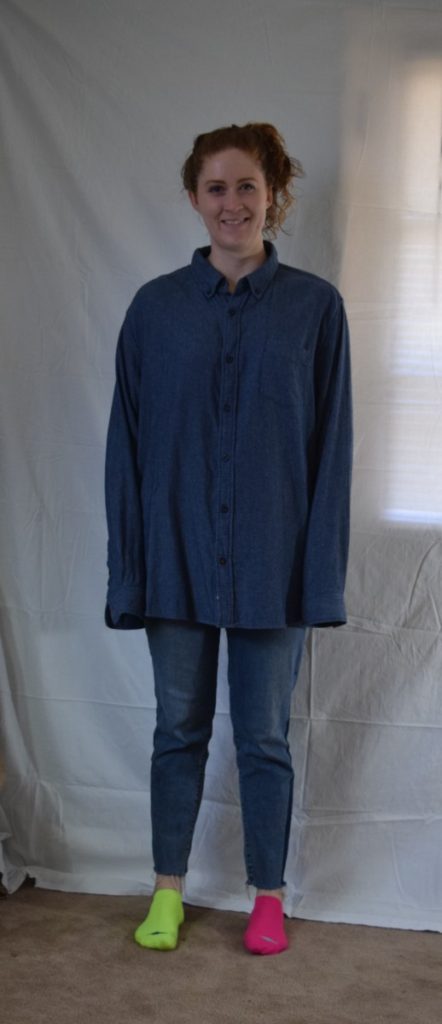
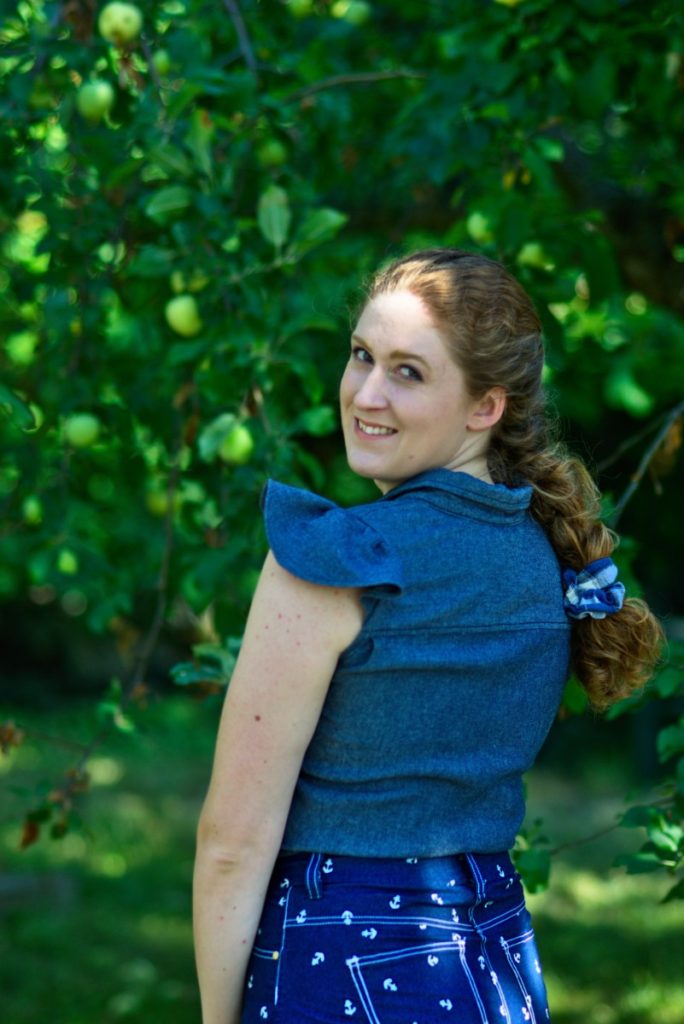
I got this gorgeous and soft men’s shirt out of my thrifted-clothing-waiting-to-be-refashioned pile. After lots of staring at the shirt and looking for ideas, I decided to turn it into a tie front crop top. I also added some ruffle sleeves!
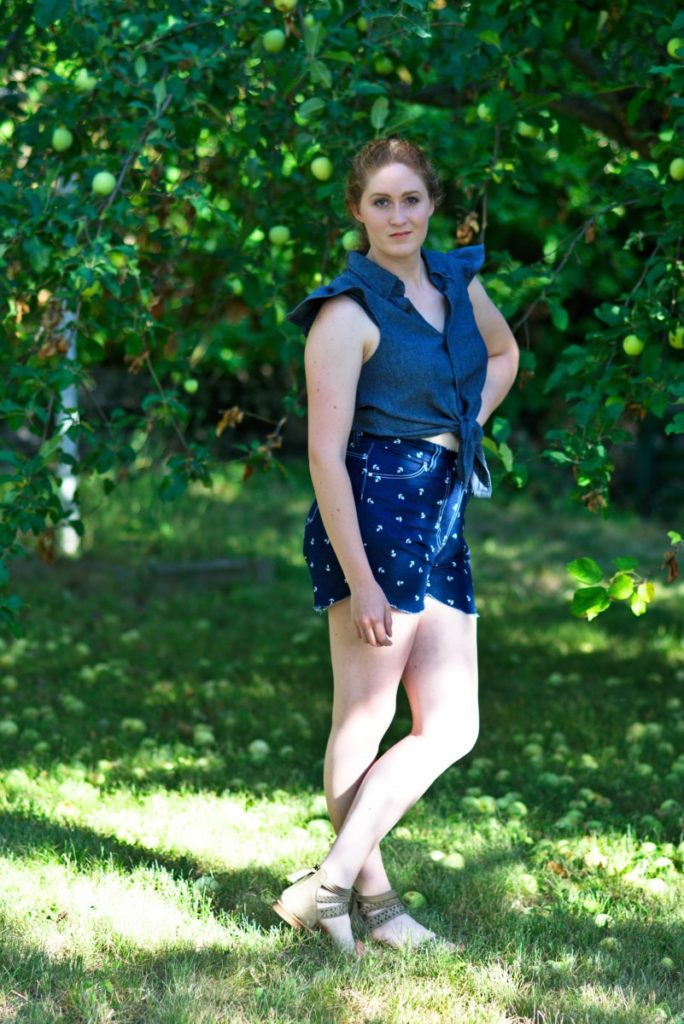
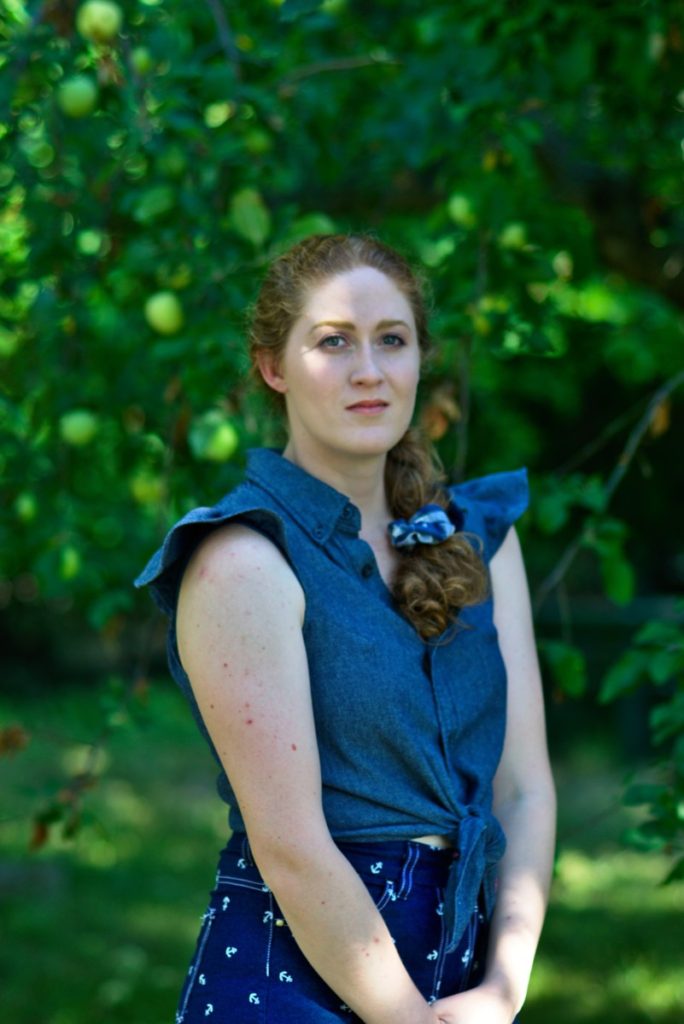
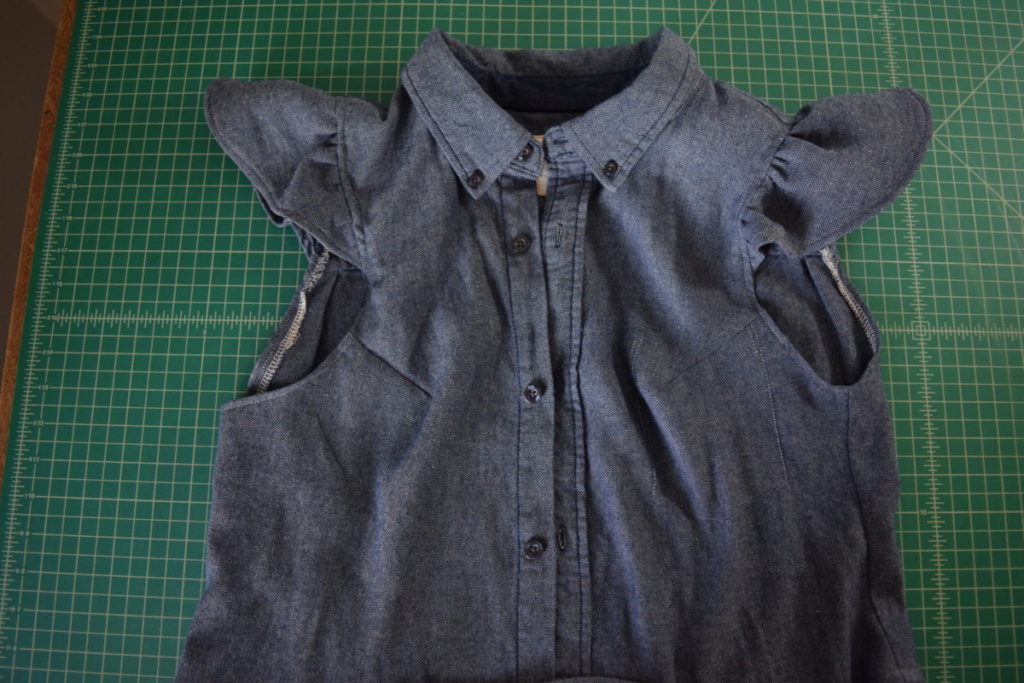
This really turned out better than I expected and I’m especially in love with the sleeves. If you want to give this refashion a try, grab that men’s shirt. I’ll take you through the process in my tutorial below!
What you need:
*This list contains affiliate links for your DIYing convenience, so I receive a small commission if you buy something through my links. This really helps to support my site so I can keep creating DIY tutorials to help you create your dream wardrobe.
- men’s shirt
- sewing machine, needle, and thread
- iron
- scissors
- ruler
- sewing pins
- serger (optional)
Steps:
- Crop the shirt and create the ties
- Remove the sleeves
- Take in the side seams
- Finish the hem
- Remove the pocket and add bust darts
- Create the ruffles
- Attach the ruffles and finish the armholes
Instructions:
Step 1
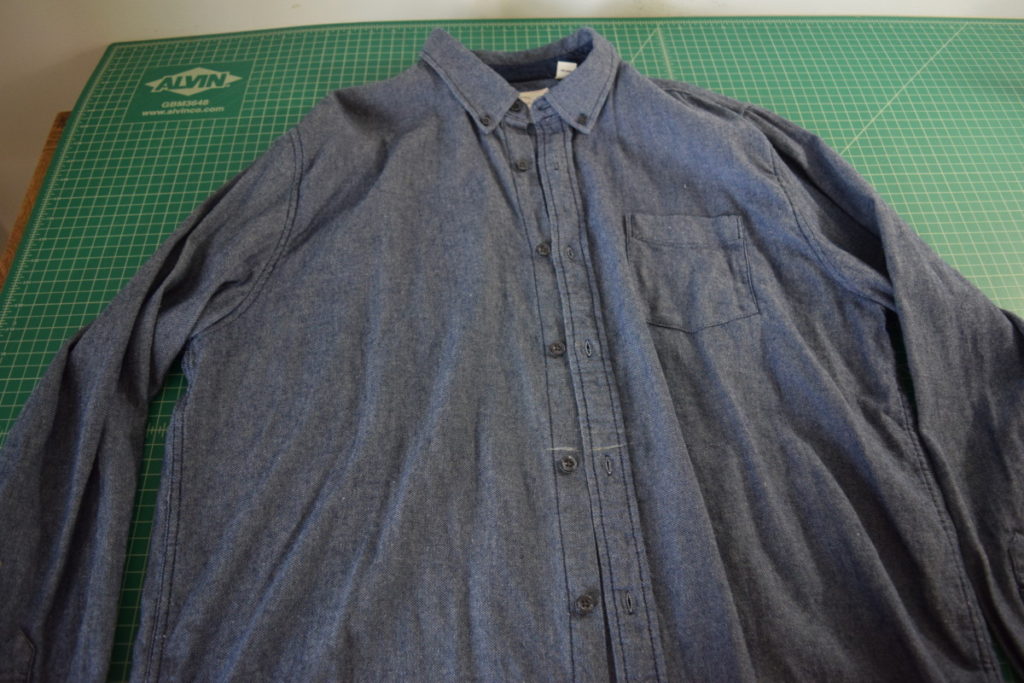
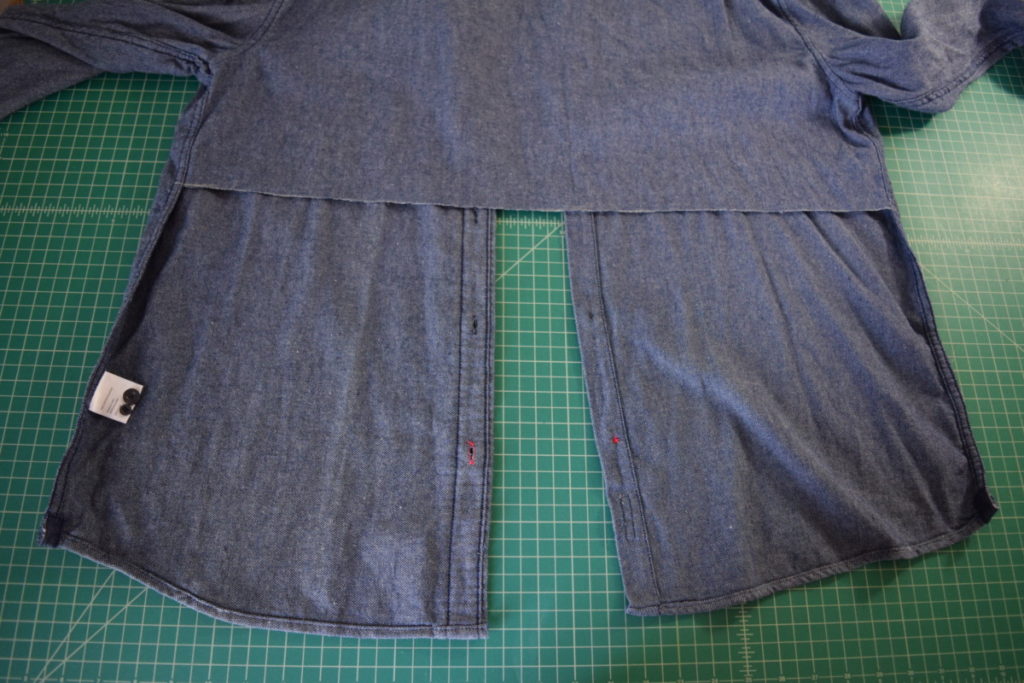
First, try the shirt on and mark where you want it to be cropped to.
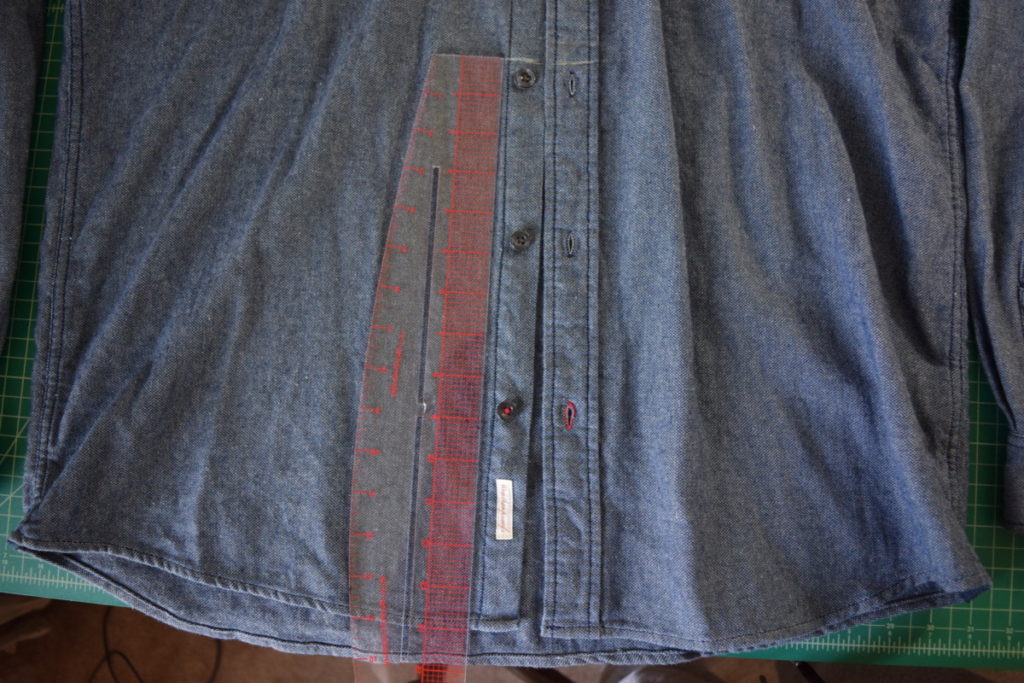
Next, measure how many inches from the hem your mark is. Mine was 14 inches from the hem:
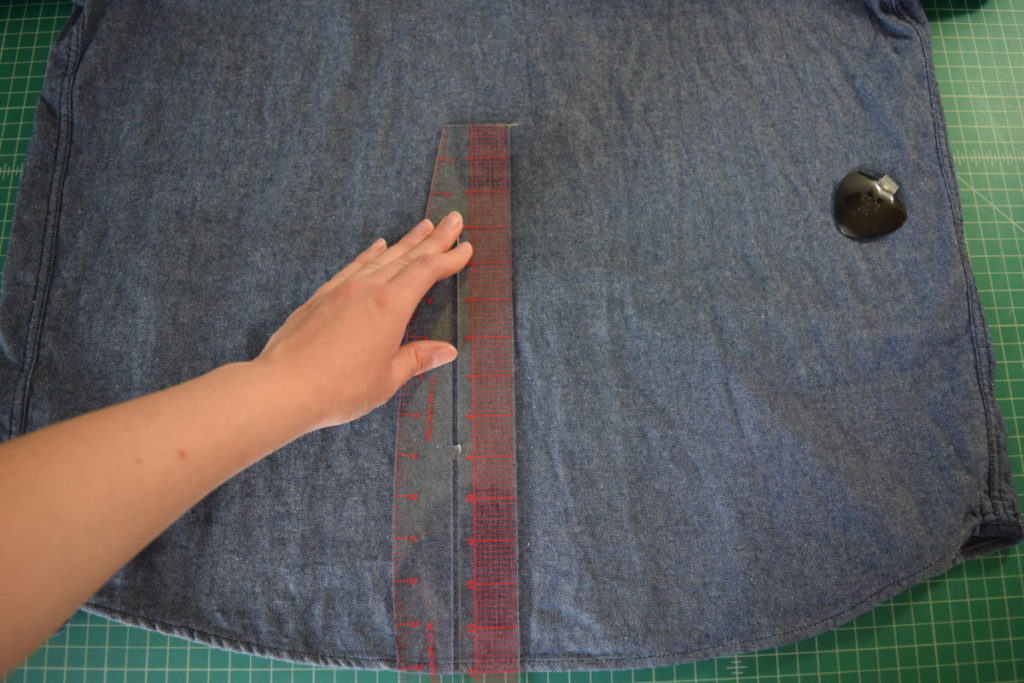
Then turn the shirt over and make a mark that same distance from the hem at the center back.
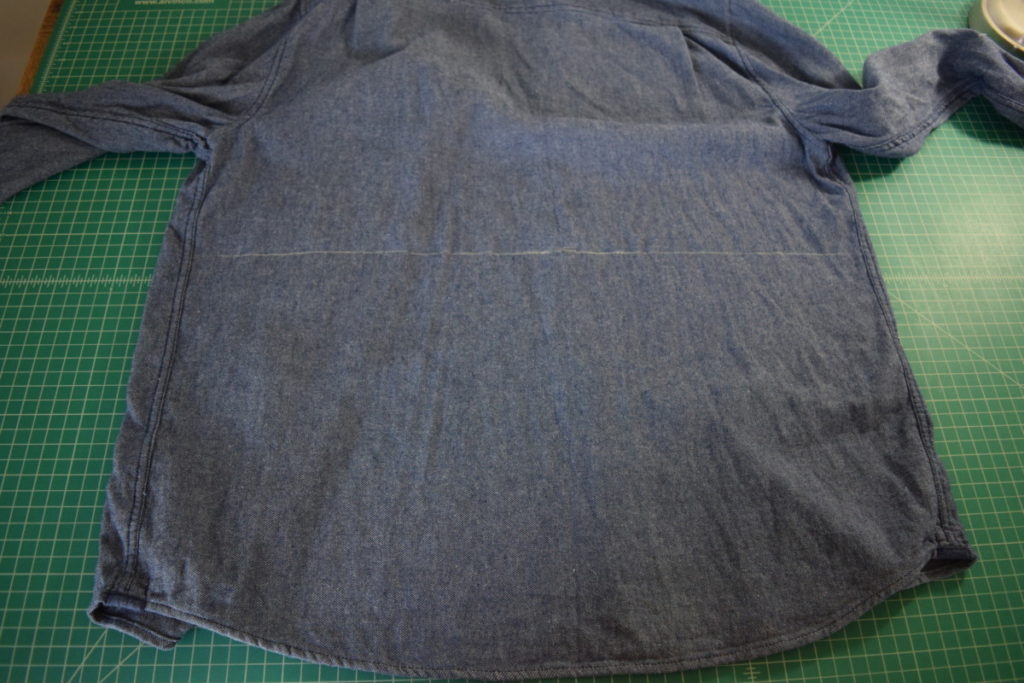
Next, draw a straight line across the back of the shirt (from side seam to side seam), going through your mark.
Cut out the back of the shirt by cutting up the side seams and across the line you just drew.
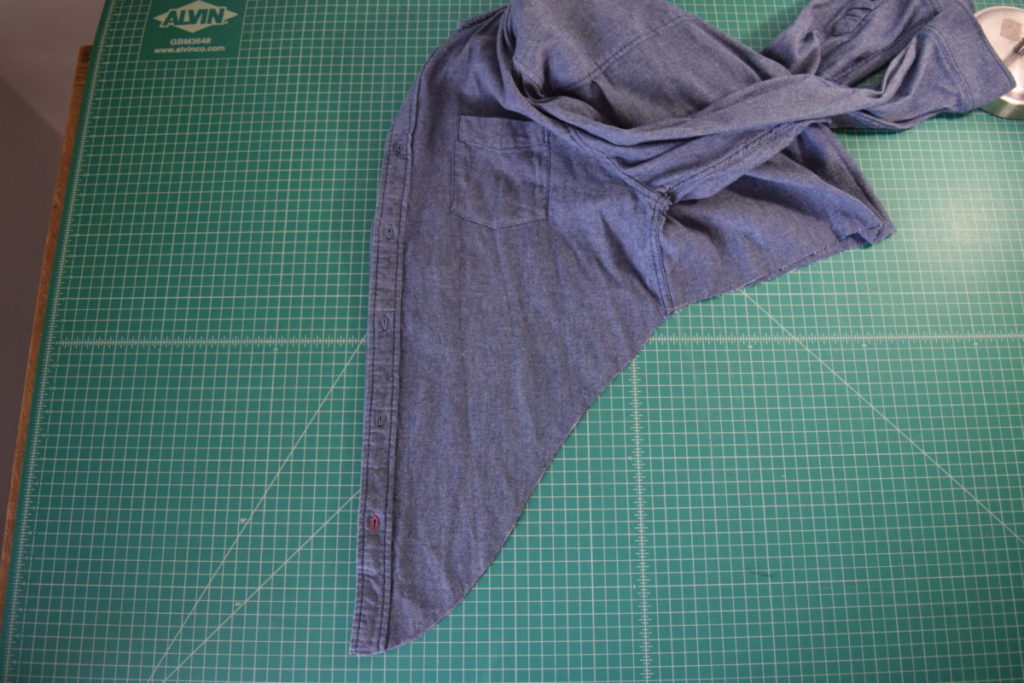
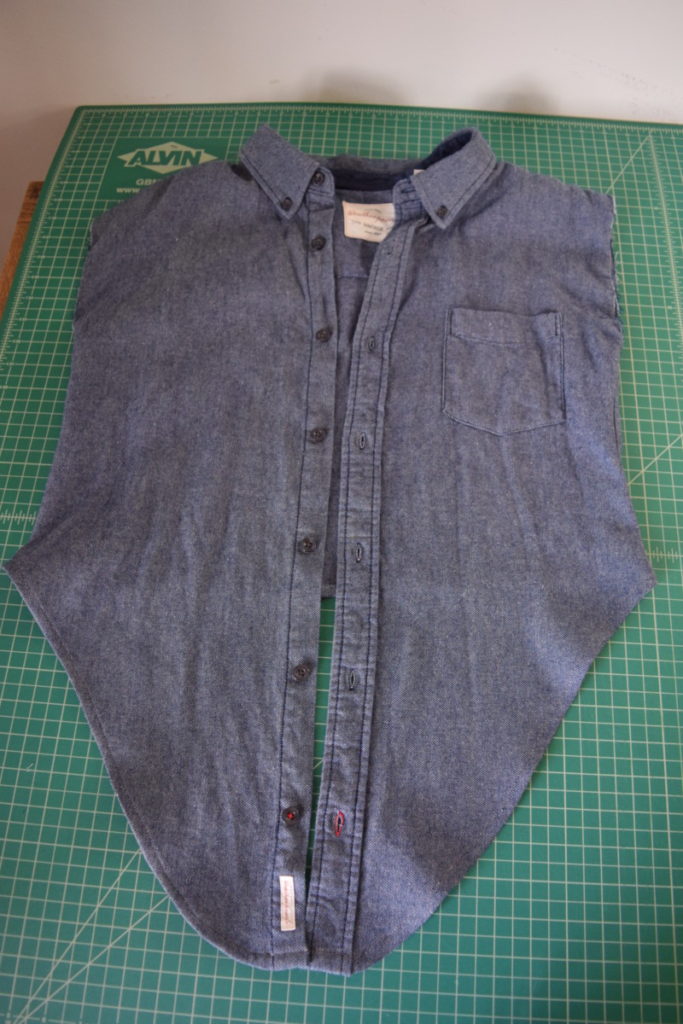
Then turn the shirt over and draw this shape on one side of the front (you can just freehand this or use a curved ruler):
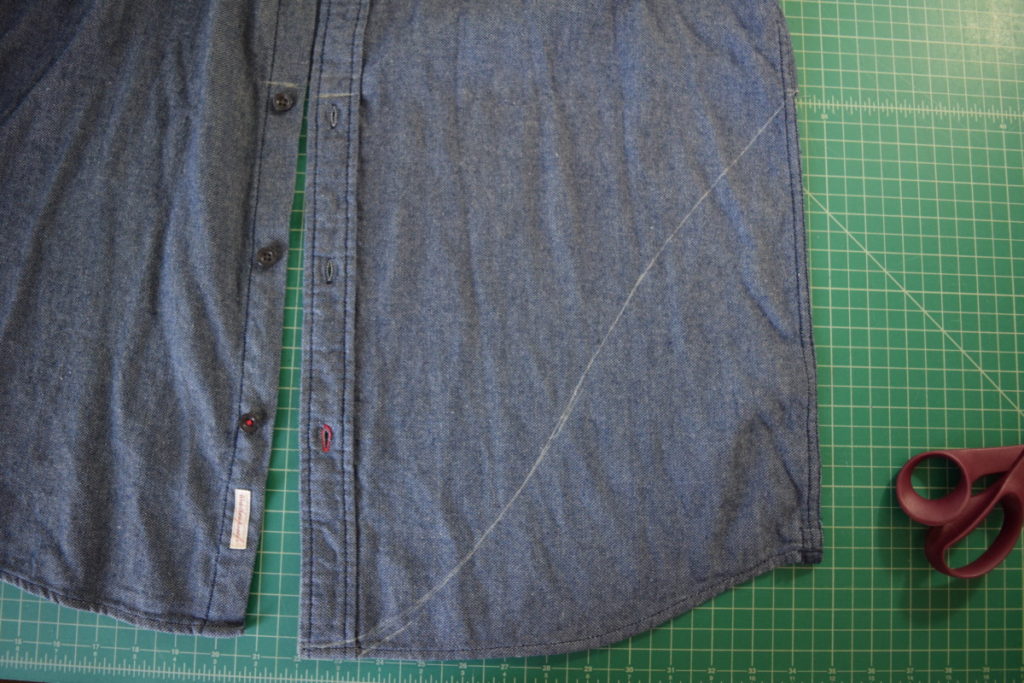
And cut along this line.
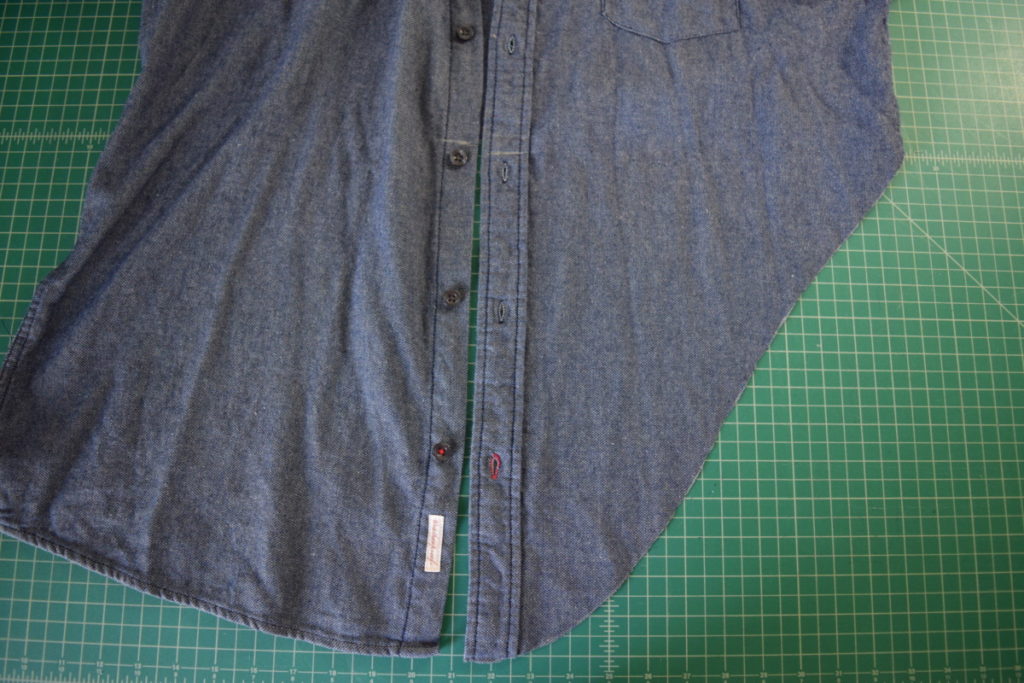
Next, fold the shirt in half, matching up the center front edges and side seams. Make sure the cut side of the front is on top.
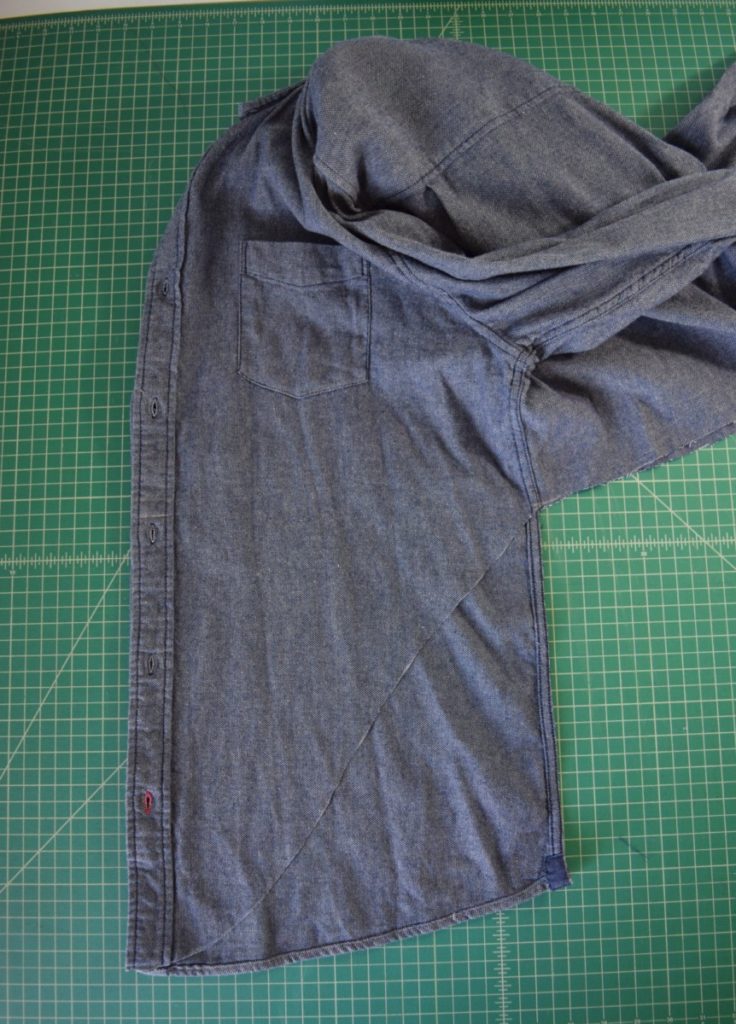
Cut along the curved edge to create an identical tie on the other side of the shirt.
Step 2
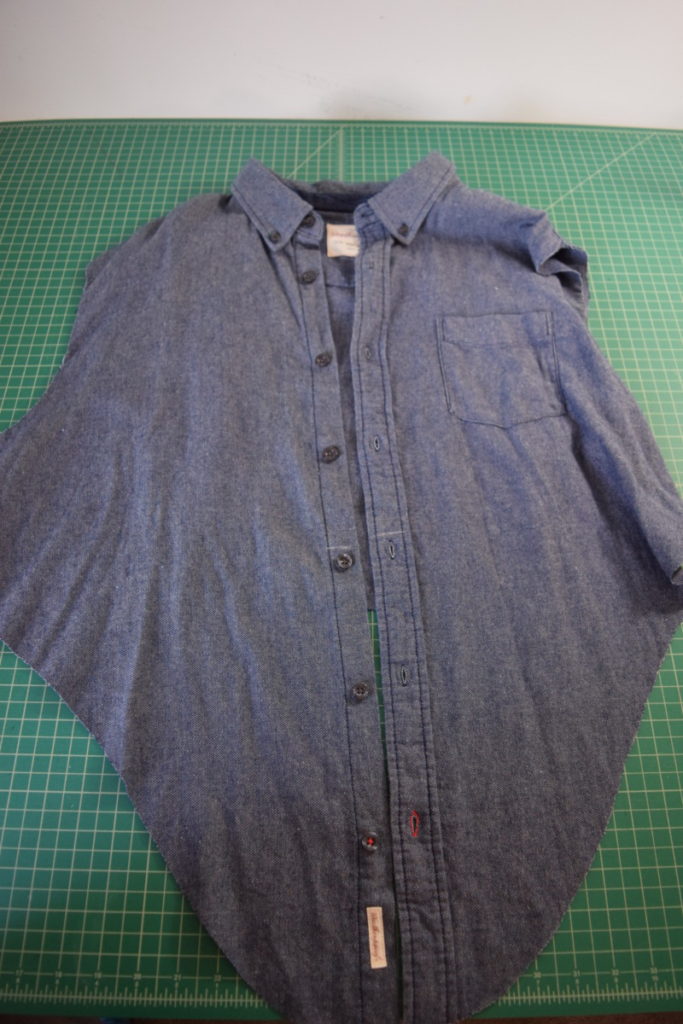
Next, I cut the sleeves off the shirt and set them aside.
Step 3
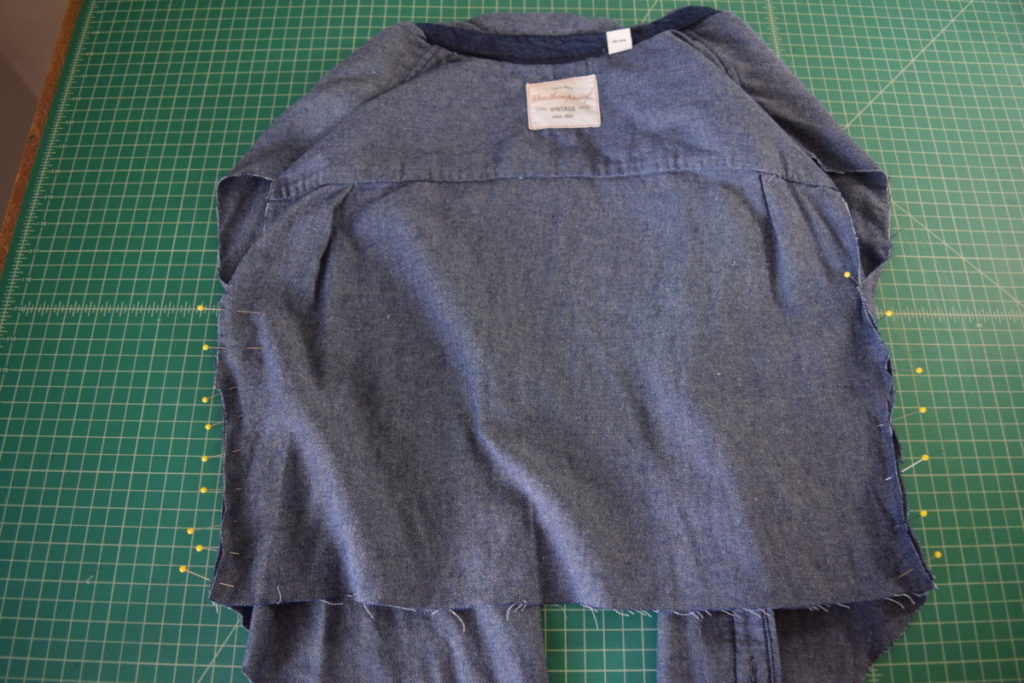
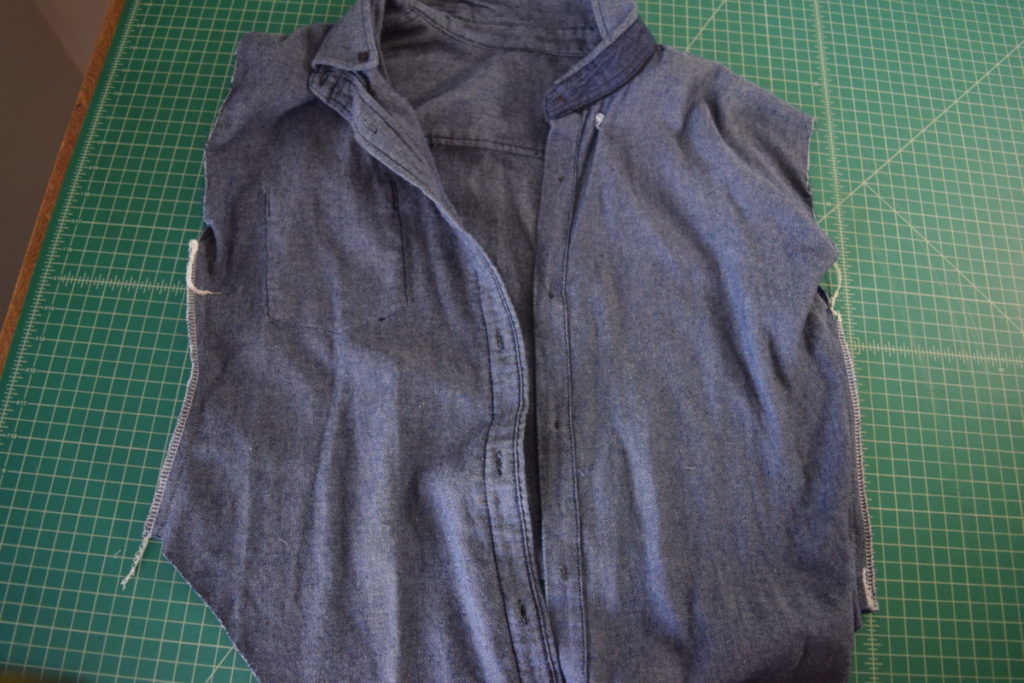
Then try the shirt on inside out and pin the side seams to fit your body the way you like and cut off the excess fabric. Sew along the newly pinned side seams. I also finished the raw edges of the side seams with my serger. You can use your favorite finish here.
Step 4
Next, finish the entire bottom edge with a small rolled hem.
Step 5
At this point, I decided I didn’t really want the pocket so I removed it with my seam ripper. There was still an outline of the pocket left on the shirt but I decided I didn’t mind.
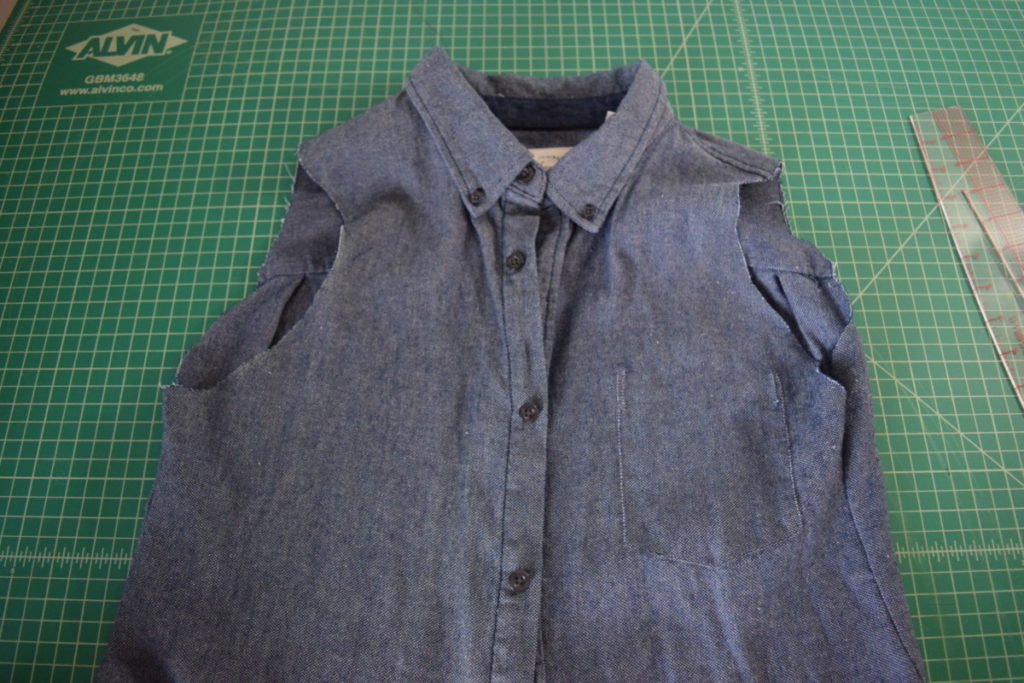
After taking the pocket off, I also added a bust dart on each side of the front for a better fit at the armhole/bust area. I forgot to take pictures of this step, but you can do this by trying the shirt on inside out and pinning out the excess fabric around the bust into darts. Then just sew the pinned darts and iron them.
Step 6
Now it’s time to make the ruffles! To do this I grabbed some of the excess fabric that had been cut off the shirt and drew this shape:
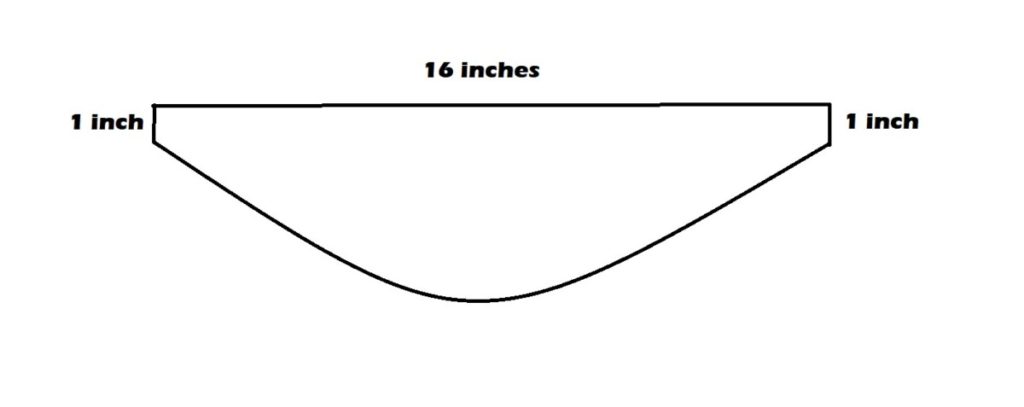
After drawing the shape on the fabric, I cut it out. Then I laid the cut out ruffle on the fabric and used it as a template to cut out another identical ruffle piece.
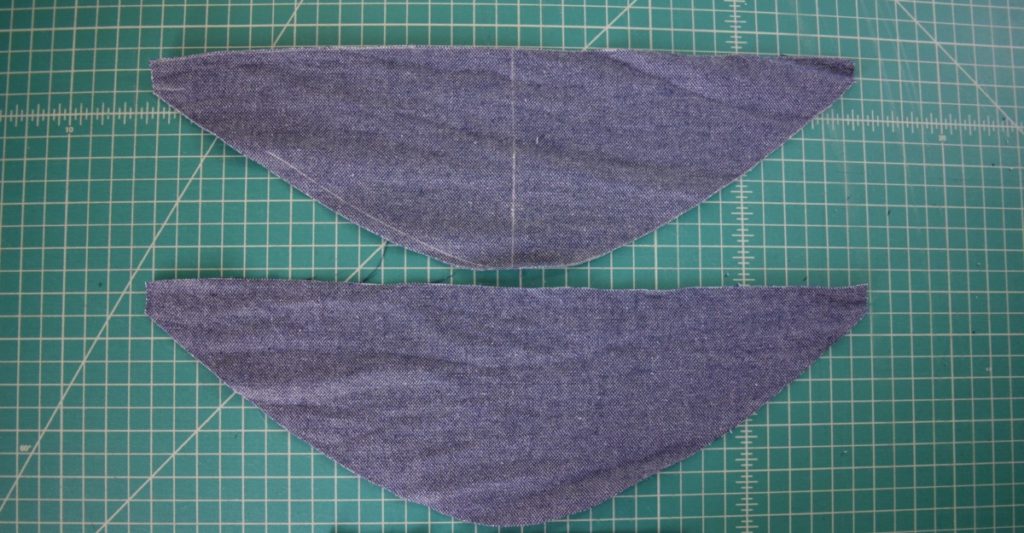
Next, finish the long curved edges of the ruffles with a rolled hem.
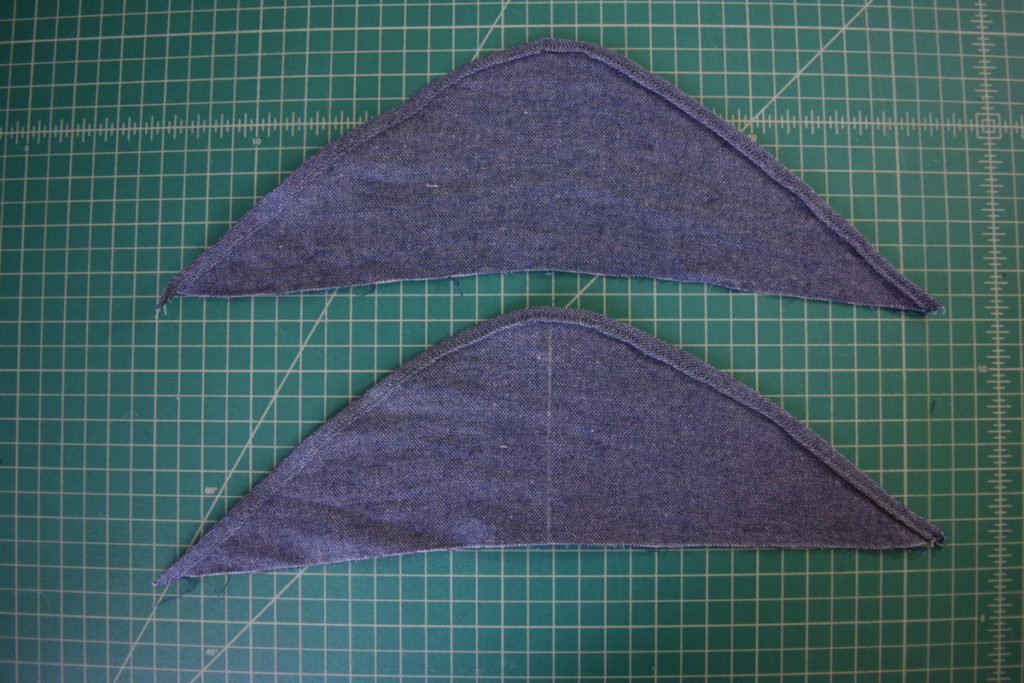
Then sew two lines of stitching along the straight edge of the ruffles using a long stitch length (at least 4 mm). Make sure to keep both lines of stitching less than 1/2 inch from the raw edge. Also leave long thread tails on both ends of each row of stitching.
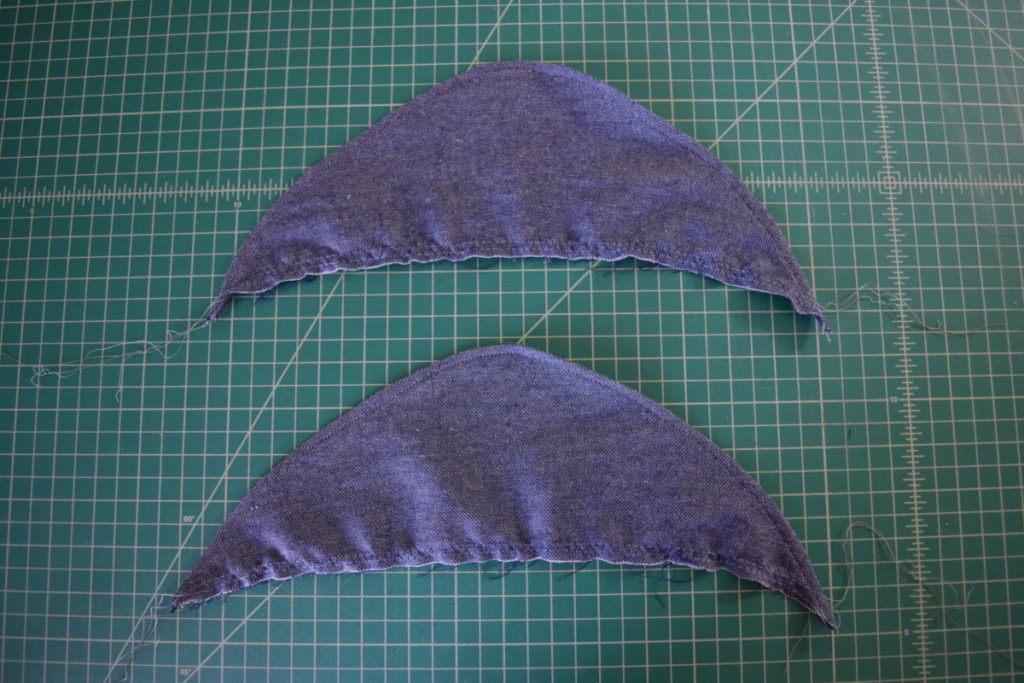
Now you can pull on the thread tails and slide the fabric along the stitching to form gathers. Play with the distribution of the gathers until you’re happy with how even your gathers are.
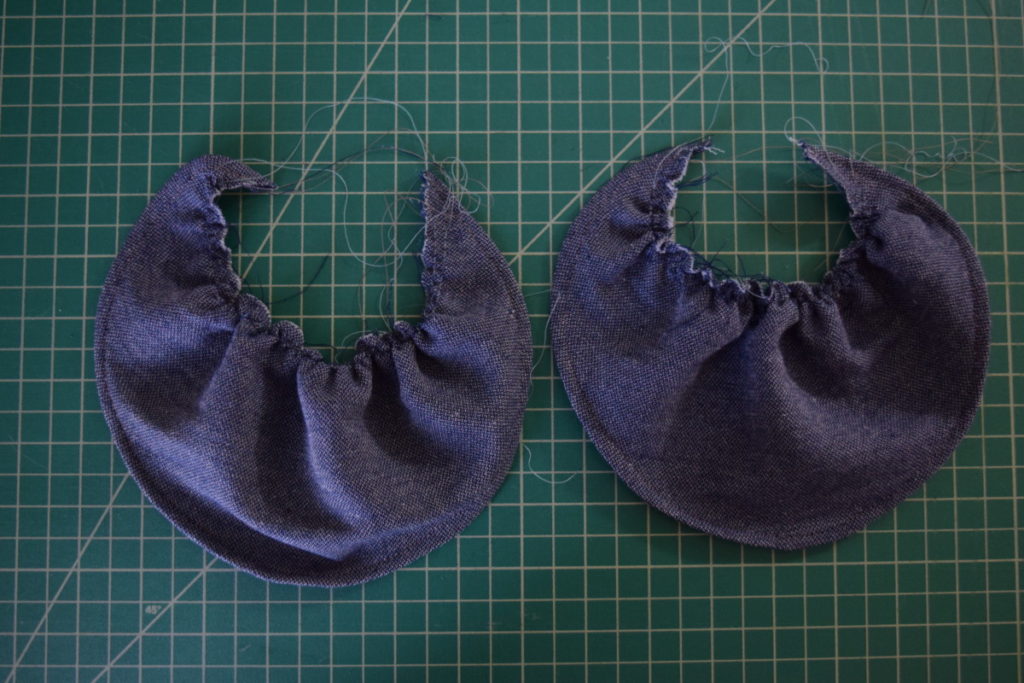
Step 7
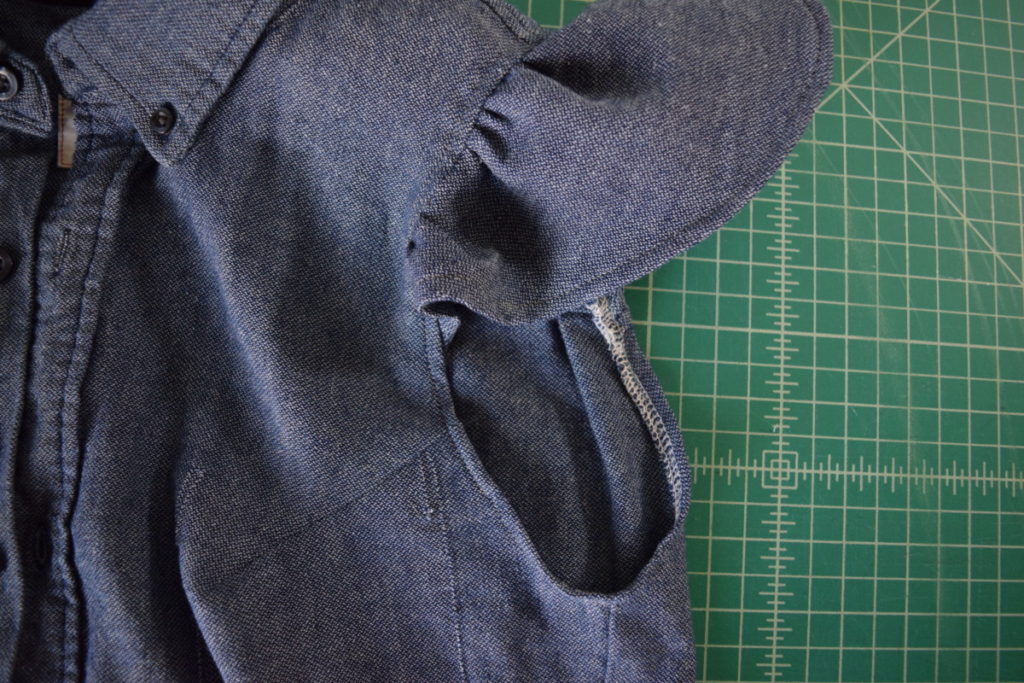
Now we’ll attach the ruffles to the armholes. Pin one of the ruffles to one of the armholes with right sides together. I lined up the center of the ruffle with the shoulder seam, but looking back I think I would have preferred if the ruffles were a little more forward on my shoulder. Then pin the other ruffle to the other armhole. You can measure out from the shoulder seam to make sure the ends of the ruffle are in the same place on each armhole.
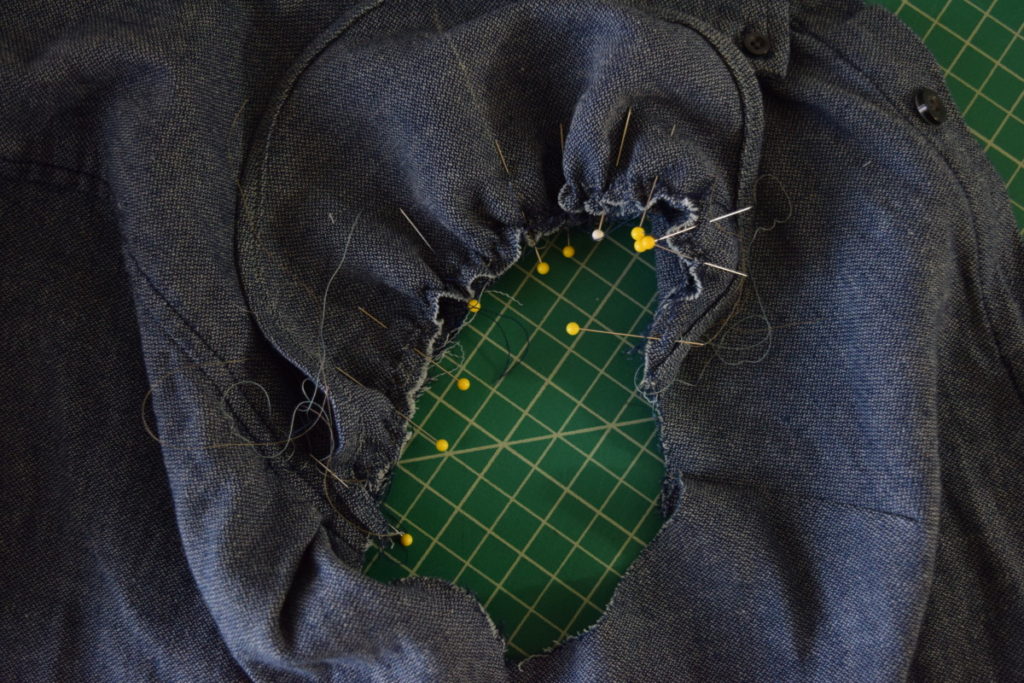
Sew the ruffles to the armholes with a 1/2 inch seam allowance. At this point you can also remove the stitches you used to create the gathers.
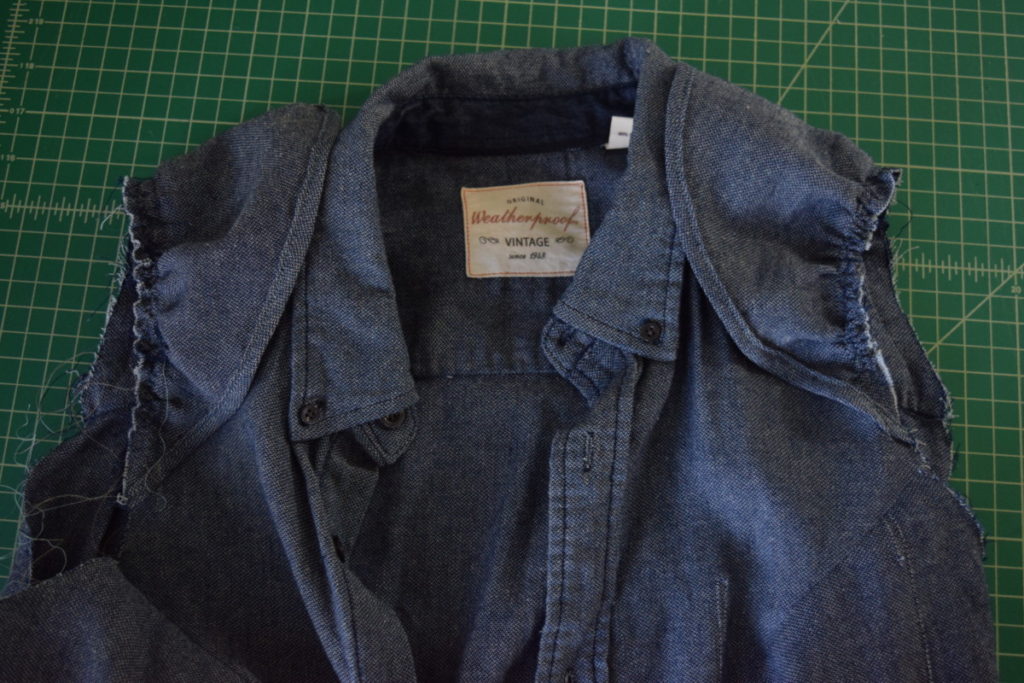
Next, finish the raw edges all the way around the armholes using a zigzag stitch or serger.
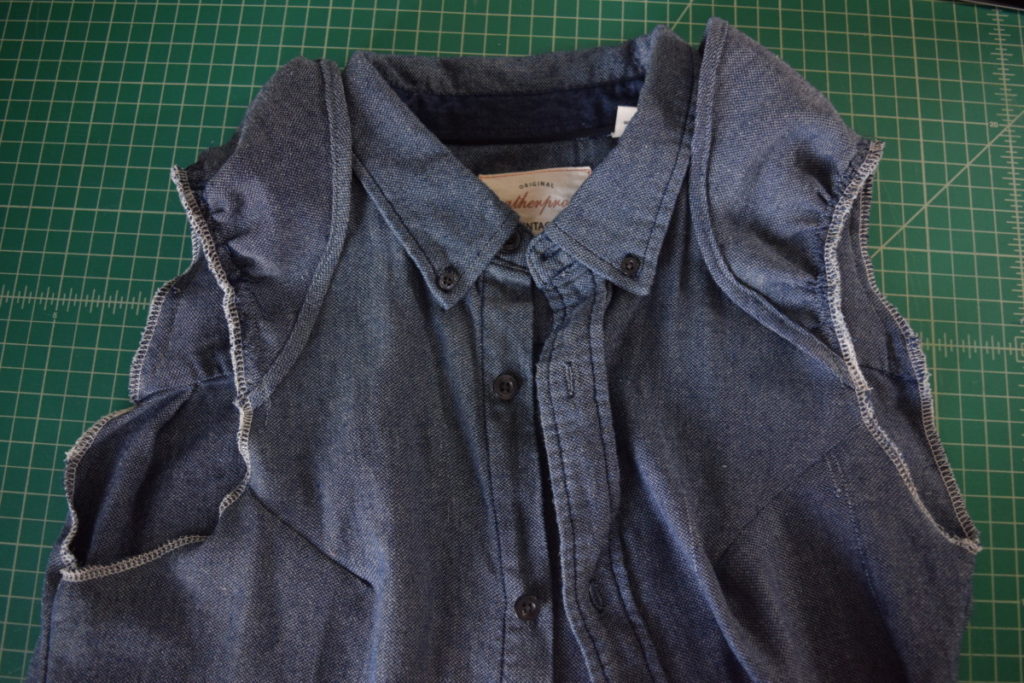
Then use your iron to press the ruffles out and the seam allowances towards the inside of the shirt. Continue pressing the seam allowances in around the bottom edge of the armholes and pin this in place as you go.
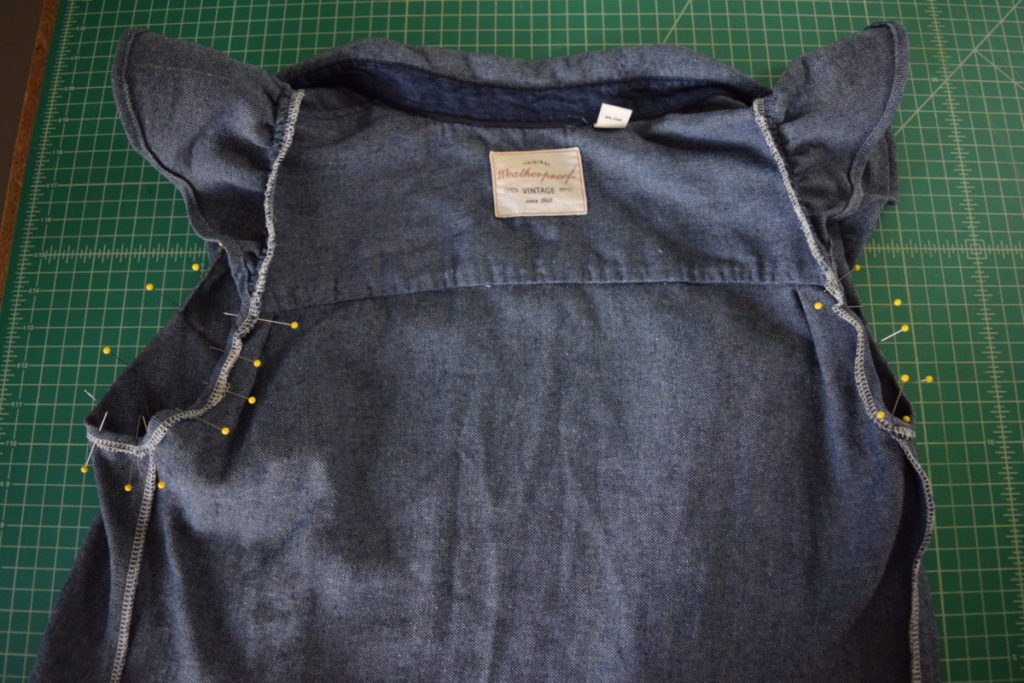
And finally! Almost done! Just sew the seam allowances down all the way around the armholes and you’re done.
If you enjoyed this DIY tutorial and want more, I would love for you to subscribe to my weekly newsletter.





Leave A Comment