
As sewists we all want the clothes we make to look professional, maybe even “store bought.” There’s nothing worse than having someone who doesn’t even know that you sew asking, “Did you make that?” It’s happened to me, and it always leaves me wondering what I did wrong that they could tell it was homemade.
So if you’re interested in: 1) getting better results from your sewing, 2) making clothes that look just as professional as anything in the stores, and 3) having a wardrobe of handmade clothes you’re proud to wear, this post is for you.
I’ve compiled a list of tips I’ve learned through my sewing experiences (and mistakes) that will help you get the results you want. I hope you enjoy and get some ideas to improve your own sewing techniques!
*This post contains affiliate links for products I love and use often. This really helps support my site so I can continue providing tips and tutorials to help you take your sewing to the next level.
1. Pay attention to the fit
This is something that has been a struggle for me. It’s so important, but hard to find the motivation to adjust the fit on a garment that you just spent hours sewing together. But it really can be the difference between a garment looking “homemade” or looking professional and “handmade.”
When you buy a piece of clothing at a store, you don’t buy something that gapes at the neckline, or fits a little too tight in some places. You only buy clothes that fit. So why should your handmade clothes that you spend so much time making fit worse than store-bought clothing? I know it can be so time consuming and annoying to make pattern and fit adjustments, but it’s so worth it! And isn’t that why we sew? To have a custom-made wardrobe full of clothes made just for us that fit our bodies and style perfectly?
2. Press, press, press
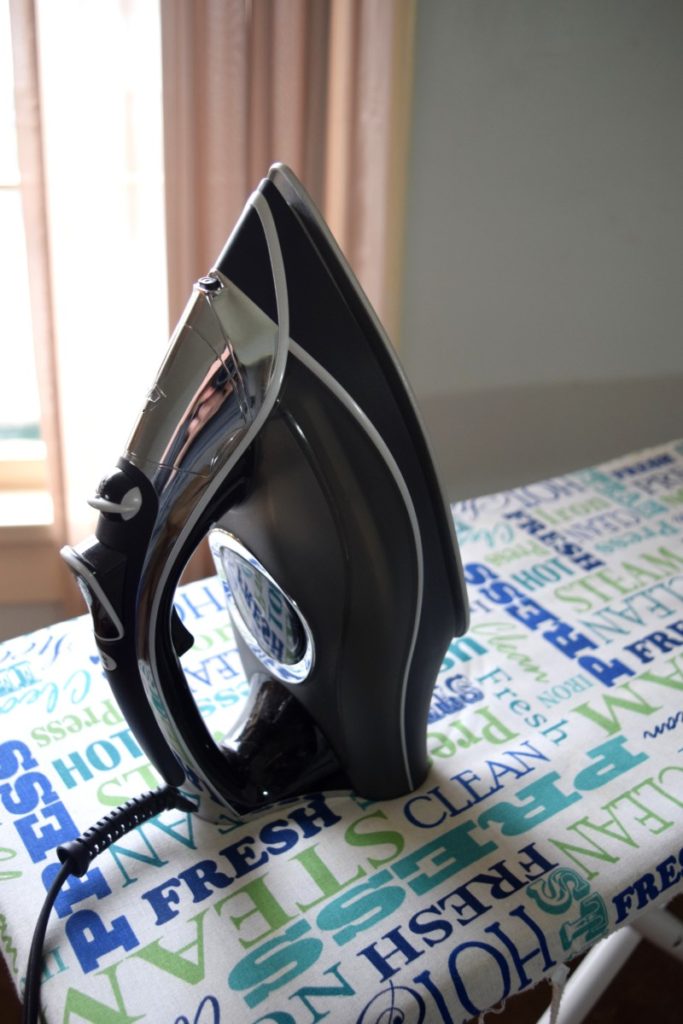
Pressing is arguably the most important aspect of sewing that will help you achieve a more professional looking garment. This is definitely something I’ve learned the hard way. When I first started sewing I would avoid the iron as much as possible. I felt like it was slowing me down and interrupting my process. But over time I’ve become great friends with my iron because I’ve seen the difference it makes in getting the results I want.
If you don’t bother to press your seams and hems, your garment will really have a half-made, frumpy look. Which is generally not what you’re going for. A crisp, well-pressed hem and flat seams makes a huge difference in getting professional results. It’s also important to take care in pressing facings to the inside so that none of the facing shows on the outside of the garment (a dead giveaway of a homemade item). Understitching or edgestitching can also help with this.
THIS is the iron I use.
3. Use beautiful seam finishes
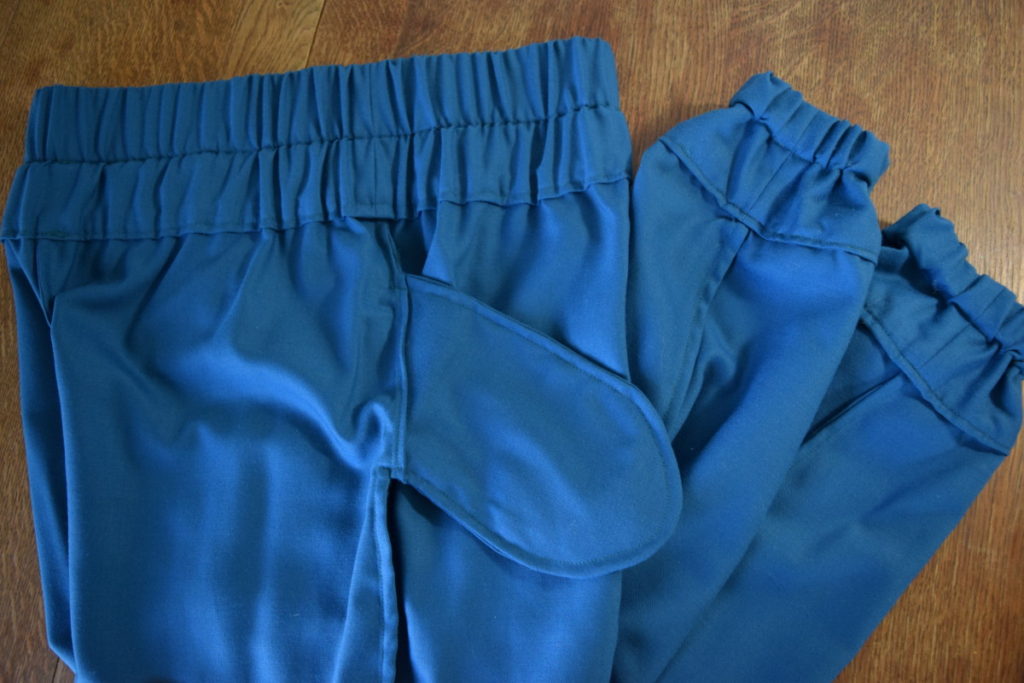
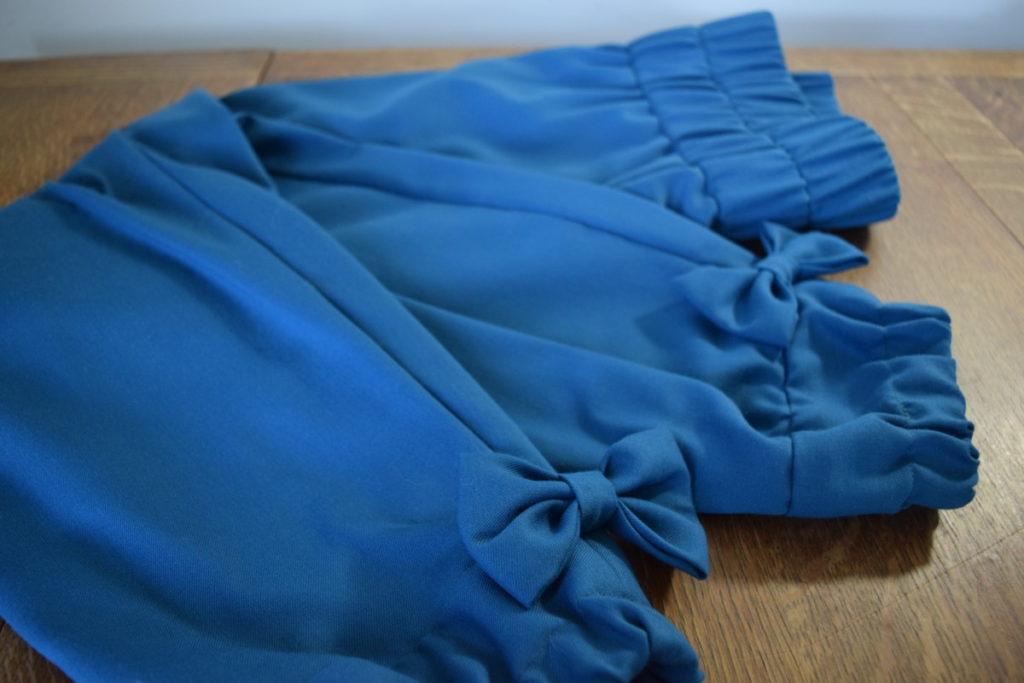
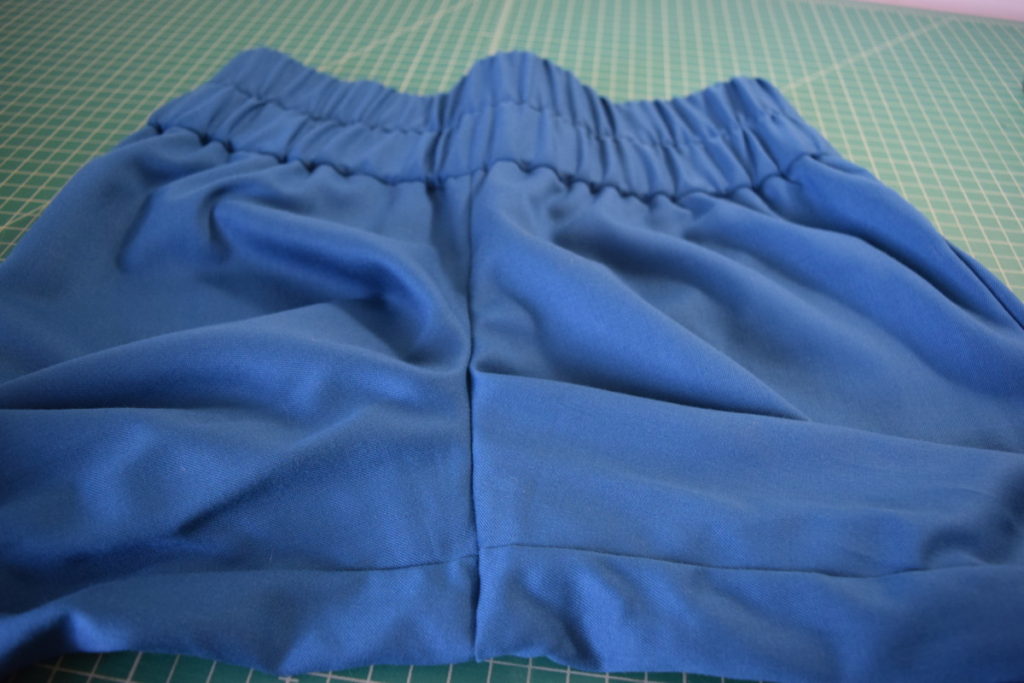
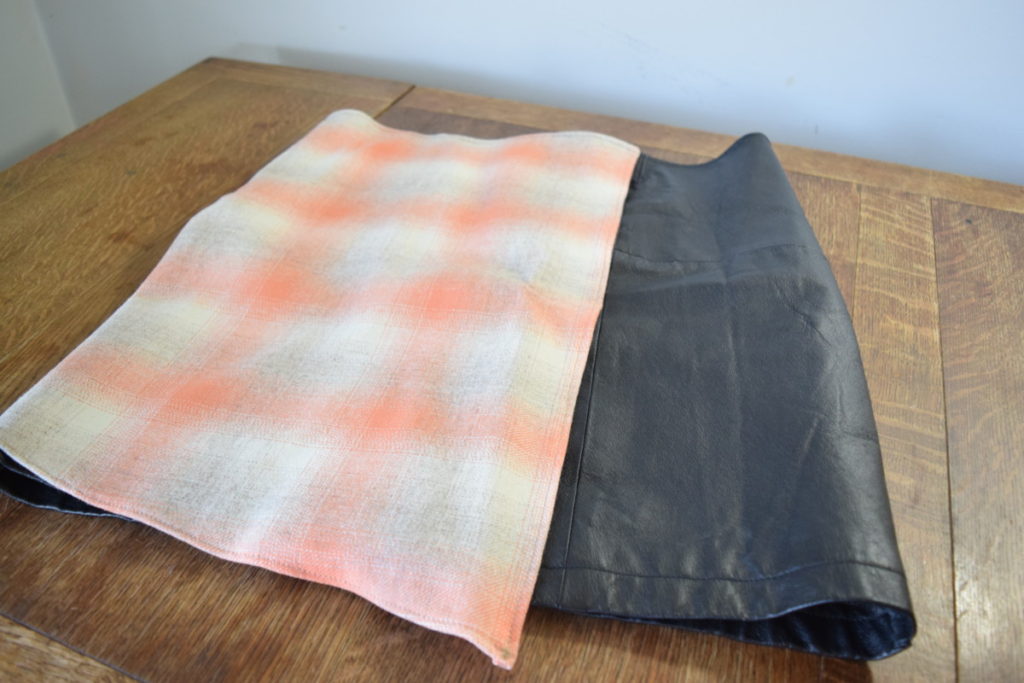
In my opinion, the epitome of a professional garment is something that looks as great on the inside as it does on the outside. A serger can be a great tool to finish raw edges, especially knits, and it looks just like what you see inside many ready-to-wear garments. I also love french seams, flatfell seams, and rolled hems. These finishes completely encase all the raw edges, giving your garment a beautiful inside. The photo above is the inside of a pair of pants I made a while back. I used french seams so that not a single raw edge is exposed on the inside of the pants.
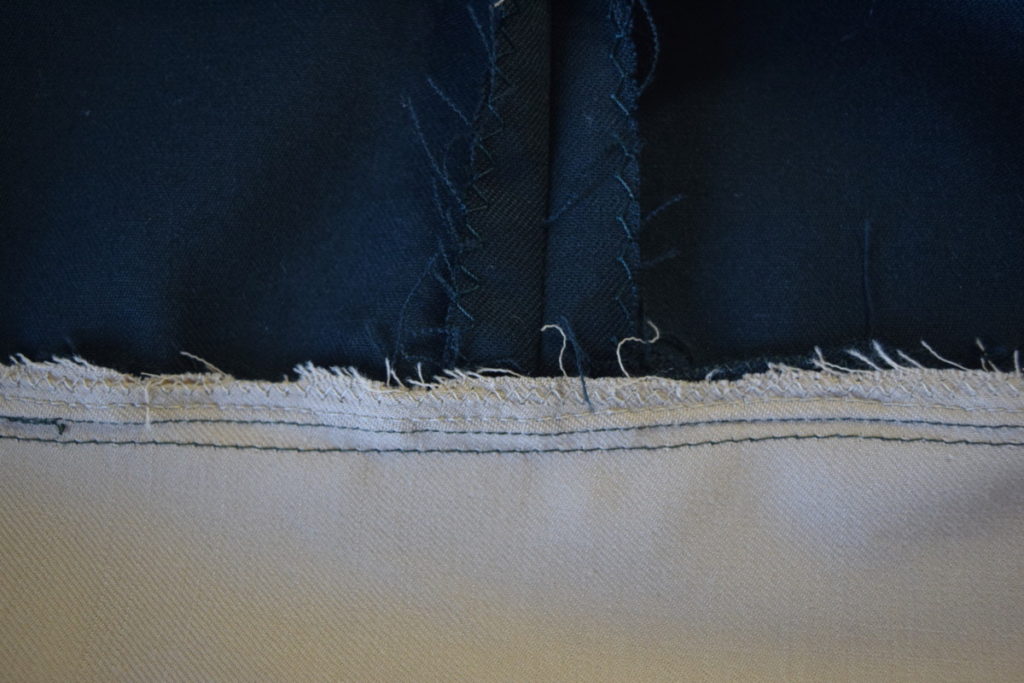
On the other hand, the photo below is the inside of a dress I made before I got a serger. And I was too lazy and in a hurry to bother with french seams. I used a simple zigzag stitch on my sewing machine to finish the edges. This technique can work for fabrics that don’t fray much, but as you can see, if the fabric frays at all it just looks so messy.
4. Don’t ignore your seam allowances
This is something I’ve just started paying more attention to in the last year or two and it’s making such a big difference! Remembering to trim, grade, and notch your seam allowances to reduce bulk and get a more streamlined, flat seam really helps get better results from your sewing. Having a bulky yoke seam allowance that’s visible from the outside, a collar with rounded points because of excess seam allowance, or a curve that won’t lie flat because you didn’t clip/notch are all results of ignoring your seam allowances.
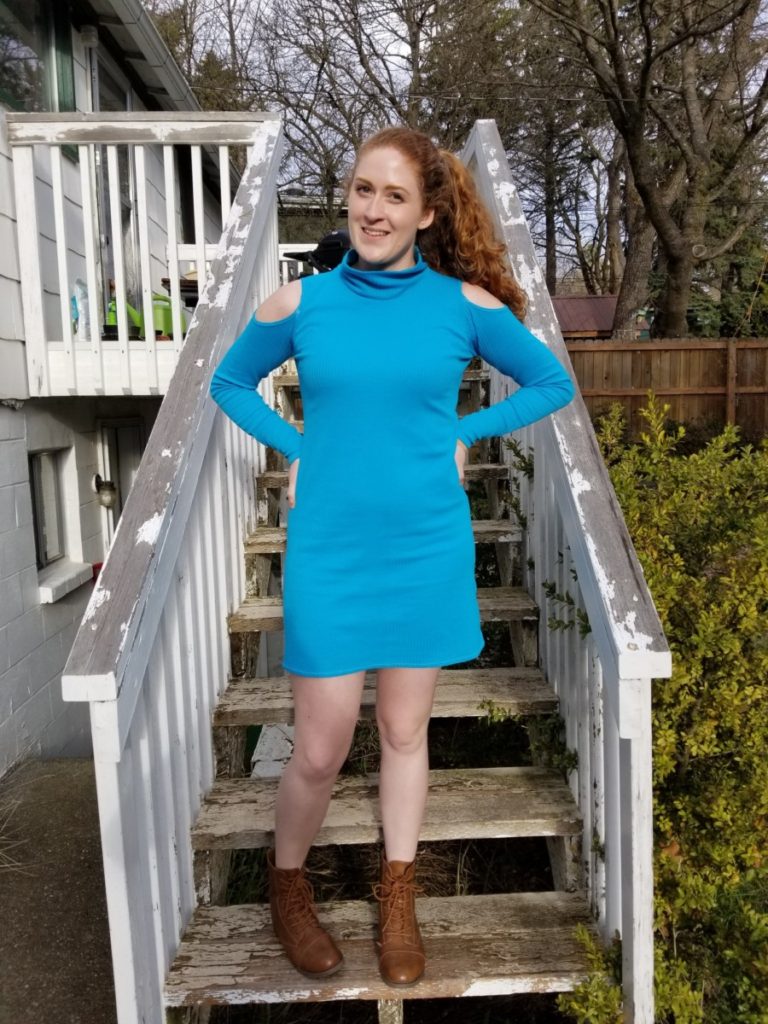
5. Hem knits with a double needle
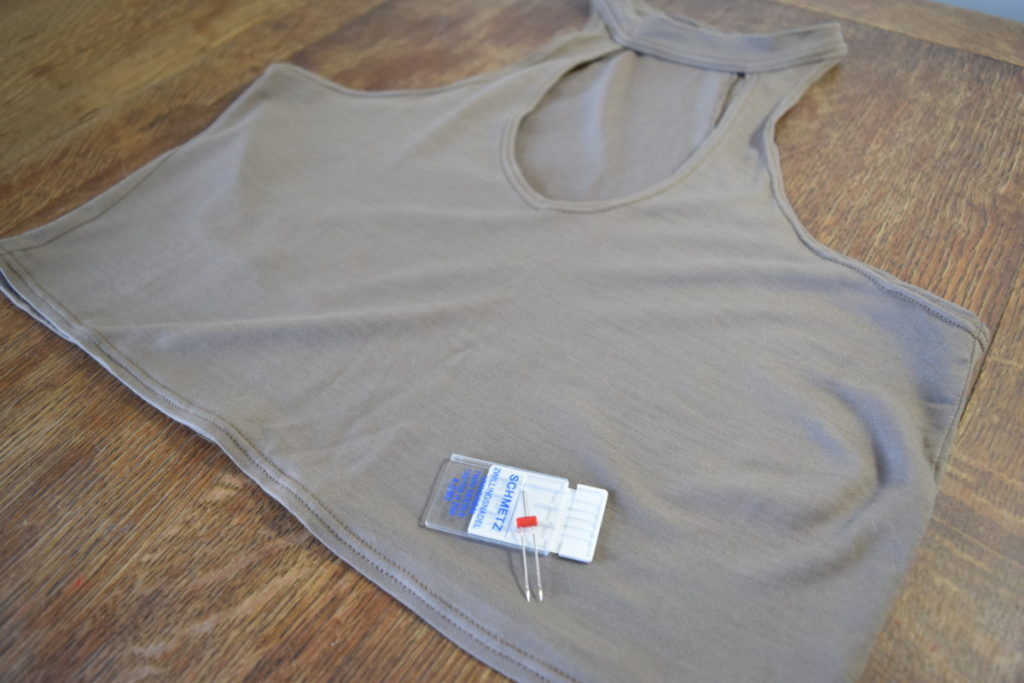
Discovering the double needle has literally changed my life. In ready-to-wear garments, the double lines of stitching that are so common in knits are typically done with a coverstitch machine. But you can get a very similar look with a double needle that attaches to your home sewing machine. These double needles come in various widths, so you can choose one that fits the look you want. The double needle sews two lines of stitches on the right side of the fabric and a zigzag between the two rows on the wrong side.
Many home sewists (myself included sometimes) use a zigzag or stretch stitch to hem edges on knits. And while this can look great and works well functionally, it really does give away a homemade garment. I don’t know that I’ve ever seen a ready-to-wear garment with visible zigzag stitches.
Various sizes of double needles are available on Amazon; THIS is the one I typically use.
6. Cut pattern pieces carefully and accurately
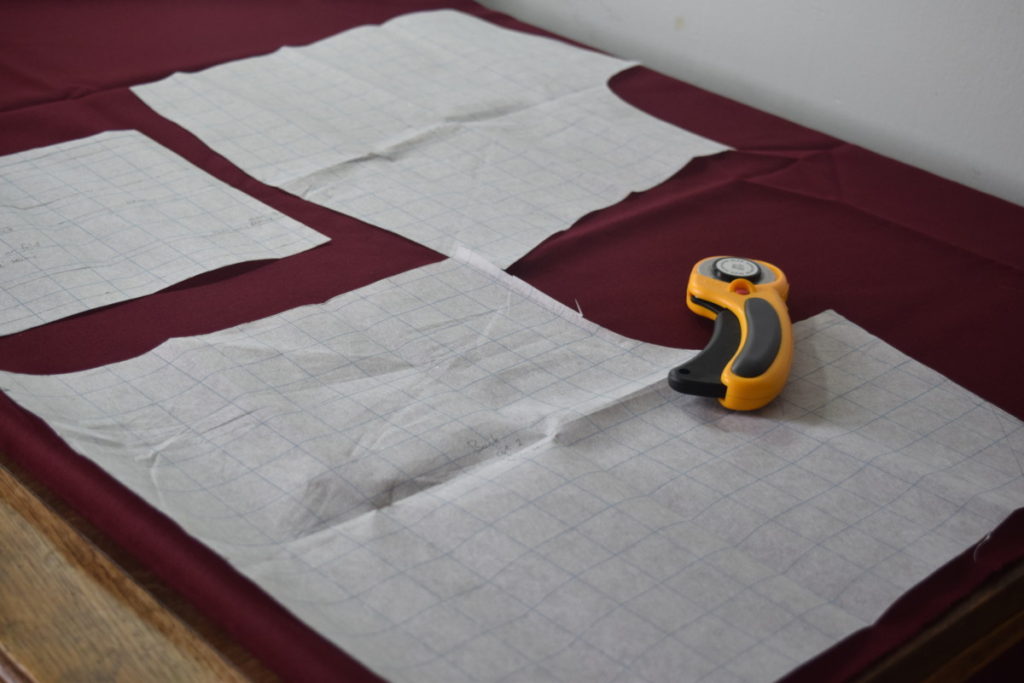
My rotary cutter and cutting mat have been one of the best sewing tool purchases I’ve ever made. I used to painstakingly pin each pattern piece all the way around to the fabric and cut as carefully as I could with regular sewing scissors. This process would often take hours, and I would still end up with inaccurately cut pieces.
It was so frustrating because the accuracy of your cutting really does affect how well the pieces fit together the way they’re supposed to. Enter, the rotary cutter. It makes life so much easier. I just lay out my fabric on the cutting mat, lay out my pattern pieces, weight down the pattern pieces with household items (my computer, keys, camera, phone, scissors, etc.) and cut around each piece with the rotary cutter. It saves me so much time and I get more accurately cut pieces.
Rotary mat available HERE, rotary cutter available HERE.
7. Make sure your stitching lines are straight and accurate
This one is so important, but sometimes so hard. Especially when you see your crooked topstitching, but really don’t want to seam rip and redo it. I’ve been there. But I just want to say, it’s so worth it to make sure your seams, and especially any topstitching or edgestitching are as straight and even as possible. It really is noticeable when your topstitching isn’t the same distance from the edge all the way around. Having beautifully sewn seams and topstitching details can take your garments to the next level, but wavy stitching can give your garment a sloppy look.
8. Use the right needle and machine settings
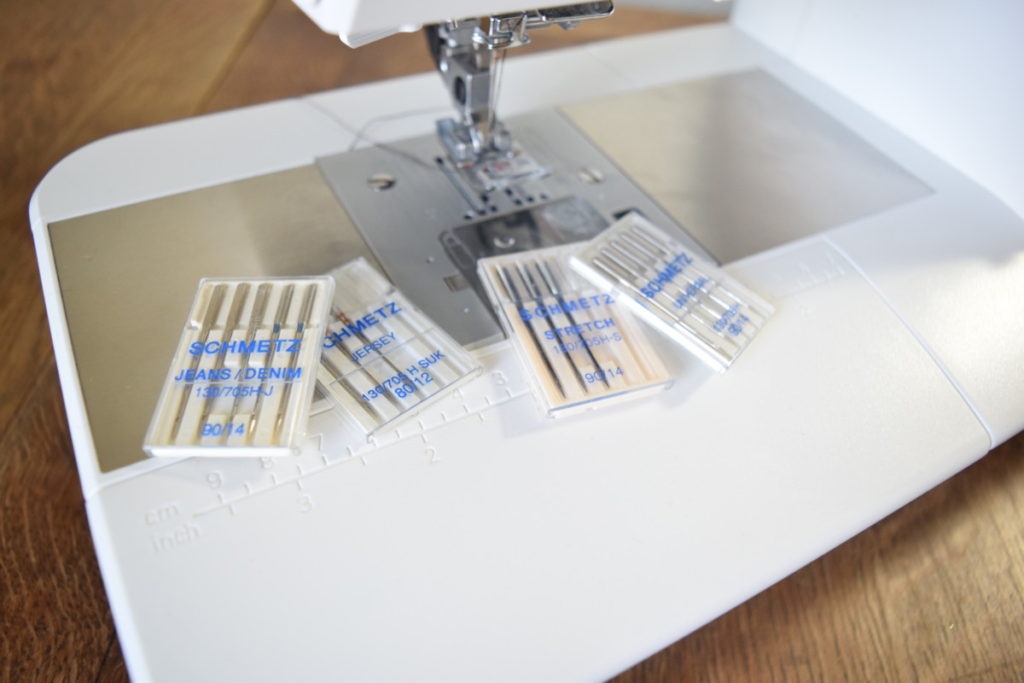
This one is definitely still an issue for me. I hate changing the needle and machine settings between projects. And testing things out on a scrap piece before starting on the first seam of my project is such a hassle. But I had to include it in this list because using the right needle for your project and adjusting the thread tension, stitch length, and presser foot tension really can make a difference in how your machine handles the fabric. Skipped stitches, scrunched up too tight seams, and wavy hems don’t help you get professional looking results. I’ll just leave it at that.
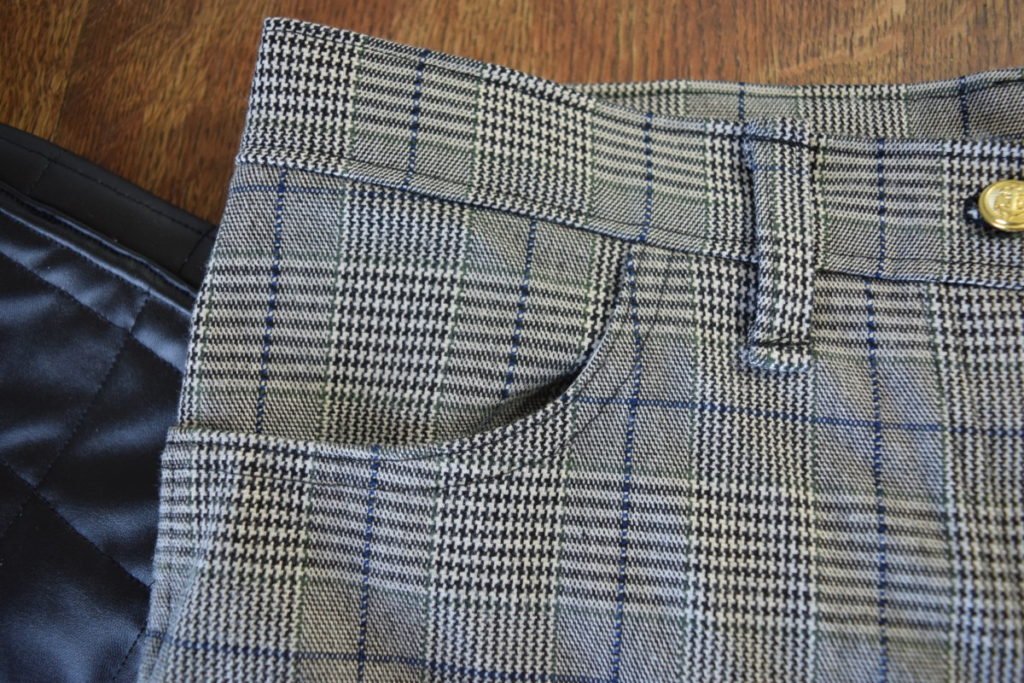
9. Pay attention to the grain
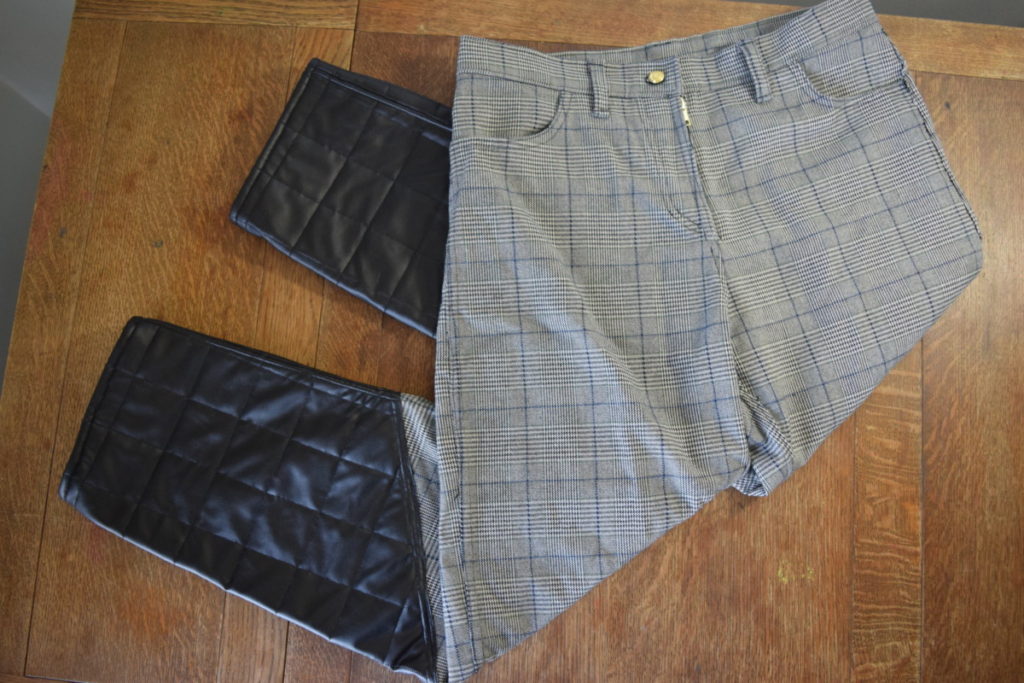
Not paying attention to the grain of the fabric while cutting my pattern pieces is a mistake I’ve made many times. It’s so tempting, especially when you’re short on fabric, to try to make your pattern fit on the fabric in any way possible. But it’s really important to make sure that you orient your pattern pieces properly in relation to the grain of the fabric (which direction the grain should be running is usually marked on the pattern pieces). Your garment won’t always lie correctly on your body if the grain isn’t going in the right direction.
It’s especially important to pay attention to with plaids and prints so that the pattern is going the right direction on all your pieces. How weird would it look if I had cut my plaid pants (photo above) so that the leg pieces had the plaid print going in different directions?
Pattern placement is also really important with stretchy fabrics. You need to lay your pieces so that the fabric stretches across the pattern piece horizontally, rather than stretching up and down vertically. I’ve done this wrong several times, and it’s always so sad when I realize I had cut my pattern with the stretch in the wrong direction so my garment won’t stretch to fit me.
10. Keep hems even and straight

A carefully sewn straight hem that falls evenly all the way around the body is so important. When I first started sewing, I often made clothes with hems that were longer on one side than on the other. Or they were shorter in the back than the front. This is a major giveaway that the garment is homemade.
Nowadays I can usually get a straight hem on my own with careful pattern cutting and measuring before folding up the hem. But when I was learning to solve this problem, I would often try on the garment before hemming and have someone help pin it to an even length all the way around. This made absolutely sure that the piece would have an even hem while I was wearing it. So if you have trouble with this, I would really recommend getting someone to help you pin the hem up while you’re wearing your garment.
11. Line up seams correctly
Anywhere where separate seams meet up in a garment, such as in the underarms of shirts or the crotch of pants, you want to make sure that the two seams match up as perfectly as possible when you sew them together. I know it’s frustrating to seam rip and start over just because the seams aren’t lined up, but it really is worth it. You can usually get away with it if they’re just very slightly offset from each other, but it can look pretty sloppy if they’re off by too much.
12. Choose the right fabric for the project
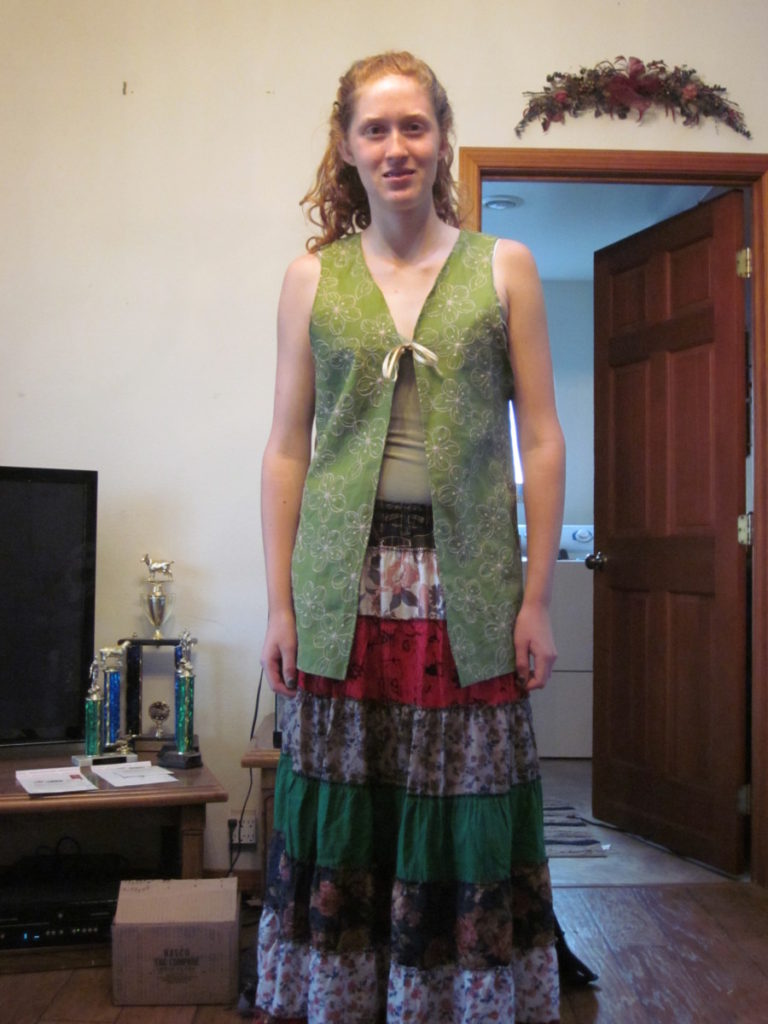
Now this is something that was an issue for me when I first started sewing. I would go into the fabric store, find a pattern I thought was cool and then pick out a stiff quilting cotton with a cute print. But I was never happy with the results. The photo below is an example of a vest I made in high school. I chose a very stiff fabric because I liked the embroidered flower print. This vest would have been so cool in a flowy fabric like chiffon, but with that stiff green fabric it just doesn’t really work.
If you have any tips of your own, I would love to hear them! You can leave a comment below or send me a message through the “contact” page.
I hope this article was helpful for you and your sewing journey. If you enjoyed these tips, I would love for you to sign up for my email newsletter.


Tanks a lot
Great tips! Thank you for sharing.
Great finishing touches to a garment. Thank you for these tips
1