
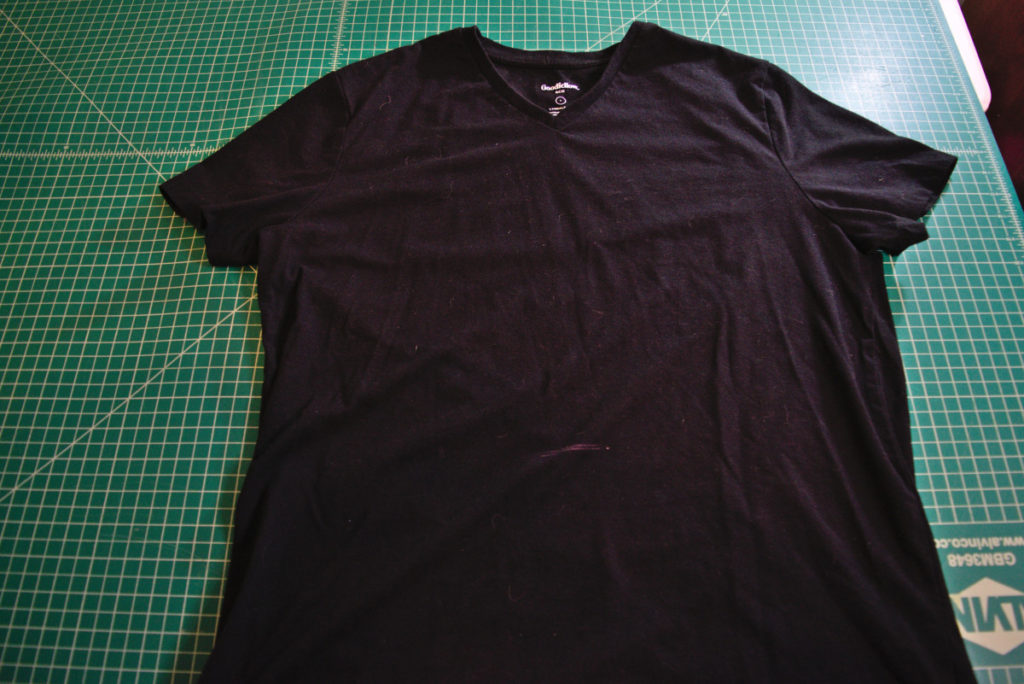
I just love refashioning t shirts. They’re such quick projects, like less than half an hour! And the results can be awesome. For this project I used this oversized black t shirt that I picked up at the thrift store.
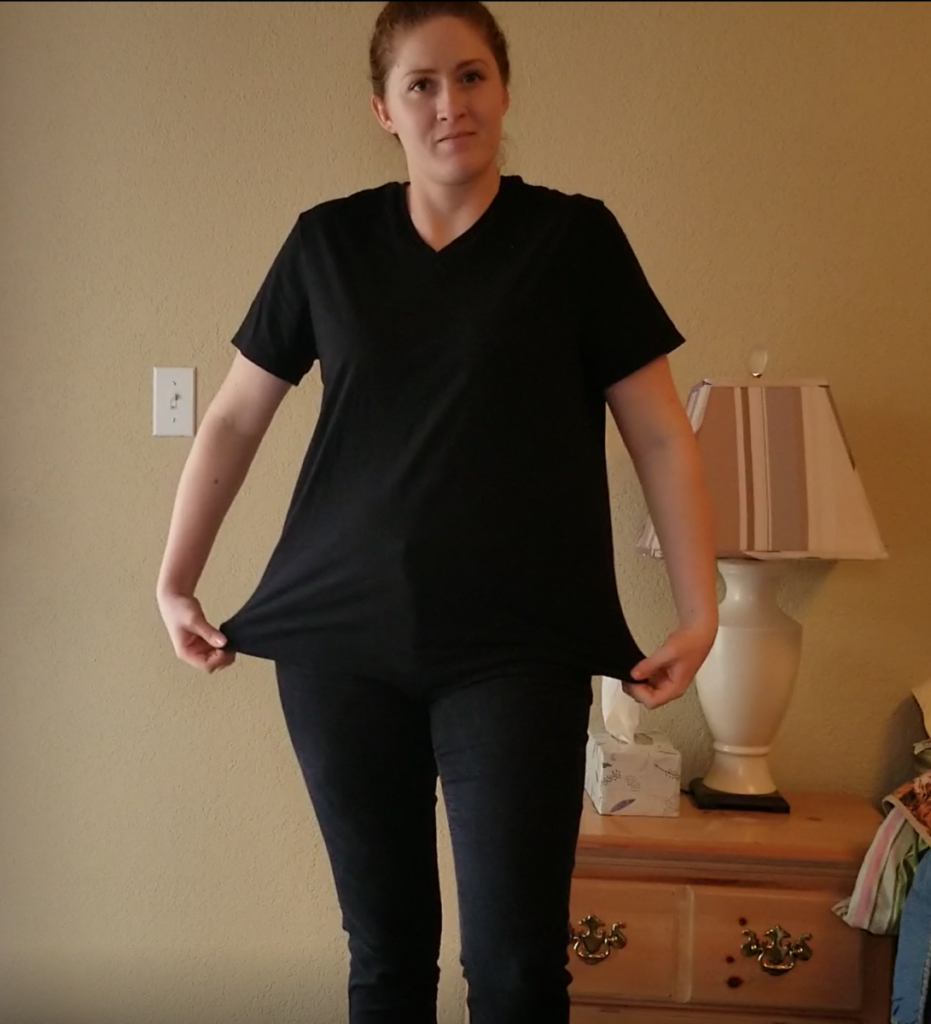
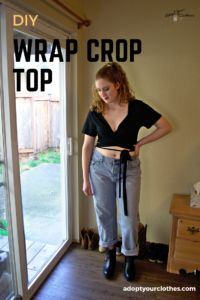
I decided to make a deep v neck wrap style crop top out of the t shirt.

I really like this style because I think it looks casual but also a bit elegant, especially if you were to style it with more classy bottoms.
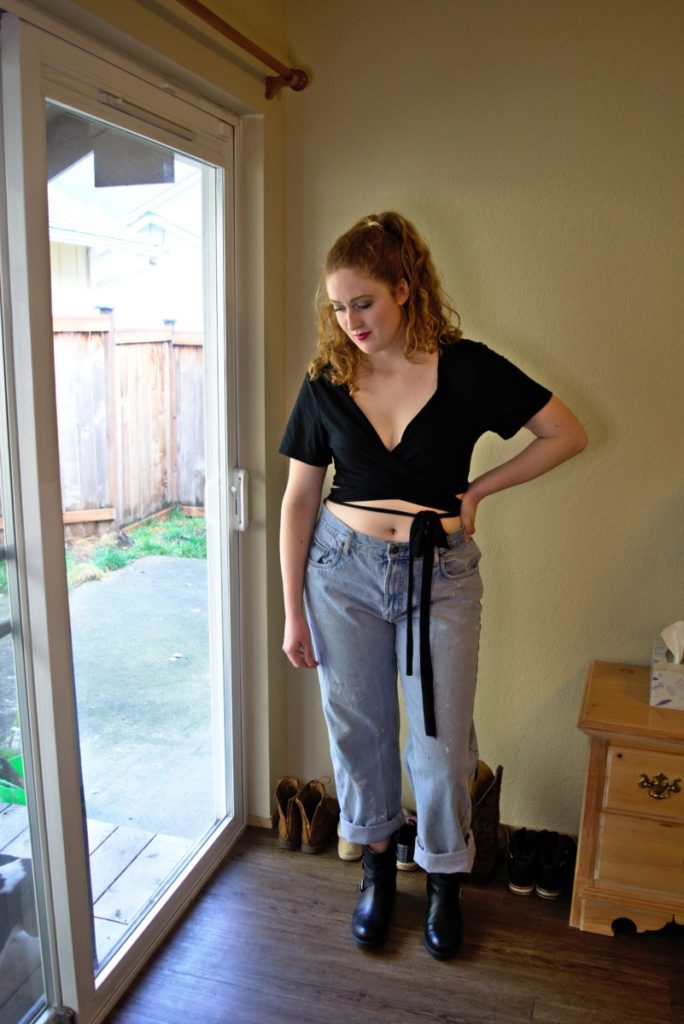
This is my favorite way of tying the top, but because the shirt is basically just open in the front with two long ties, you can wrap and tie it any way you like. Just let your imagination roll!

So let’s get into the tutorial! This refashion took me less than half an hour and was super easy to do; there’s very minimal sewing involved. So even if you’re a beginner at refashioning, you can totally DIY this crop top.
What you need
*This list contains affiliate links for your DIYing convenience, so I receive a small commission if you buy something through my links. This really helps to support my site so I can keep creating DIY tutorials to help you create your dream wardrobe.
- oversized t shirt
- scissors
- fabric marker or chalk
- ruler
- sewing machine (or hand sewing needle and thread-the sewing is really minimal)
Steps
- Crop the back of the shirt
- Cut the front curved ties
- Cut open the front of the shirt and shape the neckline
- Make longer ties from scraps and attach them
Instructions
Step 1
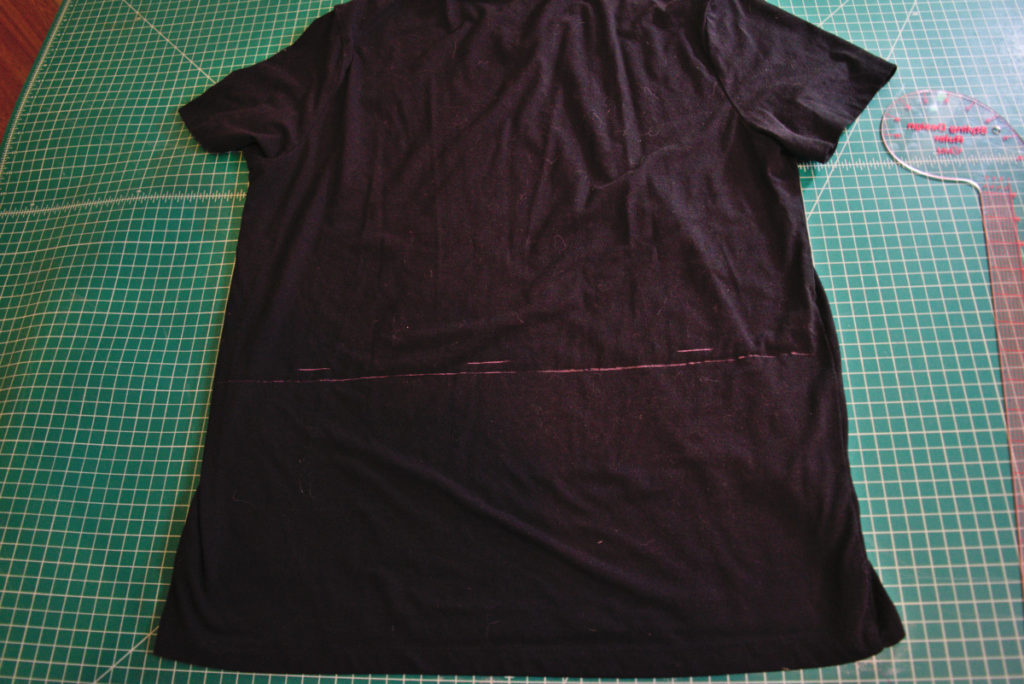
The first step is to try on the t shirt and mark where you want the shirt to be cropped to. I put a chalk mark at the center front where I wanted the shirt cropped to.
Next, measure how far from the bottom of the shirt your marking is. Turn the shirt over and measure to make an identical marking on the back of the shirt.
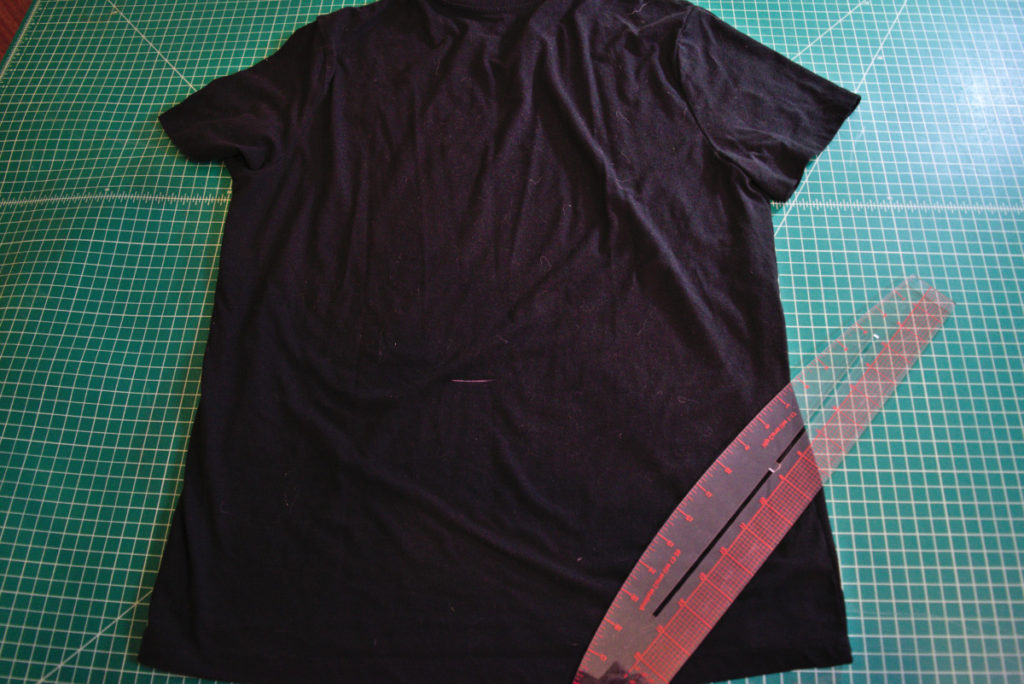
Then use a ruler to draw a straight line across the back of the shirt from side seam to side seam, going through your mark. Mine is slightly below my mark, but that is just because I decided at the last minute to add a bit of extra length. So if you’re happy with the length you chose, just go straight through your mark!
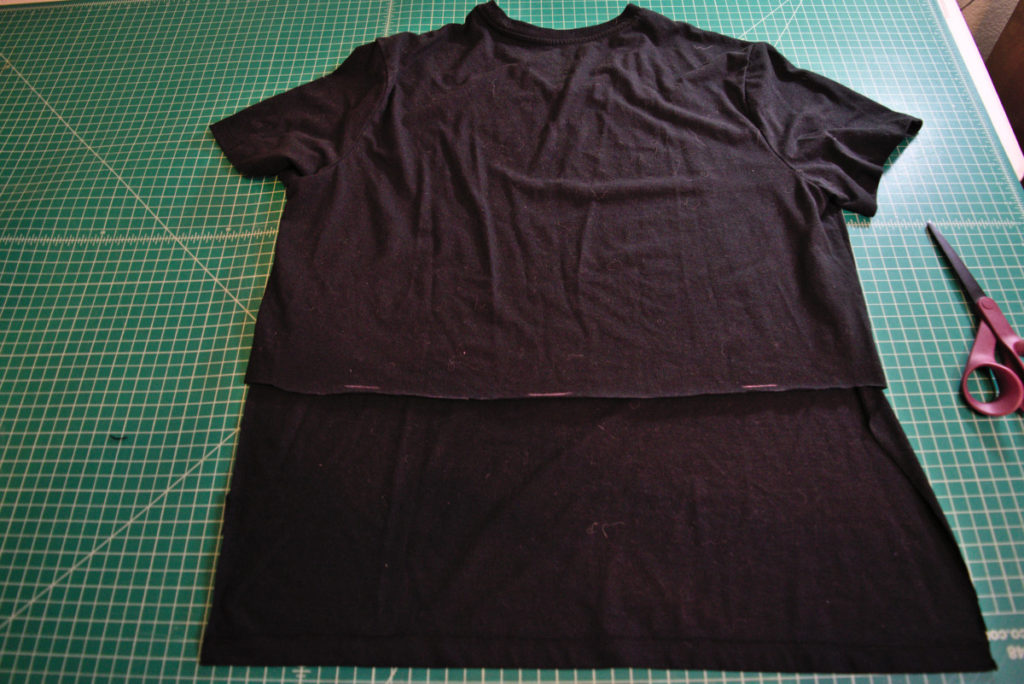
Now you can cut up each side seam to your line, then cut across the line. This will cut a rectangle of fabric out of the lower back of the t shirt.
Step 2
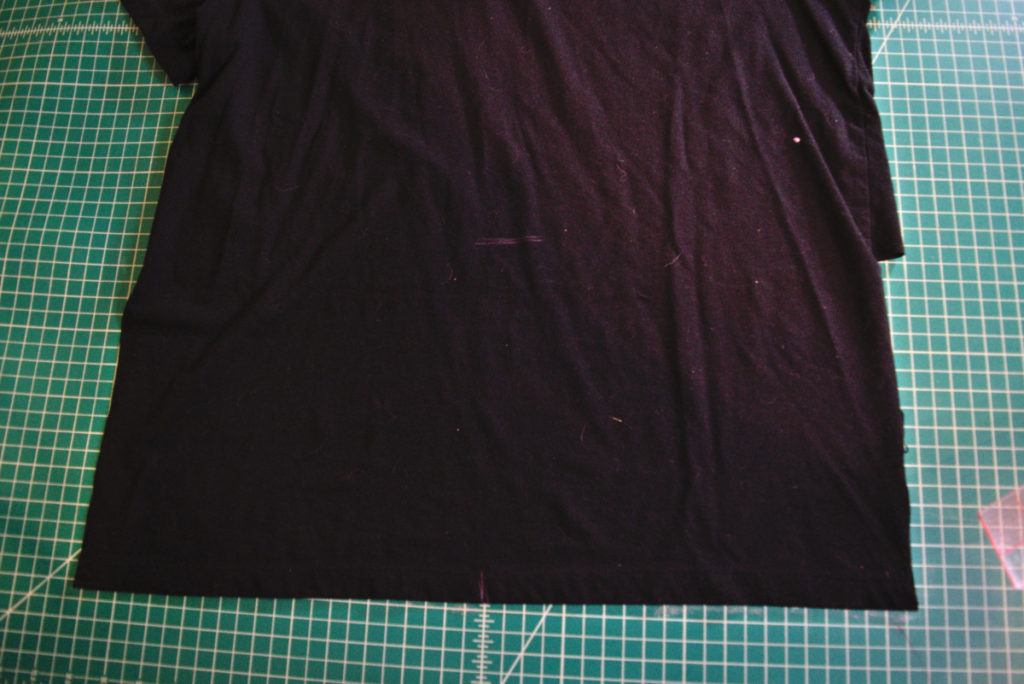
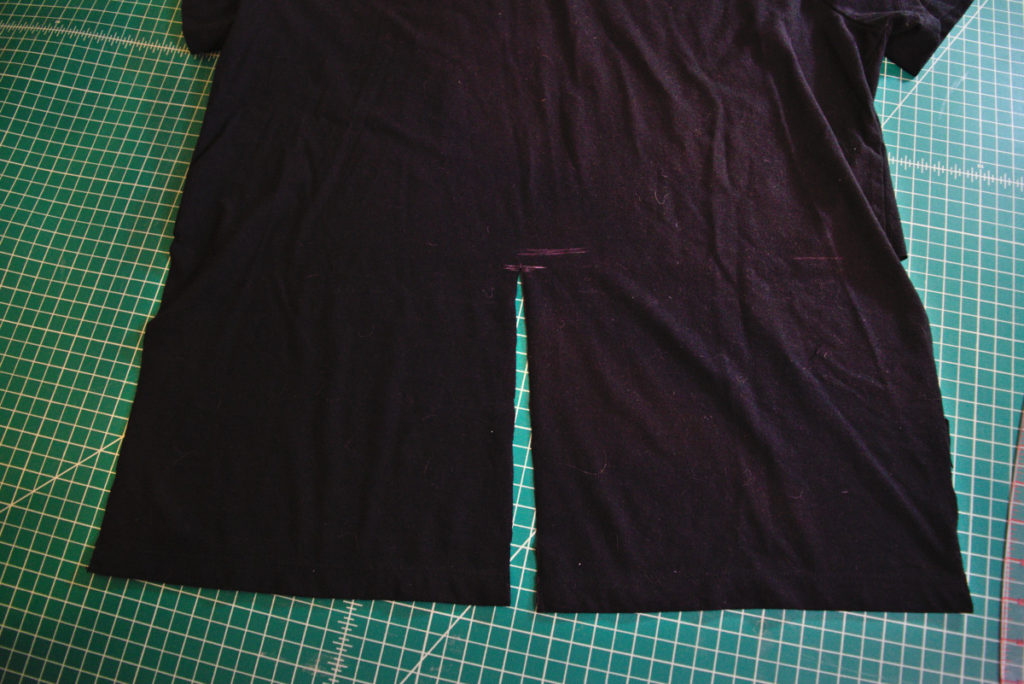
Next, turn the shirt over so the front is facing up. Measure from each side seam to find the center of the shirt front and make a marking at the bottom of the shirt.
Then draw a straight line up from your center front mark to the marking you made earlier.
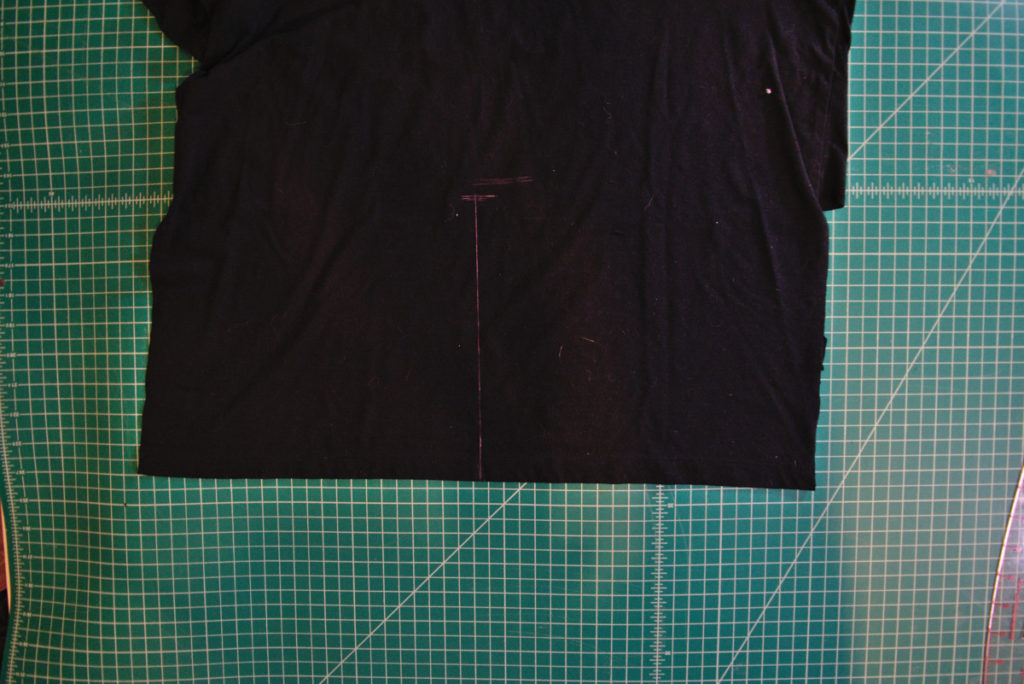
And cut along this line.
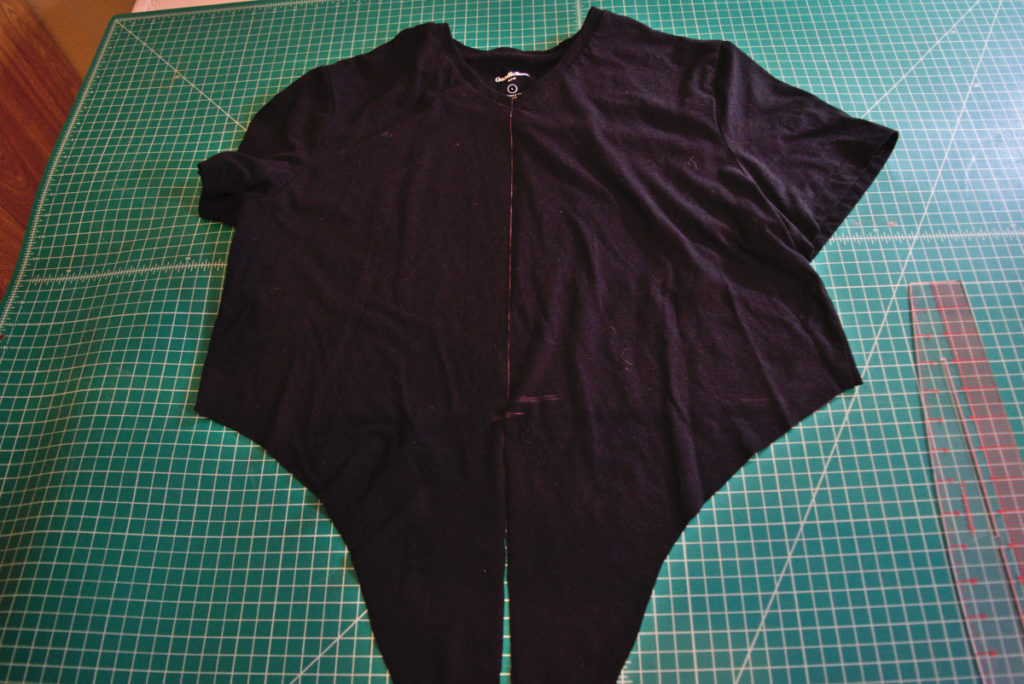
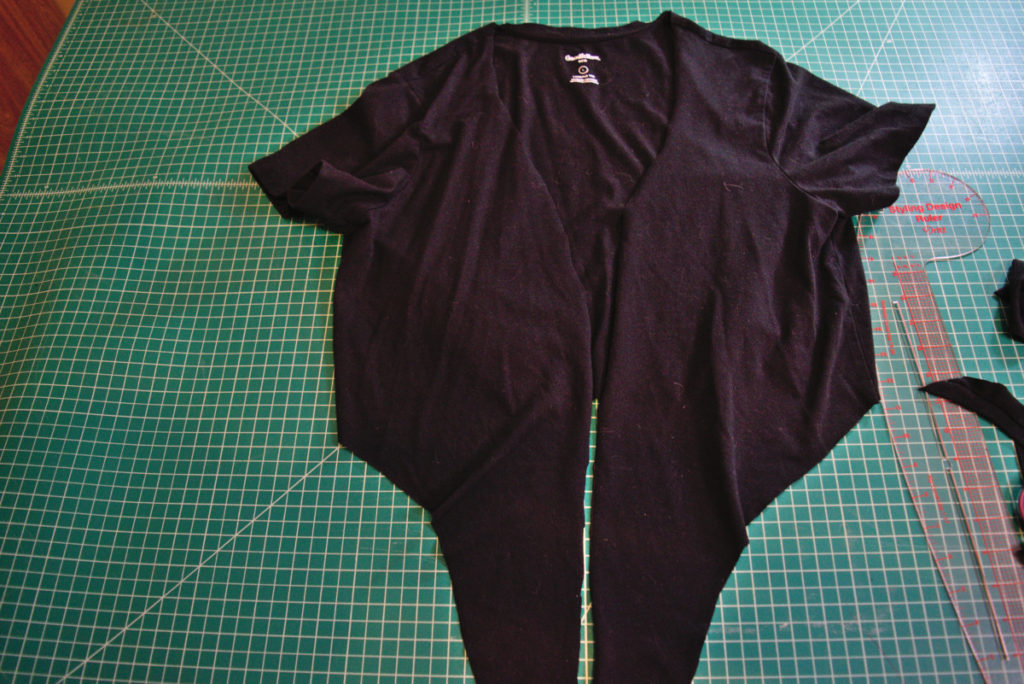
Next, draw the shape in the photo below on one side of the shirt front, blending the curve into the already cut back of the shirt. I used a french curve ruler to get a nice curve, but you can totally freehand this.
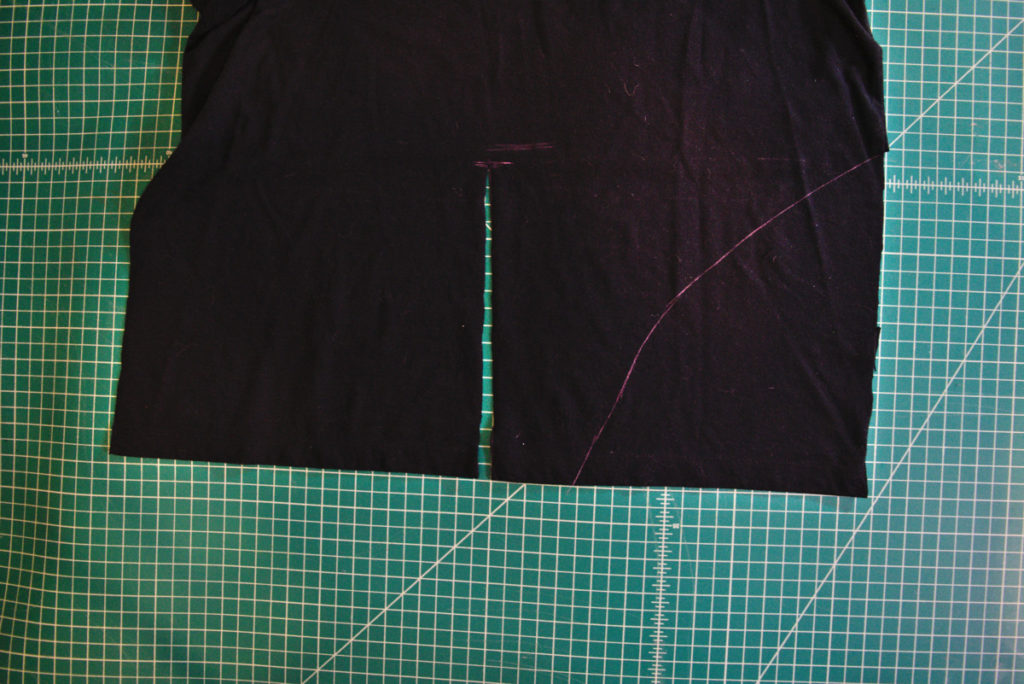
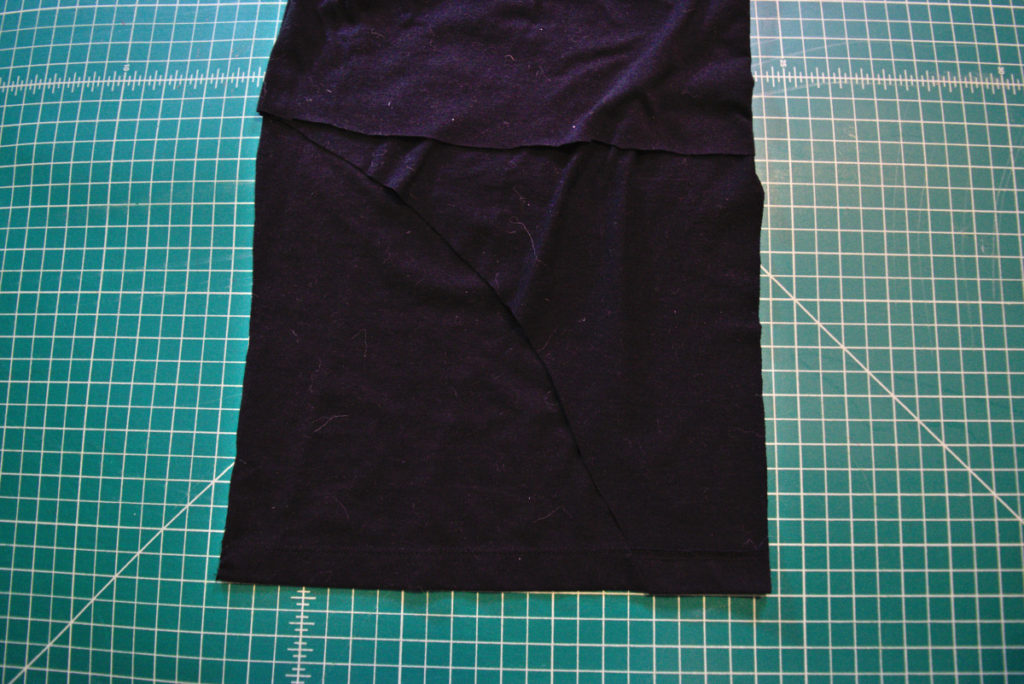
Cut along this line, then fold the shirt in half, with the cut side on top. Cut along the curve to make a matching curve on the other side. Be careful to only cut the front of the shirt, it can be easy to accidentally cut into the back a bit.
Step 3
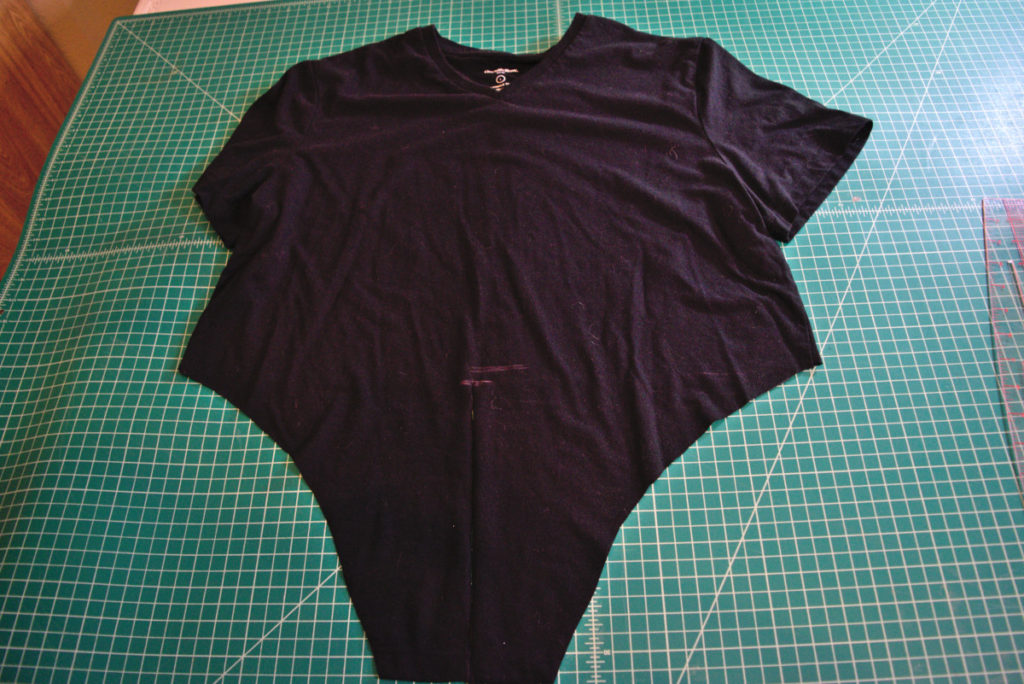
Next, draw a line straight up the center front of the shirt all the way to the neckband. Cut along this line. Honestly, you could have probably done this step earlier, but this was just the process I used as I was figuring out how to make the shirt.
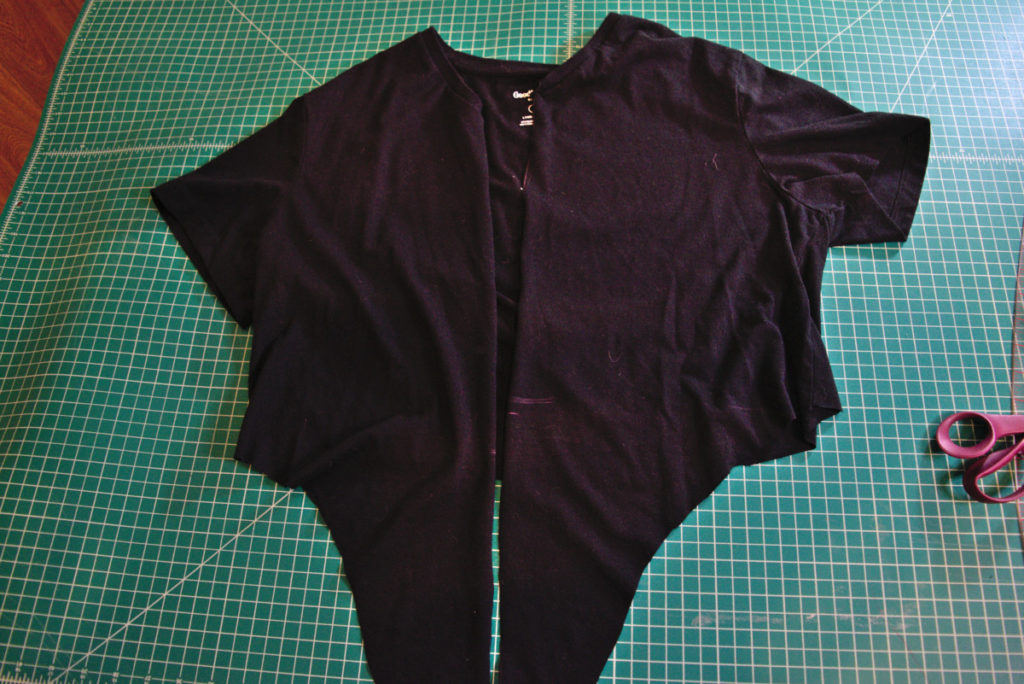
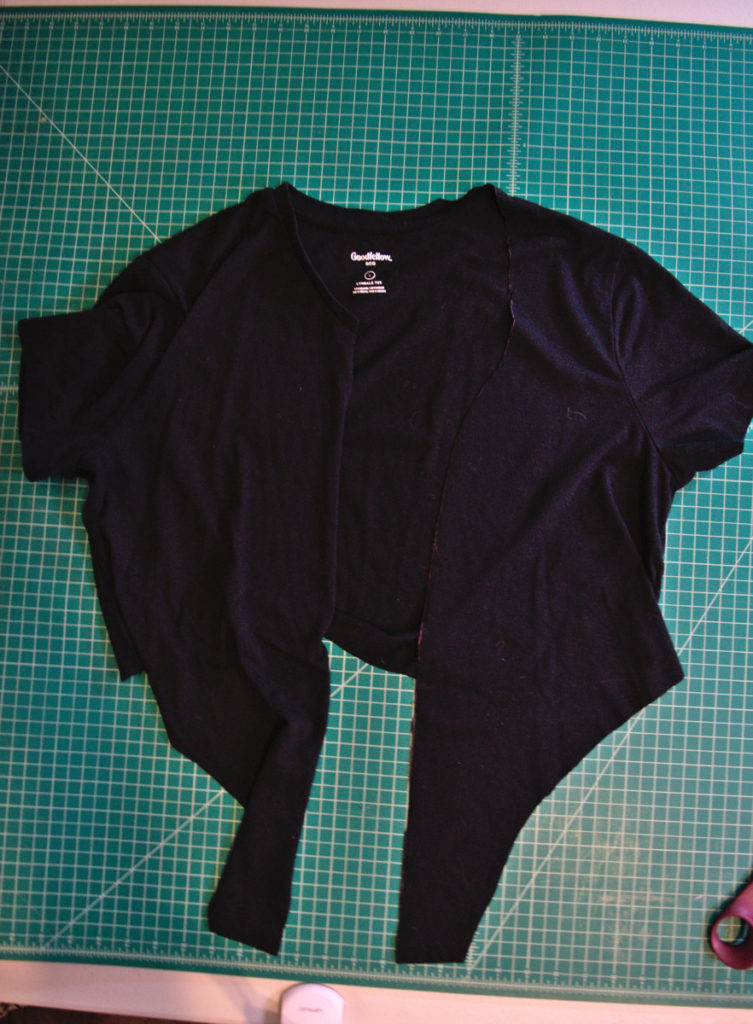
Now you have the basic shape of the shirt done. The next step is to try the shirt on, wrap it the way you would when wearing it (we don’t have the long ties on yet, but you can still get an idea of how it will look) and use chalk to mark a good neckline shape that will lie flat. Mine looked like this:
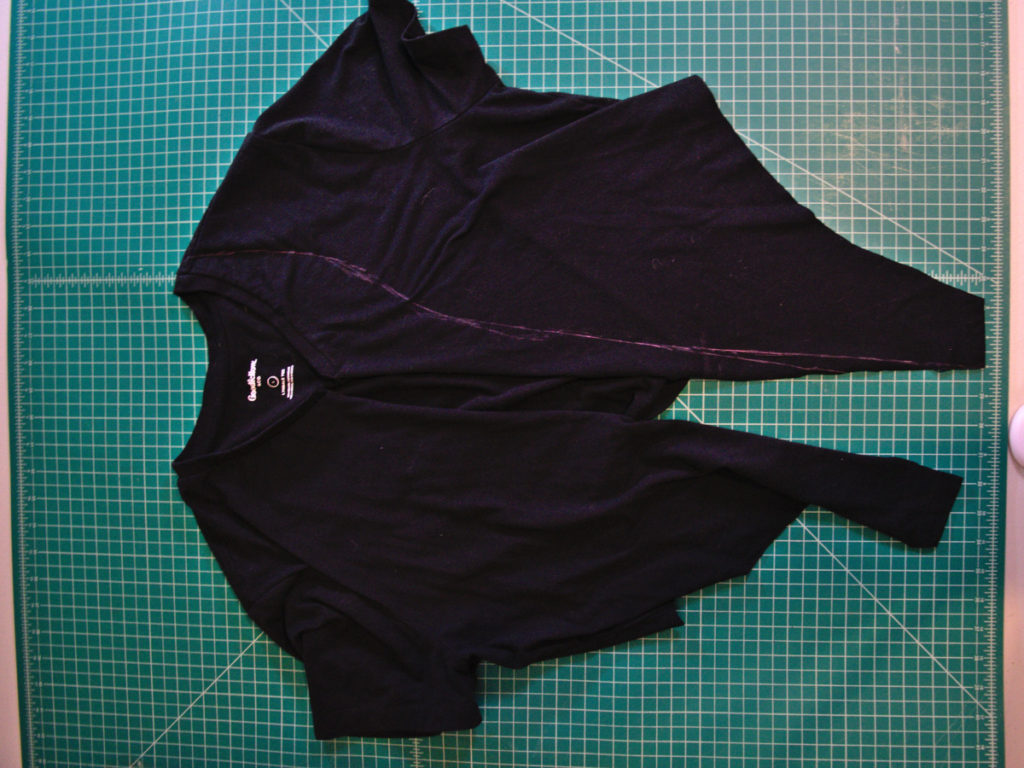
Cut along this line.
Then fold the shirt in half (like you did for the curved front ties) and cut an identical neckline curve on the other side.
Step 4
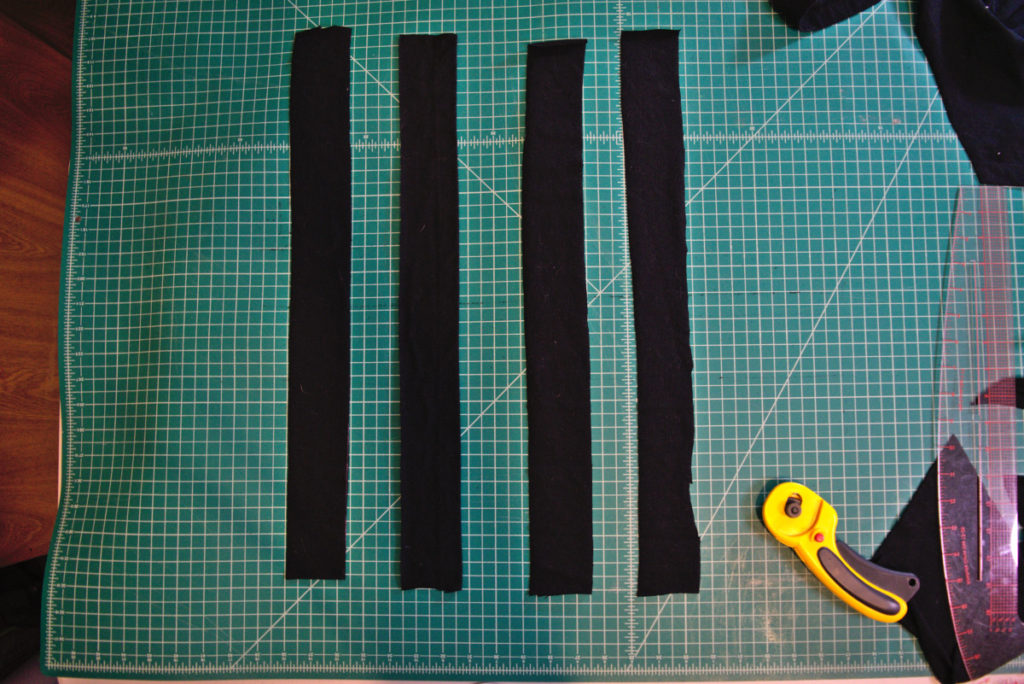
Our final step is to make those long ties! I used that big leftover rectangle of fabric from the back of the shirt and cut four identical rectangles. They were 2 inches wide (the same width as the bottom of the shirt front curved tie pieces) and as long as I could get them with the fabric available.
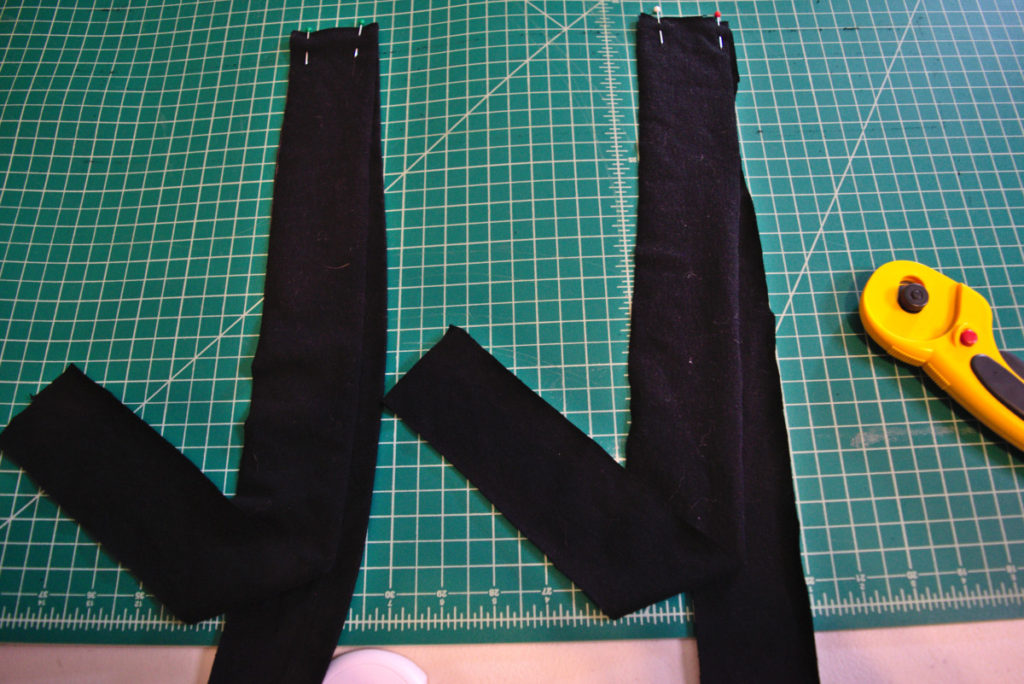
Next, I separated the ties into pairs and sewed one of the short ends of each pair together (right sides together). Once sewn, this will create two long ties.
Then sew one tie to each side of the shirt front with right side together.
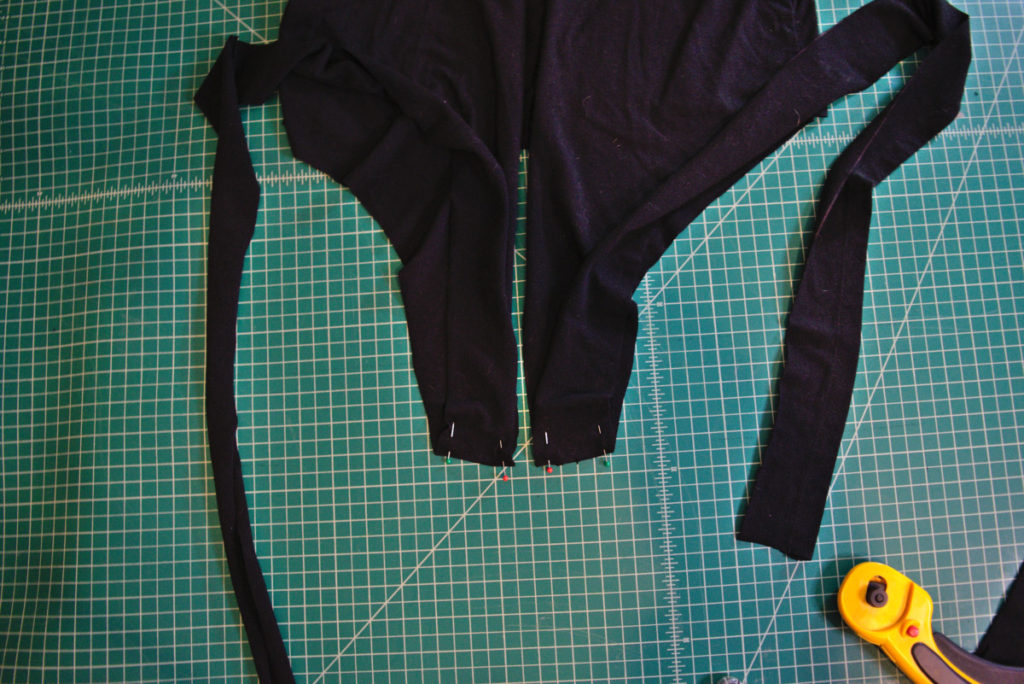
And you’re done! Just put the shirt on, pull the crisscross v-neck tight across your body, wrap the ties around once or twice and tie them off.

If you enjoyed this tutorial, I would love for you to subscribe to my email newsletter. You’ll receive sneak peeks and updates on new posts as well as first access to any sewing patterns I release.


Great tutorial!! Looks amazing!