
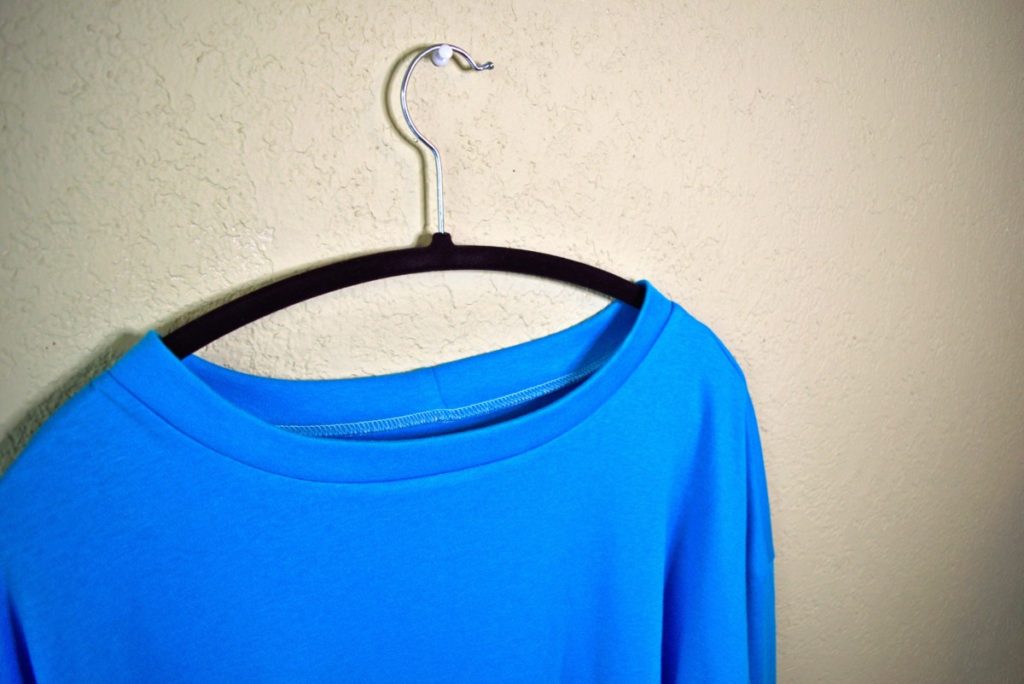
It’s no secret that I love sewing with knits. I actually find them easier than a lot of wovens to work with. And they’re such a comfy, every day option. There are many ways to finish a knit neckline, but my favorite is a neckband made from the same fabric as the shirt or dress. This is such an easy and fast method and the results are gorgeous!
Instructions
First, you need to sew the shoulder seams of your shirt. For knit tops I usually just serge all my seams. It’s literally so fast!
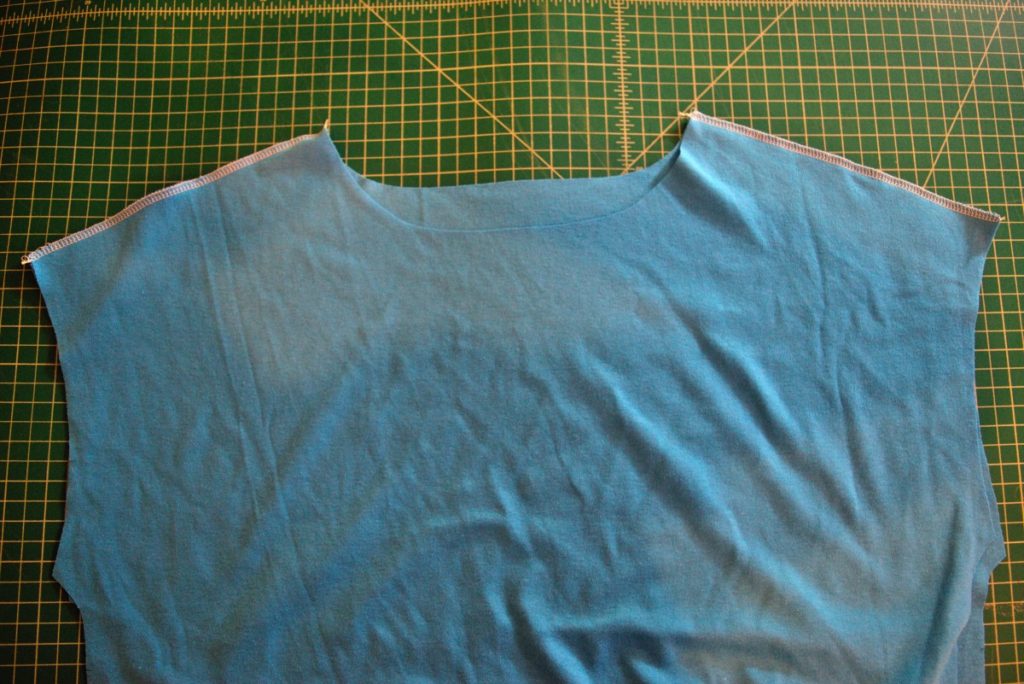
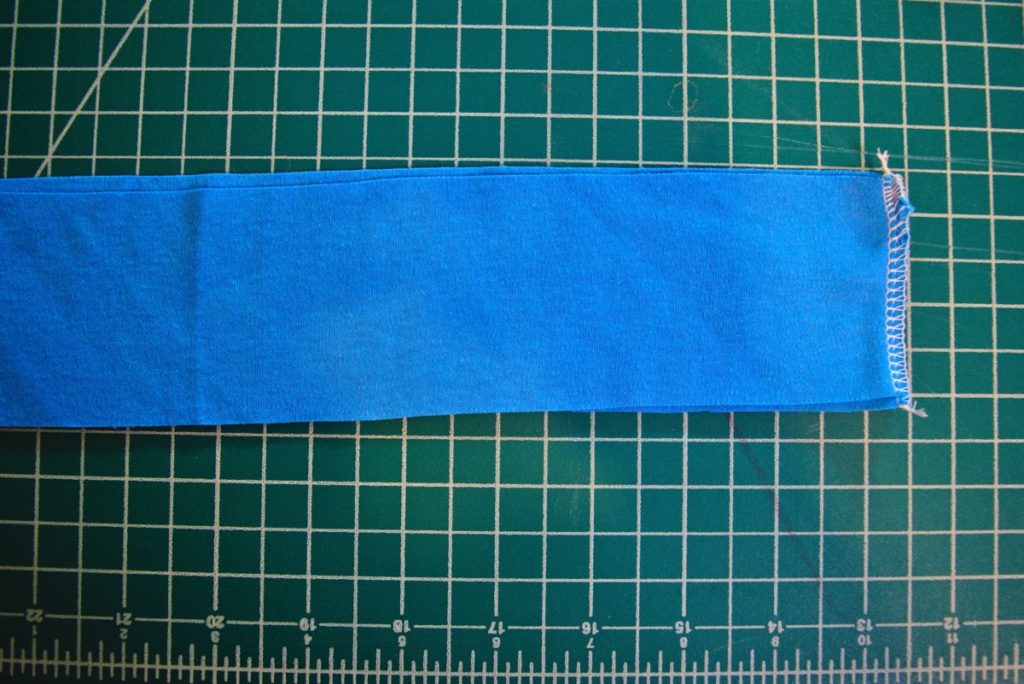
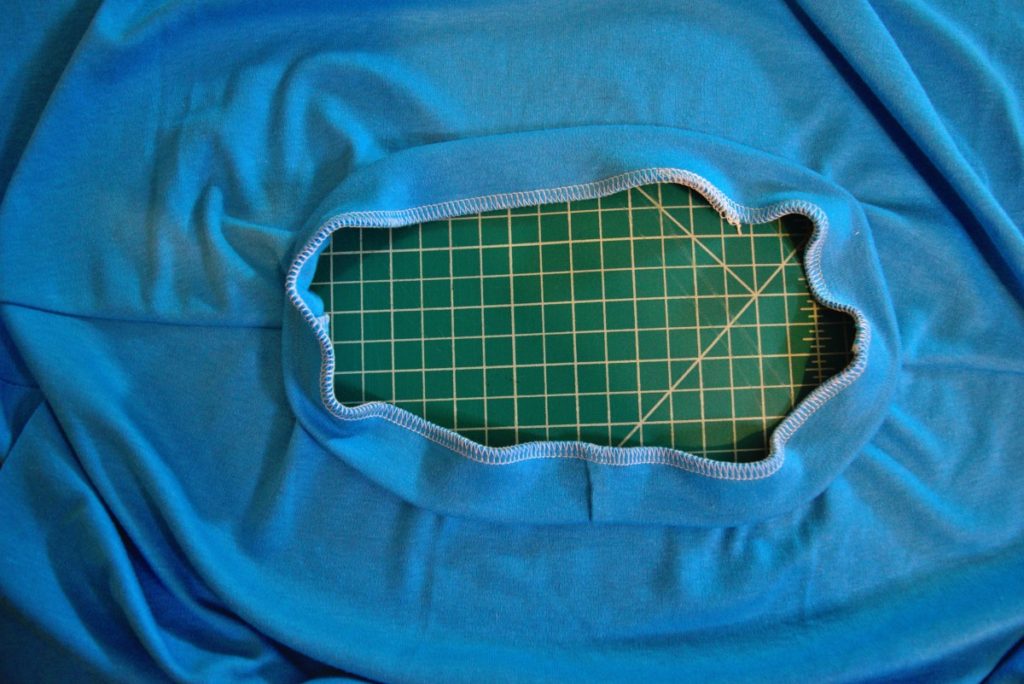
Next, cut a rectangle for your neckband.
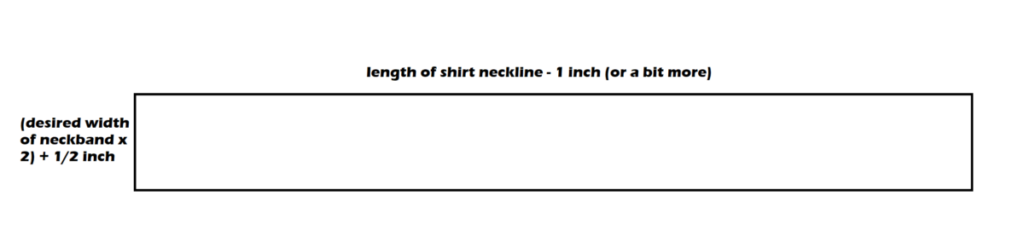
NOTE: all seam allowances in the measurements below are 1/4 inch because that is the width the serger sews at. If using a zigzag on a sewing machine, you can sew it with a 1/4 inch seam allowance.
You can draft your own neckband by measuring the neckline of your shirt, then subtracting an inch from it. I find that subtracting an inch works well for t shirt neckbands. If your neckline is quite wide, you may need to subtract a bit more than an inch. This measurement will be the length of your neckband. Then decide how wide of a neckband you want, then double the number and add 1/2 inch. I decided on a 1 inch wide neckband; so the width I cut was 2.5 inches (1 inch+1 inch+1/2 inch). Here is a visual representation of how to cut your neckband for all you visual learners out there:
Now sew the short ends of the neckband together (right sides touching) to form a loop.
Next, press the seam allowance to one side, then press the neckband in half lengthwise with wrong sides together.
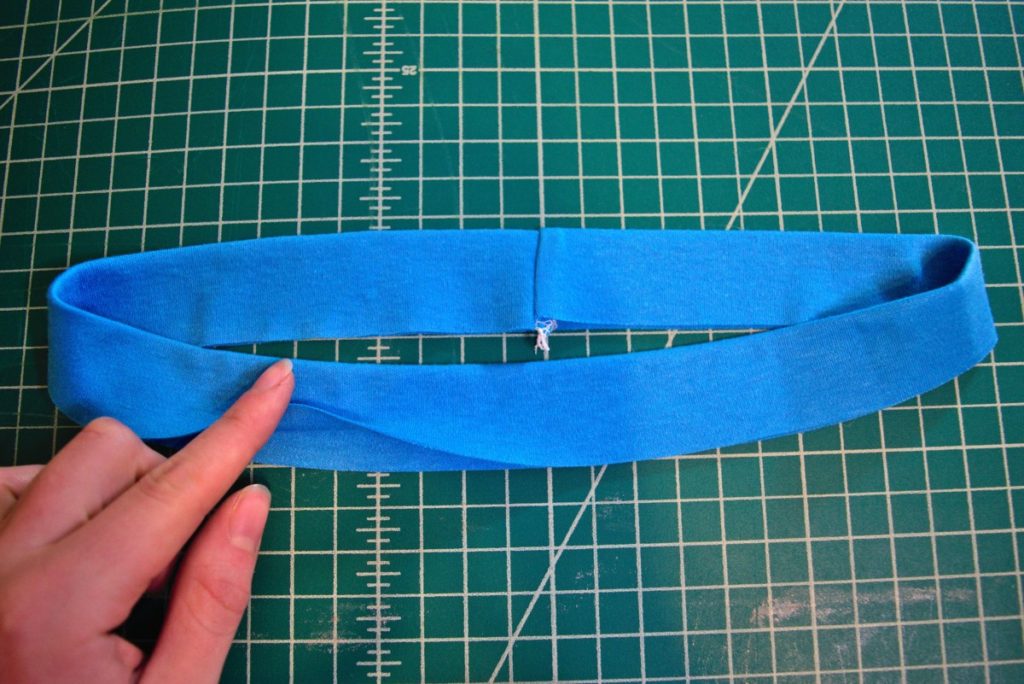
Place four equally spaced pins in the neckband, starting with a pin at the seam (which will be the center back of the neckband.

Next, place four equally spaced pins around the neckline of the shirt; starting with the first pin at the center back. Just remember, the pins may not line up with the shoulder seams: this is completely fine, it just means the front neckline is a different length than the back neckline.
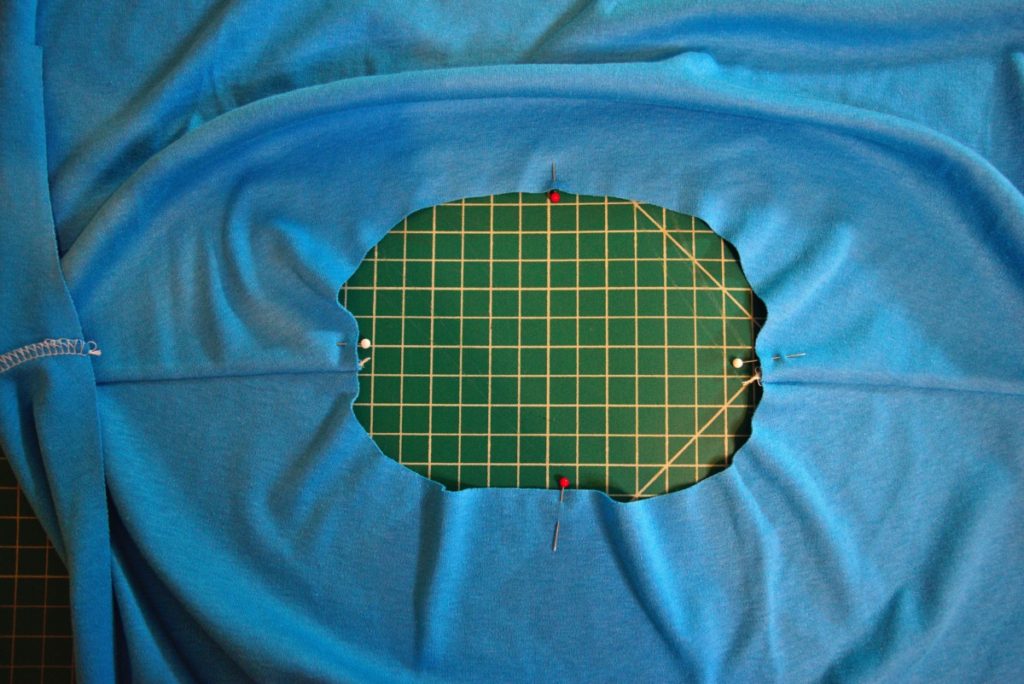
Then pin the neckband to the RIGHT side of the neckline, lining up the pins (make sure the seam in the neckband lines up with the center back of the shirt). Just line up the pins and re-pin where they meet.
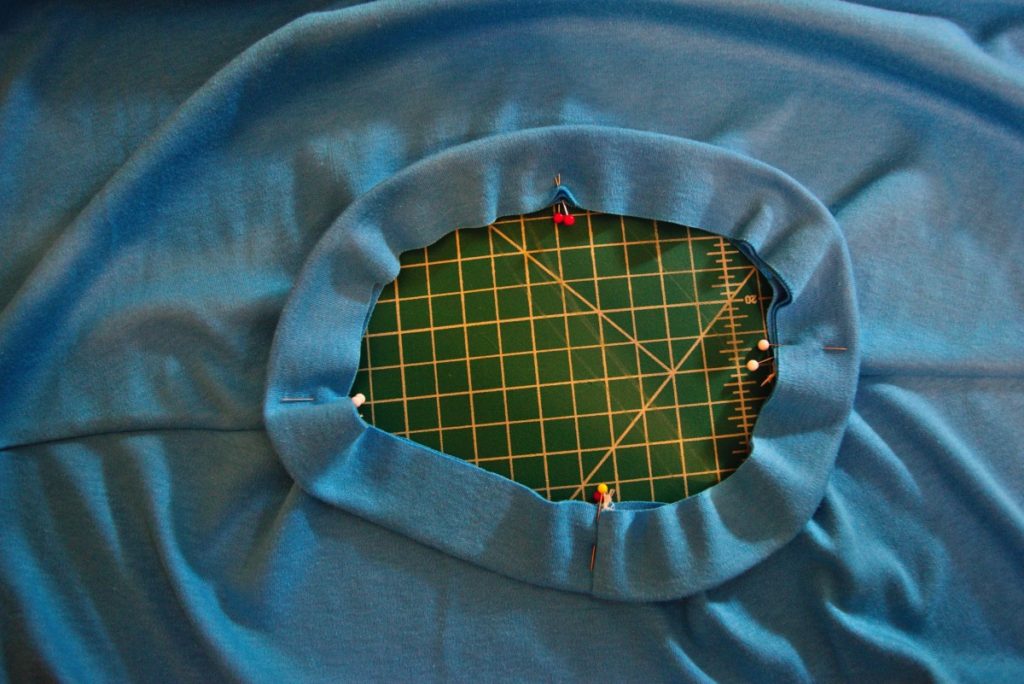
Now you can just take it to your serger (or sewing machine) and sew the neckband to the shirt, stretching between the pins so that the neckband fits the shirt. This will allow for a nice snug fit with no gaping.
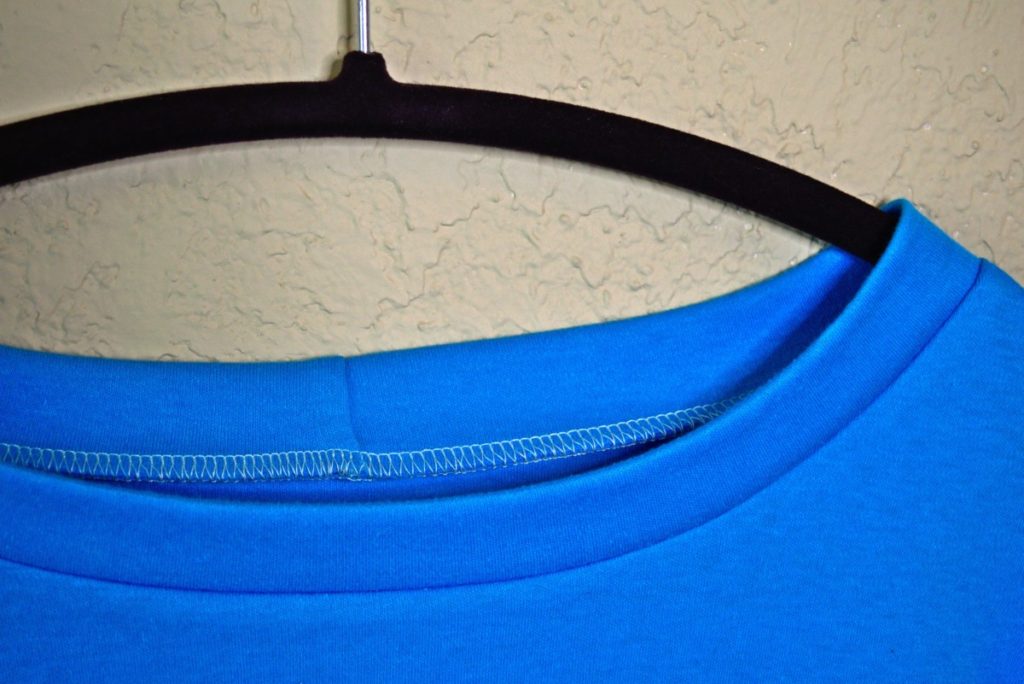
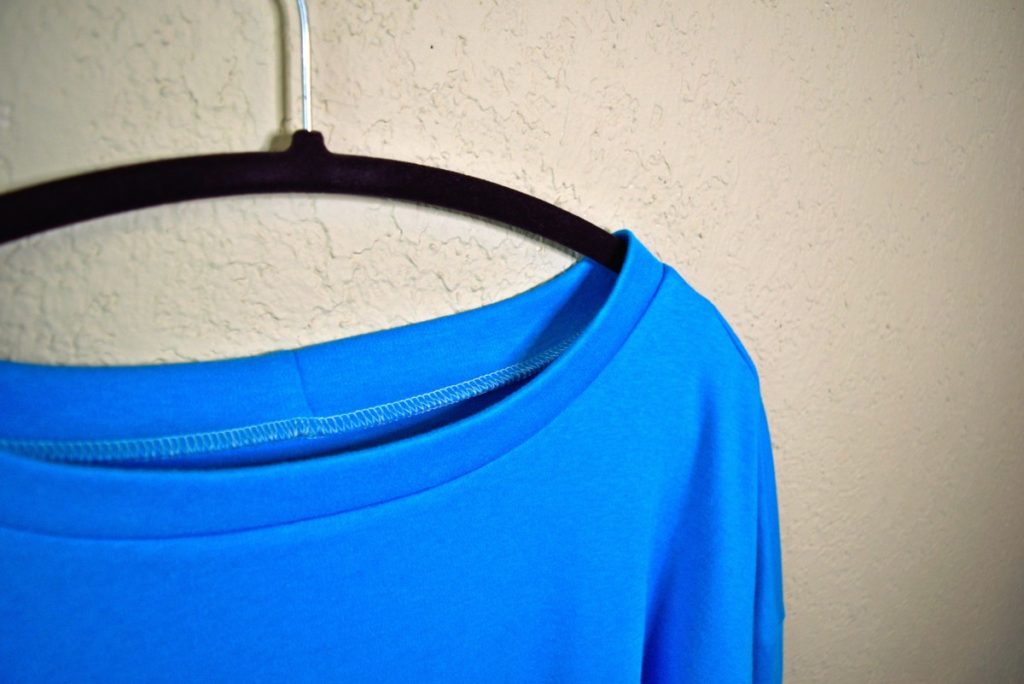
Then iron the neckband up, pressing the seam allowance down. And you’re done! Easy!
If you enjoyed this tutorial; I would love for you to subscribe to my email newsletter. I provide updates on new posts, sneak peeks, and early access to any patterns I release!


Leave A Comment