
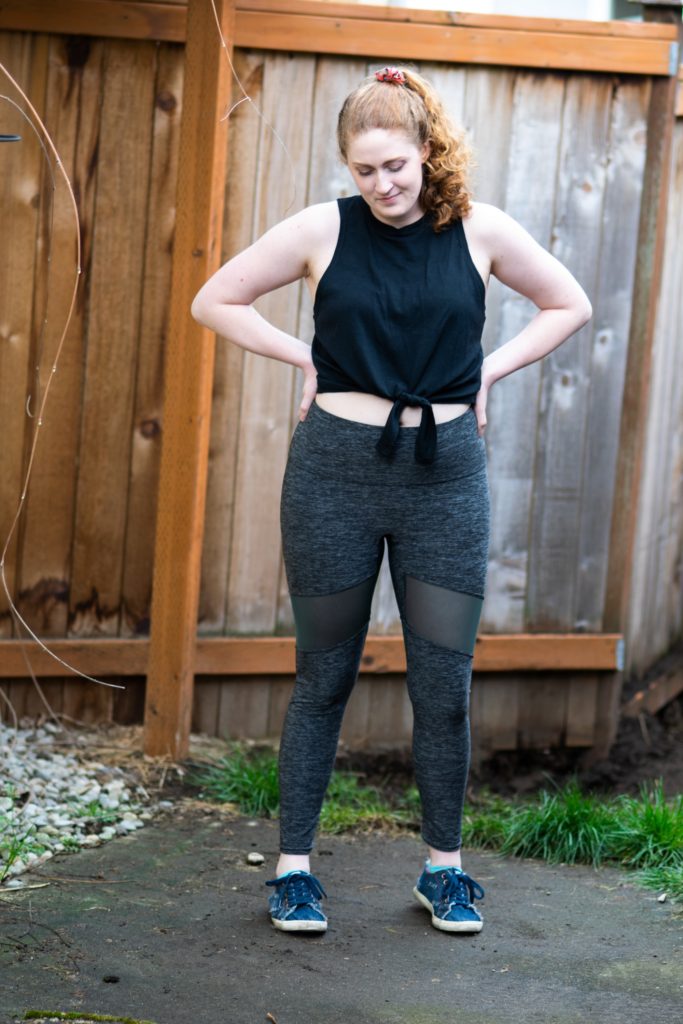
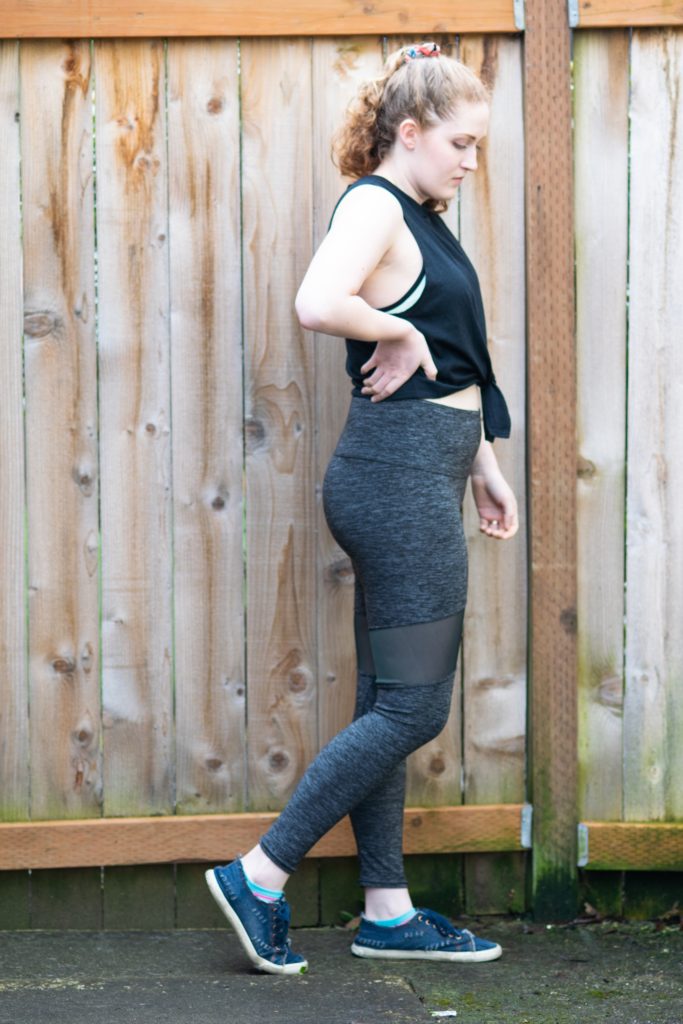
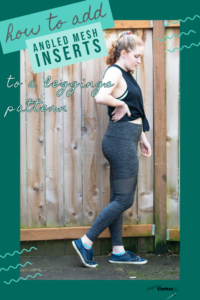
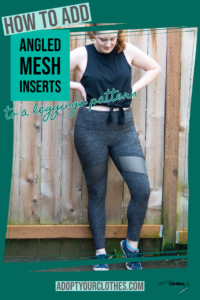
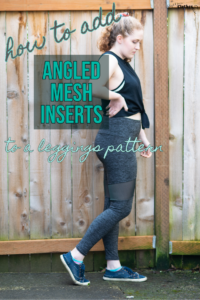
Do you love leggings? How about leggings with ADORABLE mesh inserts?? Ok, I have been seriously wanting a pair of leggings with mesh leg inserts for ages, but I finally got around to making a pair!
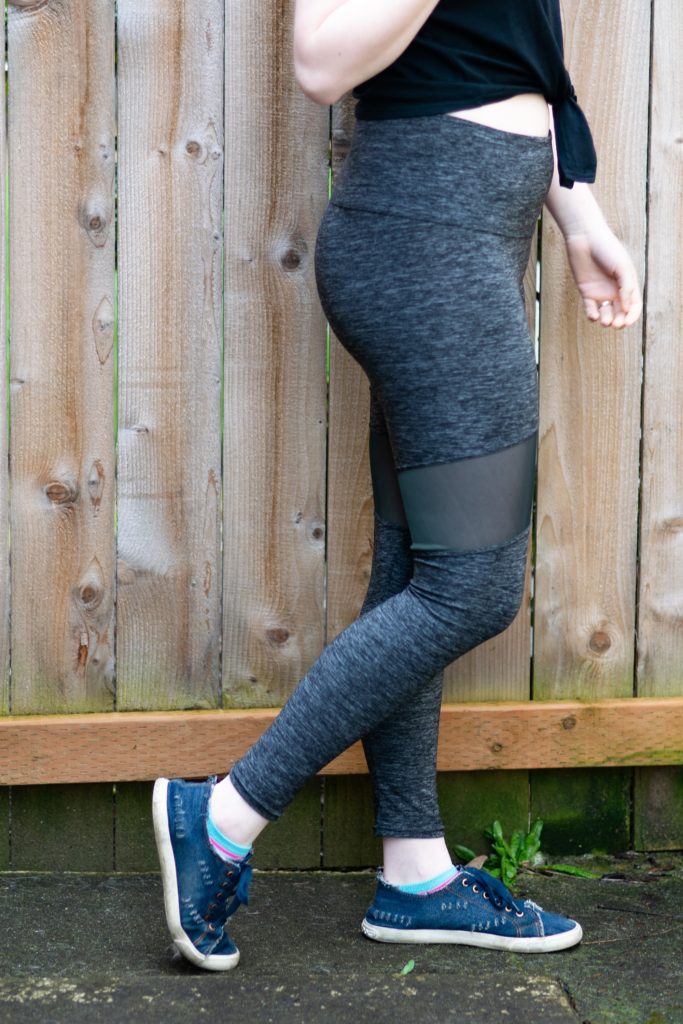
I used the Jalie Clara Leggings sewing pattern, which I’ve sewn up before (I actually have a full sew-a-long for this pattern, HERE) – but this time I’m hacking them to add angled mesh inserts to the legs.
So I have a video tutorial for you below, showing you how to hack a leggings pattern to add angled mesh inserts. But if you prefer reading, you can get the cliff-notes version down below the video!
But first! Here’s what you’ll need for this pattern hack:
What you need
*This list contains affiliate links for your DIYing convenience, so I receive a small commission if you buy something through my links. This really helps to support my site so I can keep creating DIY tutorials to help you create your dream wardrobe.
- leggings pattern (I used the Jalie Clara pattern)
- pattern paper (or newspaper, or wrapping paper)
- pen
- ruler
- 4 way stretch athletic fabric for leggings
- power mesh fabric for mesh inserts
- ballpoint pins
- sewing machine
- optional: serger
- optional: double needle
Video Tutorial
Written Tutorial
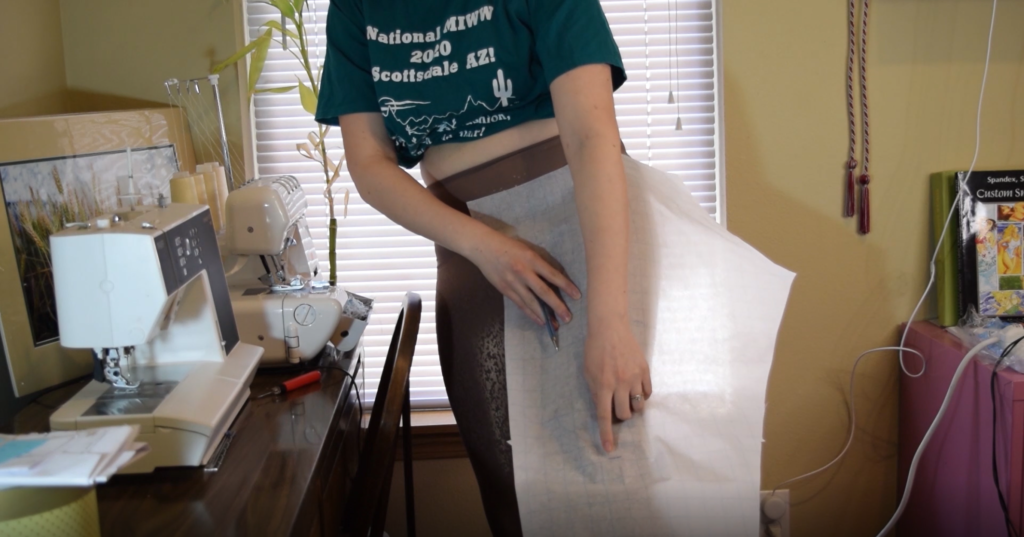
Ok, so the very first thing we need to do is grab the main leg piece of the leggings pattern – mine only had one because it wraps all the way around the leg – but if yours has a front and a back, you’ll need to do this entire process for both the front and the back.
Once you have your leg piece ready, hold it up to your body and mark approximately where the knee is, just so you have a point of reference. Then mark where you want the top and bottom of your mesh insert to be at the highest point – which for me was at the front inseam.
Next, put the pattern down on your table and grab a pen and some rulers. Draw in two parallel lines across the leg, starting at the two marks that you drew on the front inseam of the pattern in the previous step and angling down to the back inseam. You can make the angle as steep or shallow as you like, but I decided to angle mine down so that the top of the mesh at the back inseam would match up with the bottom of the mesh at the front inseam.

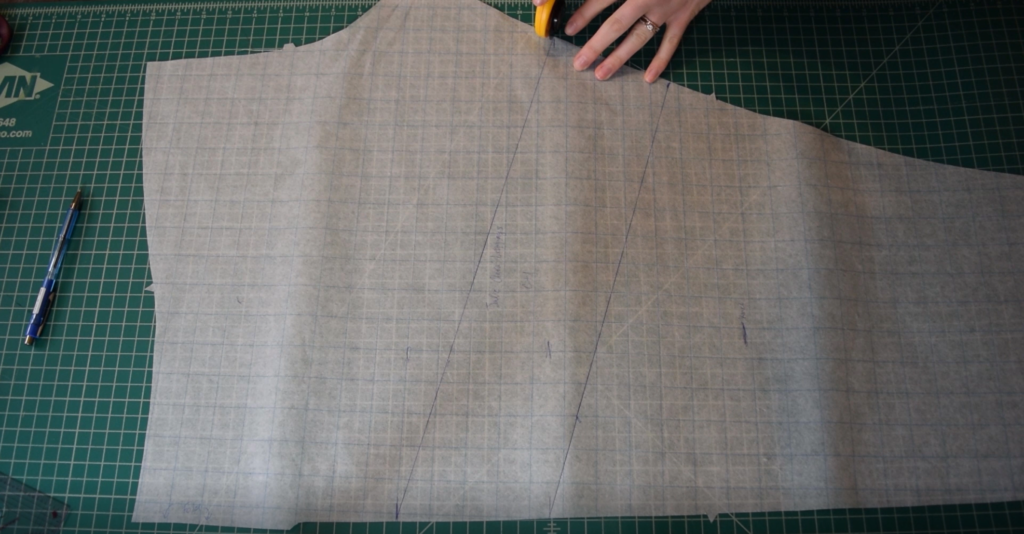
Then, simply cut out this angled piece from the leg pattern.
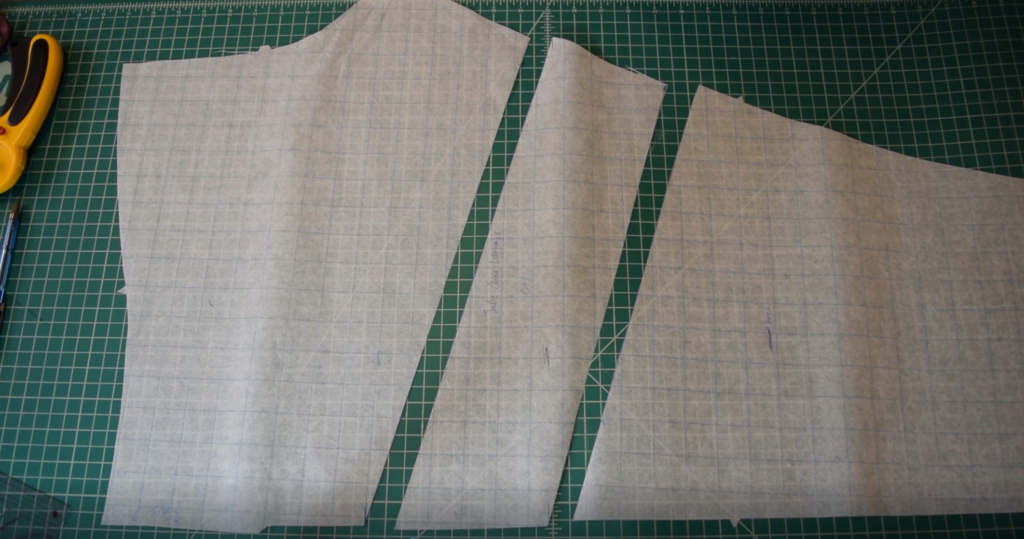
Then add seam allowance to the four freshly cut edges of your new pattern pieces – so the top of the lower leg piece, the two long edges of the mesh insert piece, and the bottom of the upper leg piece. I added 1/4 inch seam allowances to stay consistent with the rest of the pattern and because I’ll be sewing on my serger with a 1/4 inch seam allowance. So you best bet is probably to add the amount of seam allowance included in the rest of your pattern for consistency and less confusion.
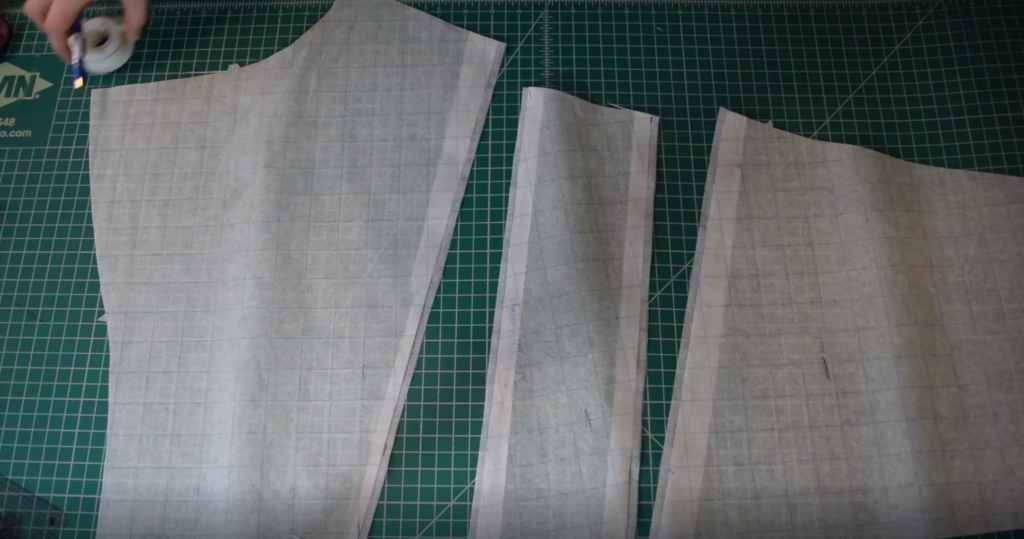
Now we’re ready to cut these pieces out! Cut out two of the mesh insert pieces out of your power mesh, two of the lower leg pieces, and one of the upper leg pieces on the fold – just note, these amounts may differ for your pattern if you have a front and back piece or if you have a center front seam.
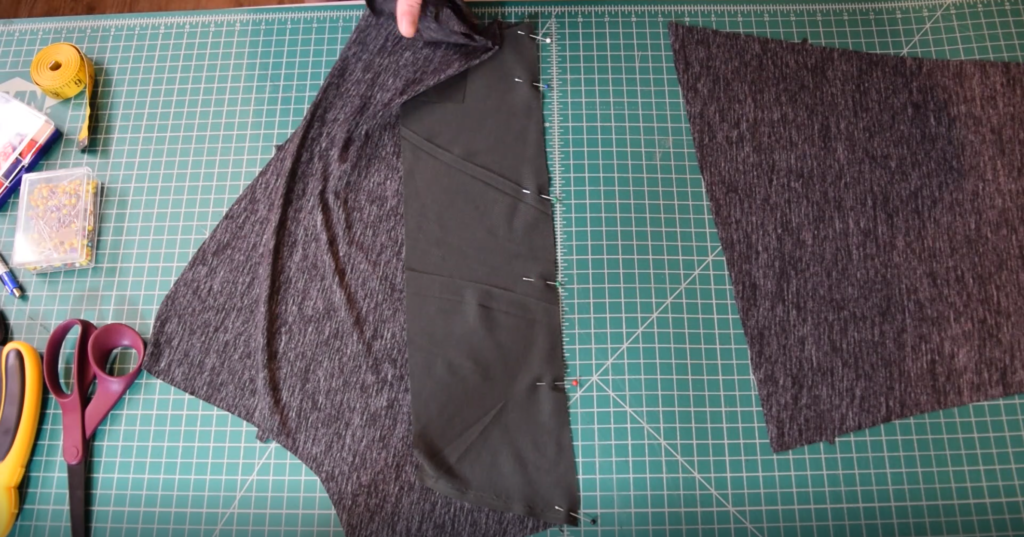
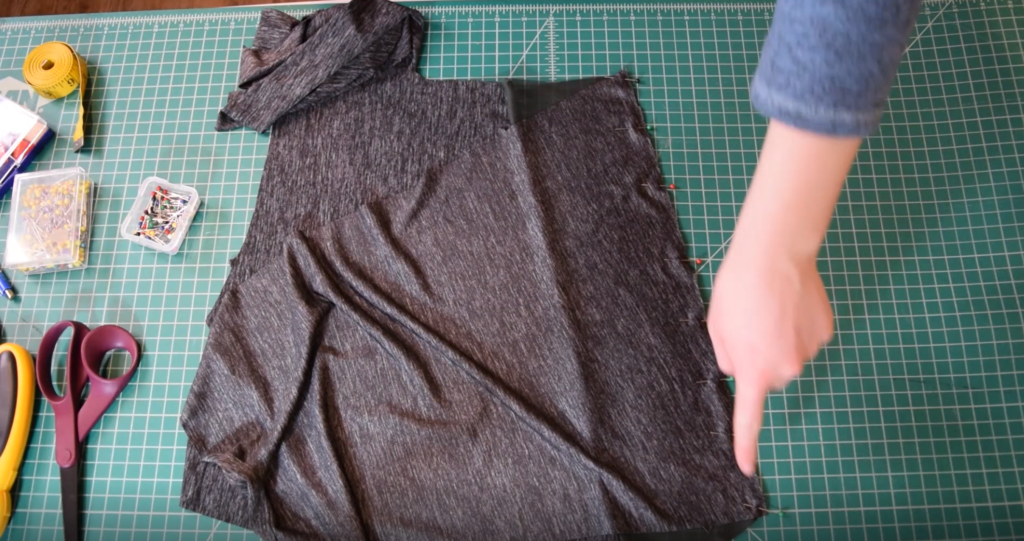
Then I lined up all the pieces of one of the legs with right sides up. This helps me visualize how it will look and make sure that I’m putting the correct pieces together.

Next, sew the top of the mesh insert to the bottom of the upper leg piece with right sides together.
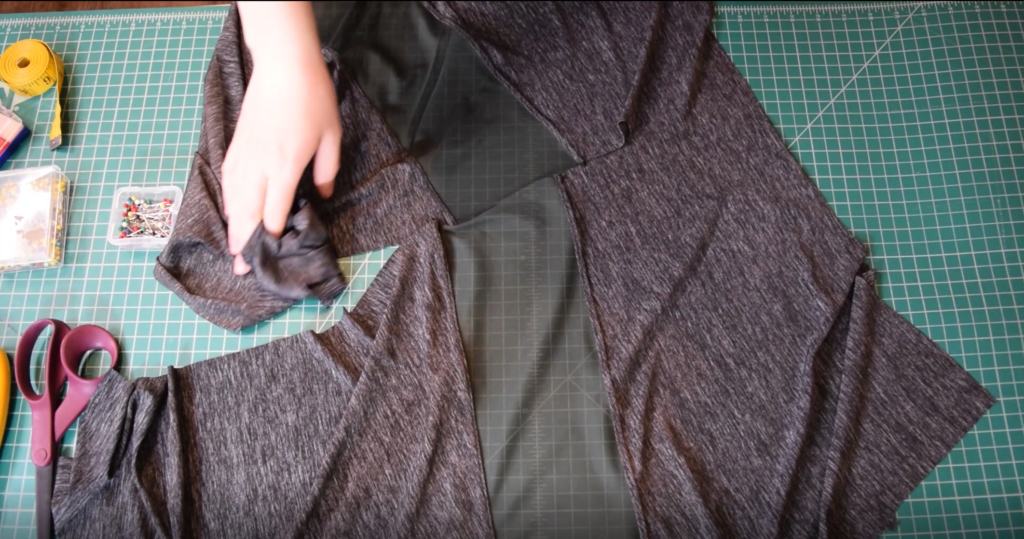
Then sew the bottom of the newly attached mesh insert to the top of the lower leg piece – once again with right sides together.
Then just repeat this process to put together the other leg. And to finish off this process of putting the legs together, I pressed the seam allowances away from the mesh – so press the upper seam allowances up and the lower ones down. Then I sewed right along the mesh with my double needle on my sewing machine. This does a couple great things – it makes a super strong seam that won’t rip any time soon, it also keeps the seam allowances from showing through the mesh by keeping them facing the correct direction, and the double needle stitching just looks really nice! But this is totally an optional step. It just takes the level of quality up a notch, in my opinion.
Now the legs of your pattern are all put together, and you can sew the rest of your leggings as normal, following the instructions in your specific pattern! If you’re making the Jalie Clara leggings like me, I have a sew-a-long for this pattern HERE. 🙂
And once I got them all sewn up, I was pretty happy with the results! I think next time I will make the angle a bit more extreme so it looks more “on purpose”… or I might just make the mesh go straight across… we shall see! But either way, I love these new leggings and have been wearing them almost nonstop lately!
If you enjoyed this DIY tutorial and want more sewing and DIY tips, tricks, and tutorials – I would love to have you join my email newsletter!


Leave A Comment