
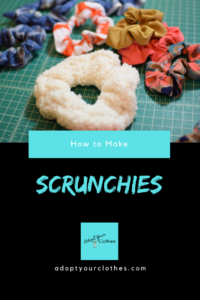
I was in a bit of a weird mood the other day – I didn’t want to start anything big, but wanted to do some sewing…. so naturally, I cut out about 30 scrunchies from my fabric scraps. And let me just say, sewing all those scrunchies assembly line style was not the small project I was originally going for.
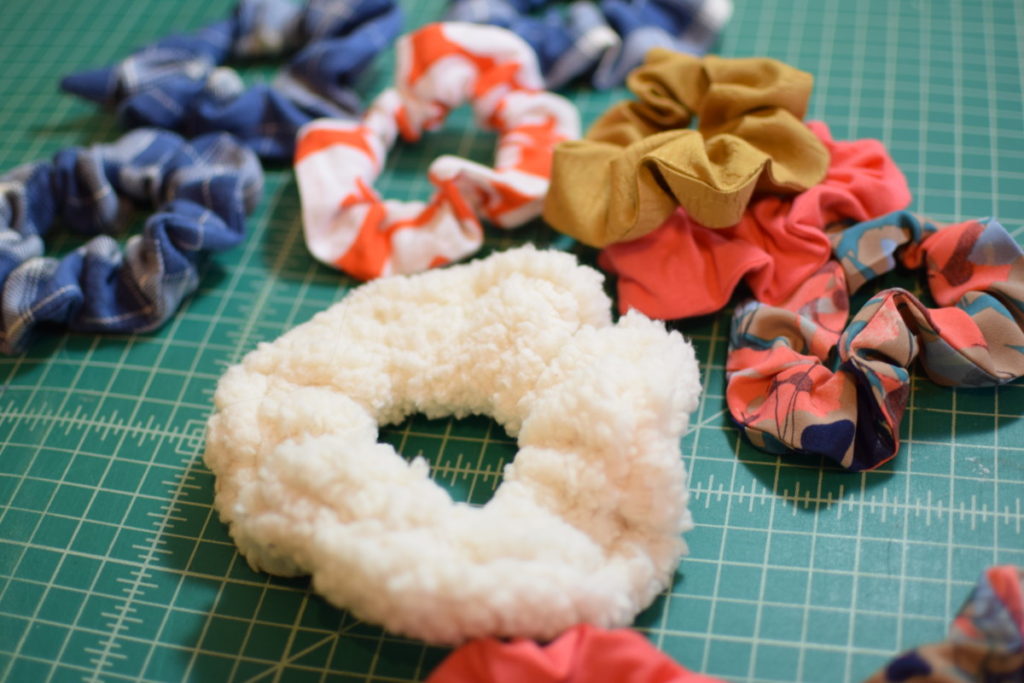
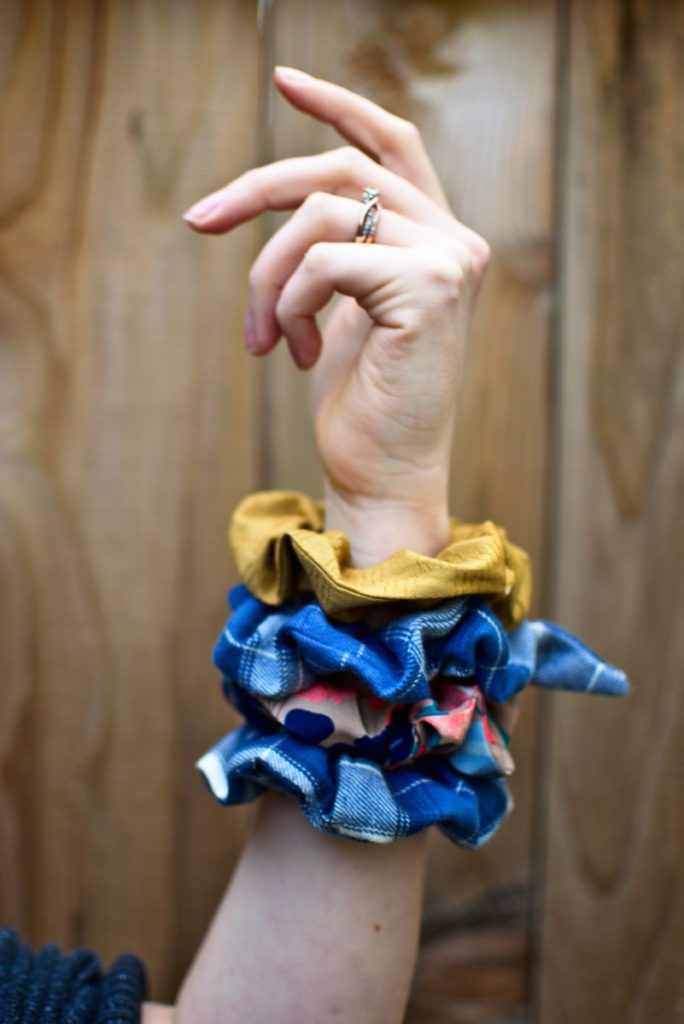
But, they did make great gifts! And if you have an overflowing scrap bin, these are a great scrapbuster. So I thought I would make a tutorial on how I make scrunchies in case you’re also in need of a “small” project of your own.
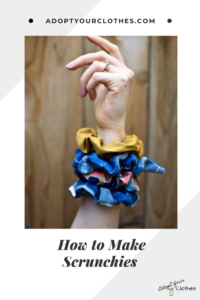
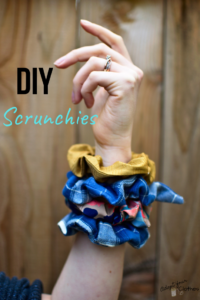
Below I have two tutorials showing you how to make two different types of scrunchies. The video tutorial shows you how to make a scrunchie with a little fabric bow/ears. The written tutorial shows you how to make a regular scrunchie without the bow – although you can easily use the video tutorial for a regular scrunchie as well, just skip the bow.
Ok, here we go. Let’s make some scrunchies!
What you need
*This list contains affiliate links for your DIYing convenience, so I receive a small commission if you buy something through my links. This really helps to support my site so I can keep creating DIY tutorials to help you create your dream wardrobe.
- a 20″ by 4″ rectangle of fabric
- a 9″ by 2.5″ rectangle of fabric (for the bow – skip if you don’t want a bow)
- 8.5″ long piece of narrow (1/4″) elastic
- sewing machine and thread
- iron and ironing board
- hand sewing needle and thread
- scissors
Steps
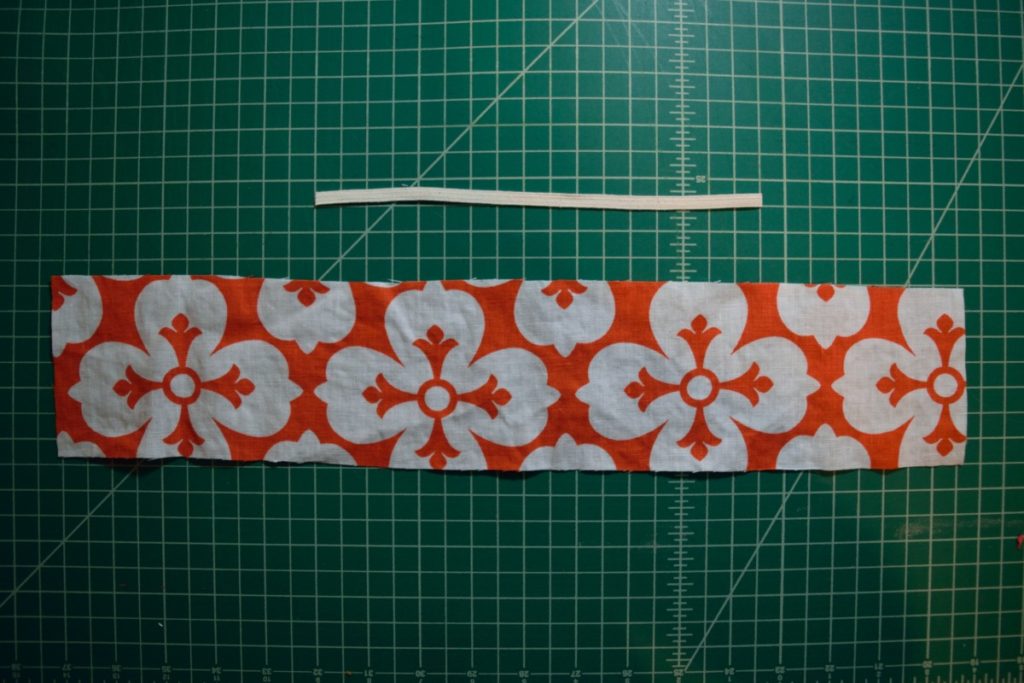
- Cut out fabric rectangles (20″ x 4″ and 9″ x 2.5″)
- Cut 8.5″ long piece of elastic
- Sew the body of the scrunchie
- Insert elastic and close up the hole in the seam
- Sew the fabric bow
- Tie the bow onto the scrunchie
Video (scrunchie tutorial with fabric bow)
Instructions
This tutorial is for a regular scrunchie without the bow. So you’ll just need your large 20″ by 4″ rectangle of fabric and 8.5″ piece of elastic.
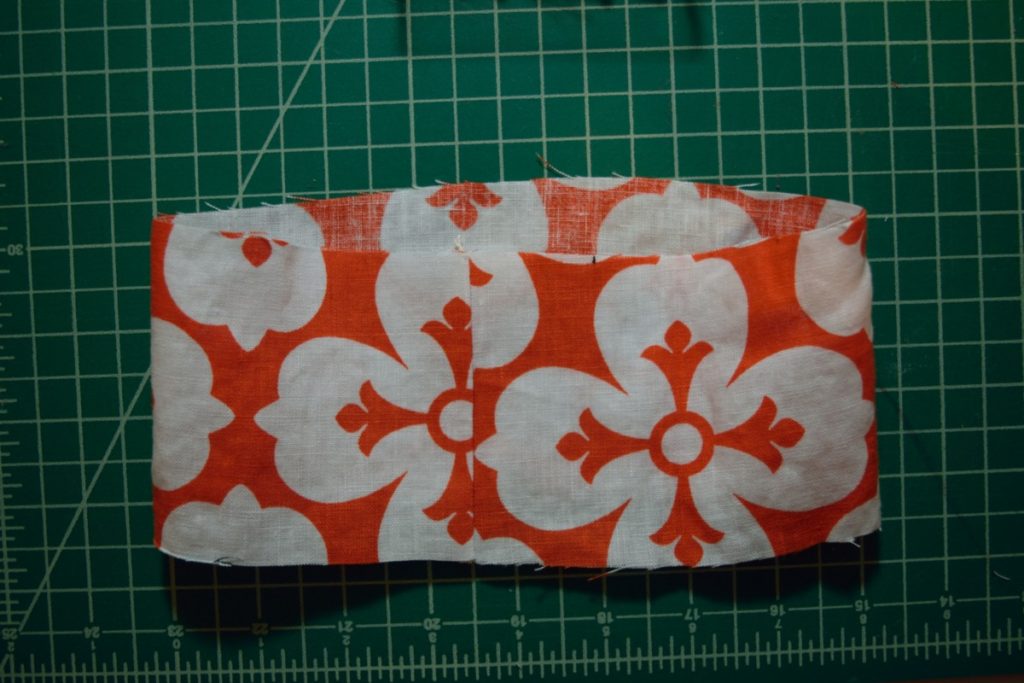
First, sew the short ends of the rectangle together with right sides touching. I sewed this with my serger, but you can do it on your sewing machine as well.
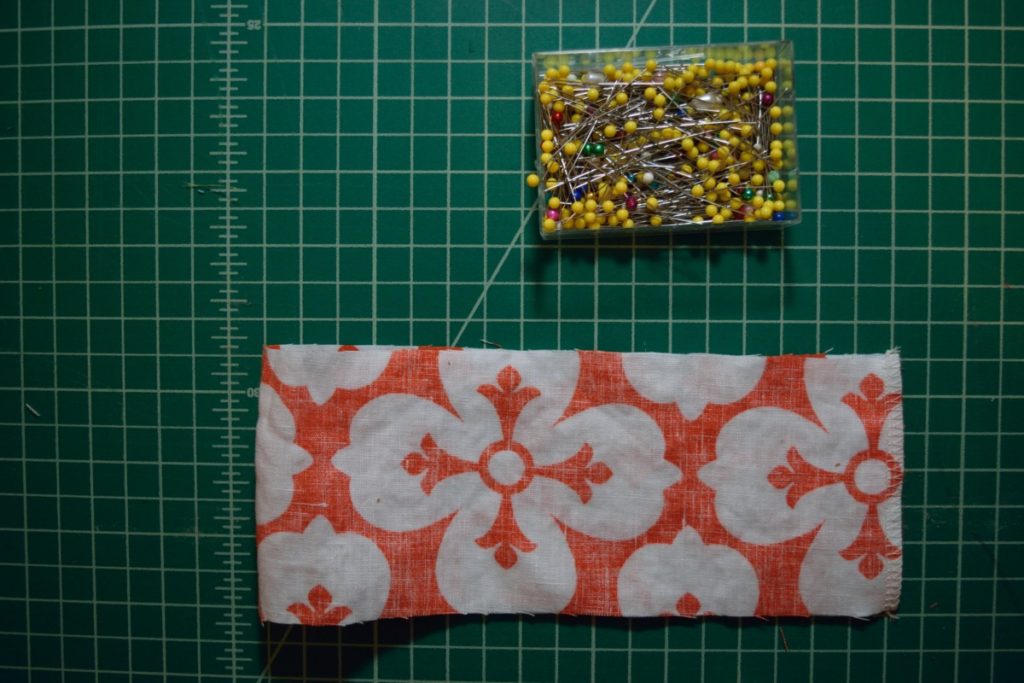
Next, iron the serging to one side so it’s lying flat.
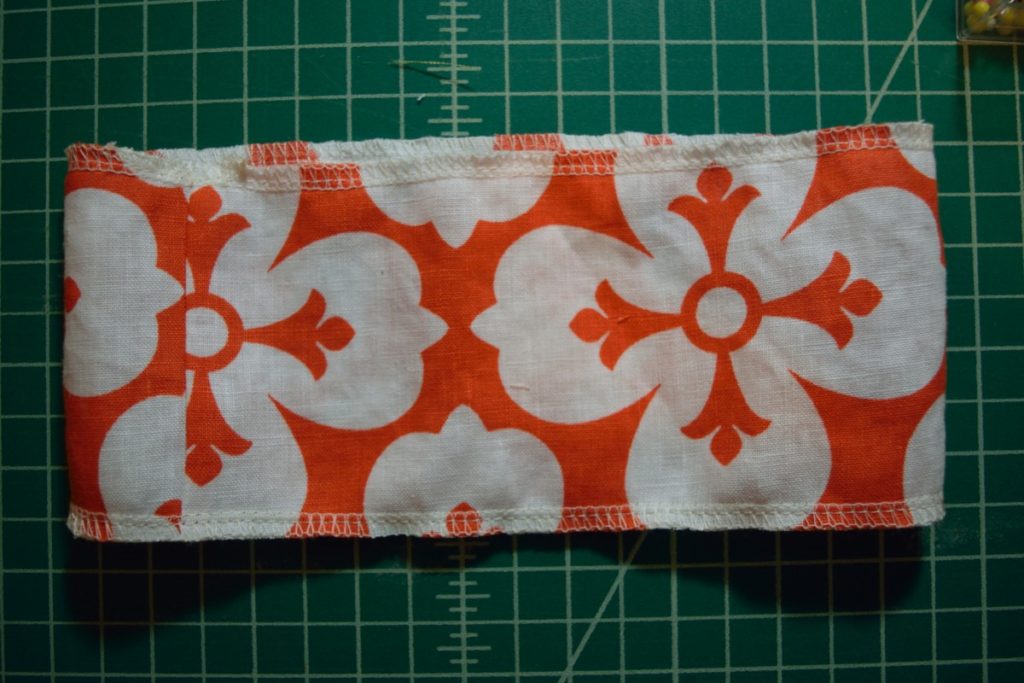
At this point, I serged around the outside raw edges of the scrunchie because this linen LOVES to fray. But to be honest, I don’t usually do this with my scrunchies – only if the fabric tends to fray a ton.
Next is the part that’s a bit hard to explain, but I’ll try my best. And if you’re confused, the video above might help for this part!
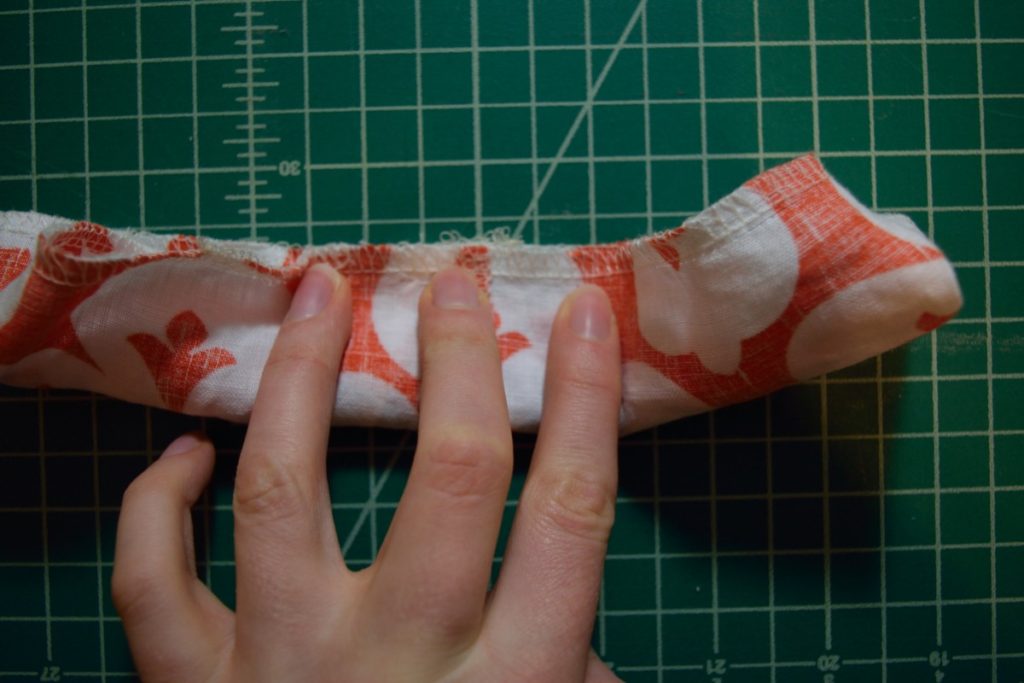
First flip the loop so it is inside out with the serging on the bottom. Fold the top layer of fabric into the center of the bottom layer.
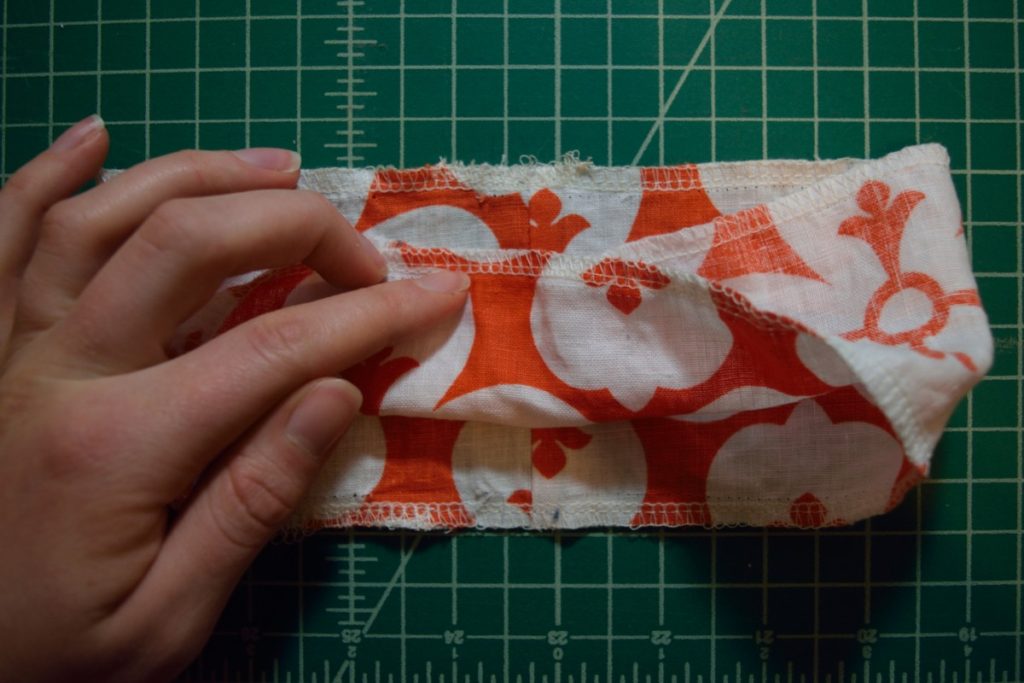
Then fold the bottom layer AROUND the top layer (which is folded on the inside) and line up the seam with right sides together.
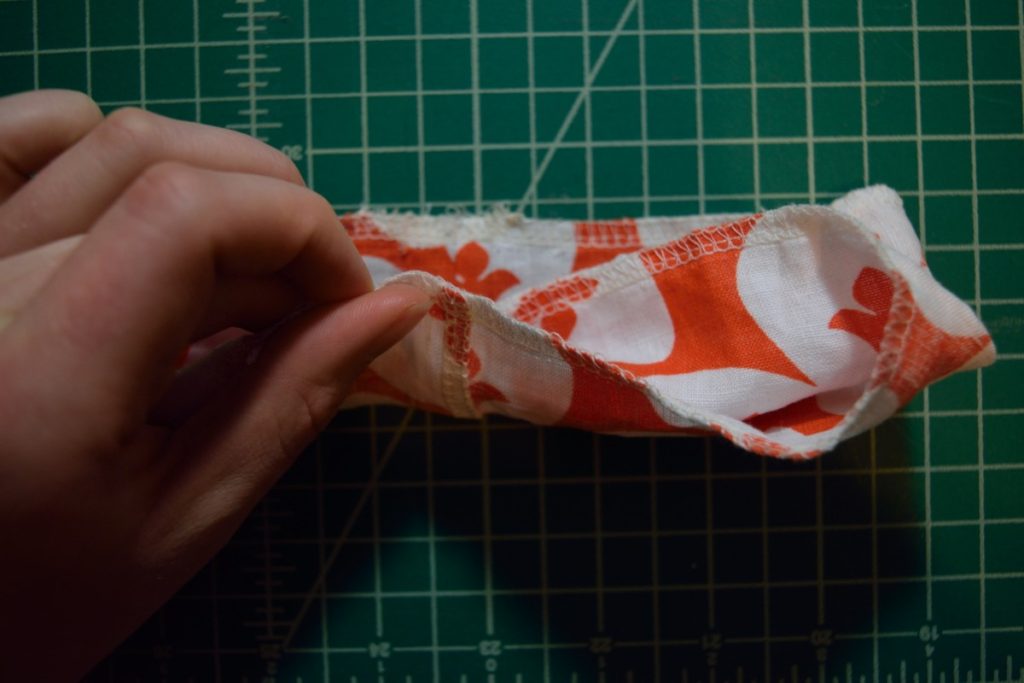
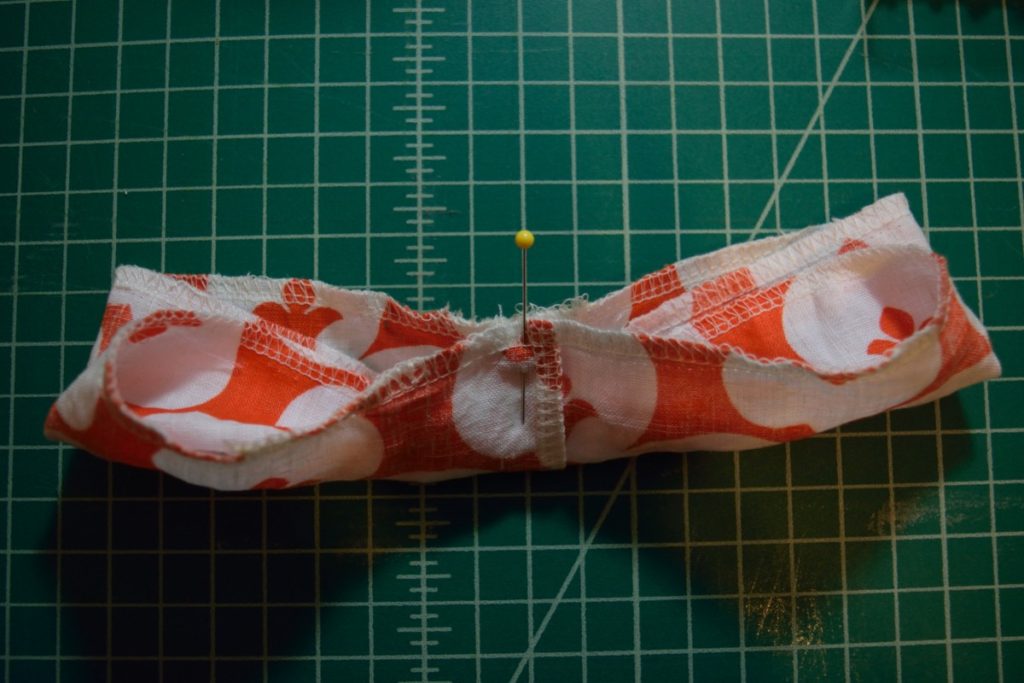
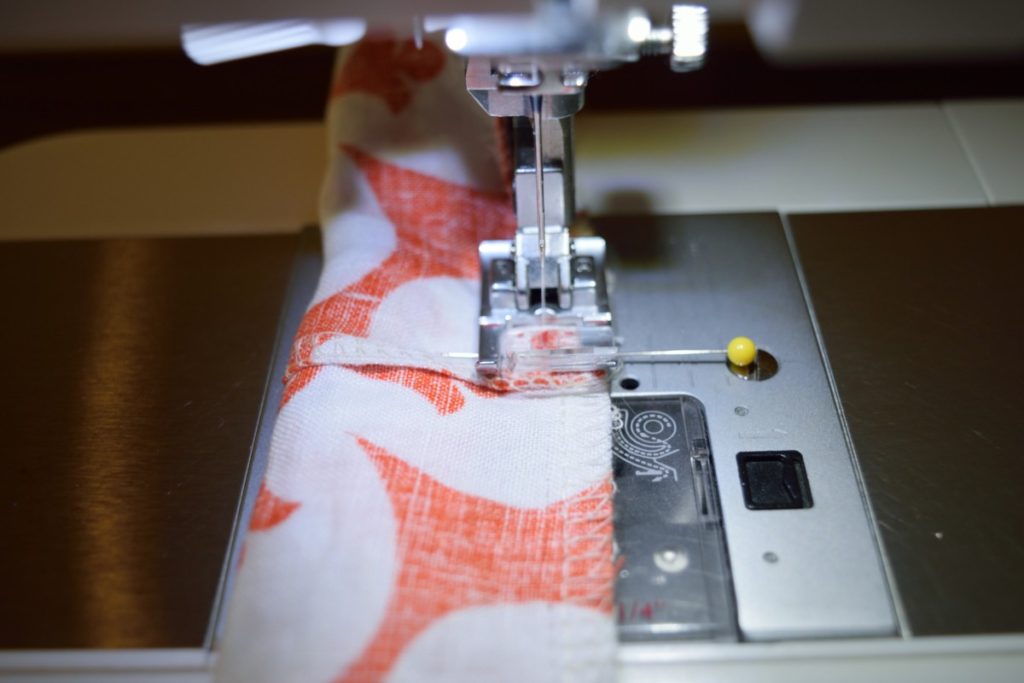
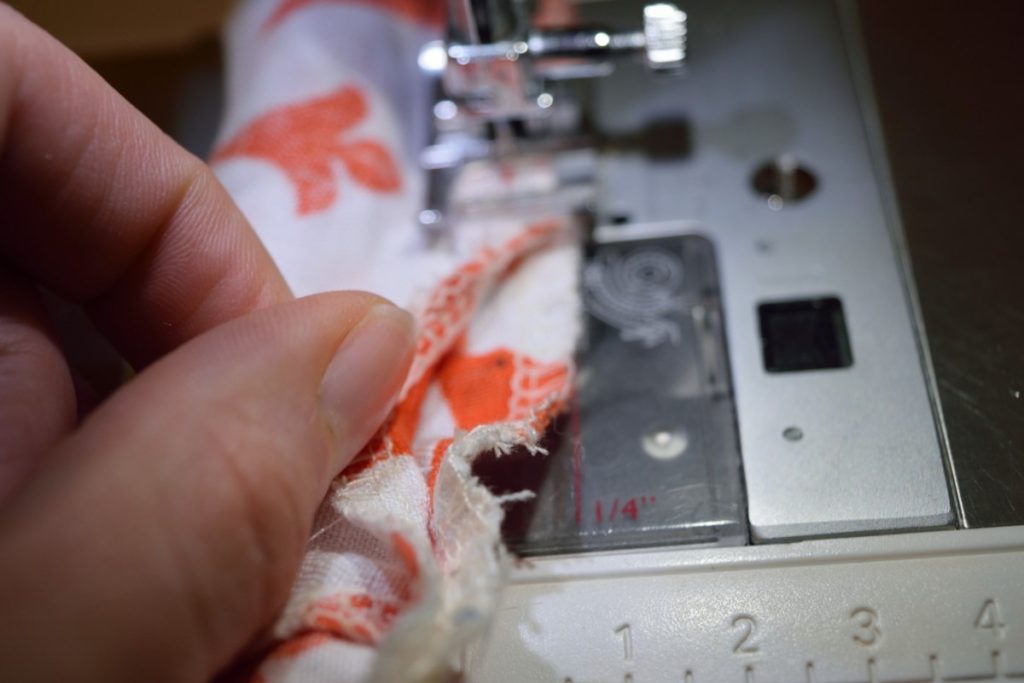
Now we can take the scrunchie to the sewing machine. Start sewing about 1/4 inch from the raw edge, making sure you’re NOT catching the fabric that you folded into the inside.
When you near the end of the fabric, reach into the inside of the folded fabric and pull the fabric that you had tucked into the inside out further in front of your sewing machine foot.
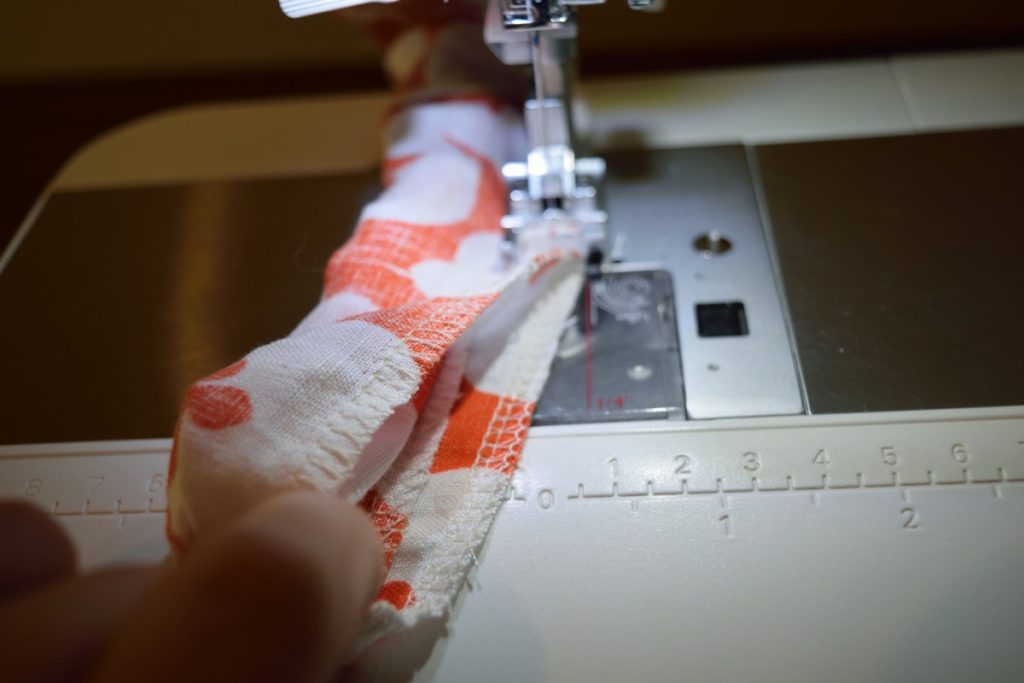
And continue sewing 1/4 inch from the edge, making sure you’re only catching the outside layers. Continue this process of sewing, pulling the fabric out further in front of the sewing machine foot, and sewing, until you get close to the stitching where you started. Sew until about 1 inch from where you started, leaving a gap – this will be used to turn the scrunchie right sides out.
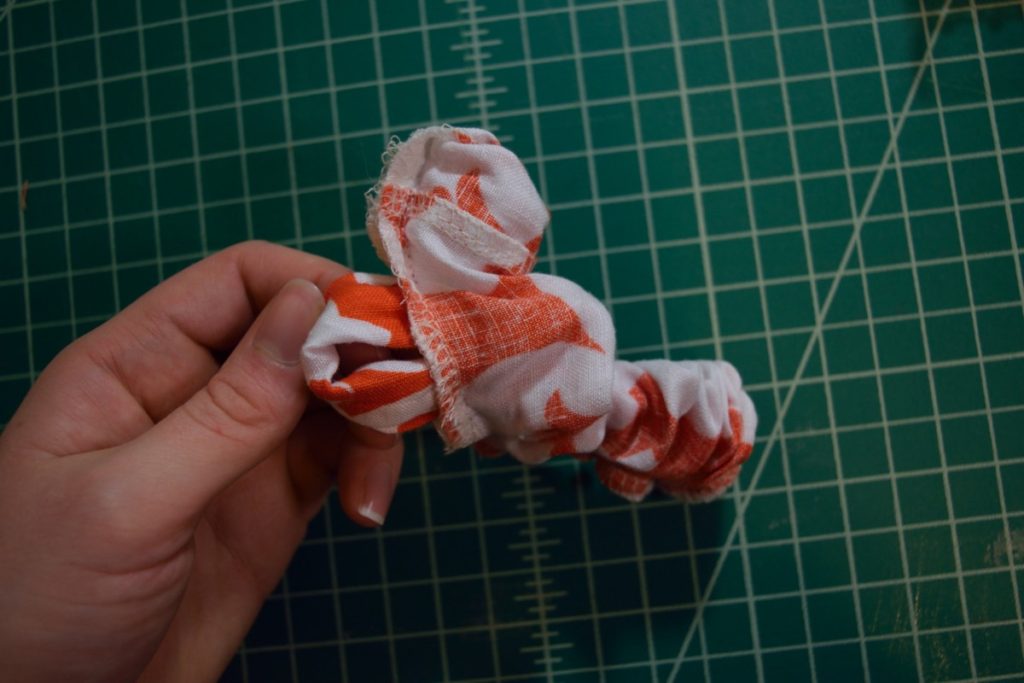
Next, turn the scrunchie right sides out by reaching in through the gap you left and pulling the fabric out through the hole.

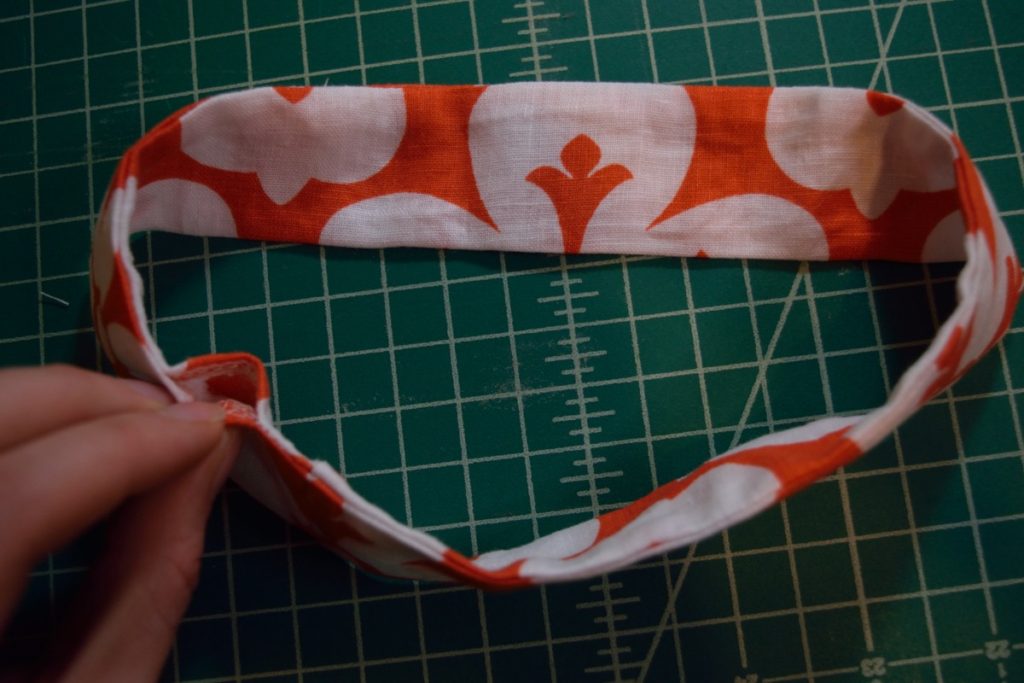
Then iron the scrunchie flat with the seam at the top and trim away any stray threads.
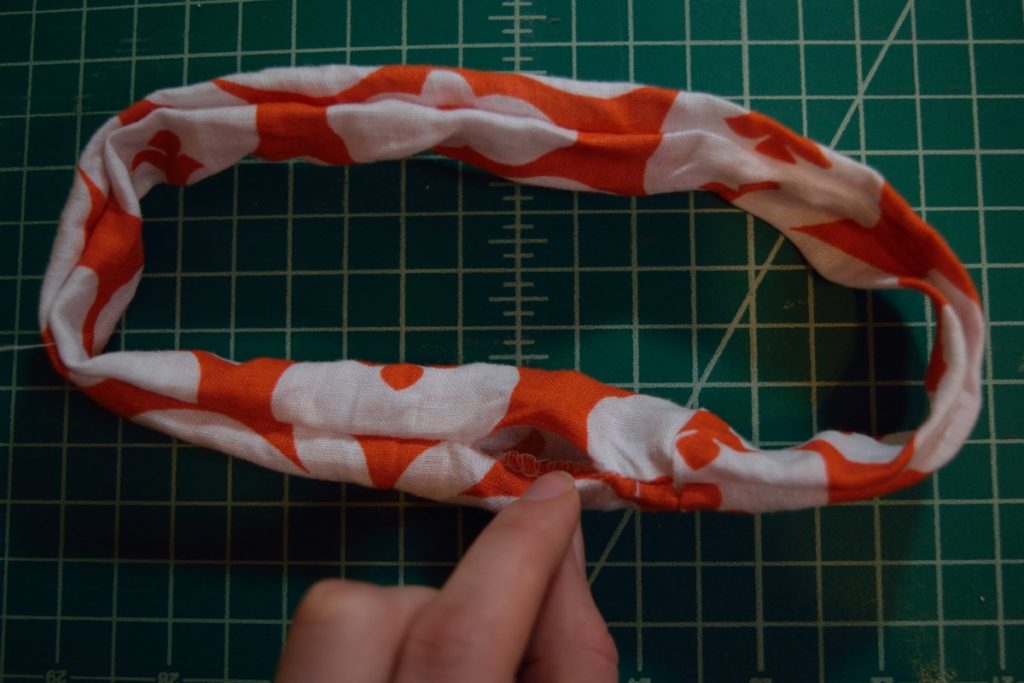
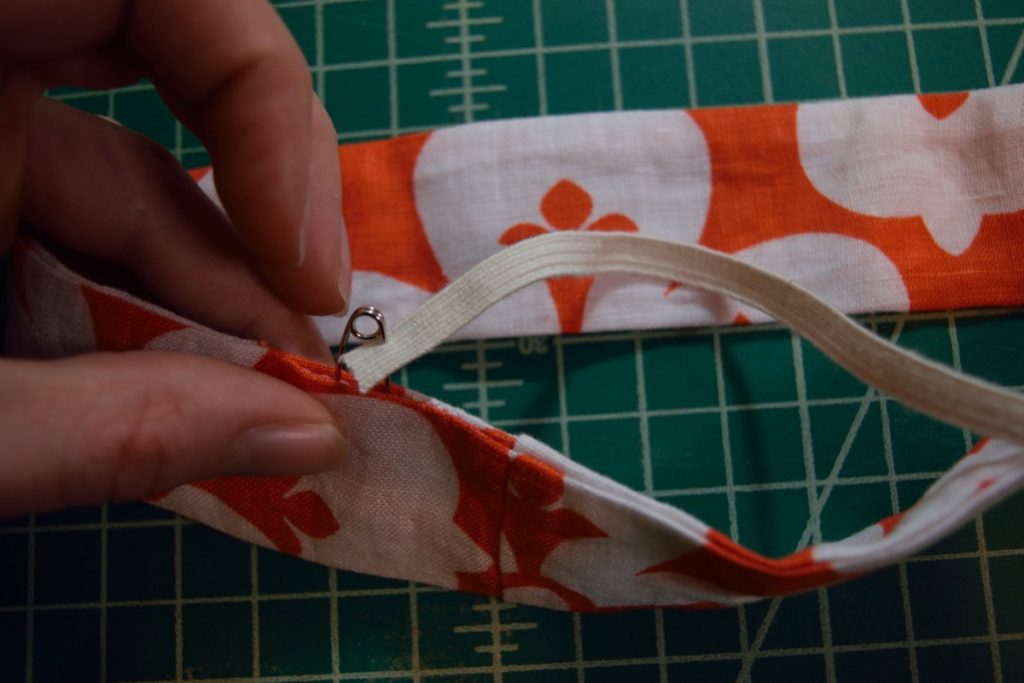
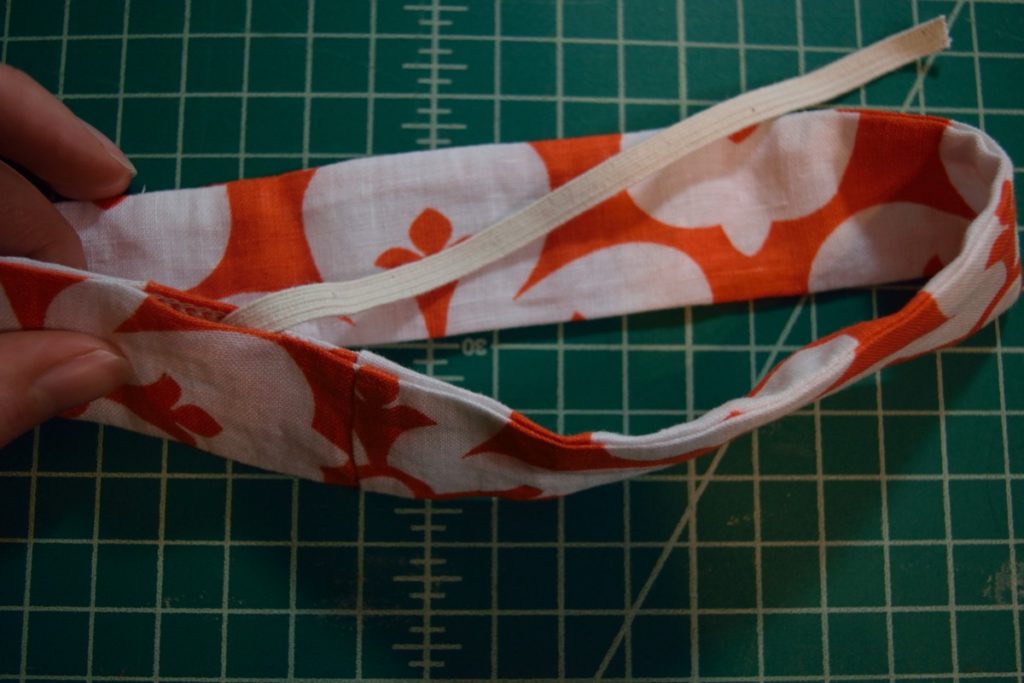
Next, use a safety pin to pull an 8.5″ long piece of narrow elastic through the scrunchie until both ends of the elastic are sticking out the gap in the seam.
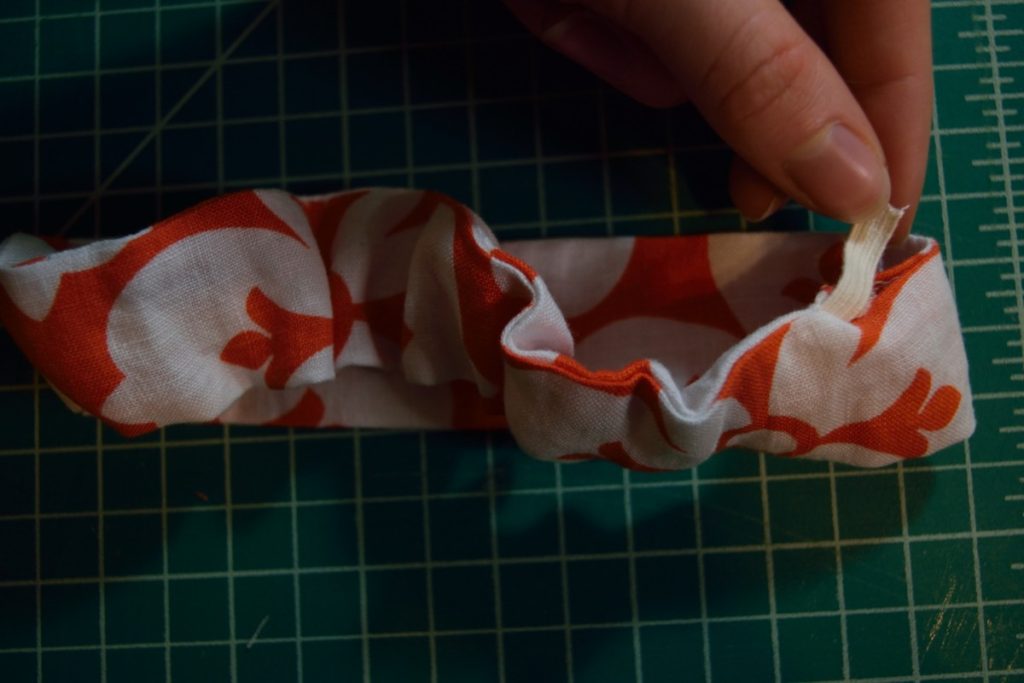
Now you can overlap the ends of the elastic and sew over them a few times with a zigzag stitch.
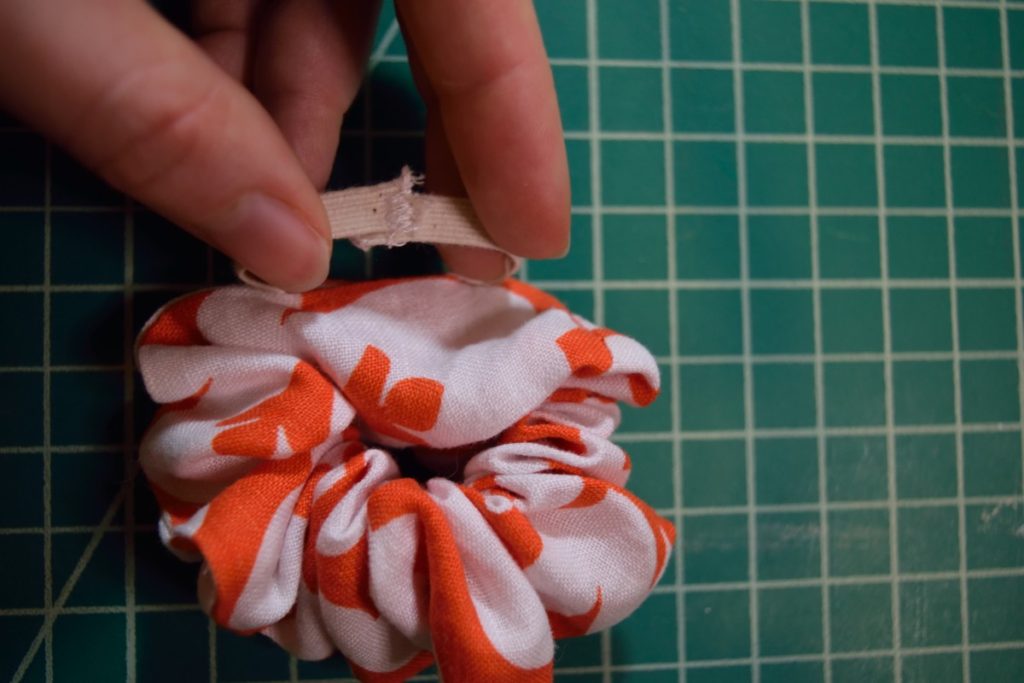
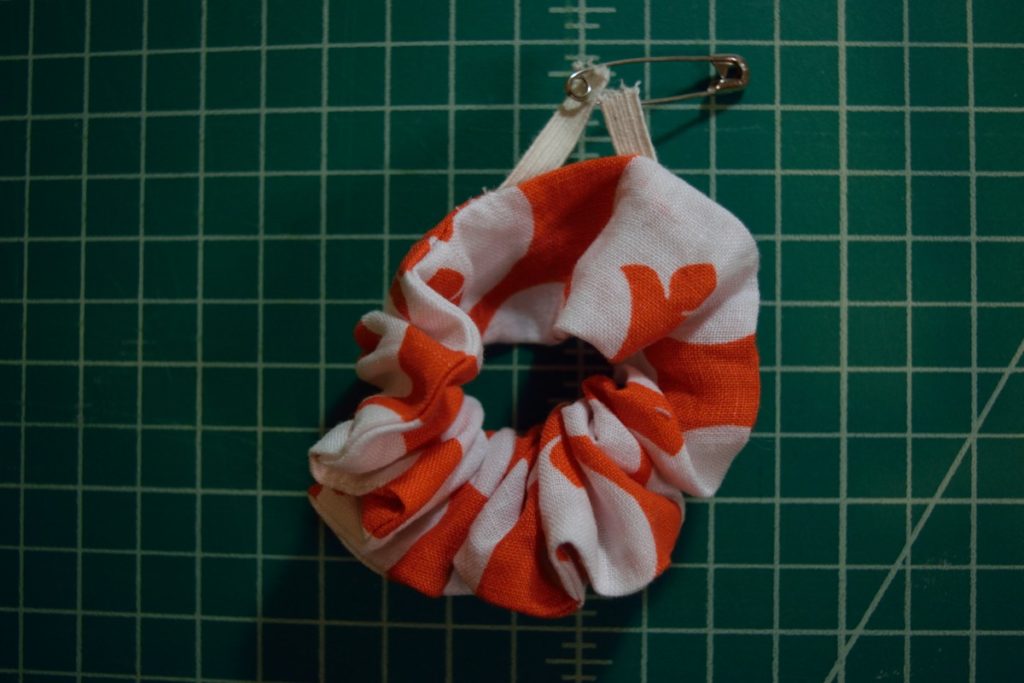
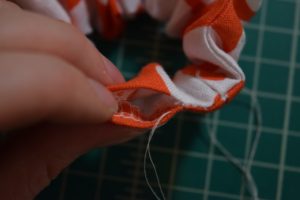
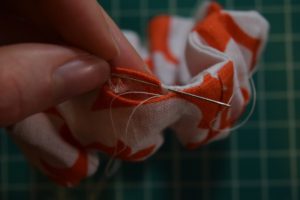
And finally! Pull on the scrunchie until the elastic is hidden inside, then close up the hole in the seam by hand sewing.

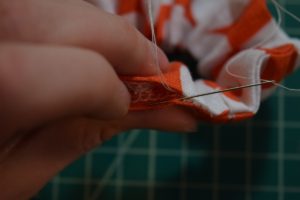
And you’re done!

If you enjoyed this tutorial, I would love for you to subscribe to my email newsletter so you never miss a sewing and DIY tutorial.


We stumbled over here different web page and thought I
might as well check things out. I like what I see so now i’m
following you. Look forward to going over your web page for a second time.