
Today is the final installment in my seam finishes miniseries! Last week we talked about Hong Kong seams (check out that post HERE) and this week we’re moving on to bias bound seams.
Bias bound seams are basically just an easier and quicker version of the Hong Kong seam. You can see the stitching on the outside of the seam allowance, so it’s not quite as nice and clean as a Hong Kong seam, but it is certainly still a beautiful finish!
I have a video tutorial for you below, but if you prefer a written tutorial just scroll on past the video to find that.
Steps
- Sew your seam right sides together with your entire seam allowance (as normal)
- Press seam allowances open
- Grab double fold bias tape (mine is store-bought from JoAnn’s: Wrights Extra Wide Double Fold Bias Tape – Blackberry
*affiliate link*)
- Encase the raw edges of one side of your seam allowance in bias tape and pin in place
- Sew a line of stitching about 1/4 inch from the folded edge of the bias tape (make sure you are catching the lower edge of the bias tape as well)
- Repeat on the other side

Video Tutorial
Here’s a video tutorial that will take you through the process of sewing your first bias bound seam:
Written Instructions
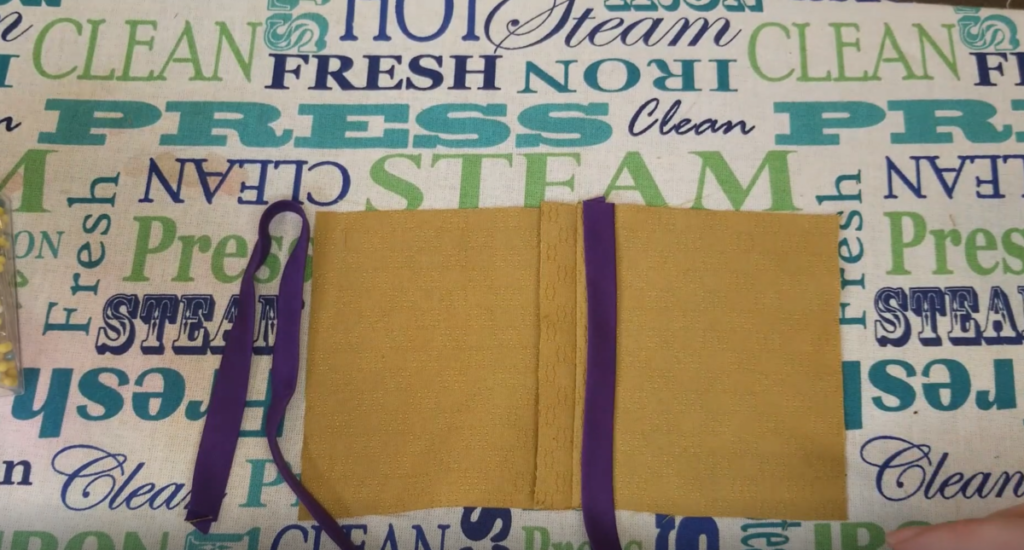
The first step in sewing a bias bound seam is to sew your seam like normal, with right sides together and using your entire indicated seam allowance.
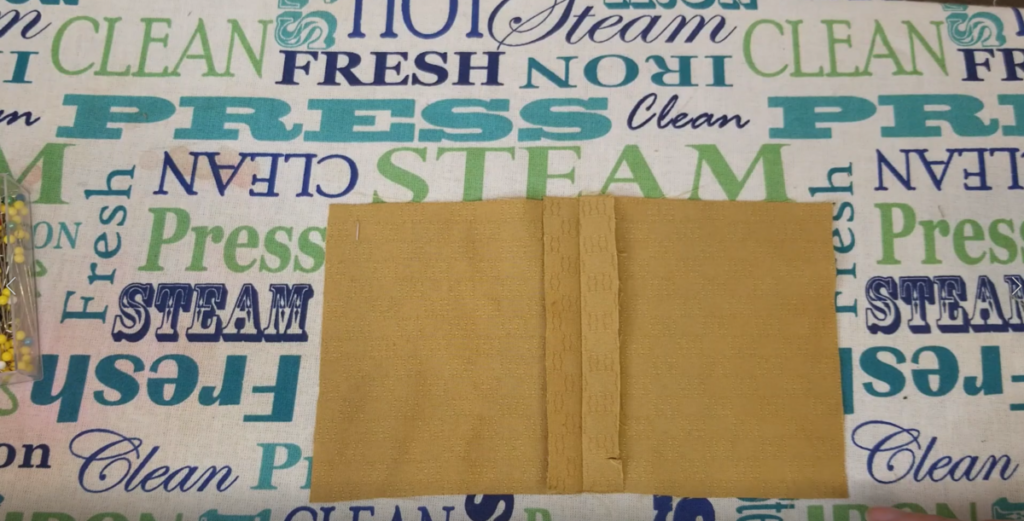
Next, press your seam allowances open.
Then grab your bias tape. This is what it looks like on the inside.
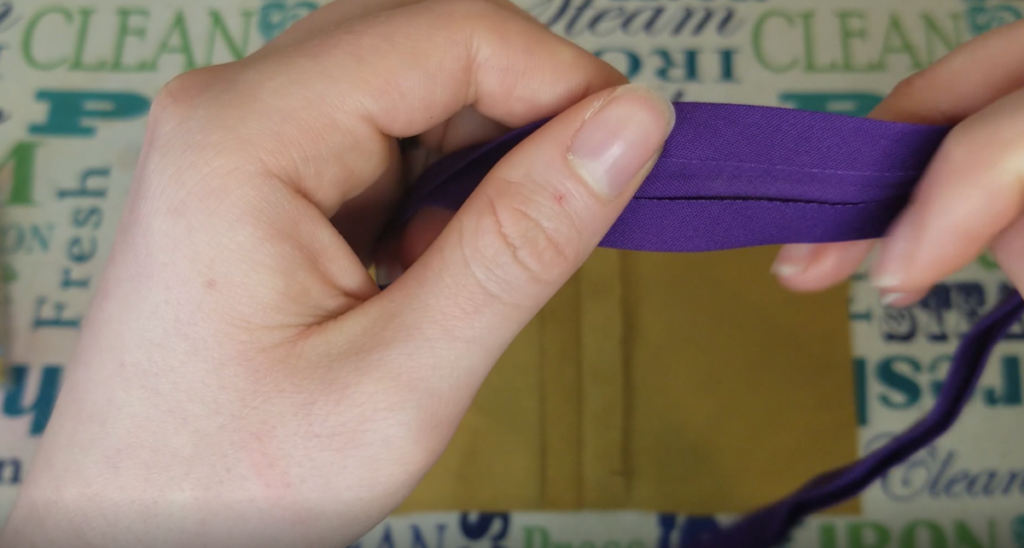
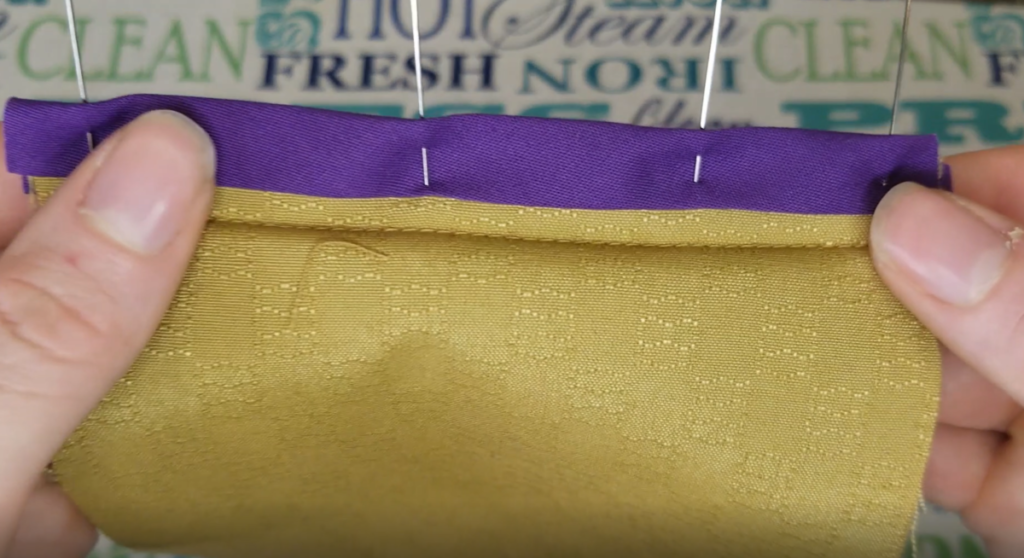
And wrap the bias tape around the raw edge of one one side of the seam allowance, encasing the raw edge inside.
Then pin the bias tape in place and trim it so it’s even with the edge of your fabric. This is what it looks like on the underside of the seam allowance:
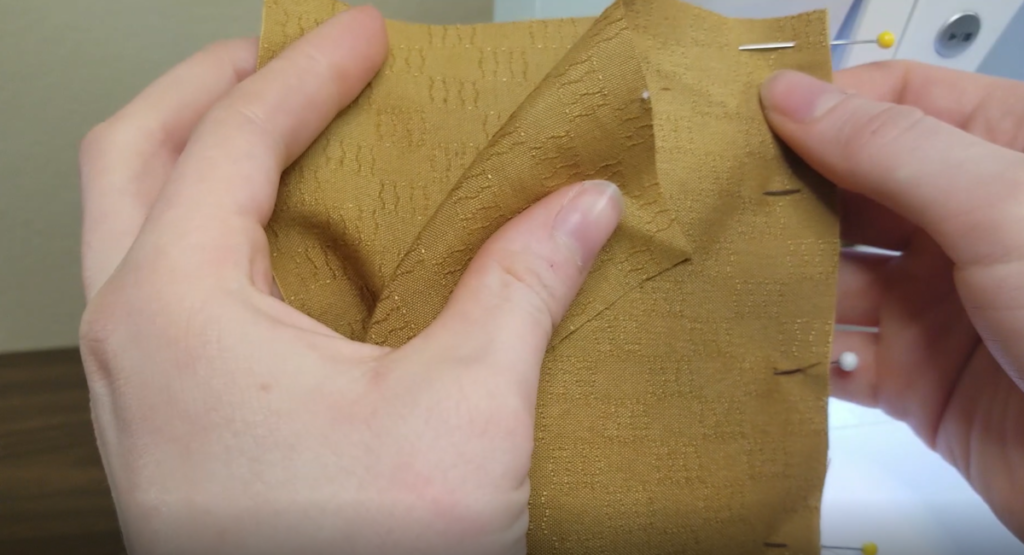
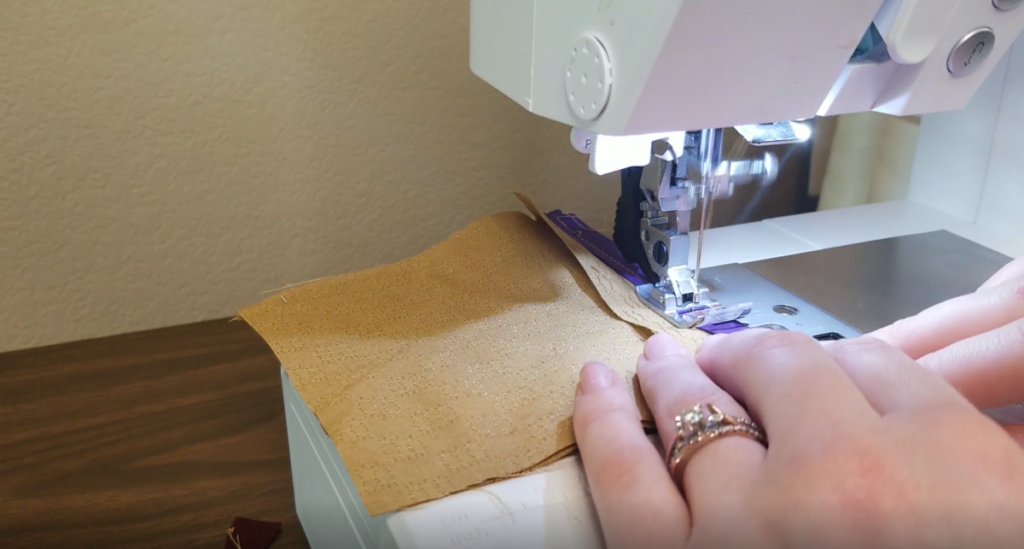
Next, take this to the sewing machine and pull the main fabric out of the way – so you’re only sewing through the bias tape and seam allowance. Then sew a line of stitching about 1/4 inch from the inside edge of the bias tape. Just be careful to make sure you’re catching both the upper and lower edges of the bias tape in your stitching!
Here’s what it looks like after you sew the first side of the seam allowance:
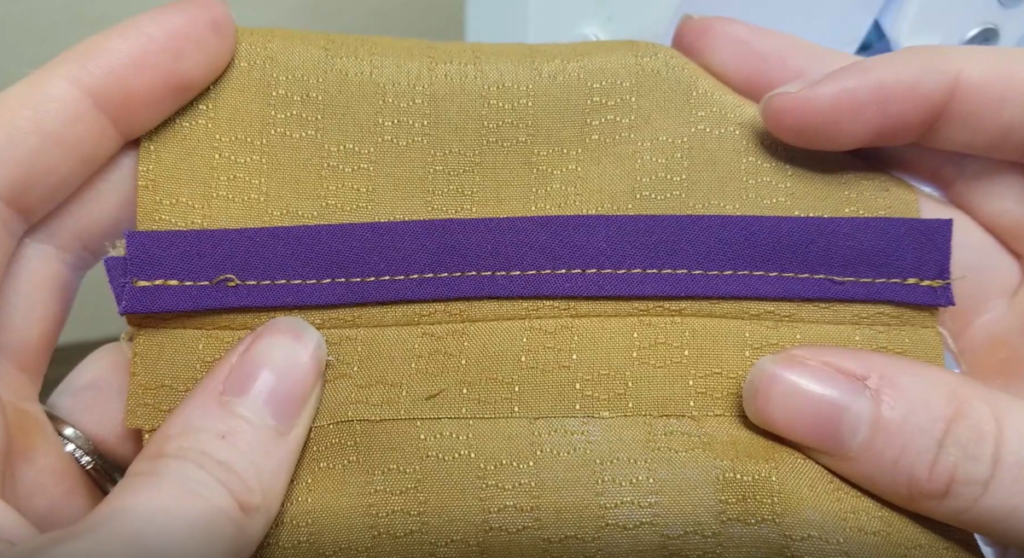
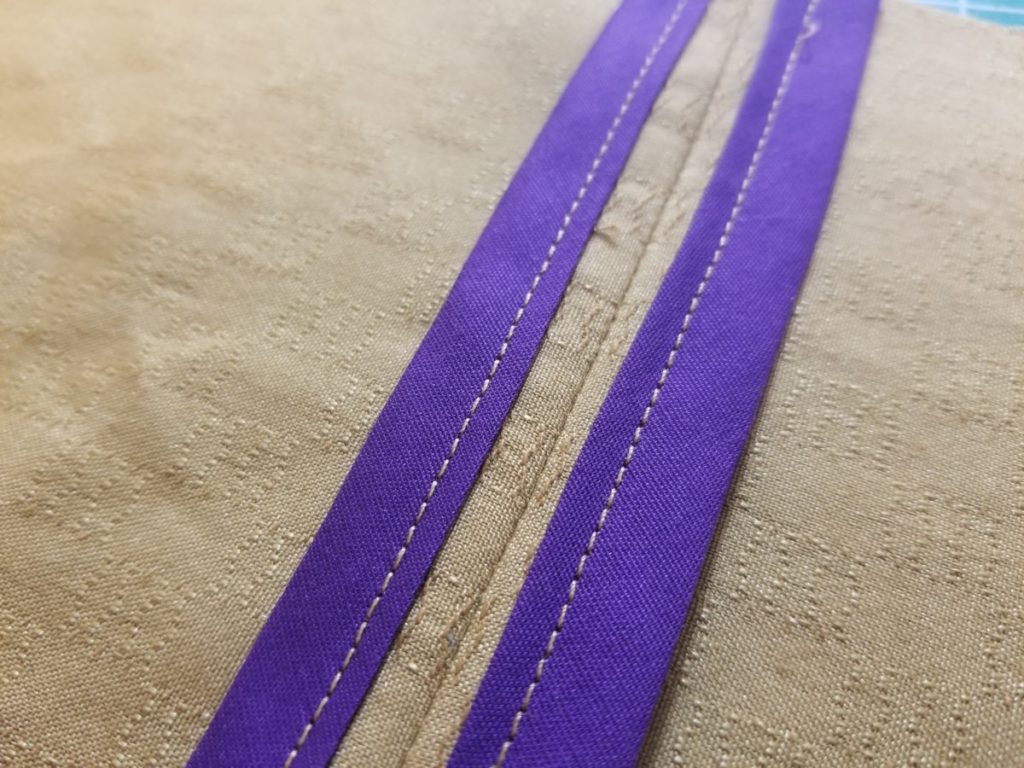
Then just repeat the entire process to encase the other side of the seam allowance! Here’s what it will look like:
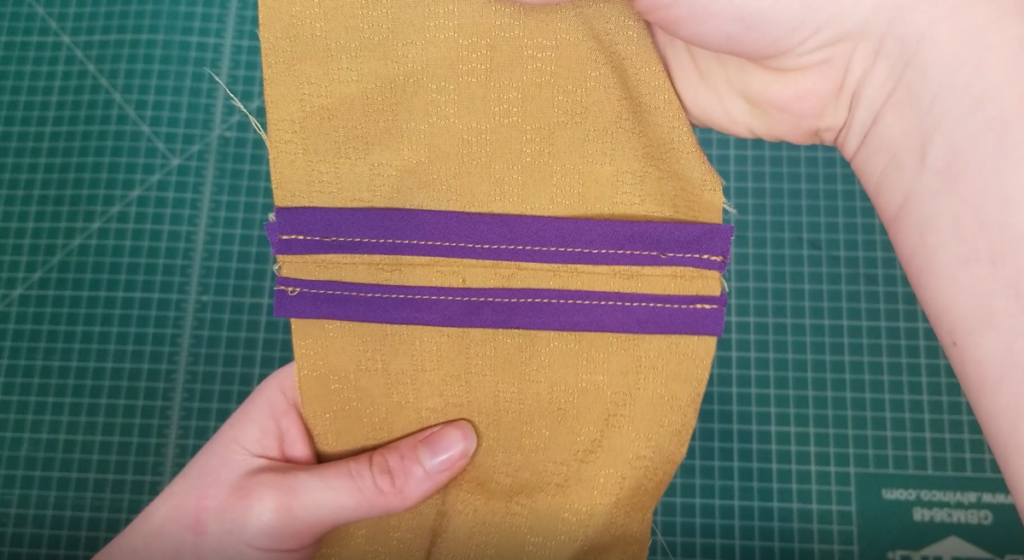
Now you can tackle your first bias bound seam! And one more tip: make sure that you’re encasing your seams as you go with your project. Don’t wait until the end to try to encase all your seam allowances! If you finish each seam as you sew it, things will be much easier!
I hope you enjoyed this tutorial and feel confident enough to try out some bias bound seams! If you want more sewing and DIY tips, tricks, and tutorials, I would love to have you subscribe to my email newsletter! And I’ll send you a free circle purse sewing pattern as a thank you for signing up!


Leave A Comment