
Today we’re moving on to the next part of our seam finishes miniseries. Last week we talked about flat felled seams (check that out HERE). This week we’re going into sewing a Hong Kong seam!
Hong Kong seams are probably the most complicated and time consuming seam finish you can do. But if you’re making something a little extra special it can be totally worth it because the finish you get is just gorgeous.

In this finish, the raw edges of the seam allowances are encased in a bias strip. If you use a contrasting fabric, the effect can be really pretty. Silk is a great option for the bias strips if you want to make your own because this will just take the quality of your handmades to the next level, but you can also use store-bought bias tape.
I would recommend this finish for any project that you want to put in some extra care and quality into. But my favorite garment to use this finish on is unlined jackets. This is a great way to make the inside of a jacket beautiful even if you decide to skip the lining.
I’ve got a video tutorial for you below, or if you prefer a written tutorial just scroll on past the video!
Steps
- Sew your seam with right sides together, like normal
- Press your seam allowances open
- Sew a bias strip to one side of your seam allowance, right sides together
- Press the bias strip away from the seam allowance, then fold it under and around the seam allowance
- Stitch in the ditch to hold the bias strip in place (encasing the seam allowance raw edges)
- Repeat with the other side of the seam allowance
Video
Here is the video tutorial that will walk you through sewing a Hong Kong seam.
Written Instructions
The first step to a Hong Kong seam is to sew your seam with right sides together, just like you would normally sew it.
Next, grab your iron and press the seam allowances open.
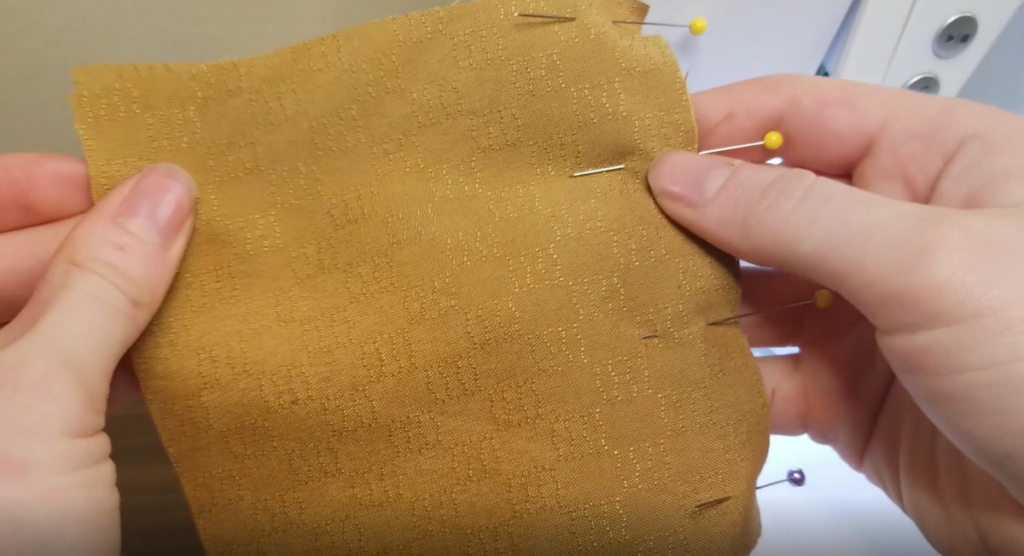
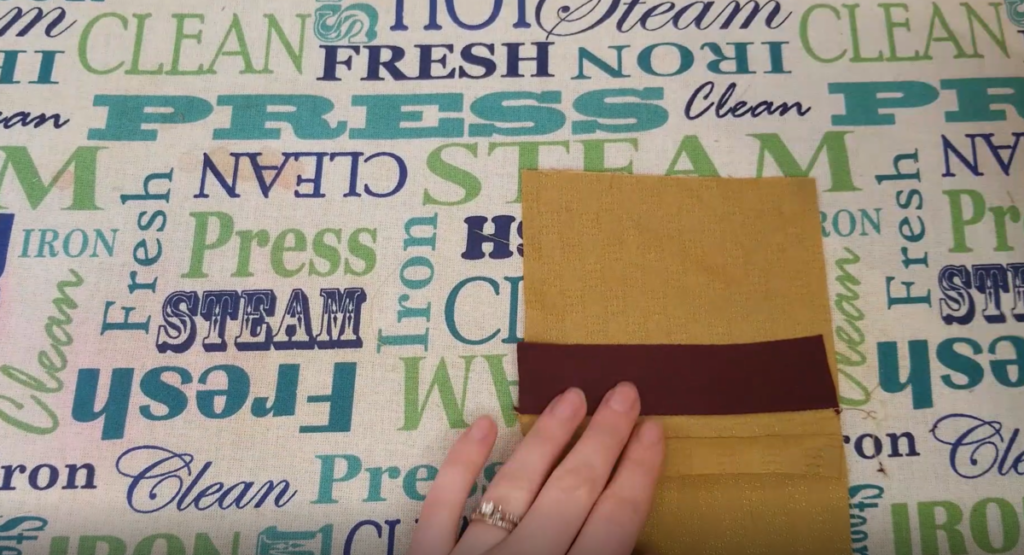
Then grab your bias strip (mine was about 1 1/4 inch wide), and pin it to one side of your seam allowance with right sides together. Just make sure that you’re only pinning through the seam allowance and the bias strip, not your main fabric.
Sew the bias strip to the seam allowance with about a 1/4 inch seam. Just make sure to push the main fabric out of the way so you’re only sewing through the seam allowance.
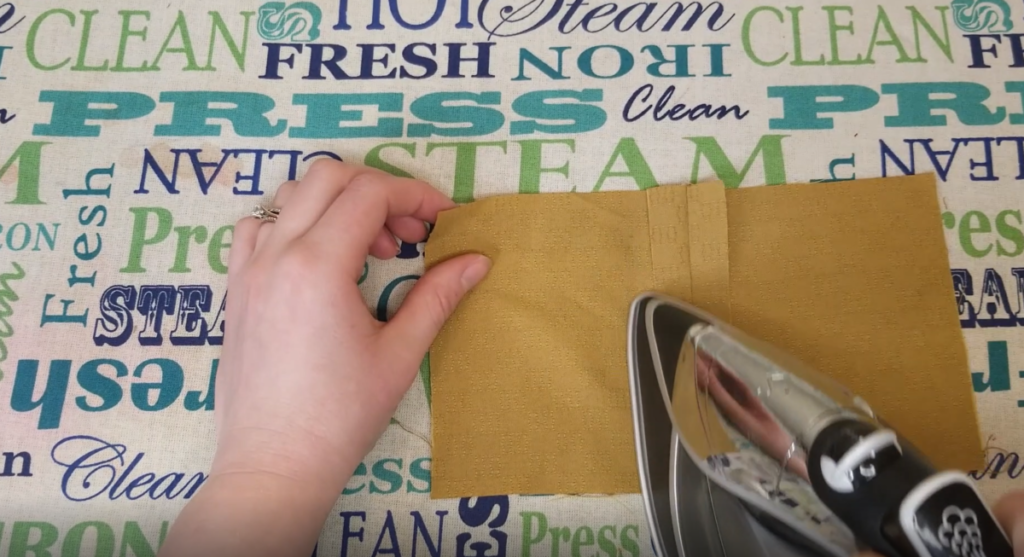
Next, use your iron to press the bias strip away from the seam allowance and press the seam allowance of the bias strip (where it is sewn to the main fabric seam allowance) out towards the bias strip.
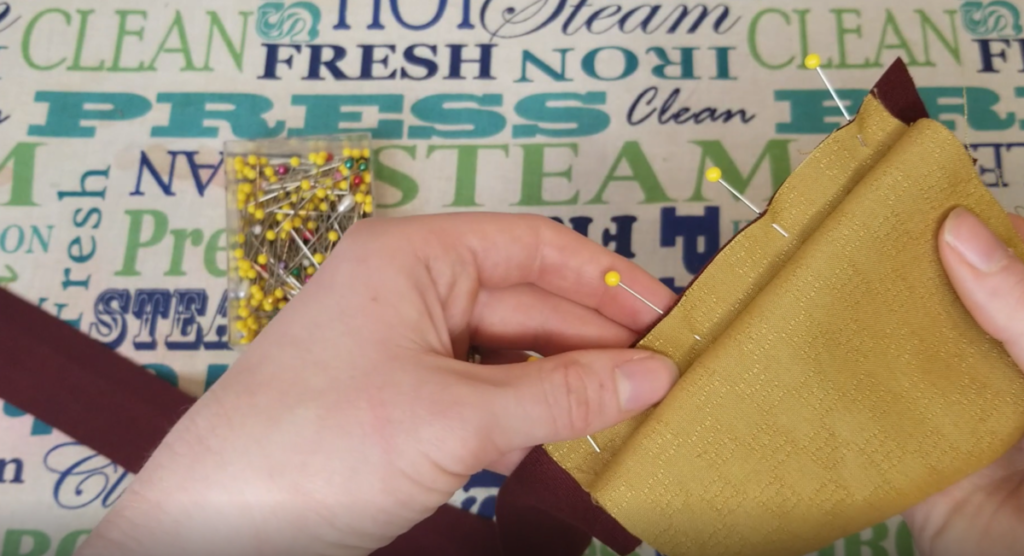
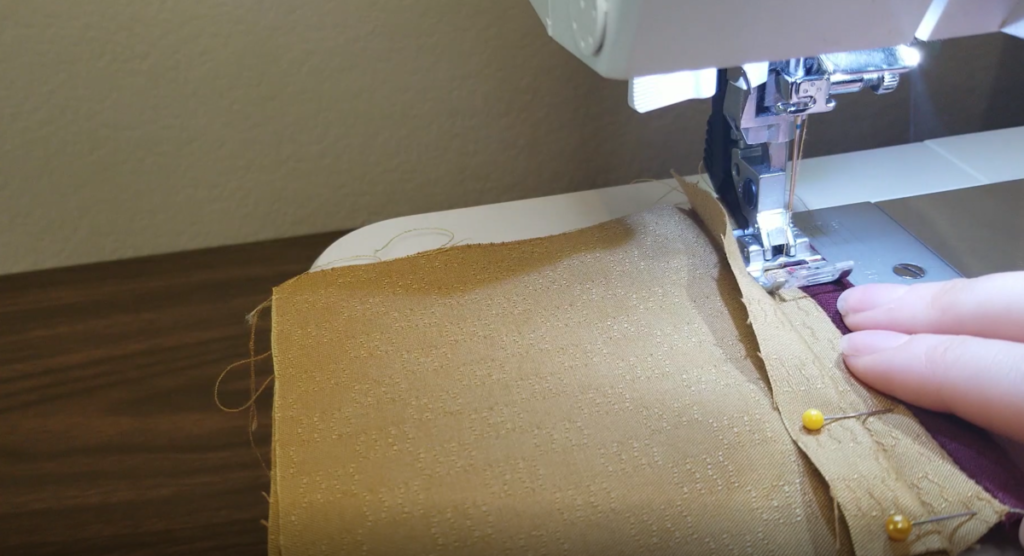
Then fold under the outer raw edge of the bias strip so that it is just beyond the stitching attaching the bias to the main fabric. Pin this in place, once again making sure you are only catching the bias strip and the seam allowance, not the outer fabric.

Next, take this to your sewing machine and “stitch in the ditch” – basically, sew within the seam right between the bias strip and the main fabric seam allowance. Make sure that the outer fabric is out of the way and that you’re catching the lower edge of the bias strip in your stitching. Stitching in the ditch will hide your stitches so that everything looks super clean and pretty.
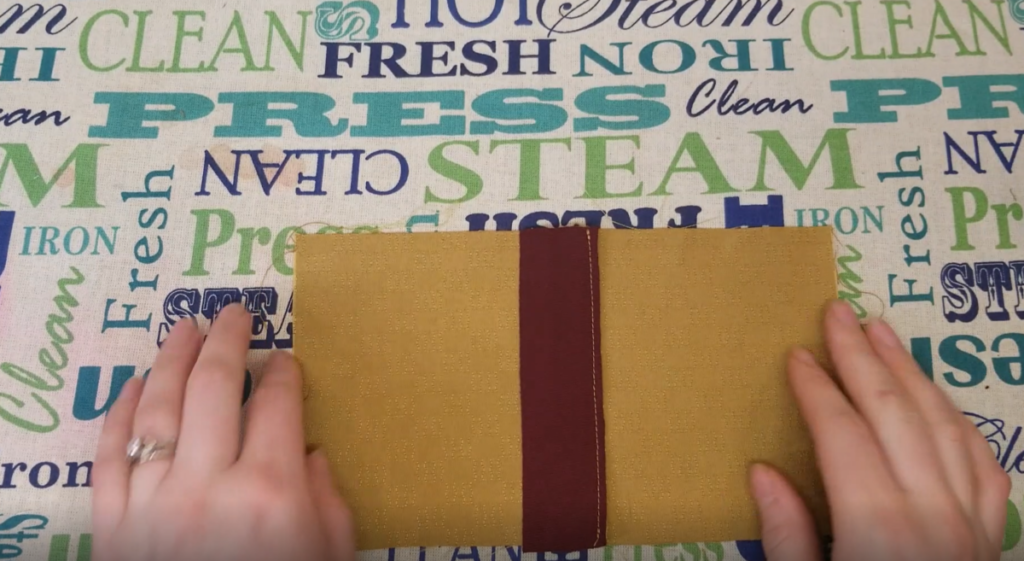
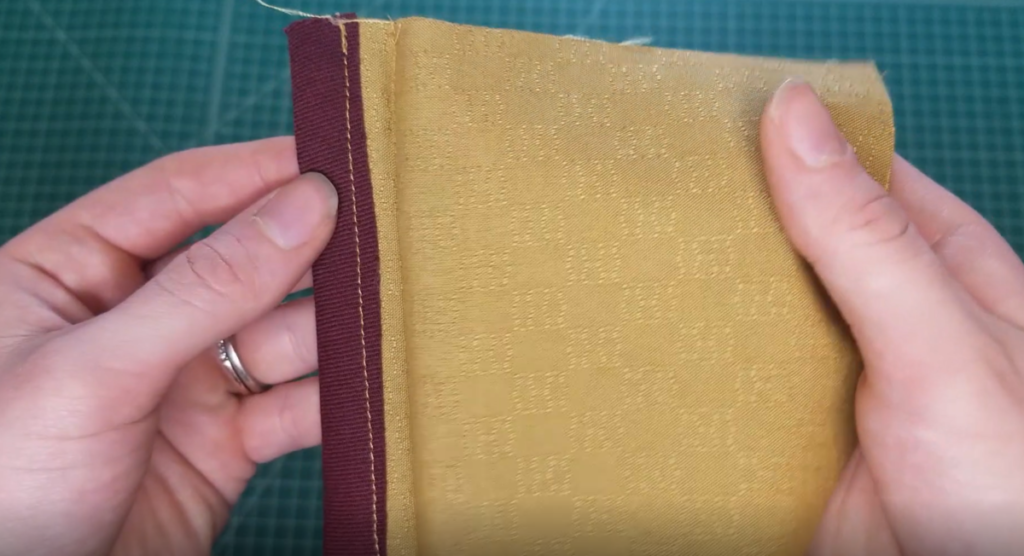
Once you’ve stitched in the ditch to attach the binding and encase the raw edges, just repeat that process on the other side of the seam allowance. Once you’re done it’ll look like this:

I hope you enjoyed this tutorial and will give Hong Kong seams a try in the near future! If you want more sewing tips, tutorials, and patterns, I would love for you to subscribe to my email newsletter.


Leave A Comment