
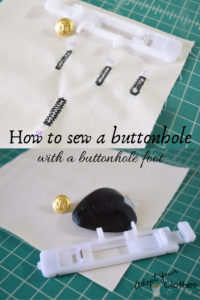
Today I’m going to show you how to sew a buttonhole with your sewing machine using a one-step buttonhole foot. Depending on what machine you have, the foot that came with it may look a bit different than mine, but the steps should be the same as long as it’s a one-step buttonhole foot.
Some machines come with a four-step buttonhole foot instead, you can look in your sewing machine manual to determine which type you have. In general, I think if you have a digital machine it comes with a one-step foot and if you have a mechanical machine it comes with a four-step foot. HERE is a great tutorial on sewing a four-step button hole if that’s the kind you have!
Alright, let’s get into it!
*This list contains affiliate links for the products I used in this tutorial, so if you purchase through one of my links I get a small commission. This really helps to support my site so I can continue to create sewing and DIY tutorials for you!
What you need:
- fabric/project you want to sew a buttonhole into
- button that you’ll be using on your project
- sewing machine
- one-step buttonhole foot (comes with your machine)
- machine needle and thread
- fabric chalk or marker
- seam ripper
- sewing pins
Instructions:
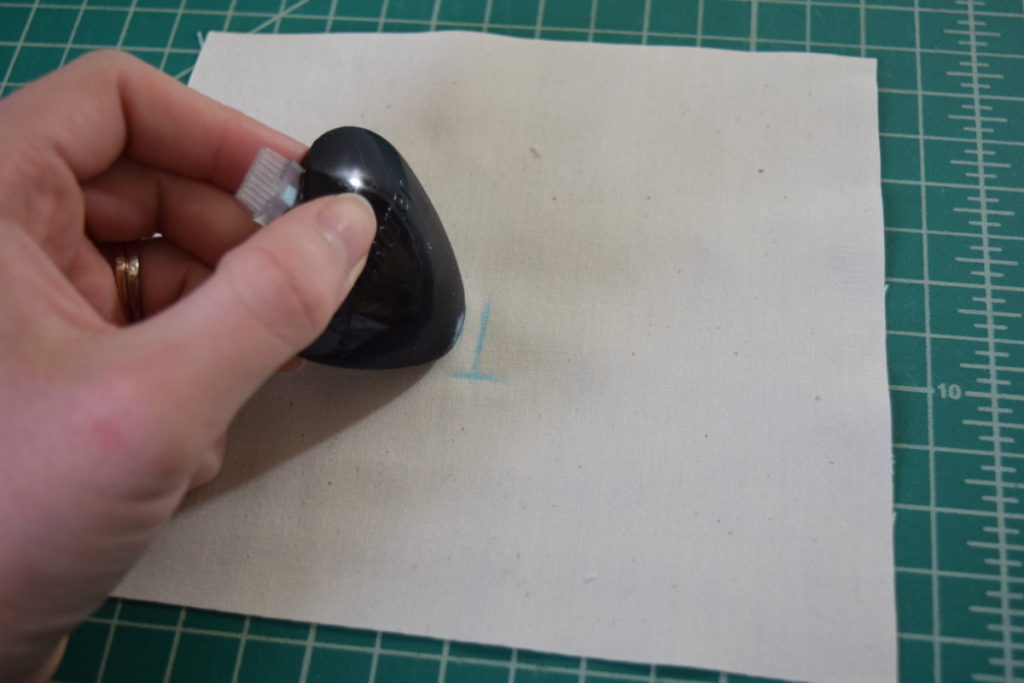
First, mark on your fabric where you want your buttonhole. I usually use a little upside-down T shape, with the smaller line marking where I want my buttonhole to start. The length of your line doesn’t matter because your sewing machine will make the buttonhole the right length for you.
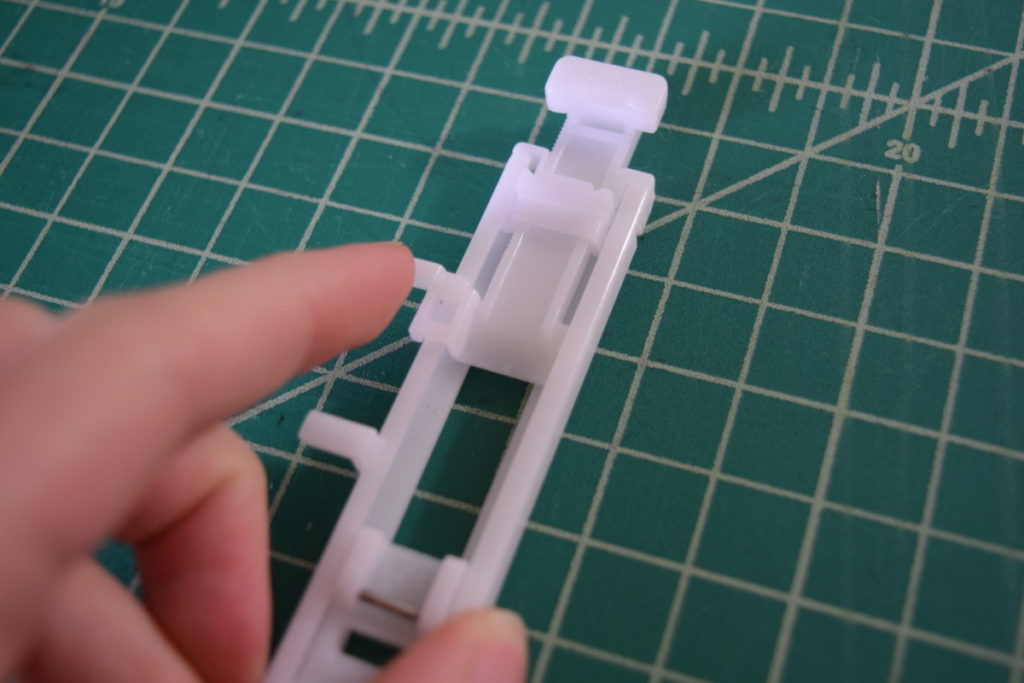
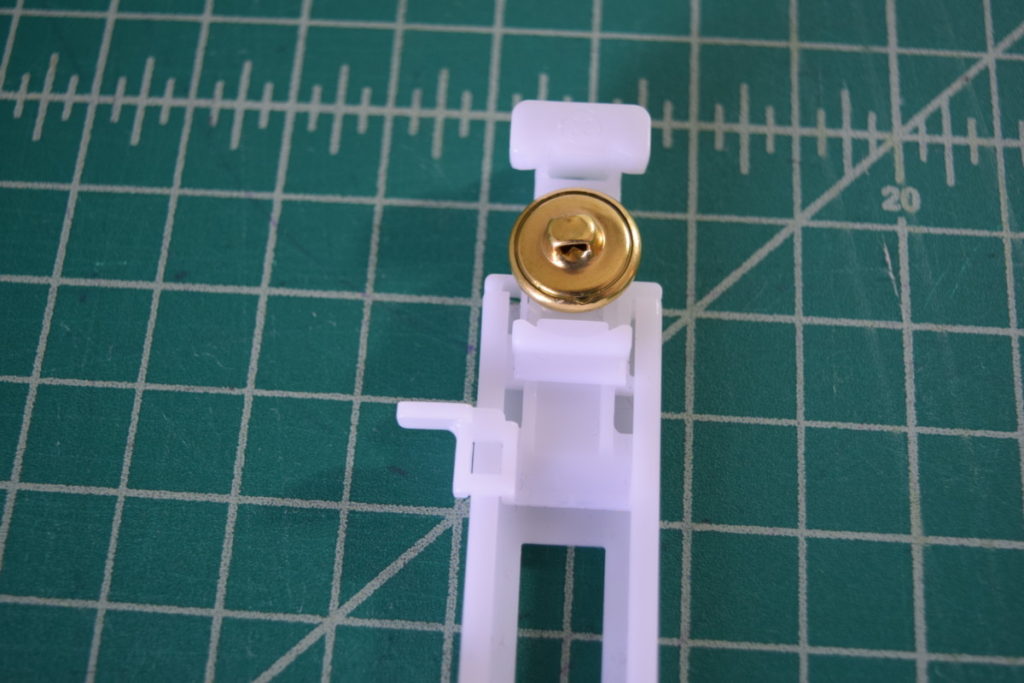
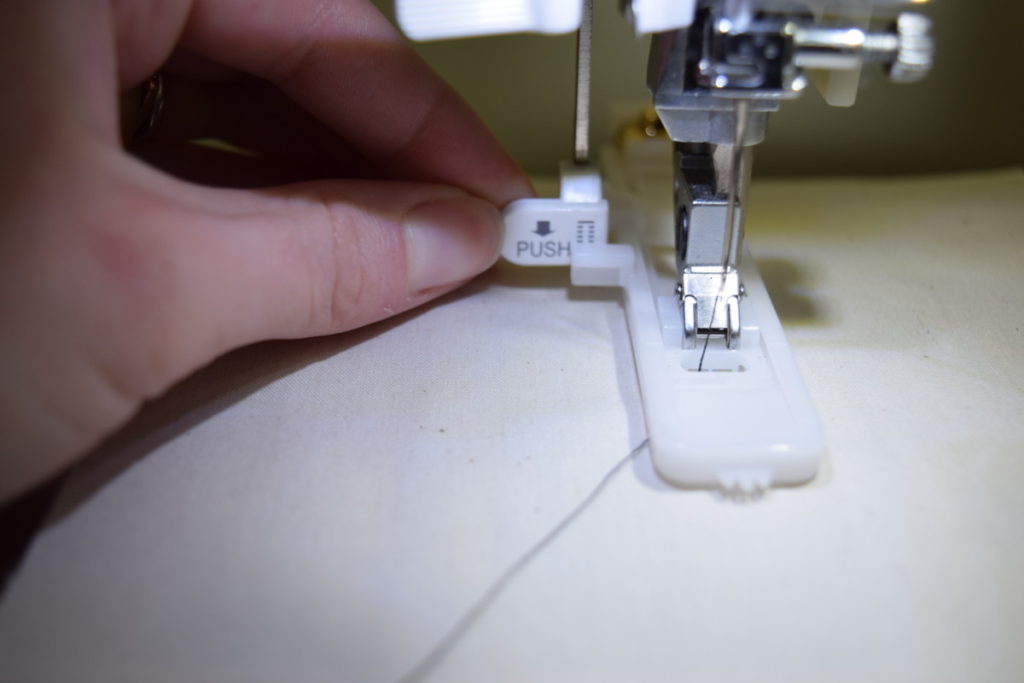
Next, grab your buttonhole foot. Use your finger to push on the little tab at the rear of the foot. This will extend the back of the foot.
Now you can place the button you’ll be using in your project into the space at the back of the foot. Like this:
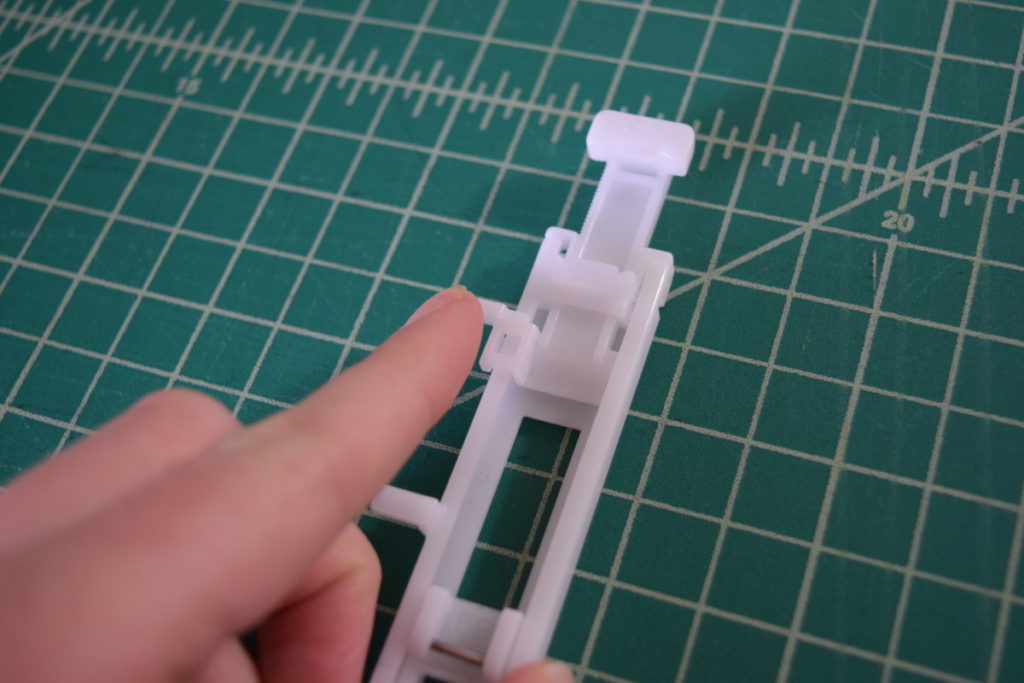
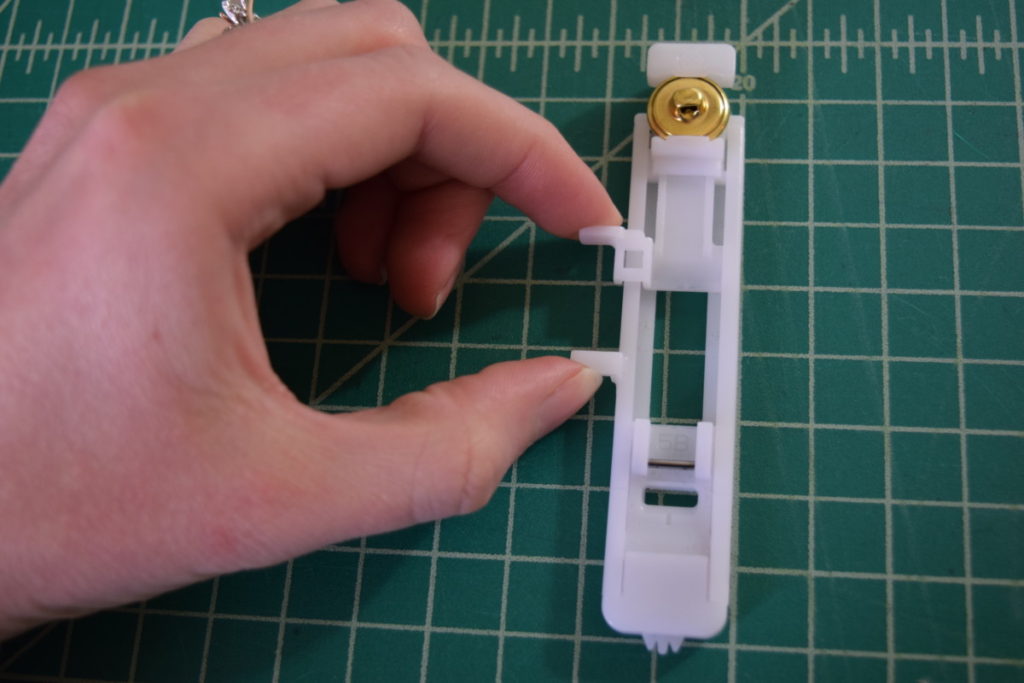
Then squeeze the two tabs together with your fingers. This will tighten down the back of the foot to hold the button securely in place.
Now we can take our foot and our marked fabric over to the sewing machine. First remove whatever foot is on your machine. There’s no need to change the needle, just use whatever is appropriate for your project.
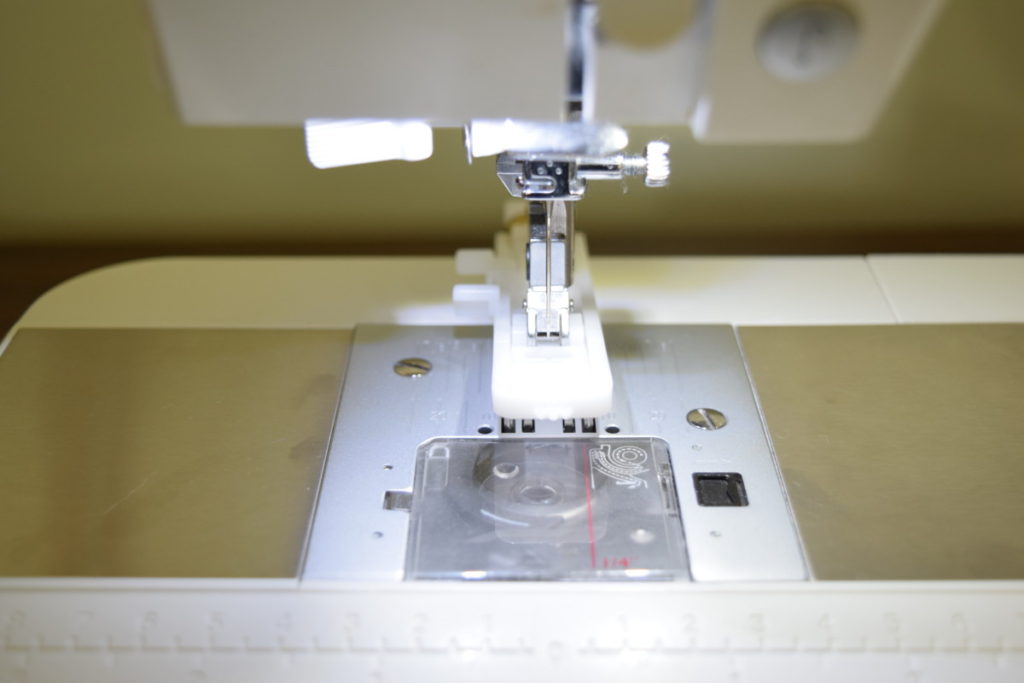
Then snap the buttonhole foot onto your machine with the button towards the back.
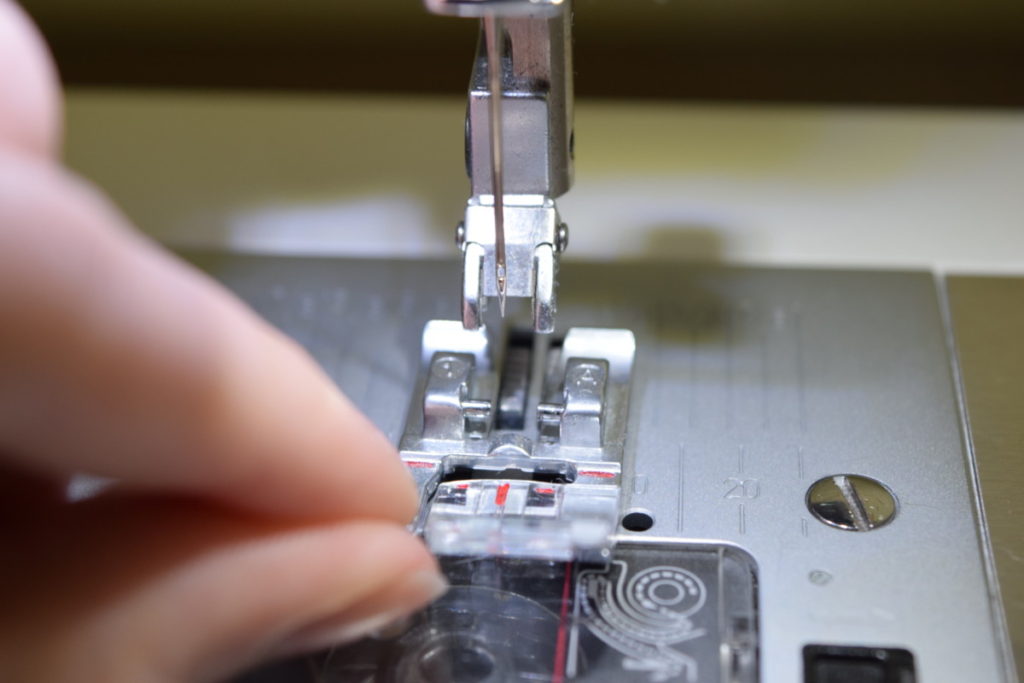
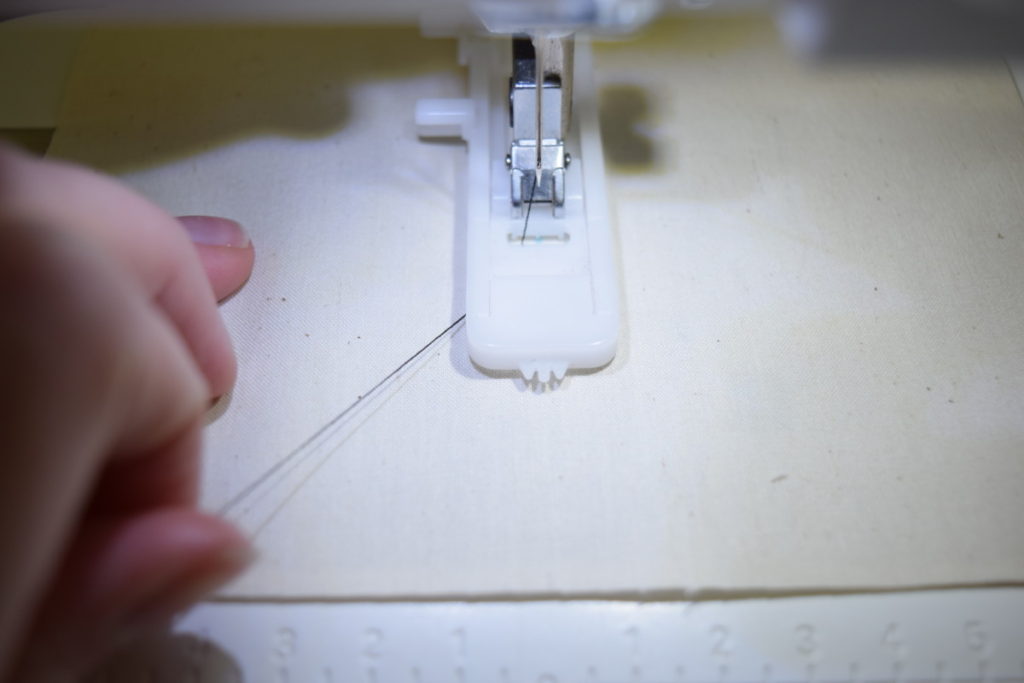
Next thread your machine normally and pull the thread through the hole in the foot and towards you.
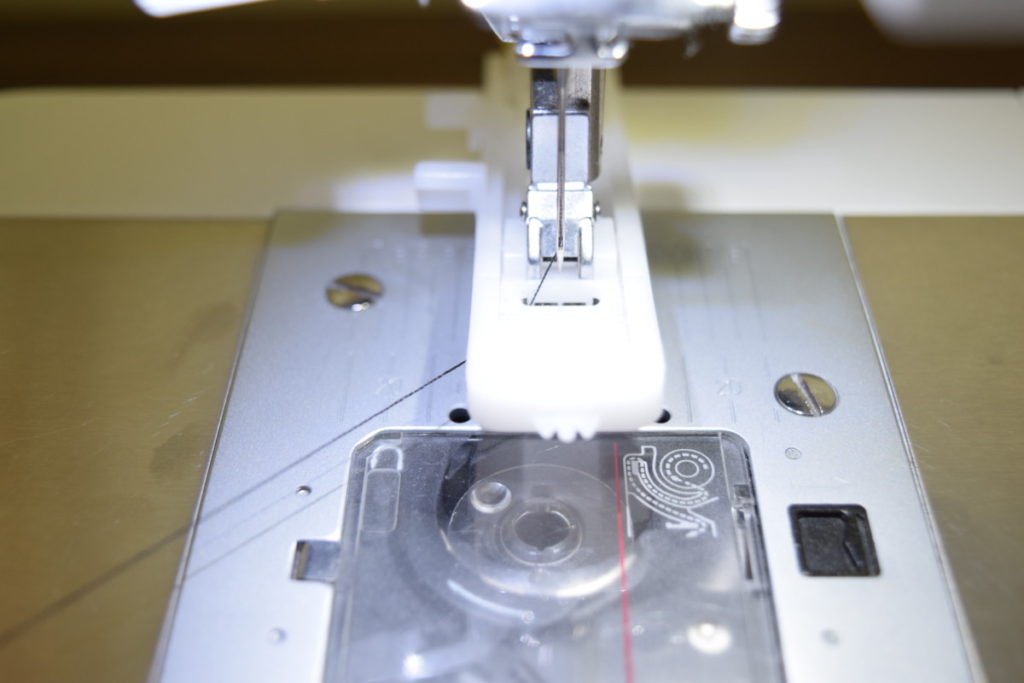
Then put your fabric under the foot with the top of your “T” marking towards you. Line up the top of your T in the center of the opening in the buttonhole foot. Lower the buttonhole foot onto the fabric.
Next, pull down the buttonhole lever on the left side of the machine so that it touches the back of the first tab on the buttonhole foot.
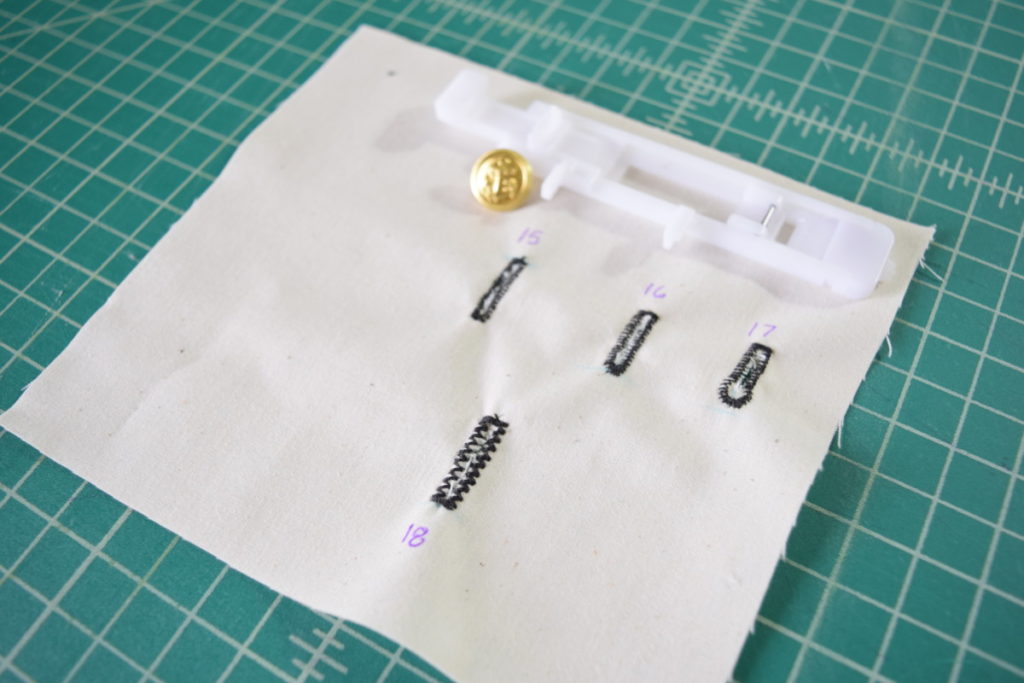
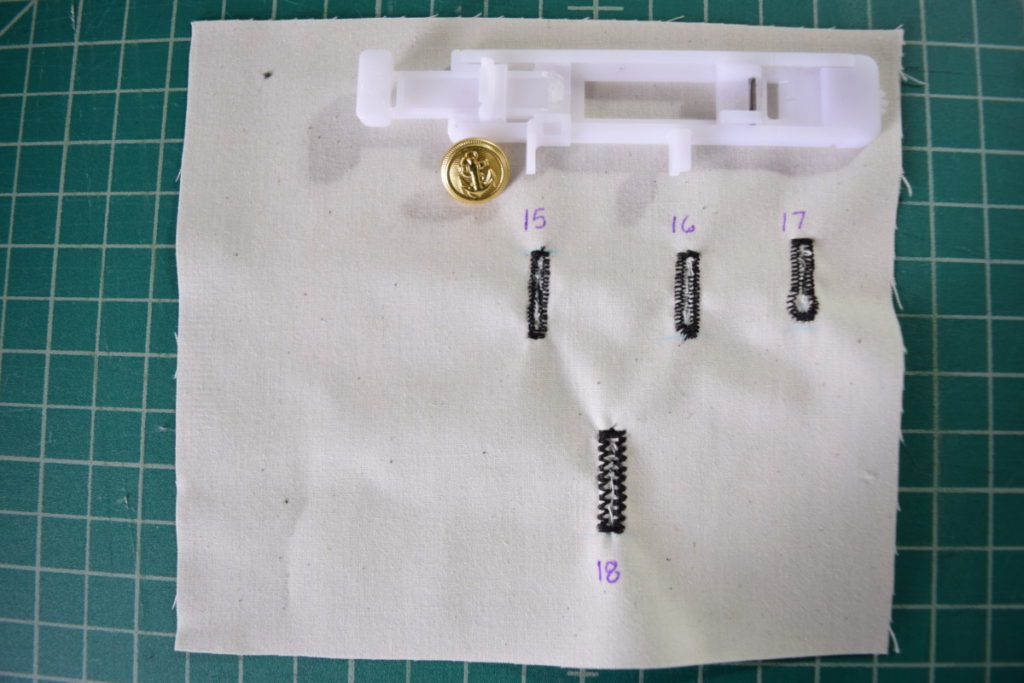
Now you can enter the stitch number of the type of buttonhole you want. You can find the stitch numbers for the different types of buttonholes in the manual of your sewing machine. My machine does four types of buttonholes and they’re numbered 15, 16, 17, and 18. Here’s what the four types look like below:
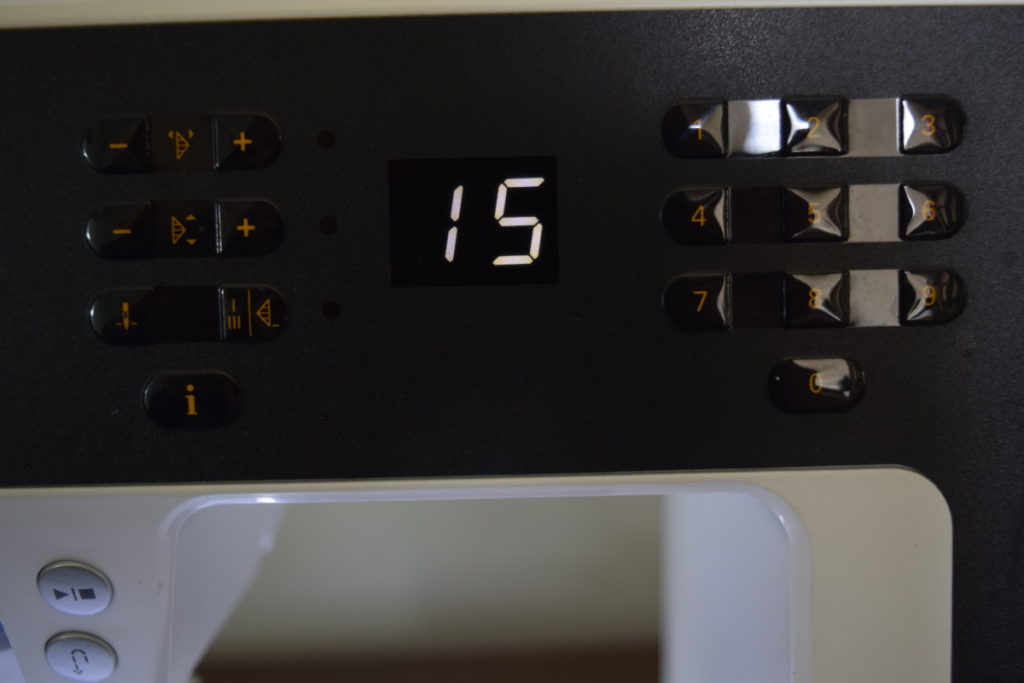
I typed in stitch number 15 for a standard buttonhole:
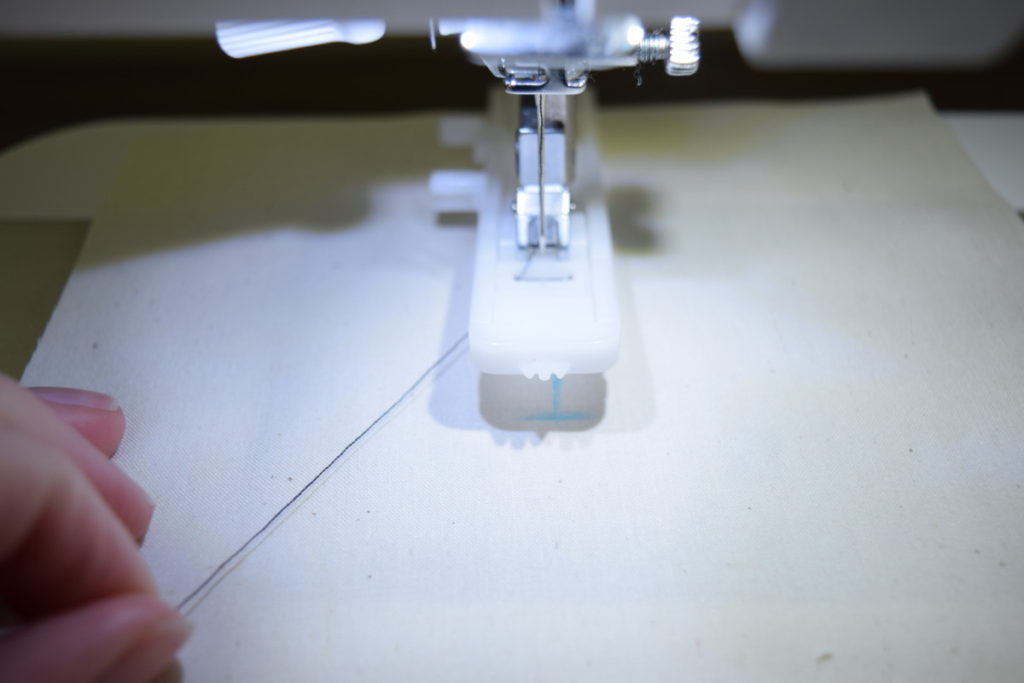
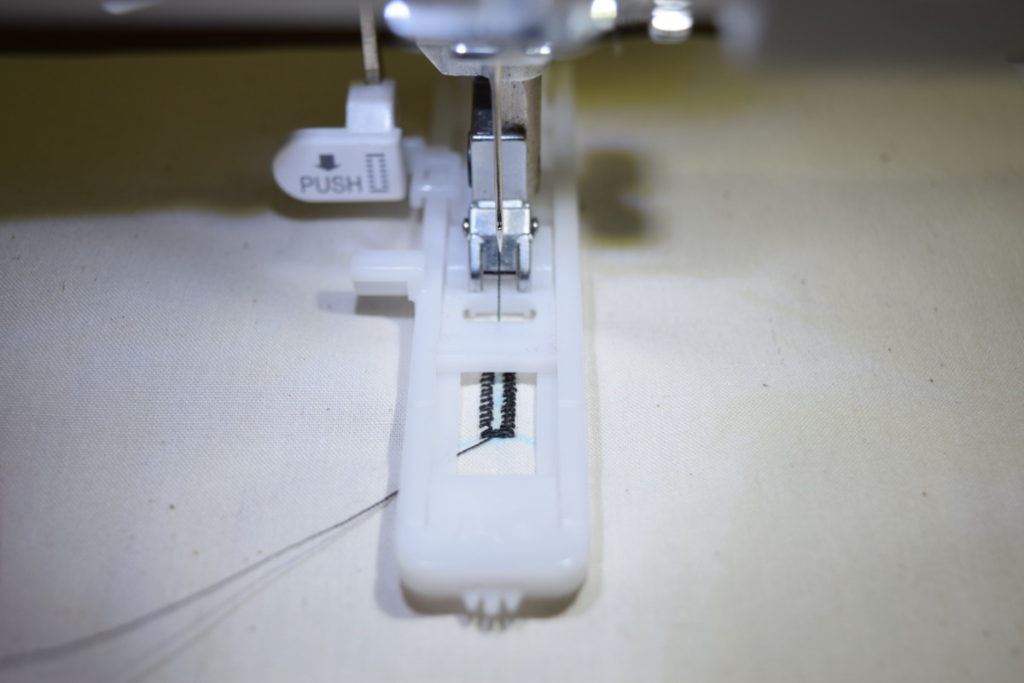
Now all you need to do is let the machine sew the buttonhole! Double check that your marking is lined up in the very center of the opening in the buttonhole foot. The machine sews front to back, so whatever is in the center of the opening will be the front of your buttonhole. Hold the thread tail in your hand so it doesn’t get caught up as the machine sews and press down the foot pedal. Simply hold down the presser foot until the machine stops sewing.
Now cut your thread tails and your buttonhole is just about done!
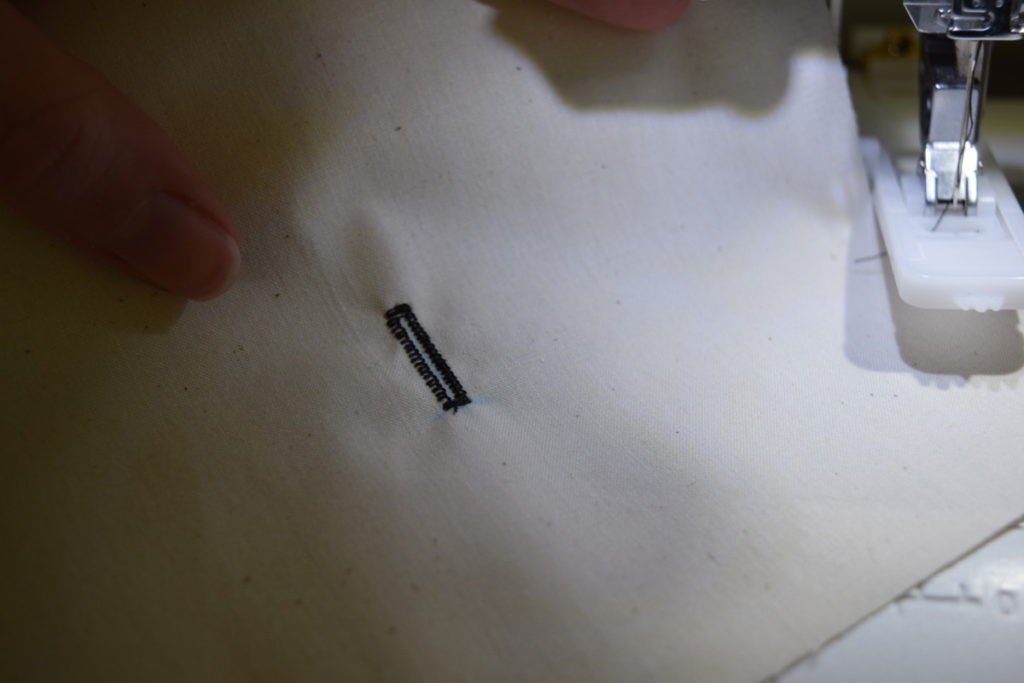
To cut open your buttonhole, grab a straight pin and your seam ripper. Place the pin at the end of the buttonhole perpendicular to the buttonhole:
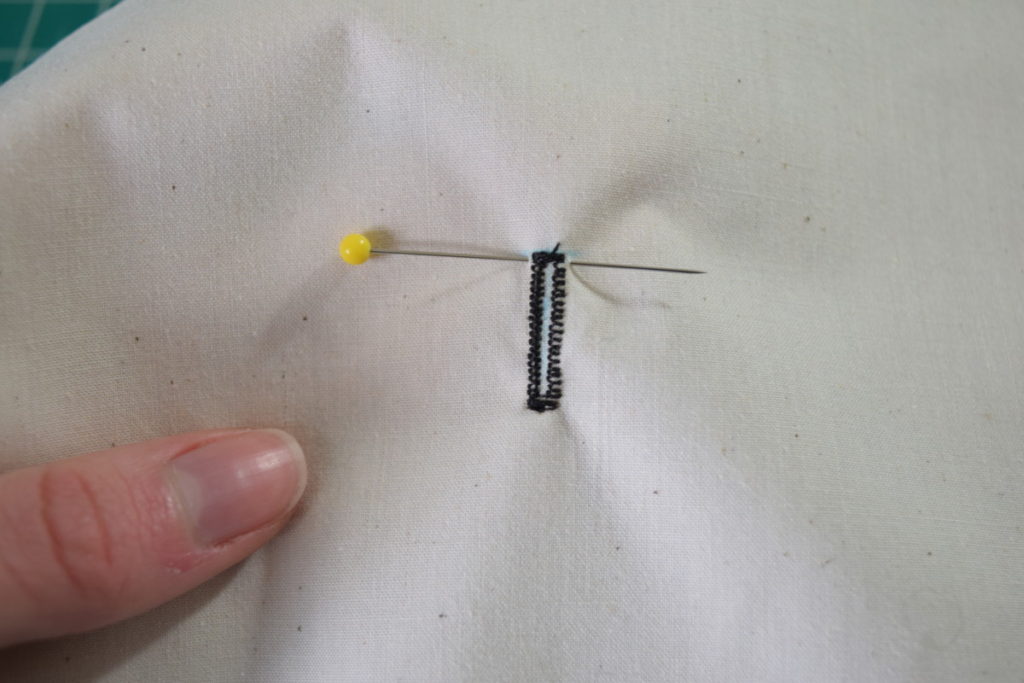
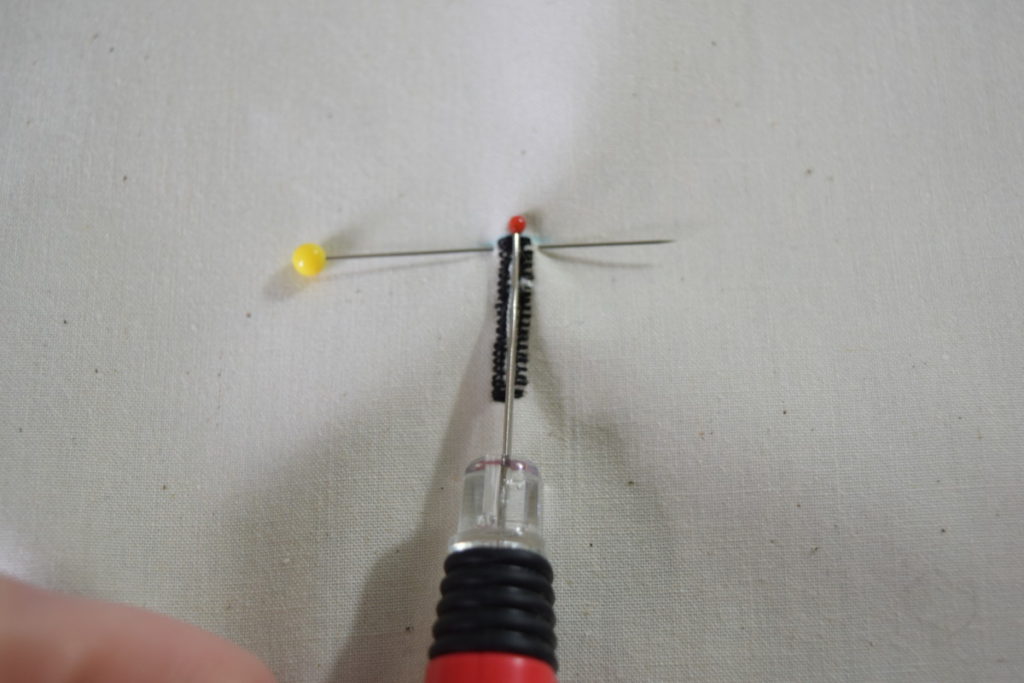
Insert your seam ripper into the other end of the buttonhole and push it through the buttonhole until it hits the pin. The pin will prevent your seam ripper from going through the end of the buttonhole.
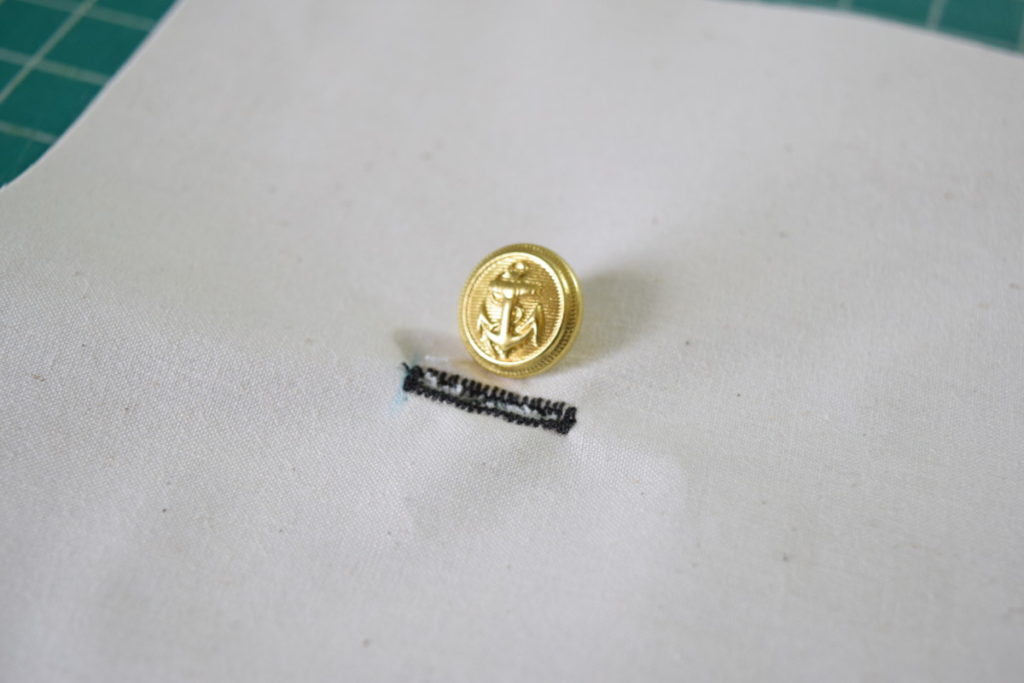
Now you’re done! You can trim up the frayed threads inside the buttonhole and apply fray-check if you want. I typically don’t use fray-check unless I’m using a fabric that really tends to fray a lot, but it’s up to you!
If you enjoyed this tutorial and want more sewing and DIY tutorials, I would love for you to subscribe to my email newsletter.


Was dreading doing a buttonhole but followed this excellent video with my iPad next to the machine and it worked brilliantly. Did a. Lipless of trial on a scrap of material first
Was dreading doing a buttonhole but followed this excellent video with my iPad next to the machine and it worked brilliantly. Did a. couple of trials on a scrap of material first
Many thanks for this specific info I had been exploring all Bing to discover it!
Can I simply say what a relief to seek out somebody who actually knows what theyre speaking about on the internet. You definitely know the way to bring a problem to mild and make it important. More folks have to read this and understand this aspect of the story. I cant believe youre no more common since you positively have the gift.
I’m sorry for the large evaluation, however I’m truly loving the brand new Microsoft zune, and hope this, along with the superb evaluations another people have written, will help you determine if it is the right choice for you.
heart attack is very common these days, it is because of a high fat diet and lack of exercise.
It has always been my belief that good writing like this takes research and talent. It’s very apparent you have done your homework. Great job!
Have you tried twitterfeed on your blog, i think it would be cool.,-:`.
There is noticeably a lot of money to learn about this. I suppose you made particular nice points in features also.
me and my best friend are members of the local town golf club, i am really excited to play golf ::
when i was still in high school, i always planned to take pyschology because it gives me great interest~
I am delighted that I observed this web blog , just the right info that I was looking for! .
you can earn lots of money if you are into the franchising business. i would love to engage into this kind of business“
The following the five information you should do remember so you can manage to produce your particular successful world-wide-web. survey reviews
it is always easy to find good ski resorts online, but most of them are expensive but they are great anyway*
dance schools that also offers free yoga classes would be very very nice*
Thank you, I’ve just been searching for info about this subject for a long time and yours is the best I have discovered till now. But, what in regards to the conclusion? Are you positive about the source?
You made various good points there. I did a search on the topic and found most people will have the same opinion with your blog.
Nice shoes I bought these shoes for my wife and I for running and other outdoor activities because I naturally run up on my forefoot and I hate wearing shoes with all the extra padding that only adds bulk. We have had them for several months now and I no longer get shin splints when I run and find that I like walking around barefoot (real barefoot) much more now. Go easy when you…
Thank you sharing such informative blog to us. I never see or heard about this insects. I love to watch national geographic, discovery channel because it shows the most amazing and beautiful animals and insects which we never saw in our entire life. Here, in this as well you share these insects which I never saw anywhere and its life cycle. I love this blog. Thank you once again for sharing this blog with us. Please keep on sharing such informative things in coming days as well. Cheers
I just put the link of your blog on my Facebook Wall. very nice blog indeed.`-*~;
May possibly not seem to be much if you aren’t in the situation that we are. Your thinking is vital in aiding me with my study. Having more writers be part of the discussion is usually a positive thing.
What would be your next topic next week on your blog.*:.*,
Thanks for taking the time to discuss this, I feel strongly about it and really like learning more on this matter. If possible, as you gain expertise, would you mind updating your blog page with more data? It’s extremely helpful for me.
That very first sold me about this viewpoint to deal with something that provides a crucial description respecting ?
diamond engagement rings will be always be the best stuff. it has great style and it is priceless~
the air compressors that we use at home are the high powered ones, we also use it for cleaning~
disco lights with built-in laser x-y scanner are the coolest stuff that you can add to your disco room**
wonderful issues altogether, you just gained a logo reader. What would you recommend about your publish that you made a few days ago? Any sure?
Wohh precisely what I was searching for, thanks for putting up.
Can I just say what a relief to find someone who actually is aware of what theyre talking about on the internet. You undoubtedly know methods to convey an issue to mild and make it important. More individuals need to learn this and understand this aspect of the story. I cant imagine youre not more widespread because you positively have the gift.
Rachel Weisz have that mysterious look and she is very appealing to most men and women::
well, if you really want to be healthy, i believe that veggan foods are the best ‘
Straight to the point and well written! Why can’t everyone else be like this?
Vielen dank für den Beitrag. daraus kann man sich einen guten Eindruck verschaffen Grüsse Heike
I never really understand when they attach a director to a project that should be epic whether in action or budget who doesn’t have a ton of experience.
Good work, are you looking for real estate in Longwood, FL? Learn where the deals are, getbank owned property lists and find homes for sale in Winter Park.
my ipad have some display problems and i cannot fix the damn thing”
Merci à vous pour ce game. Moi j’adore les jeux de pistolets, et vous?
Where by maybe you’ve found the resource for this specific write-up? Amazing reading I’ve subscribed to your feed.
Thank you, I have recently been searching for information about this topic for ages and yours is the best I have discovered so far.
Rattling wonderful info can be found on web blog .
What would be your next topic next week on your blog.;,~’.
both LG and LiteOn makes a great performing dvd burner, they also feature those anti-shock mount,,