
Today I’ve got another installment of our miniseries on seam finishes. Last week we talked about french seams (check out that tutorial HERE). And this week we are moving on to flat felled seams!
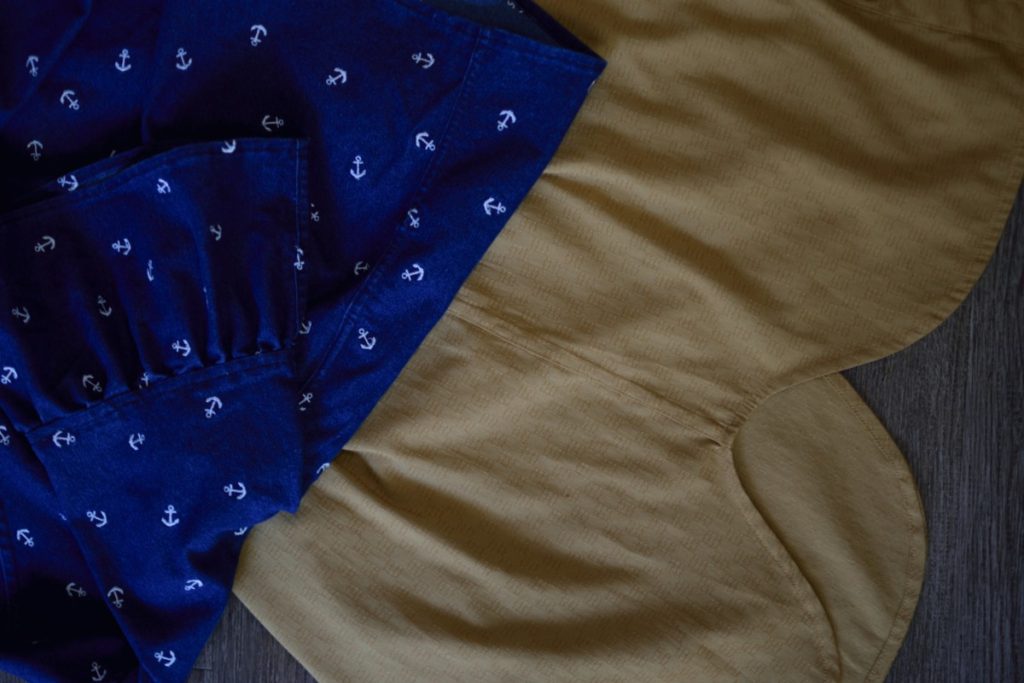
Flat fell seams are a really great way to finish your button up shirts and jeans. It gives you a strong seam, since it’s sewn twice, and it looks really clean from both sides of the garment.
I have a video tutorial for you below, but if you prefer to read the instructions you can find a written tutorial with photos further down past the video.
Steps
- Sew the seam wrong sides together
- Iron seam allowances open, then to one side
- Trim the lower seam allowance to half its original width
- Fold the upper seam allowance around the lower one and iron
- Topstitch along the folded edge of the seam from the right side of the garment
Video
Here’s the video tutorial that will take you through the process of sewing a flat felled seam.
Written Instructions
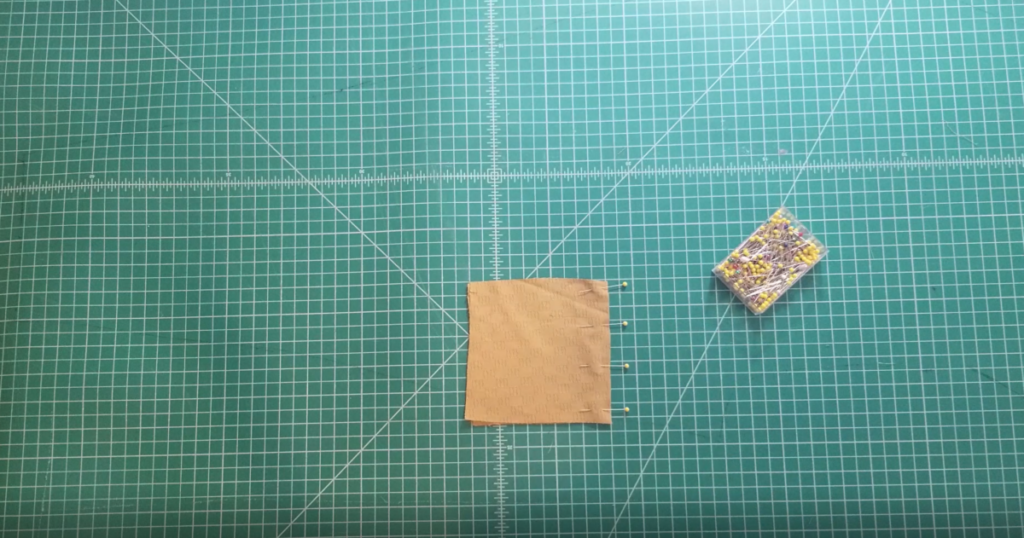
The first step to sewing a flat felled seam is to sew your seam with the regular seam allowance, except with WRONG sides together. This is the opposite of a regular seam, where you sew with right sides together.
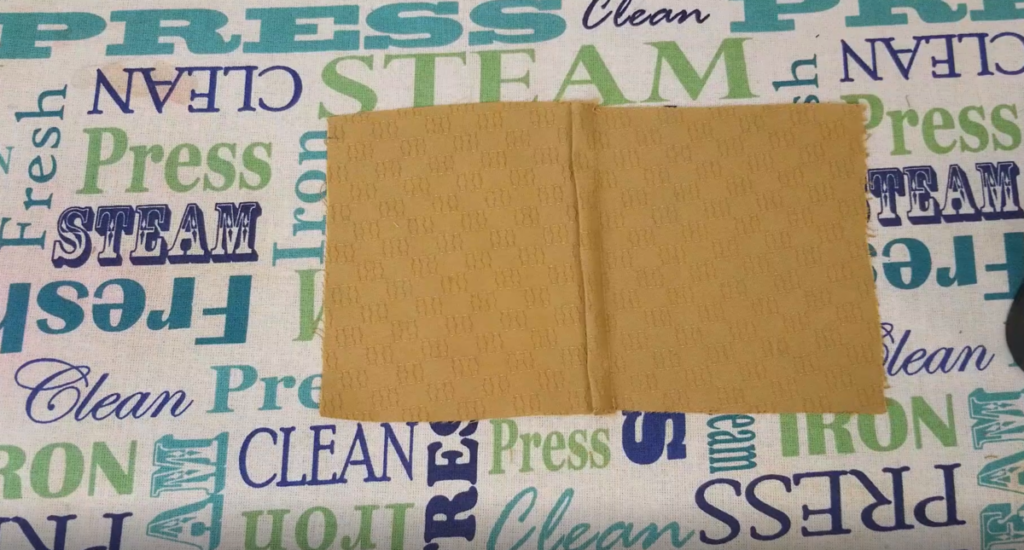
Once you get your seam sewn, you can use your iron and press the seam allowances open. This gets the seam nice and flat.
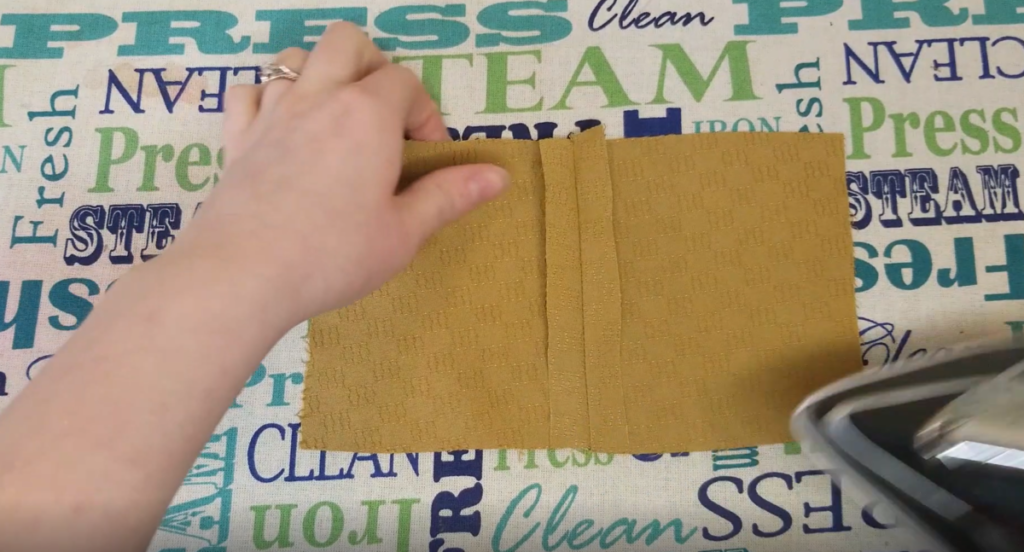
Next, press your seam allowances together to one side. Usually if you’re making a piece of clothing you press it towards the back.
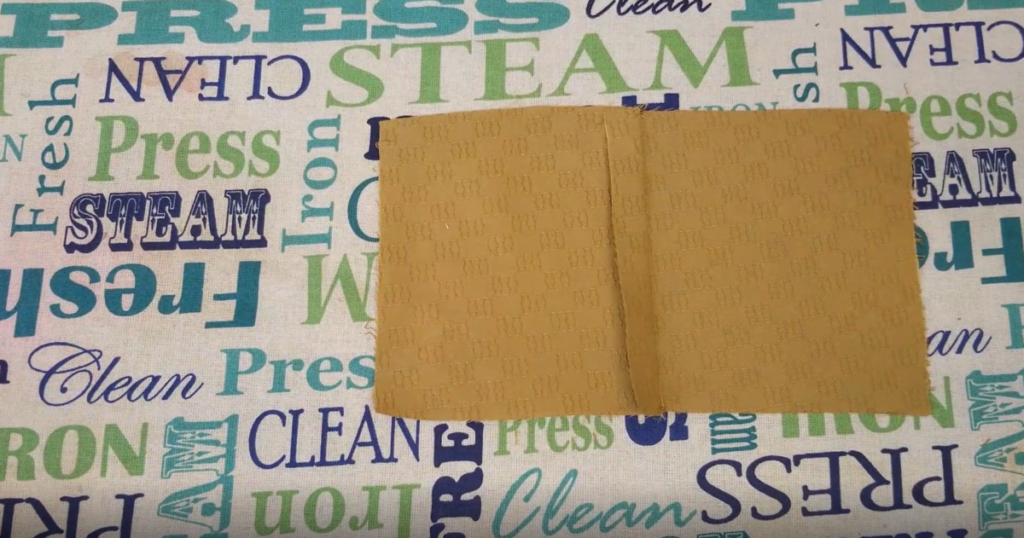
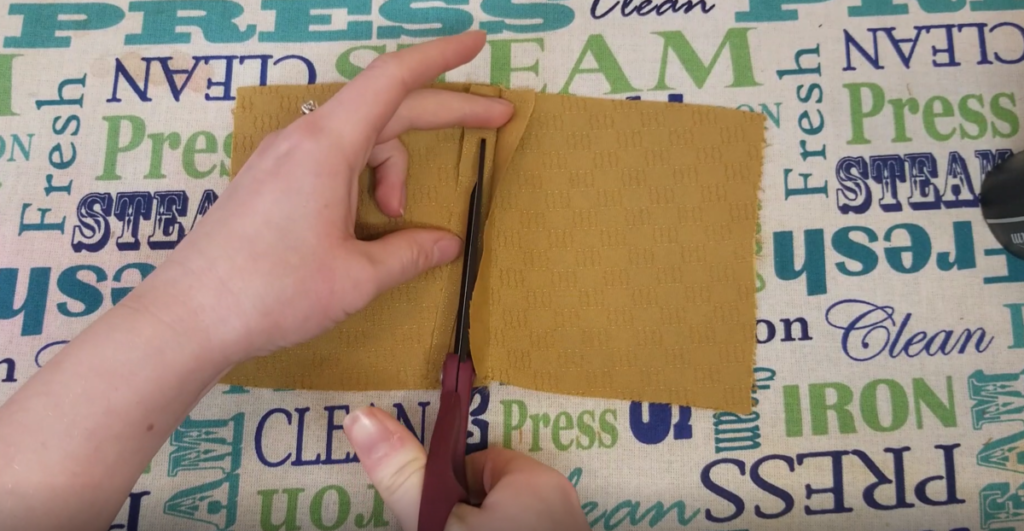
Then grab your scissors and trim the lower seam allowance down to half of the original width, so in my case I trimmed it to 1/4 inch.
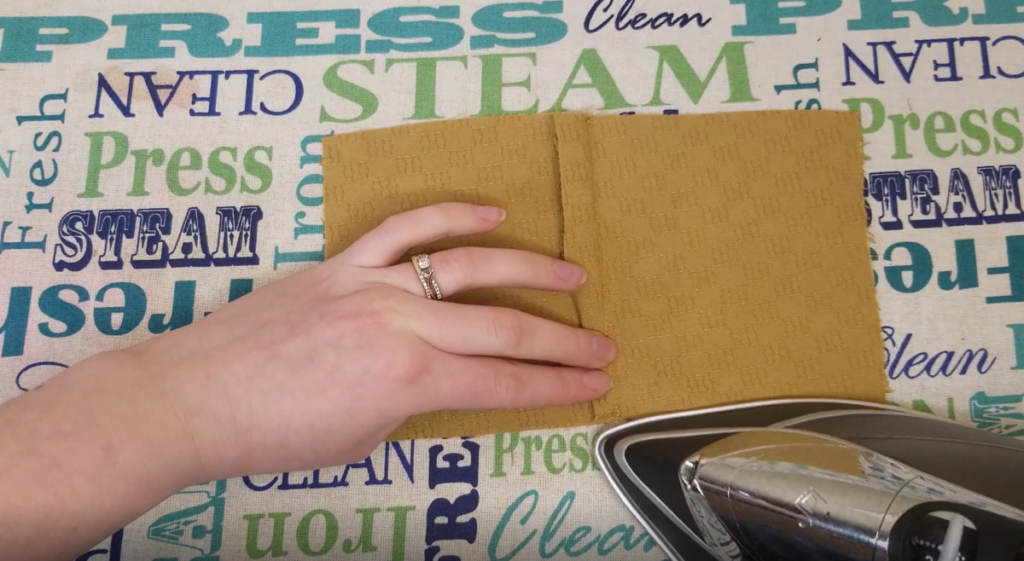
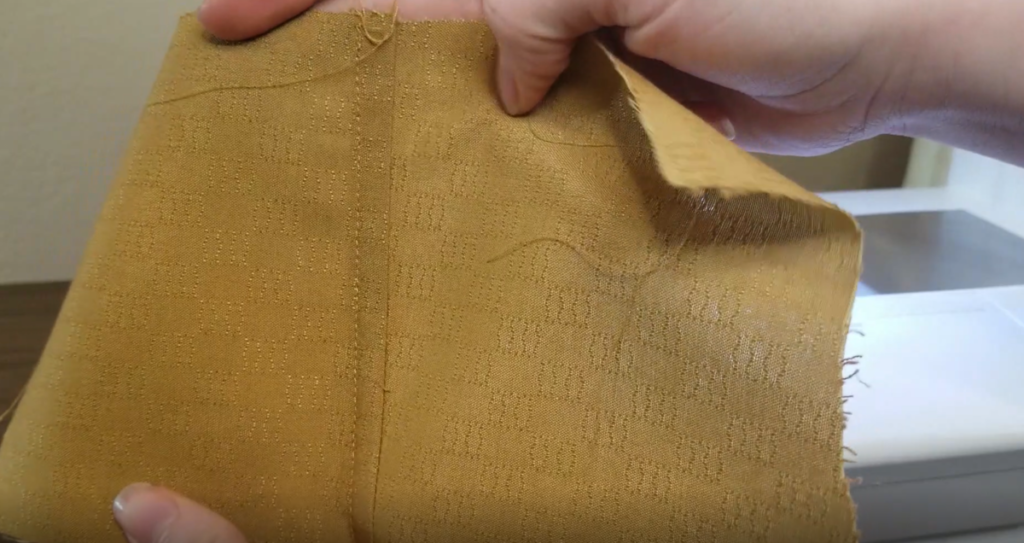
Next, wrap the upper seam allowance around the trimmed lower seam allowance, encasing it. Iron this flat and if necessary you can put some pins in it to hold everything in place until you sew it.
And we’re almost done! The last step is to take this to the sewing machine and topstitch (sew a line of stitching) right along the folded edge of the seam allowance. I usually sew about 1/8 inch from the fold.
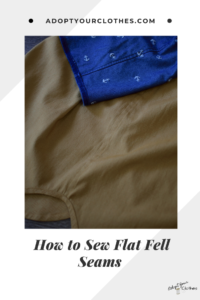
Here’s what it will look like from the outside of your garment:
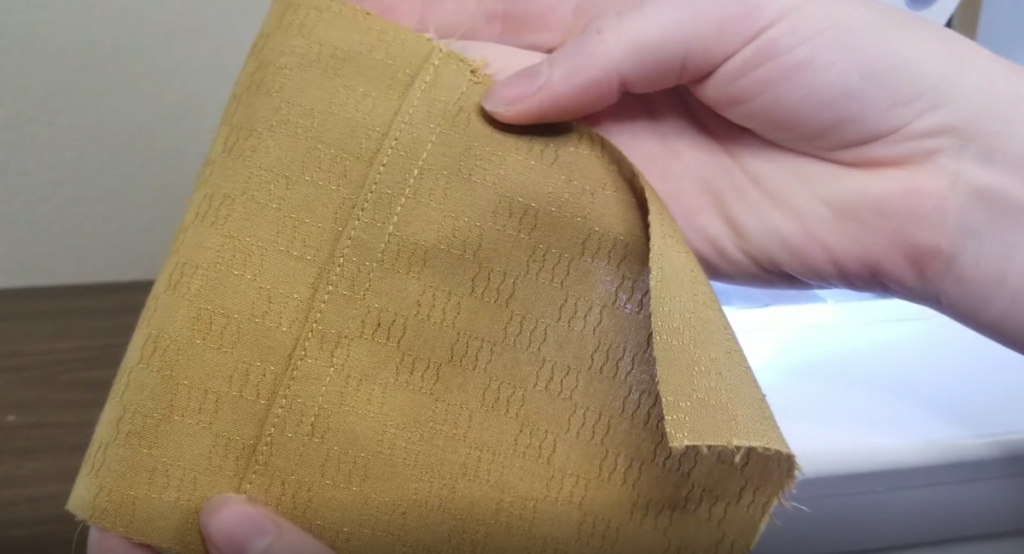
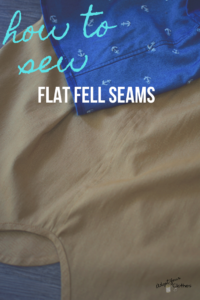
And from the inside:
I hope you’re inspired to try out a flat felled seam for yourself! If you do give it a try, I would love to see your project! You can send me a DM or tag me on Instagram or send me an email!
Also, if you want more sewing and DIY tutorials, tips, and advice, please subscribe to Adopt Your Clothes via email!


Leave A Comment