
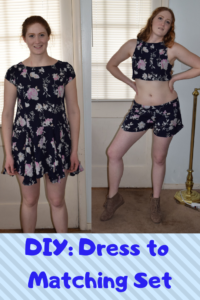
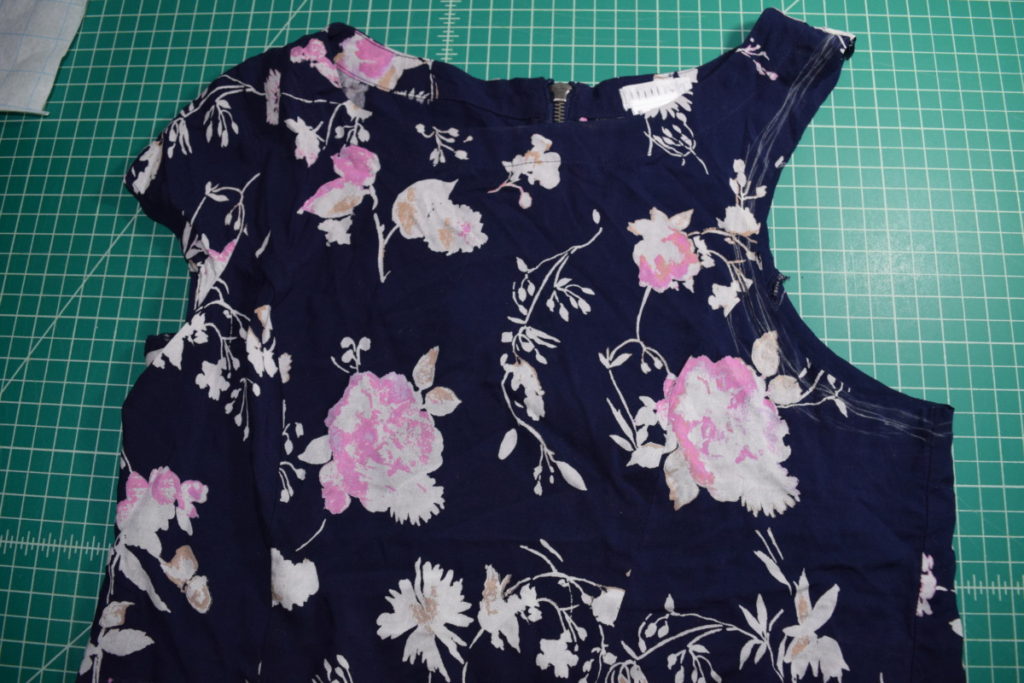
I found this floral, summery dress at the thrift store and I just had to buy it because I loved the design and flowy feeling of the fabric. My husband and I are going to Hawaii in a couple weeks for a belated honeymoon, so this fabric gave me thoughts of crop tops and shorts on a beach!


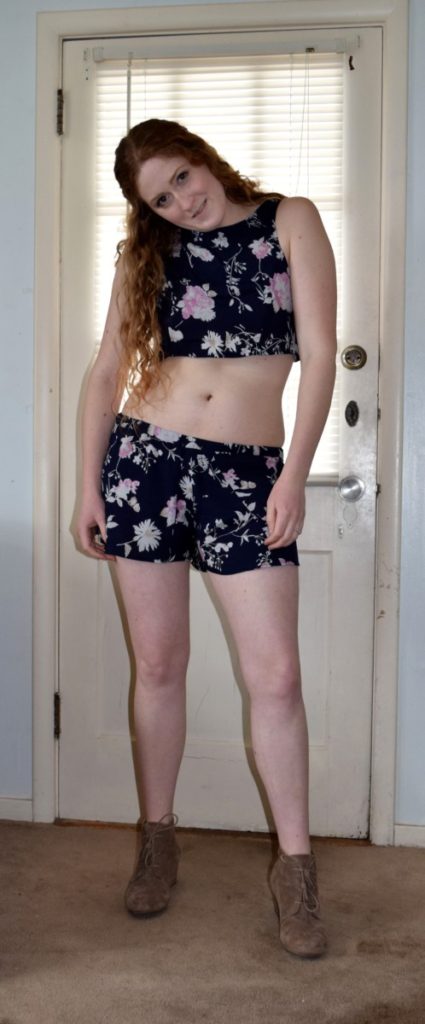
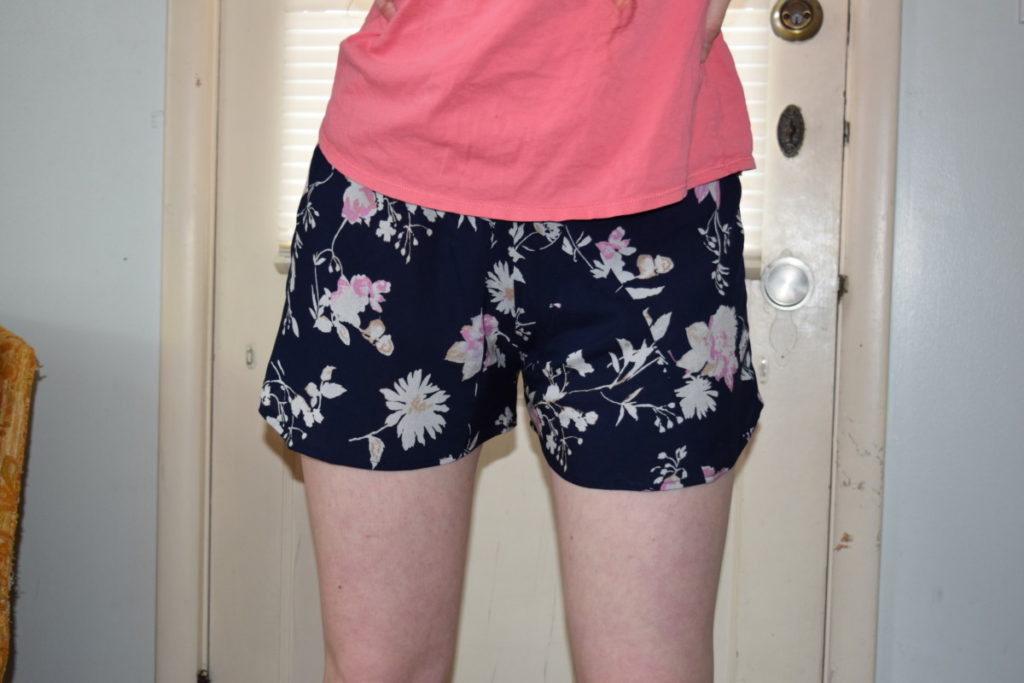
Here’s the final outfit; it’s worthy of a beach vacation, I think:
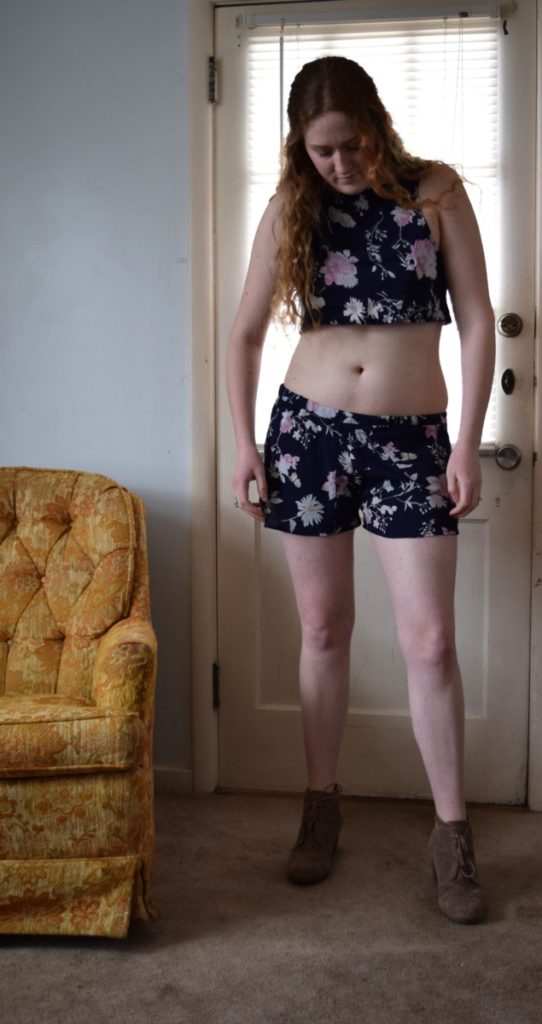
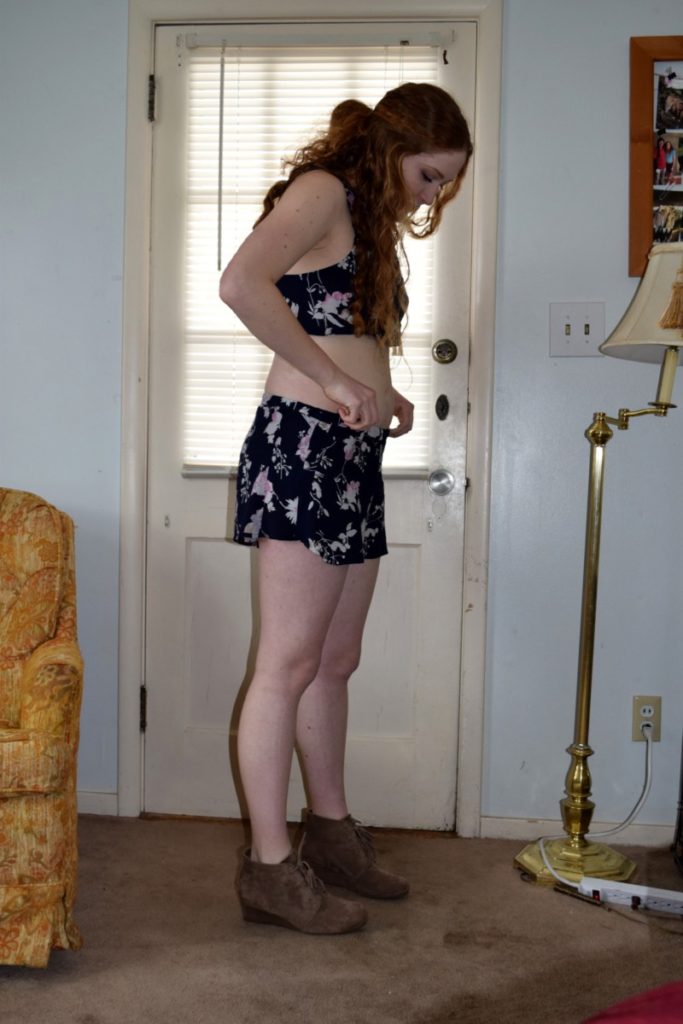
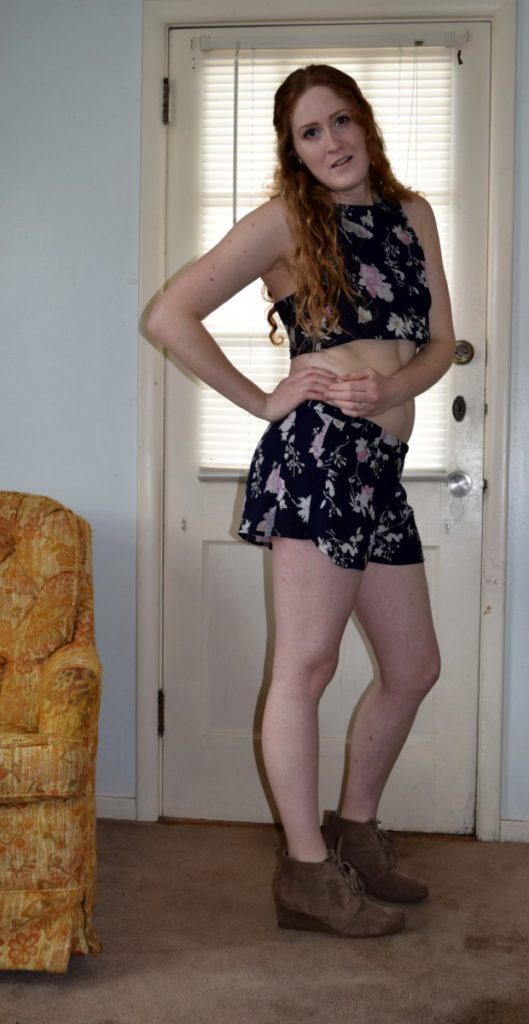
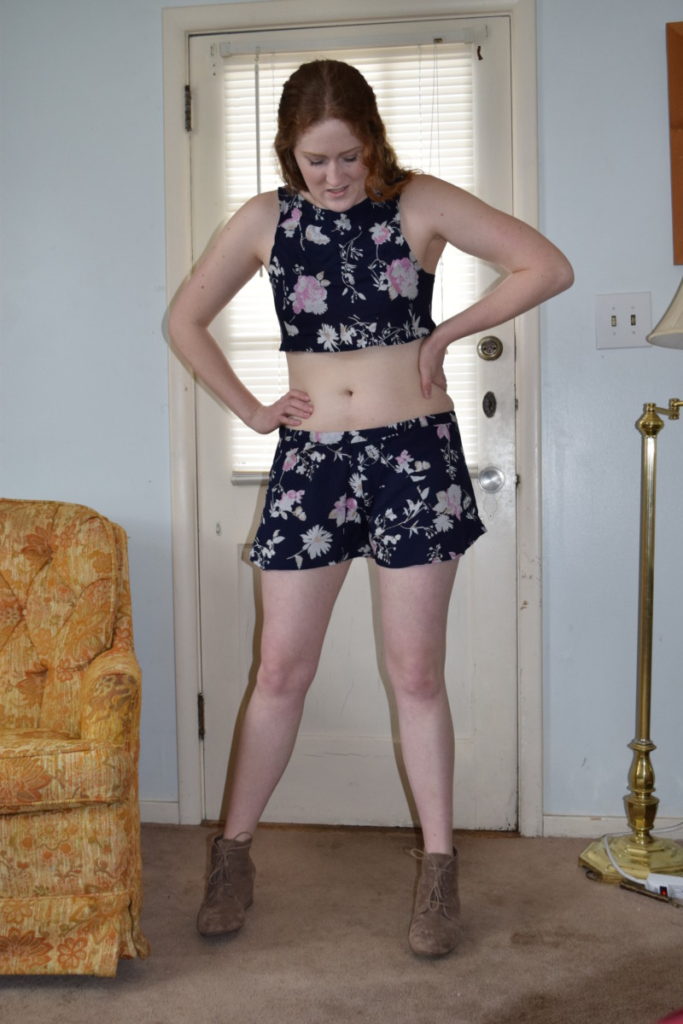
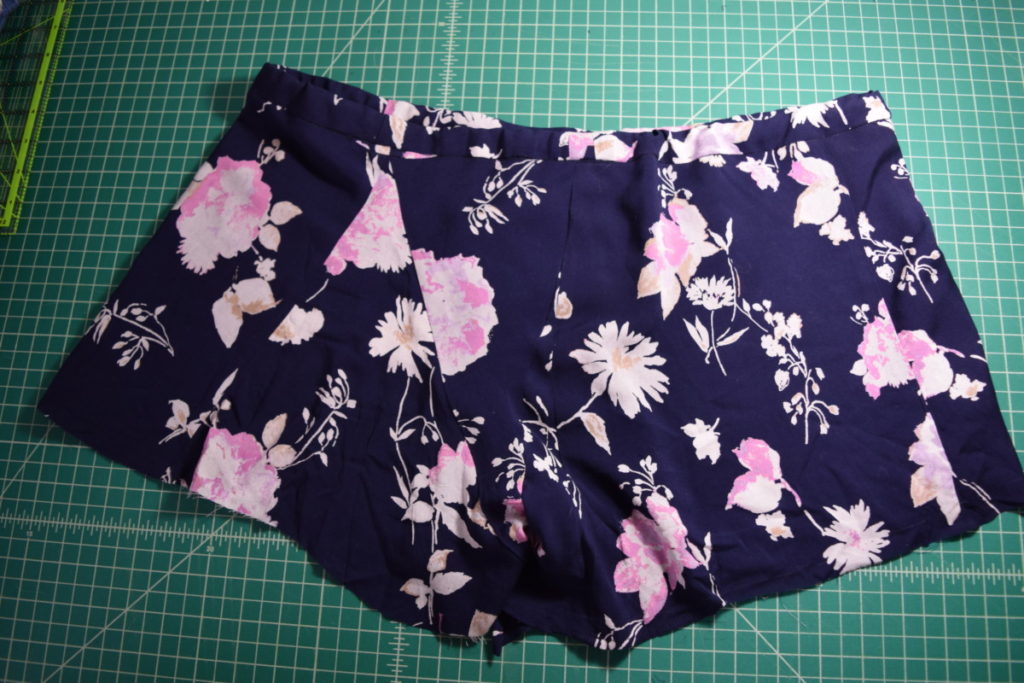
I love the way this turned out, but for my body shape and style, I wouldn’t wear such a short cropped top with low-rise shorts. I originally wanted to make the shorts high-waisted but there wasn’t enough material; so if you want high-rise shorts I would advise you to use a dress that’s a little longer.
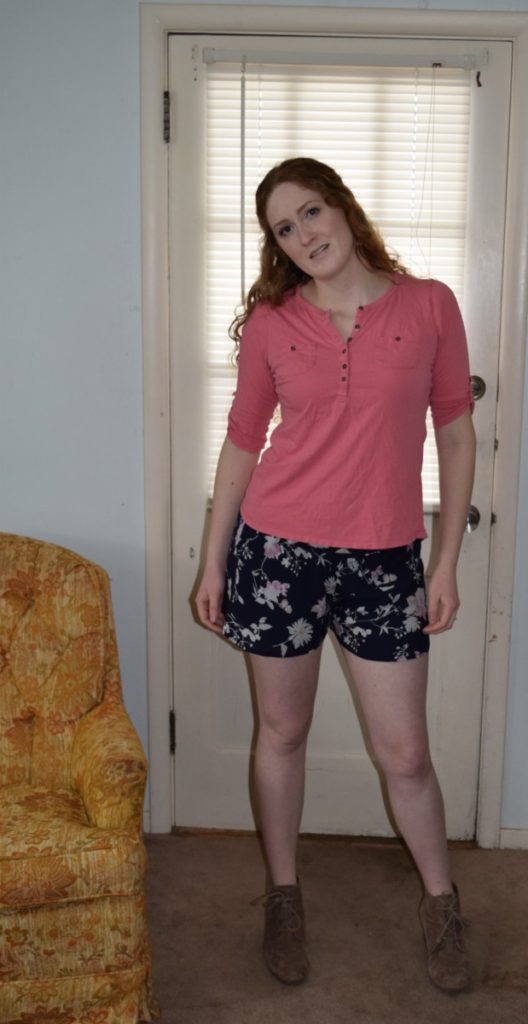
That being said, I’ll definitely get lot’s of wear out of both the shirt and the shorts, just probably not together!

So, let’s get started with the tutorial!
What you need:
*This list contains affiliate links for your DIYing convenience, so I receive a small commission if you buy something through my links. This really helps to support my site so I can keep creating DIY tutorials to help you create your dream wardrobe.
- A dress, preferably looser fitting or long to give you enough fabric to work with
- Sewing machine
- Thread
- Needle
- Sewing Pins
- 1/2 inch elastic
- Iron
- Scissors
- Fabric marker or chalk
Instructions:
Making the top:
First we’re going to make the crop top. Try on the dress and mark about 1 inch below where you want your crop top hem to be. Then take the dress off, lay it out flat, and draw a straight line through the mark you made.

Now you can cut the top off the dress by cutting along the line you drew, going through both the front and back layers of fabric.
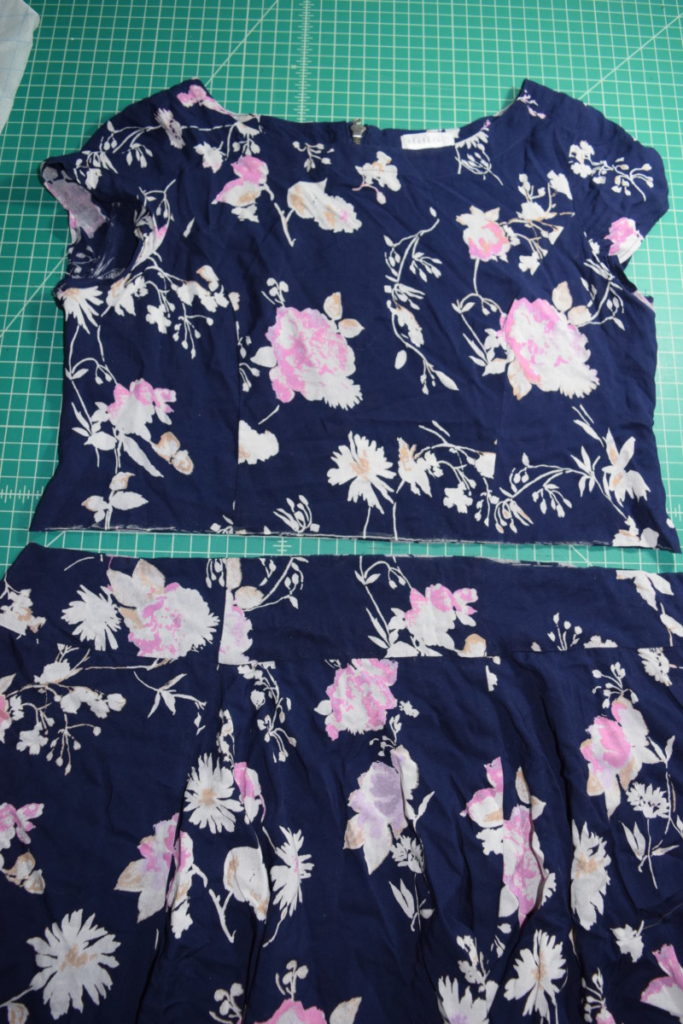
Now you can set aside the skirt part of the dress to work with later.
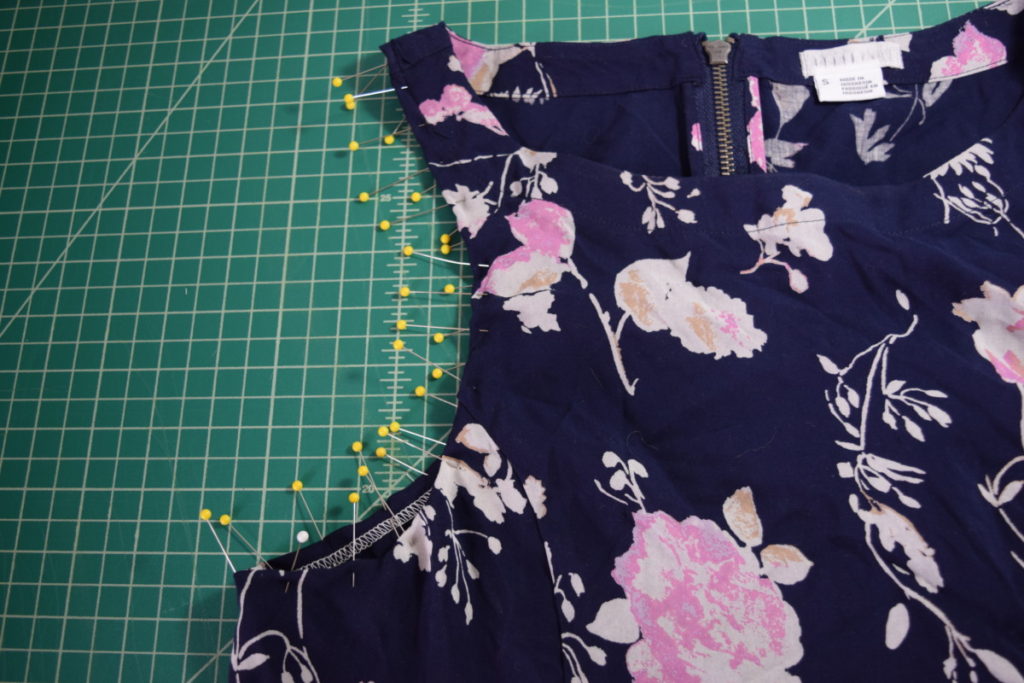
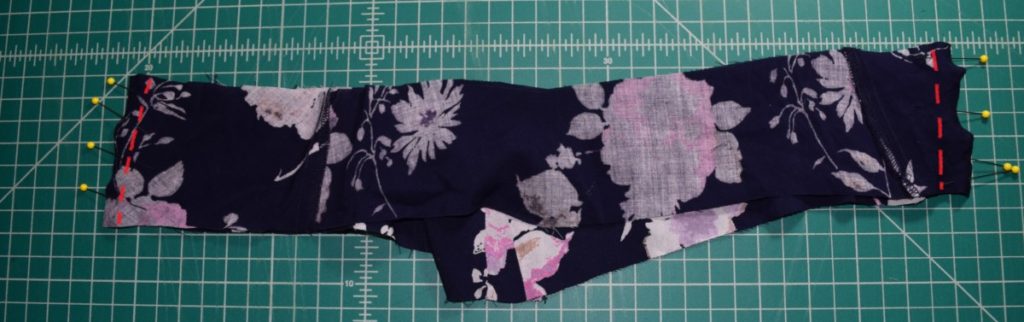
Next, try on the top and use your fabric marker to draw out the armhole design you want. You only have to do this on one side because we’ll fold it in half to cut both sides together. I did this on my dress form, but you can do this while wearing it, or just eyeball it.
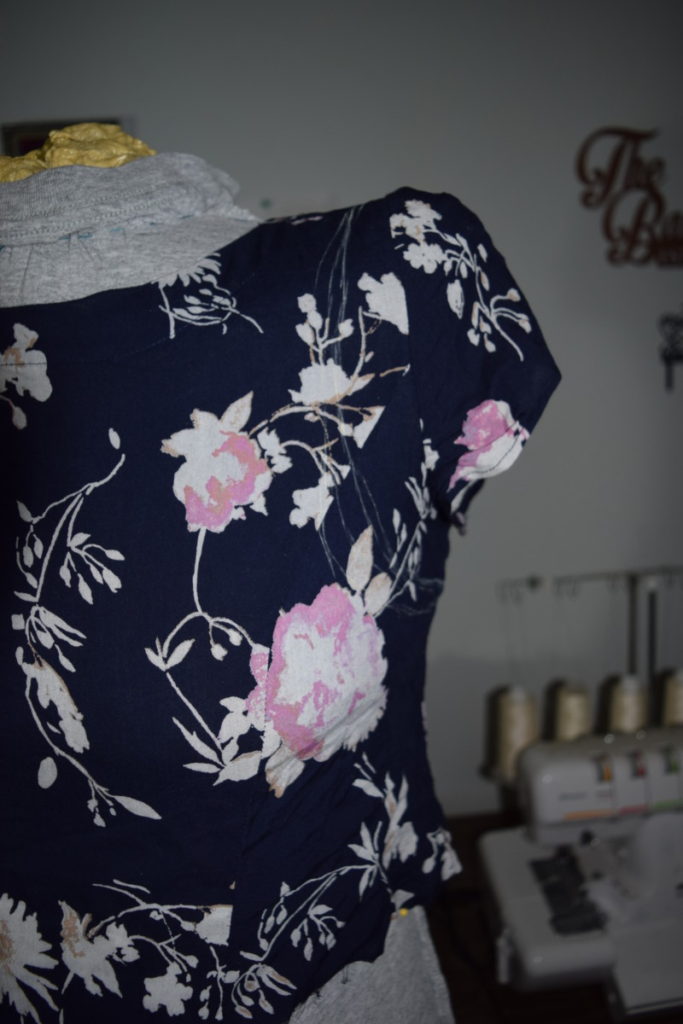
Now cut along the line you drew, leaving about 1/2 inch beyond the marking for seam allowance.
Fold the shirt in half with the front sides to the inside and trace the same shape on the other front side. Then fold it the other way (back to the inside); and trace the shape of the back armhole.
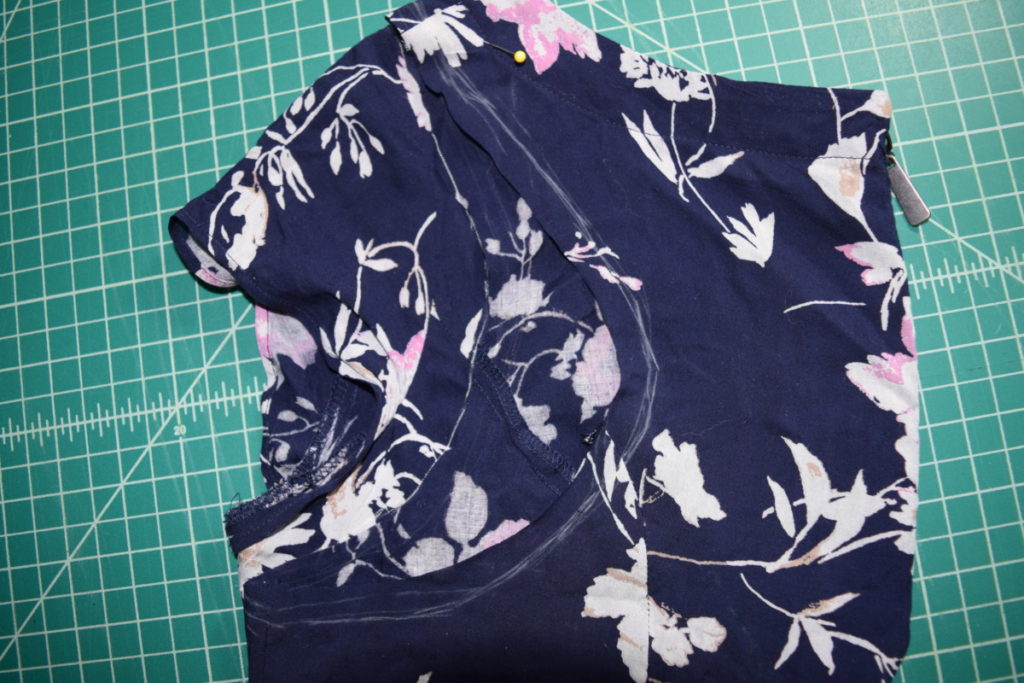
Now cut around the other armhole to get something like this:

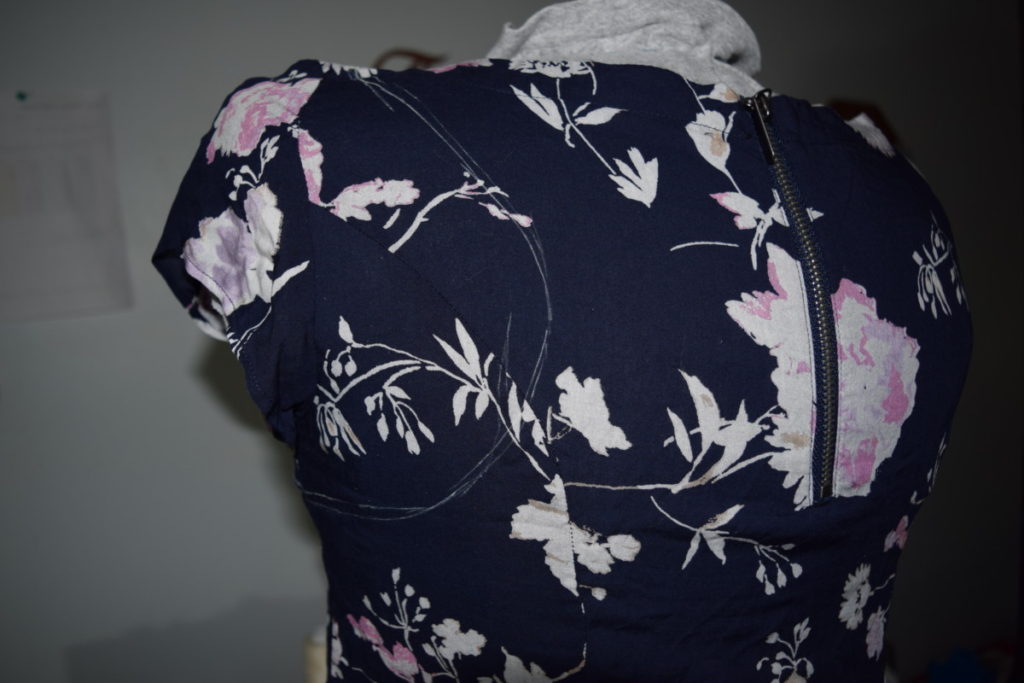
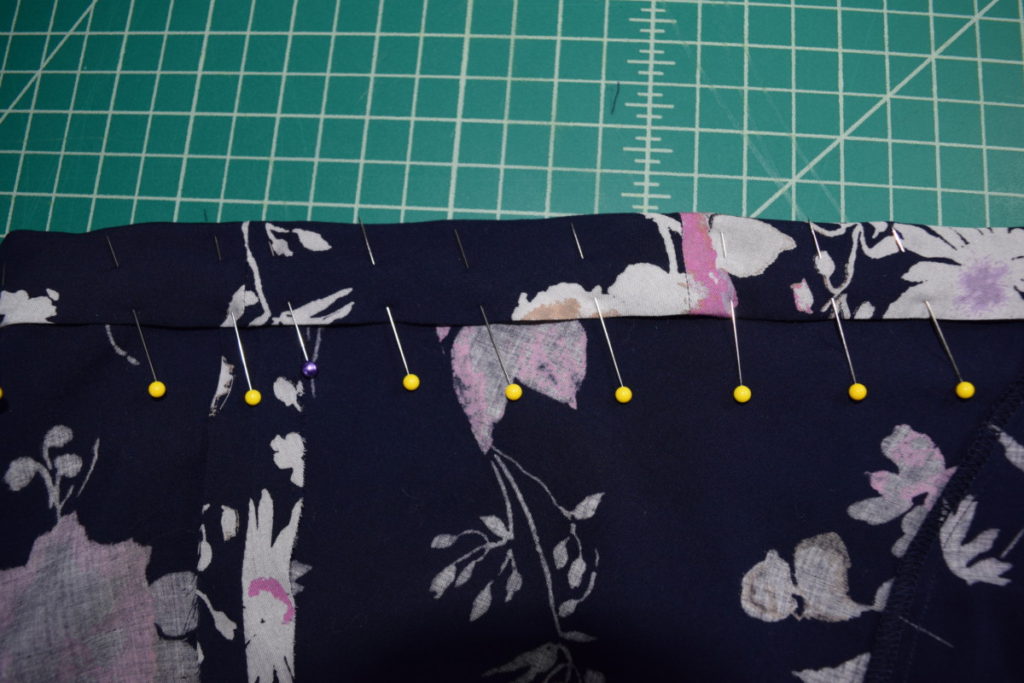
Now all we have to do to finish the cropped top is finish the armholes and hem! I started with the hem. To do this, I did a rolled hem; I folded up about 1/4 inch along the raw edge and then folded it over again to hide the raw edges in the middle of the hem.
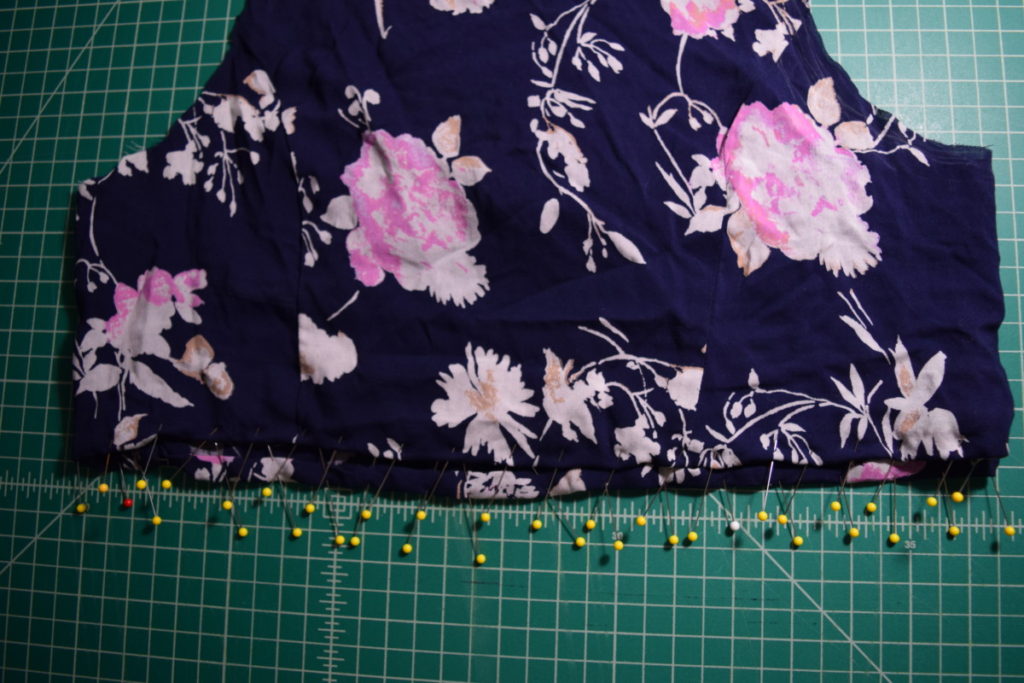
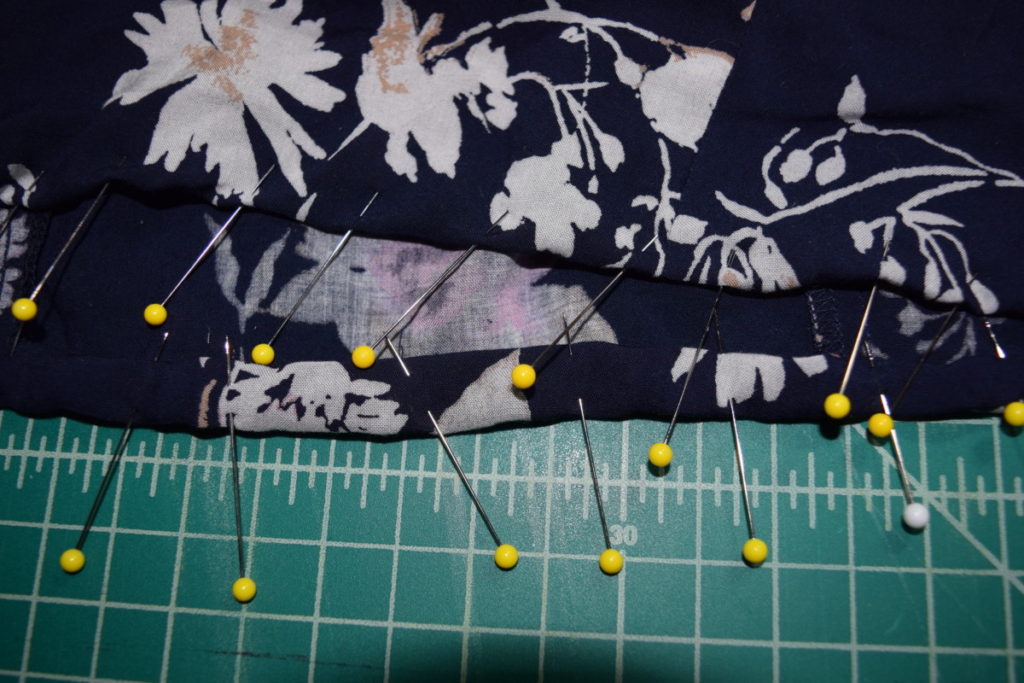
Once it’s pinned in place, sew all the way around the hem to hold it in place, then iron it flat.
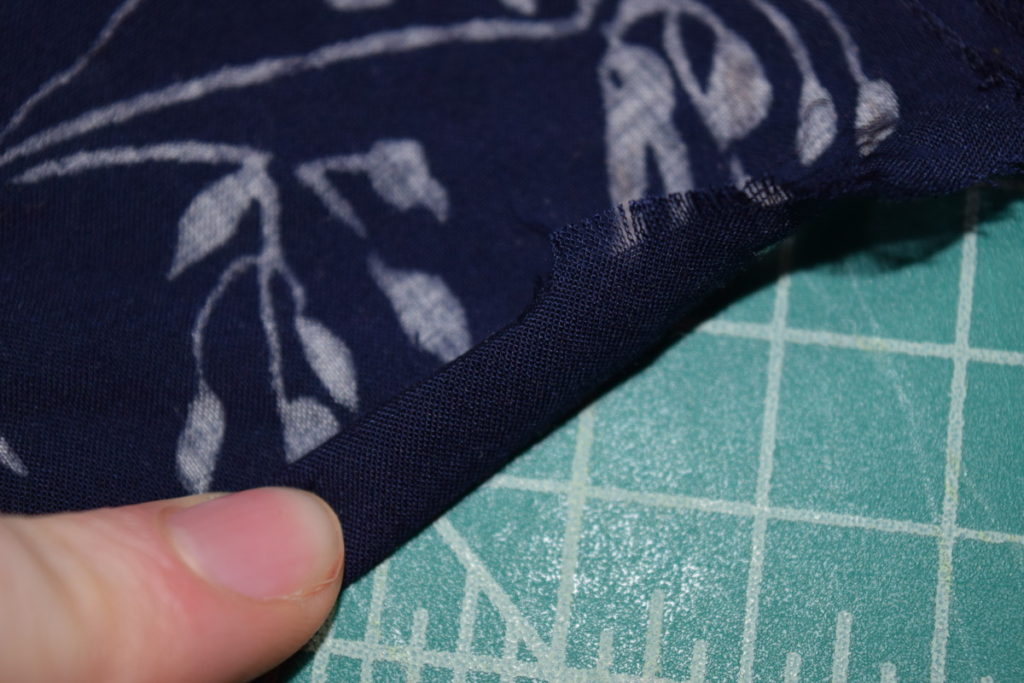
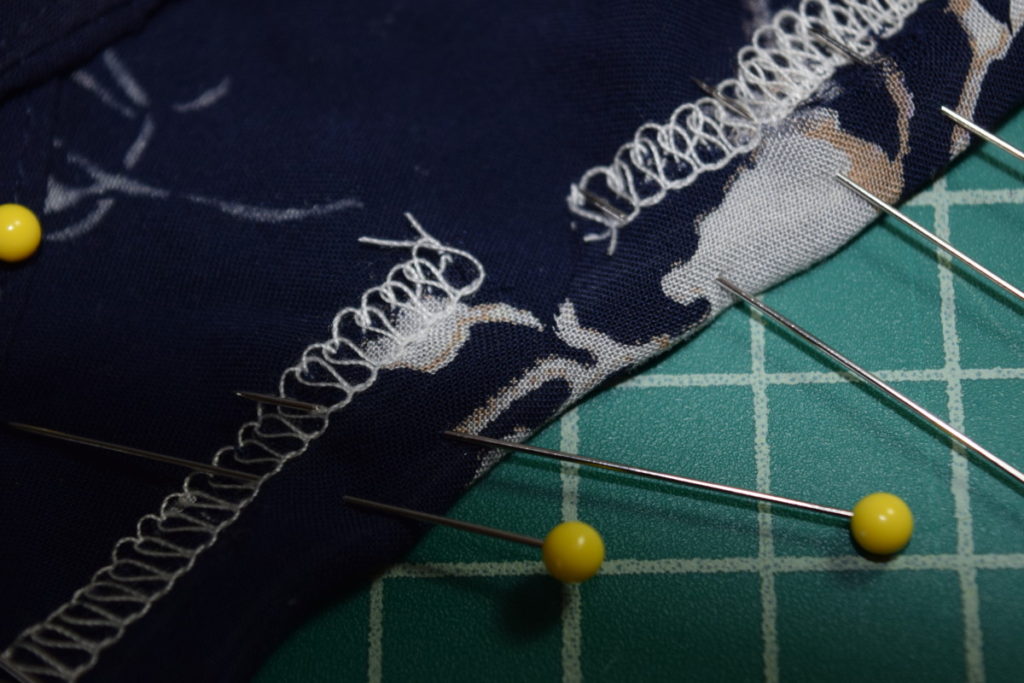
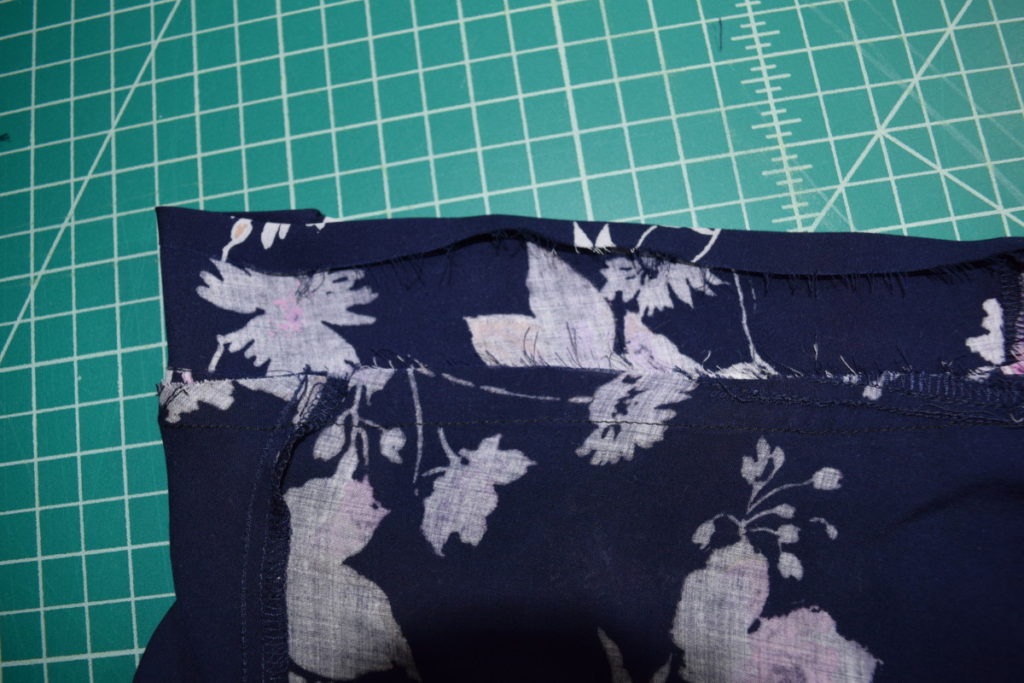
Next, we need to finish the armholes! I wasn’t able to get a rolled hem to lie flat around the armhole curves so I just serged the raw edges and then folded it over once (about 1/2 inch) and sewed along the edge. I then gave everything a final ironing for a crisp, finished look.
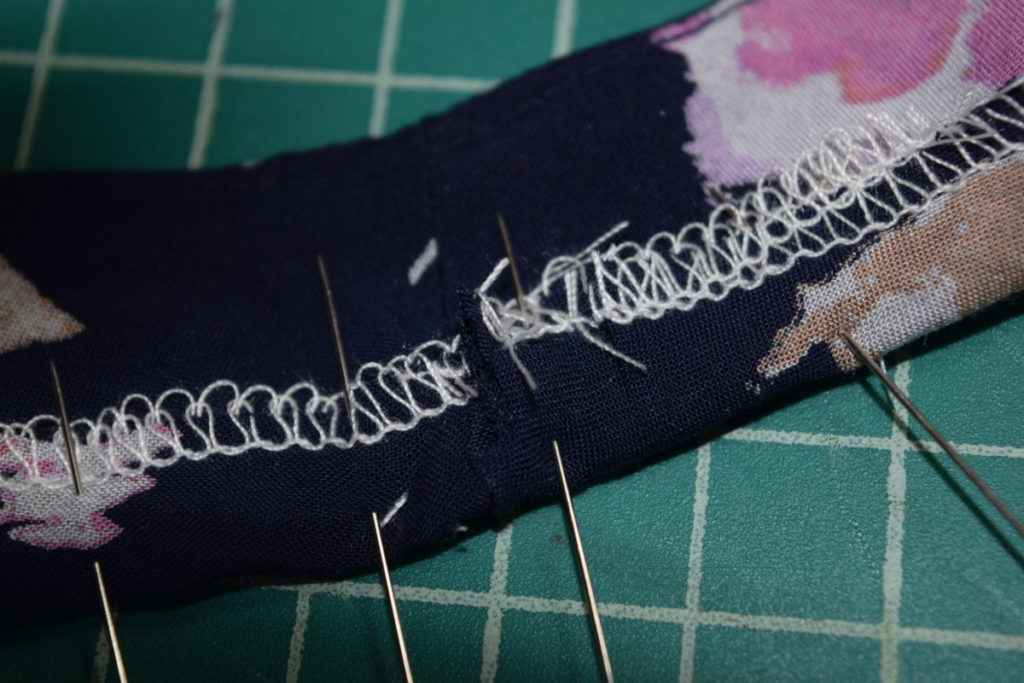
Note: if you have trouble getting it to lie flat around the curves while pinning, you can clip the seam allowance fabric with scissors to help it lie flat.
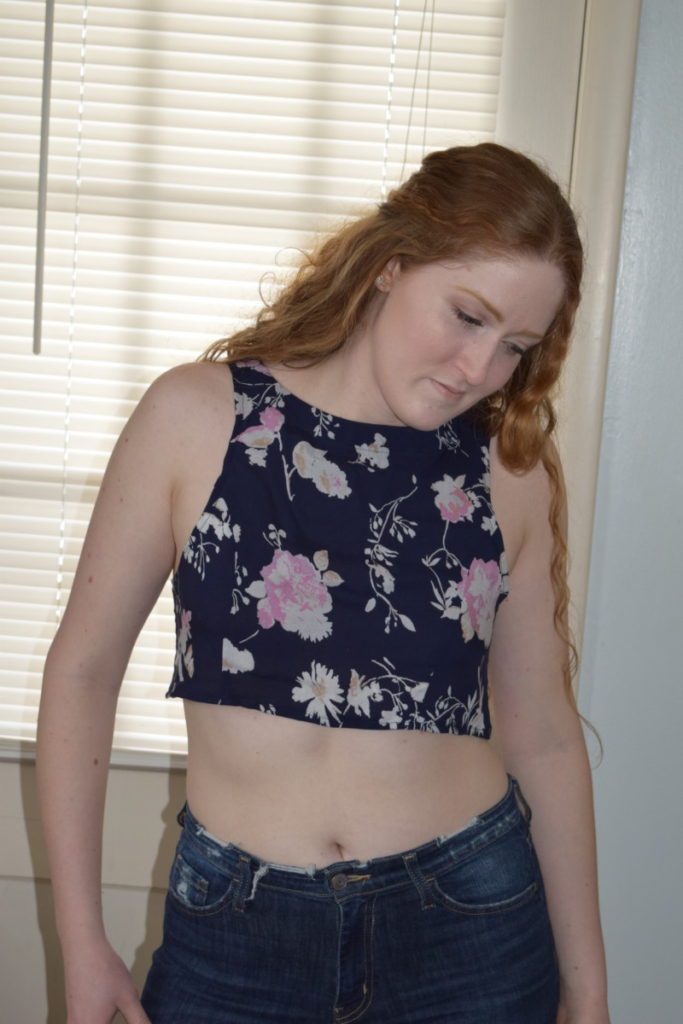
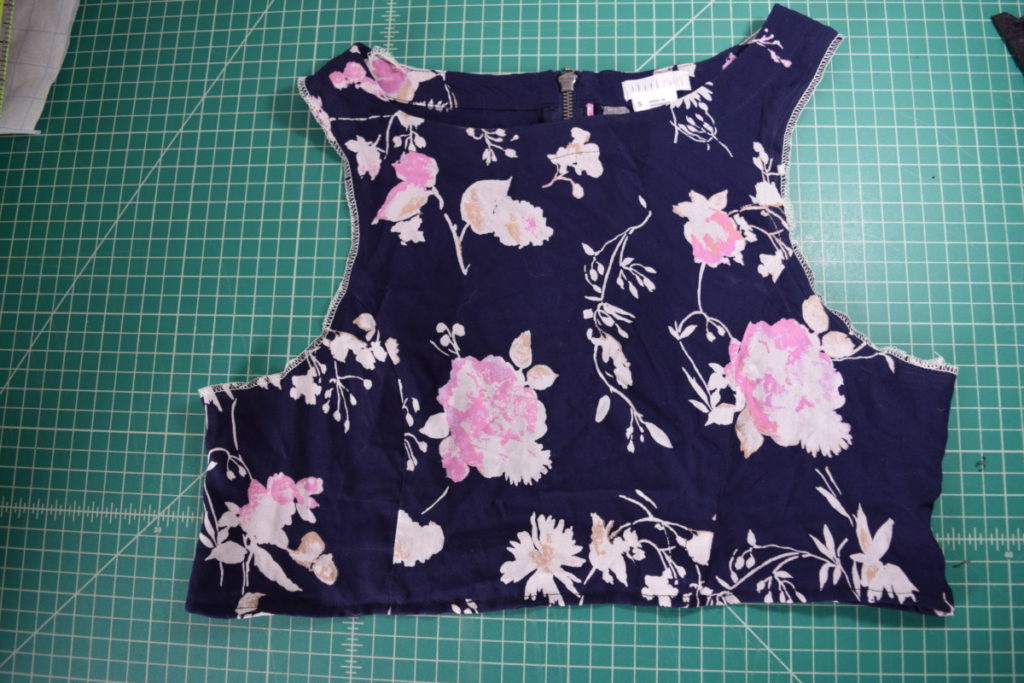
And that’s the top, done!
Making the shorts:
First, a quick disclaimer: My shorts have seams running in random directions across them because the dress I used had panels, so when I cut my shorts pattern the seams from the panels ended up in my shorts. So this would work best if you don’t use a paneled dress. I just decided to go with it because with the busy print and flowy look of the shorts, I didn’t think it would be super noticeable!
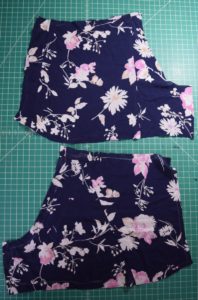
Now let’s grab that skirt we cut off the dress and make some shorts!
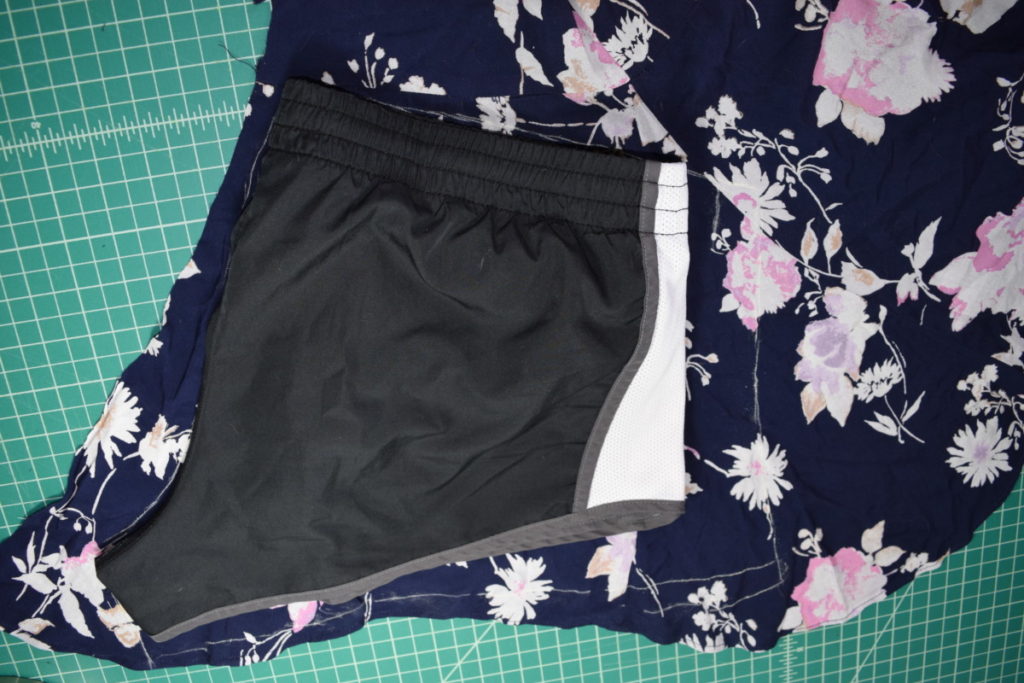
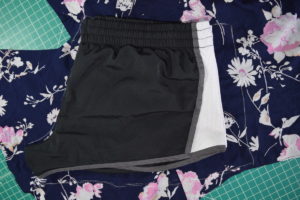
First, grab a pair of shorts out of your wardrobe that you like the fit of. We’re going to use these as a guide to cut our pattern pieces.
Fold your shorts in half with the front to the inside of the fold. Lay them down on your fabric.

Trace around them to get the pattern for your back shorts piece. Make sure when you trace the outer leg side you stretch the elastic and trace them at the widest point so your shorts aren’t too tight. I also added some extra length to the legs because the shorts I traced are shorter than I like.
Now just cut this piece out, cutting about 1/2 inch from your tracing for seam allowance.
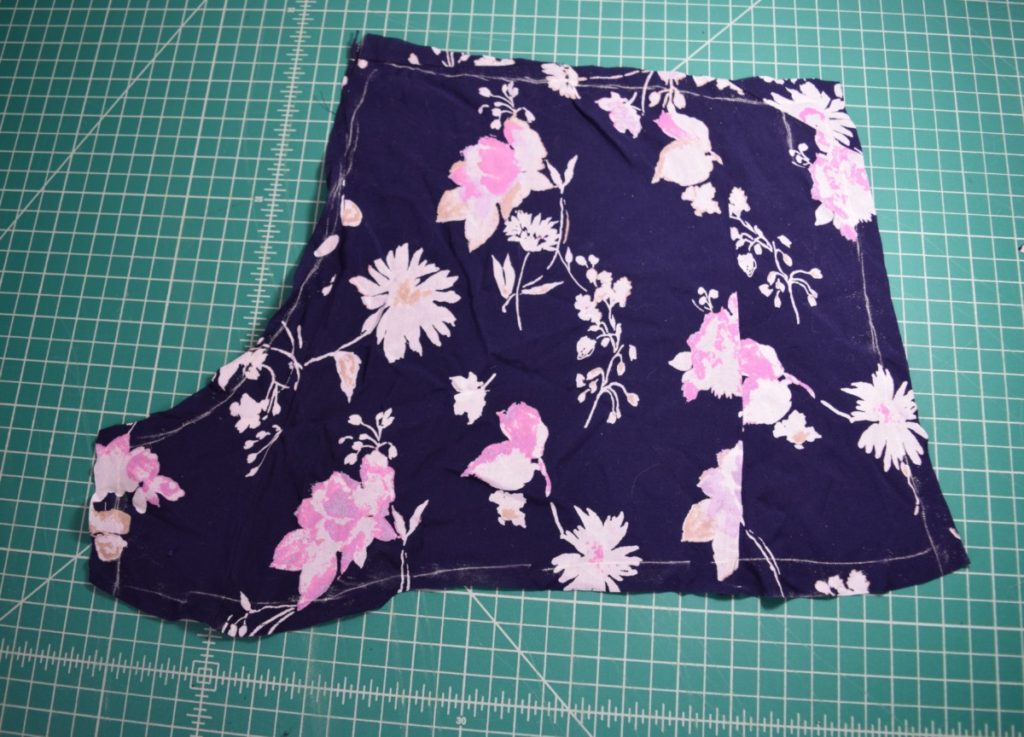
Now lay this piece you just cut out down on your fabric with right sides together and cut around it to get a second back piece that is the mirror image of the first one.
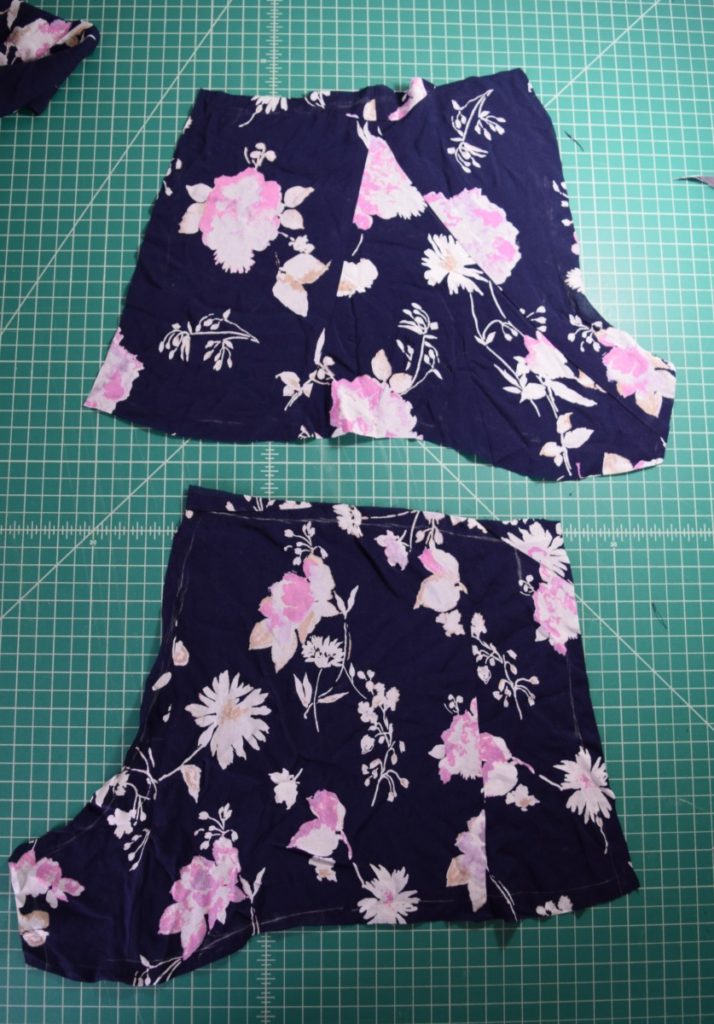
Next, fold your shorts the other direction (with the back to the inside of the fold) and lay them down on your fabric. Use the same procedure you used for the back pieces to cut two front pieces. The most important thing is to make sure you stretch the elastic towards the outer leg when you are tracing your shorts.
Next we need to cut our waistband pieces. To do this measure the length of the waist on ONE of your front pieces.
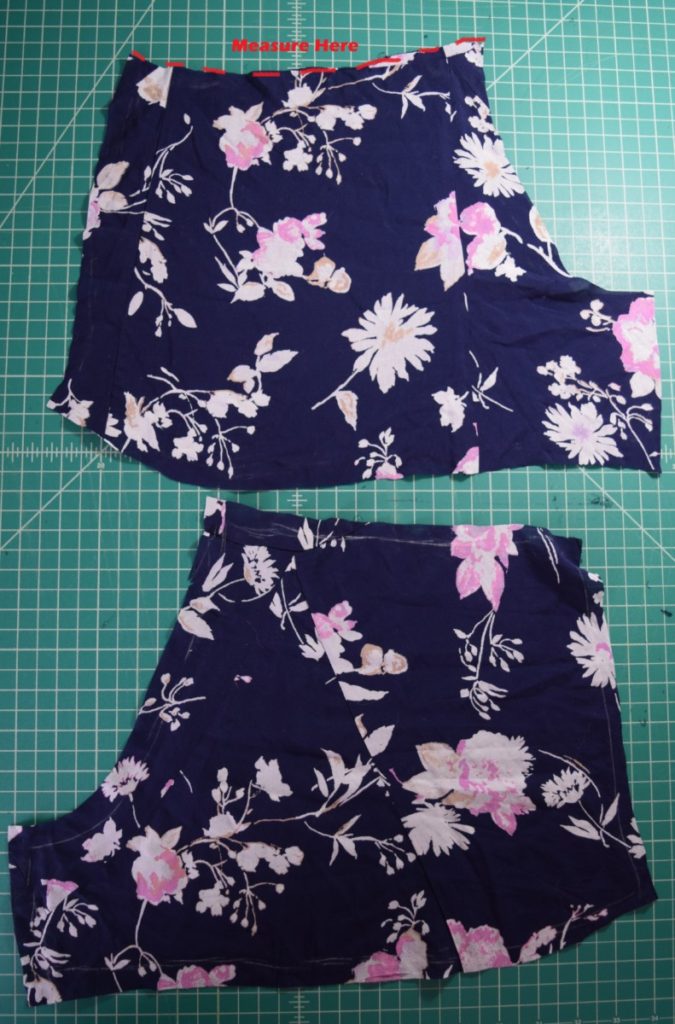
Cut a rectangle out of what’s left of your fabric that is 3 inches x ((front waist measurement x 2)-1). For example, if you measured one of your front pieces and the waist was 10 inches, your front waistband piece will be 3 inches x 19 inches.
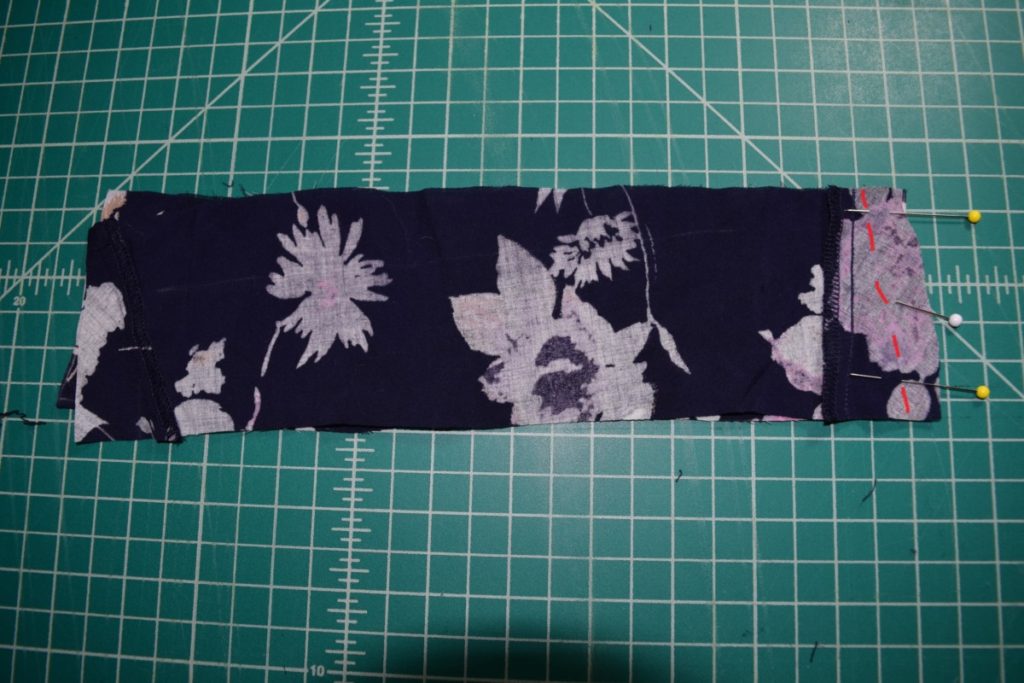
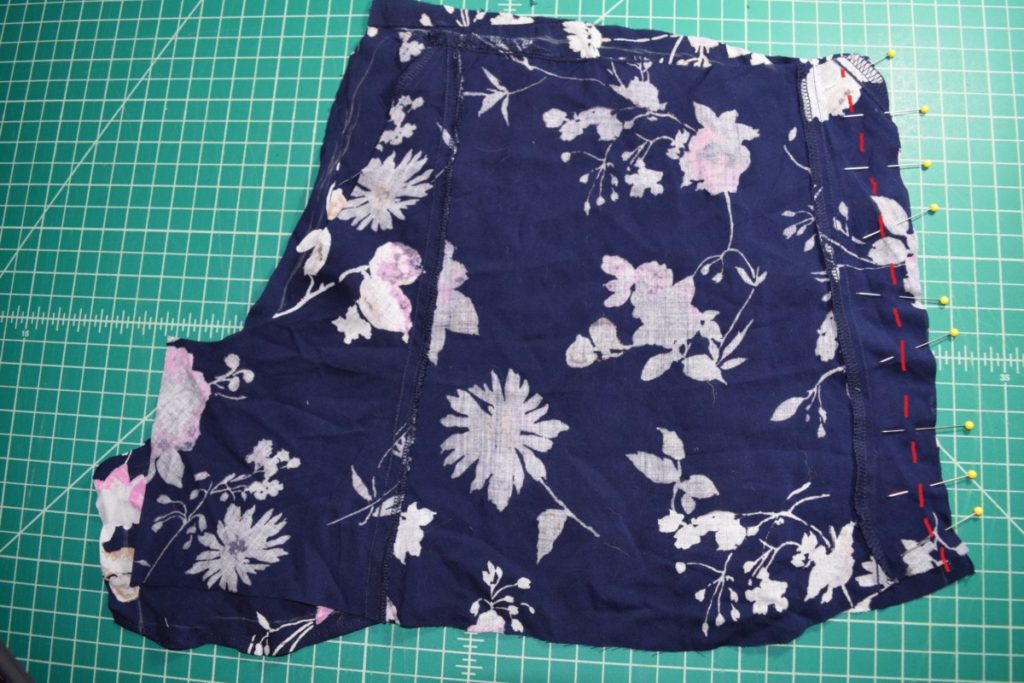
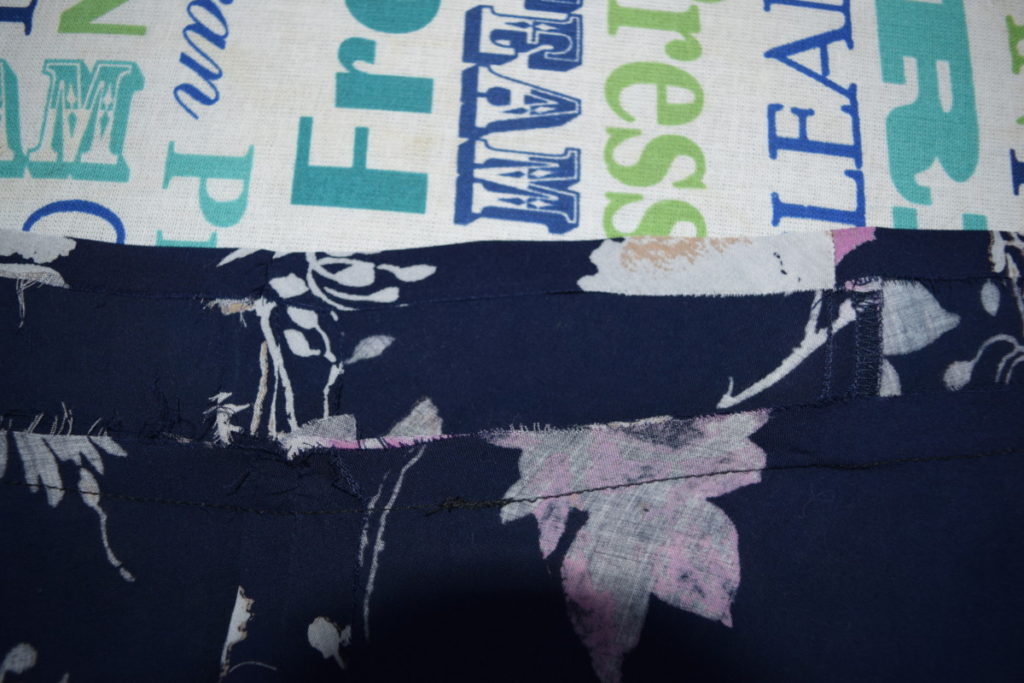
Now repeat this process to cut a back waistband piece that is 3 inches x ((back waist measurement x 2)-1). I didn’t have enough fabric left to cut my back waistband all in one piece, so I cut mine in two halves and sewed them together in the center (so my back waistband has a center back seam). Like this:
If you have enough material though, it would be best to just cut one piece for the back waistband.
At this point I would recommend that you finish all your raw edges with a serger, zigzag stitch, or pinking shears to prevent fraying. I didn’t do this…. but I should have!
Now lets sew your shorts together!
First, pin one front piece to one back piece along the outer leg seam, right sides together. Sew all the way down the outer leg seam, then press seam allowances open.
Now repeat to attach the other front and back pieces at the outer leg seam.
Next, take one of your leg pieces and pin the front to the back at the inner leg seam. Sew this seam down and press seam allowances open. You can see my front inner leg was quite a bit shorter than my back piece; so I just lined them up and the top and ended up trimming the excess off the back before hemming the shorts at the end.
Repeat this to connect the other leg at the inner leg seam.
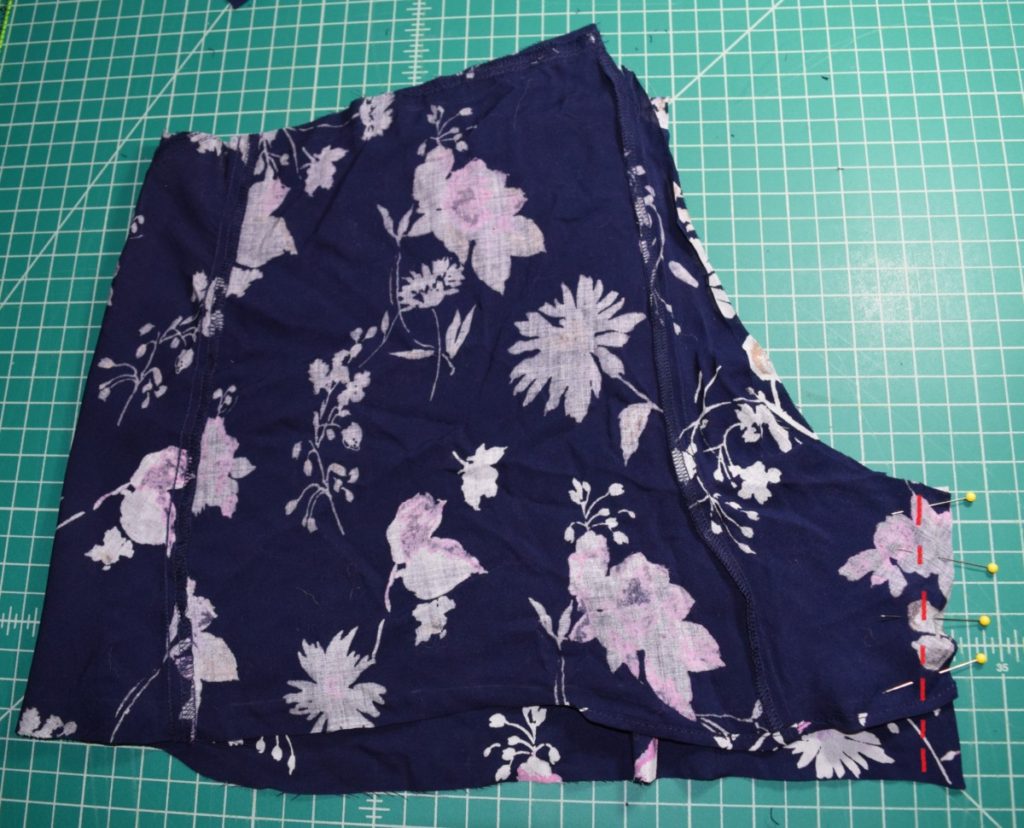
Next, turn one leg inside out while the other is right sides out. Insert the right sides out leg into the inside out leg and pin all the way around the U-shaped crotch seam. Make sure to match up the inner leg seams in the center. Sew this crotch seam and press your seam allowances open.
You’ll end up with something like this:
Now let’s complete the waistband.
First, pin the front waistband to the back waistband at the two side seams, with right sides together. Sew these seams and press your seam allowances open.
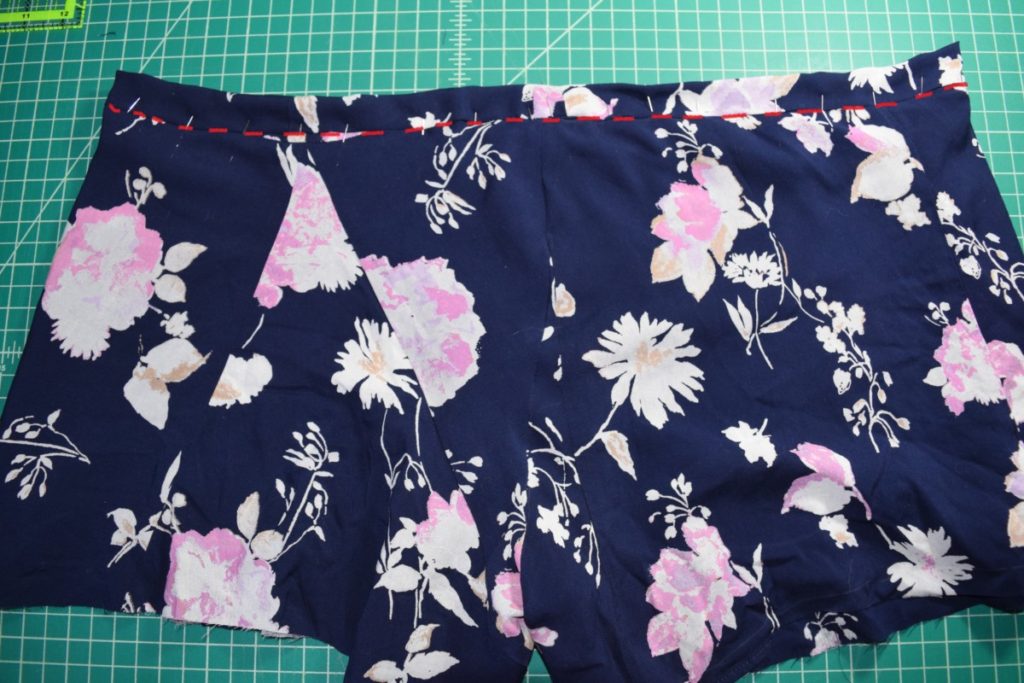
Next, pin the waistband to the waist of the shorts with right sides together. Make sure to match the side seams of the waistband with the side seams of the shorts. Sew the waistband to the shorts.
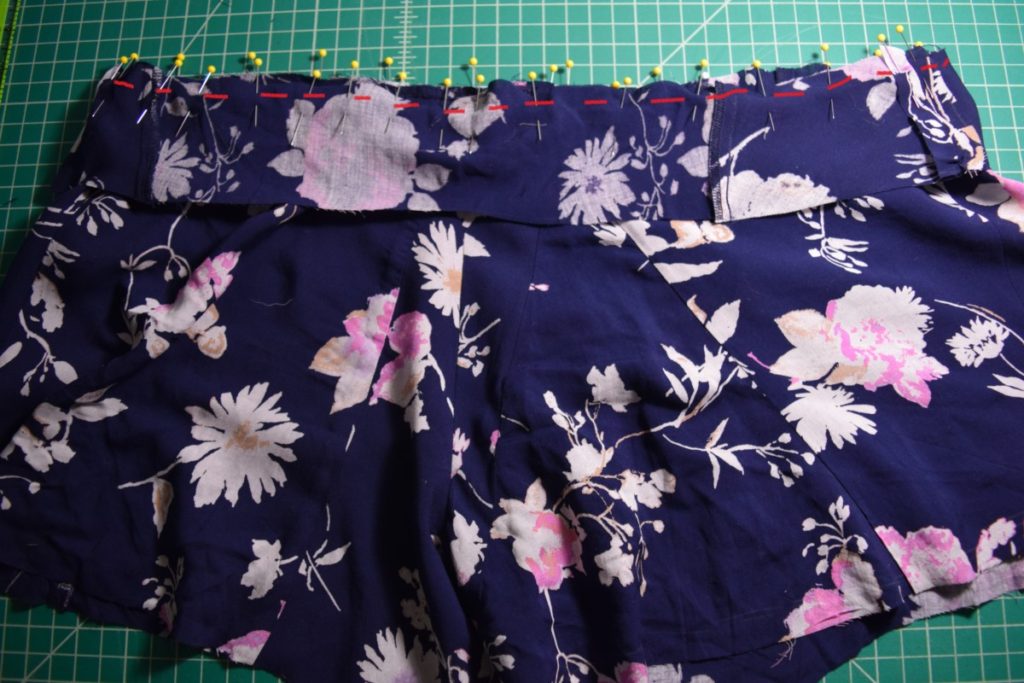
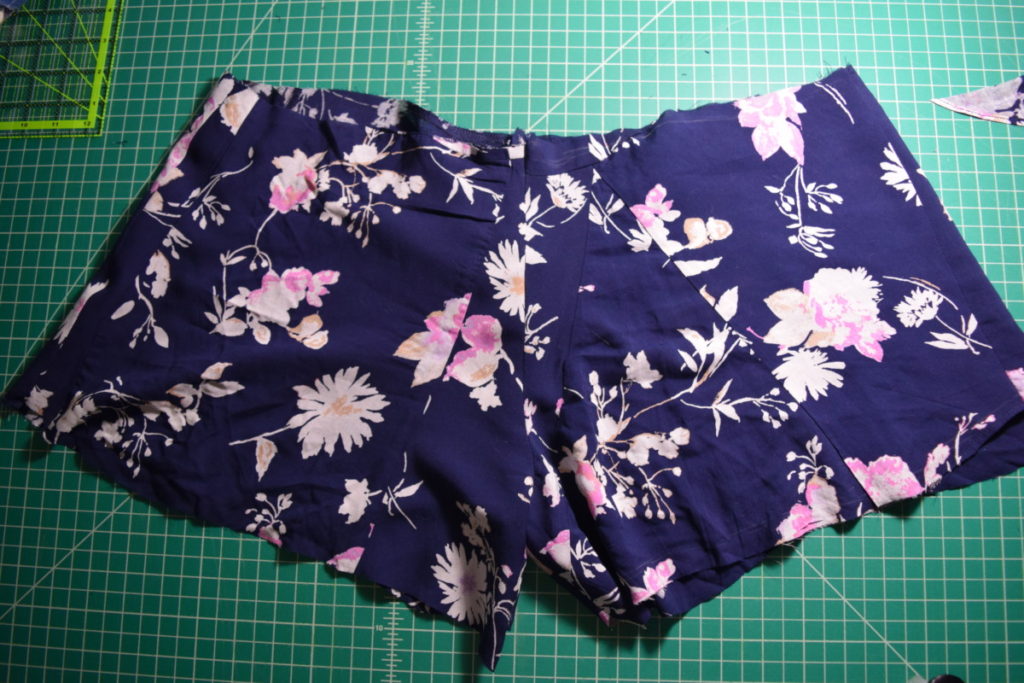
Next, press the seam allowances up towards the waistband. Your shorts will now look like this:
Next, to hide the raw edges of the waistband, iron 1/2 inch under along the entire top edge of the waistband.
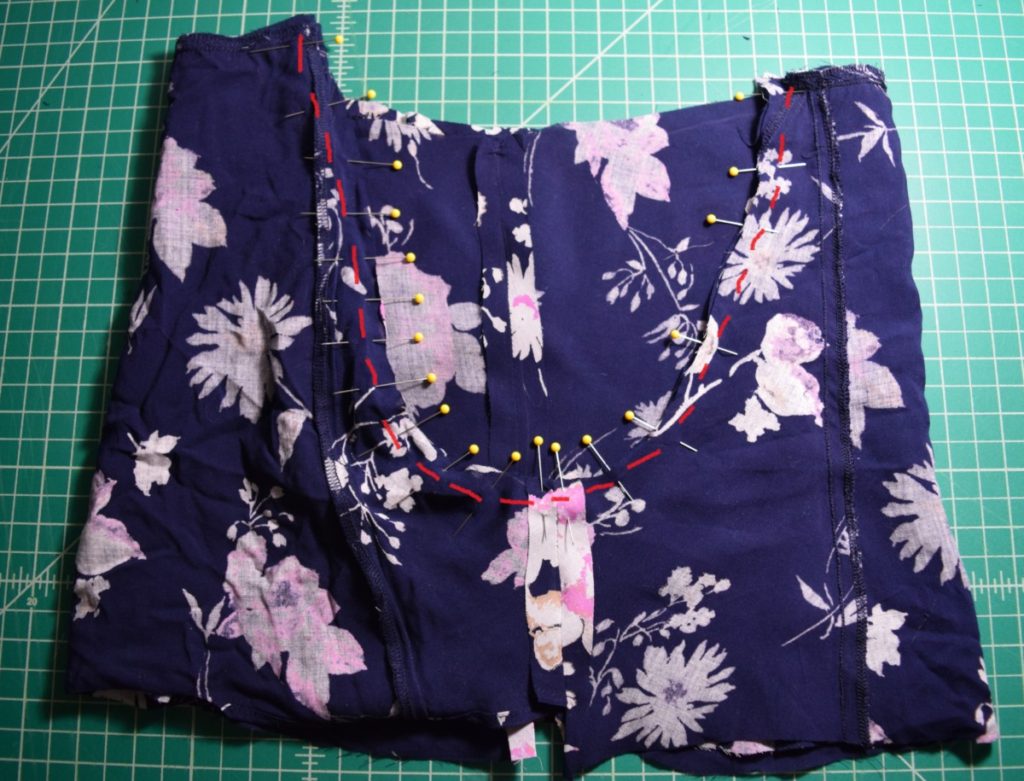
Now fold the waist band in half towards the inside of the shorts and pin the folded edge just below the seam attaching the waistband to the shorts. This will hide all the raw edges inside the waistband.
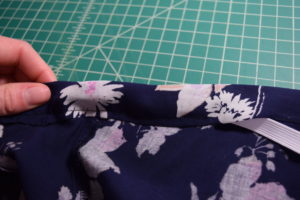
Then flip the shorts right sides out and stitch down the waistband edge by stitching inside the same seam that attaches the waistband to the shorts (called stitching in the ditch). This will hide your seam so it isn’t visible from the outside. Sew most of the way around but leave a 1-2 inch opening to insert the elastic.
Here’s the opening I left in the waistband:

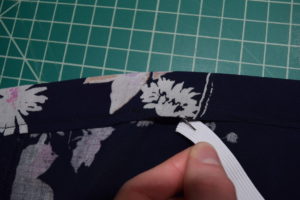
Next, measure your elastic around your hips to a comfortable tightness. Trim the elastic to the right length, plus about 1 inch for seam allowance.
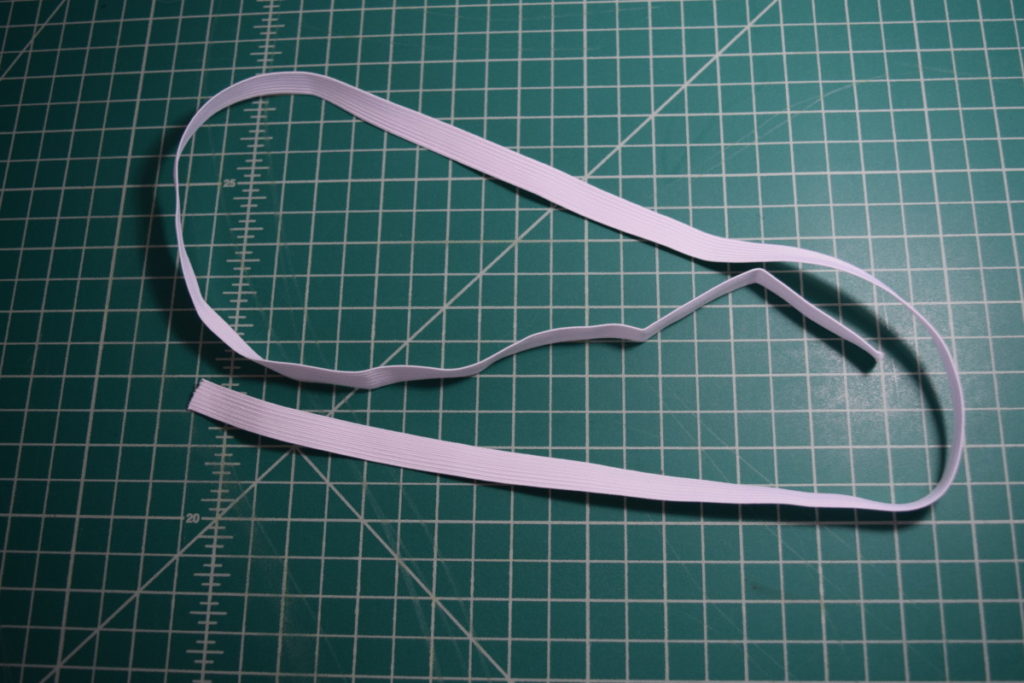
Then attach a safety pin to one end of the elastic.

Insert the safety pin end of the elastic into the hole in the waistband. Use the safety pin to pull the elastic through the waistband until it comes out the other side. Just make sure the end without the safety pin stays outside the waistband.
Now both ends of the elastic should be sticking out of the waistband:
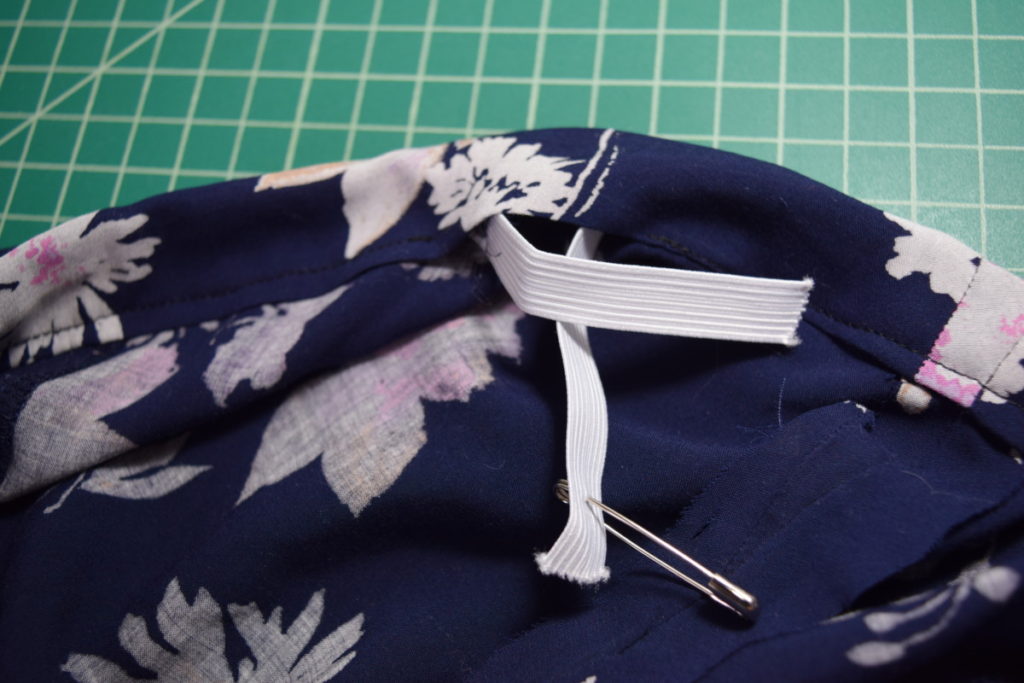
Overlap and pin the elastic ends together, making sure the elastic is laying flat and not twisted anywhere in the waistband.

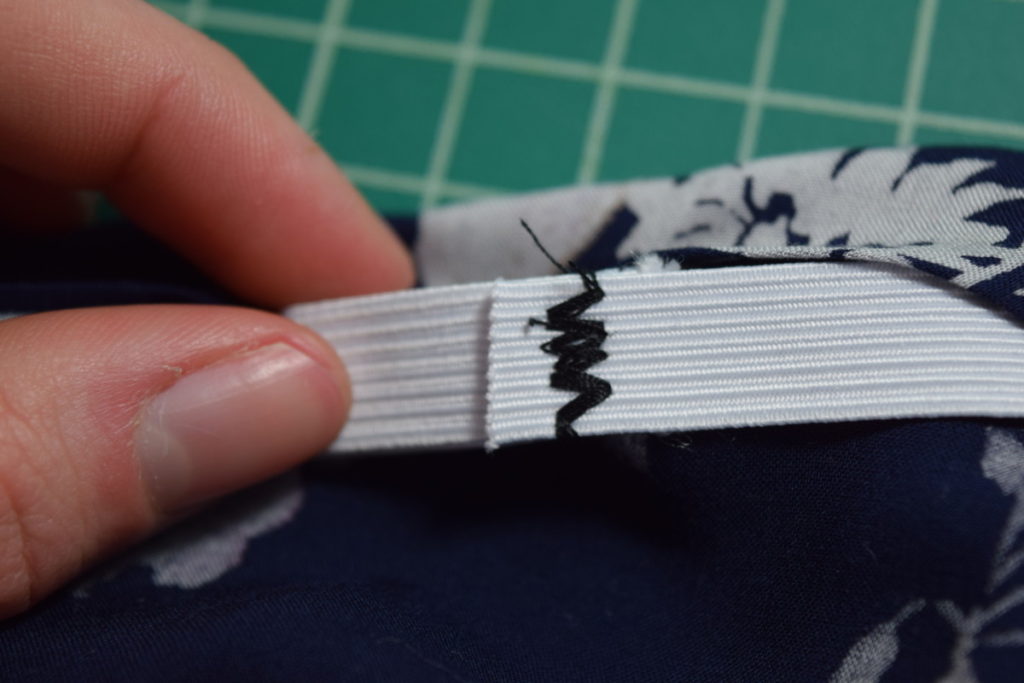
Sew the ends together with a zigzag stitch, going back and forth over it several times for a strong hold. Trim the elastic ends close to the stitching.
Now you can pull on the waistband until the elastic is hidden inside the waistband and the gathers are distributed evenly around the waistband. Then just close up the hole in the waistband by stitching in the ditch, being careful not to catch the elastic in your stitches.
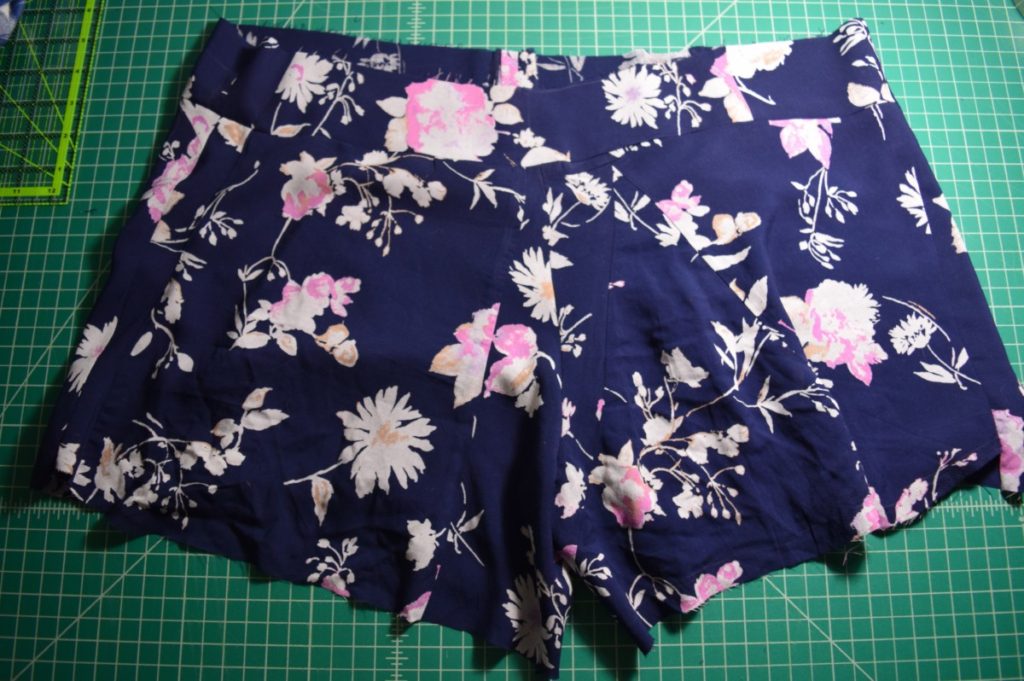
The last step is to hem your shorts! I put the shorts on and had my husband use scissors to trim the hem to be even all the way around. If you did a better job tracing your original pattern than I did, you may not need this step.
I then hemmed the shorts with a rolled hem, the same method I used for the crop top!
And we’re done!


1. CBD gummies are quick, fun and easy
How delicious are our CBD gummies? Don’t just take our word for it, professional football player, John Hartson, said “I take the 4800mg gummies and I love them. I don’t have to worry about missing my CBD, all I do is put the tub in my gym bag and I can take it in between sessions. I can already feel the benefits and the flavours are great”. If that’s still not enough, just check out our amazing 5 star reviews on Trustpilot from over 3000 testimonials from happy customers across the UK. Join the SupremeCBD family today to start benefiting from our incredible edibles. Free UK Delivery on All Orders Over £50 Enjoy FREE UK delivery on all orders of £50 or more. Don’t miss out on this amazing offer and make the most of your CBD experience with our delicious gummies, delivered straight to your door! Shop now and unlock the power of CBD Gummies in the UK
Getting your daily dose of CBD has just got even easier with SupremeCBD thanks to our range of mouth watering CBD Gummies. Our CBD Gummies are designed to be easy to take, easy to store, and easy to have while you’re out and about. All you have to do is simply pop your grab bag or tub in your bag for easy reach when you need them most. And because our gummies are the size of most jelly sweets, they’re the perfect addition to your morning routine and easy to take. CBD Gummies are also one of the best ways to take your CBD safe in the knowledge that they’ll be working their magic and providing beneficial goodness for hours. Our Grab Bags Are Perfect For Taking CBD Gummies On The Go If you have a busy lifestyle – family, work, kids – it’s easy to forget about taking your CBD when you need it, which is why we have you covered. To make it easy to get your regular dose of CBD you can now buy our CBD gummies in handy grab-bags, as well as our recyclable tubs. And not only that, we now offer an amazing variety of delicious flavours and shapes, ranging from worms and strawberries, to our mouth watering cherries and bears. So now you never need a reason to miss your CBD, all you have to do is pop them in your hand bag, gym bag, or even pop them in your pocket and you’ll always have them within reach, ensuring you never miss your dose. How Many Gummies Can You Take? This is a question we get asked a lot. Understanding the right amount of CBD gummies you should take depends on a couple of factors, 1) Your desired effect 2) your individual tolerance and body weight. At SupremeCBD we understand that everyone’s needs and preferences are unique which is why we put together this handy blog: “how many gummies should I eat?”. But if you’re looking for a quick answer, we recommend starting with one gummy and waiting for about an hour to see how it affects you. If you feel the need to increase your dosage try taking another edible until you find an amount that works for you. One thing you can be sure of is that each of our CBD gummies are carefully made to offer you a delicious, and enjoyable way to maintain your overall physical and mental well-being. If you have any questions feel fee to contact our team. Alternatively you can always consult with a healthcare professional if you have any concerns or are unsure about the right dosage for you. 100 Gluten Free and Vegan CBD Gummies Did we forget to mention that our CBD edibles can be enjoyed by all? Whether you have an intolerance to gluten or you are vegan, we have made sure you can still enjoy our delicious range of CBD gummies. All of our gummies are 100 gluten-free and vegan, making them a perfect choice if you have specific dietary requirements. Looking after all of our customers is important to us which is why we have meticulously crafted our edibles to provide you with a guilt-free way to enjoy the benefits of CBD everyday. Our Customers and Ambassadors Love Our CBD Gummies
Are CBD Gummies worth buying?CBD Gummies offer an appealing choice for those looking to add CBD to their daily regimen in a delightful and hassle-free manner. Their popularity is due to several advantages.First, they provide a simple way to enjoy CBD’s potential benefits discreetly. Second, the pre-measured dosage of CBD in each gummy simplifies managing your intake and allows for easy experimentation with different amounts.Moreover, these gummies are available in a broad range of flavours, bringing an enjoyable and tasty element to your CBD usage.It’s important to remember, however, that the effectiveness of CBD Gummies can differ based on various factors, including the quality of the product, individual metabolic responses, and the specific outcomes you’re seeking.What is Considered a Strong CBD Gummy?
CBD gummies UK are a form of CBD edibles. These are foods containing the natural compound cannabidiol (CBD), derived from the cannabis plant, and form an easy, tasty, and discreet way of ingesting CBD on a regular basis. Although we can’t legally support these claims, many people anecdotally consume CBD gummies for anxiety on a regular basis as an easy and convenient way of helping to control and ease their anxiety levels. Our products are made with the purest ingredients, and they are pharmacist formulated to ensure efficiency. Once the items are ready for sale, they have been sent for lab-testing by third party facilities. These tests examine the cannabinoid, THC, and contaminant profile of our fantastic products. For our popular CBD edibles, we opt to use the finest broad-spectrum CBD extracted from Colorado-grown hemp. The signature formula used to create these CBD gummies boosts the delicious sweet flavours while eliminating the hemp taste. Snack away on these cannabidiol supplements every day, just like the multi-vitamins from the years of our youth. Your cannabidiol regimen is an excellent habit to maintain over time, and these CBD treats will keep you coming back day after day.