

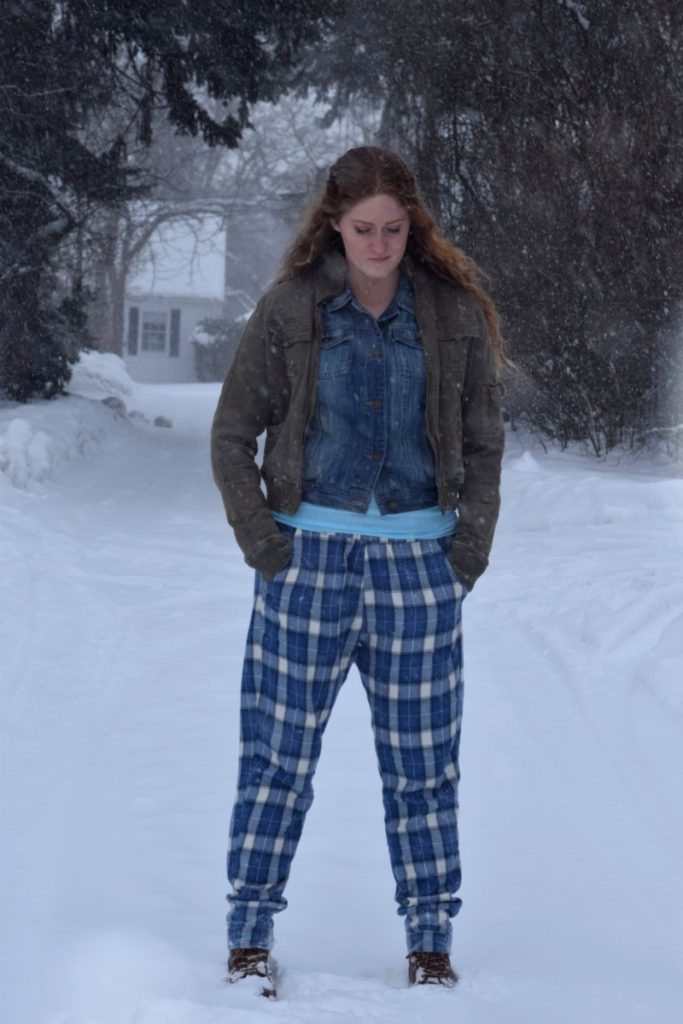
So a couple months ago I found a pair of Old Navy joggers in the men’s section of the thrift store. They are the first pair of joggers I’ve ever owned and I have to say, I was in love! They’re super comfy, but still look fashionable enough to wear in public. The slim legs give them a less frumpy look than traditional sweat pants.
Unfortunately, when I brought those joggers home my husband decided he liked them just as much as I did! So, my joggers became our joggers.
So when my husband recently asked me to make him a pair of pajama pants with some flannel we had come across at the fabric store, I asked how he wanted them to fit. The answer? “Like the joggers!”


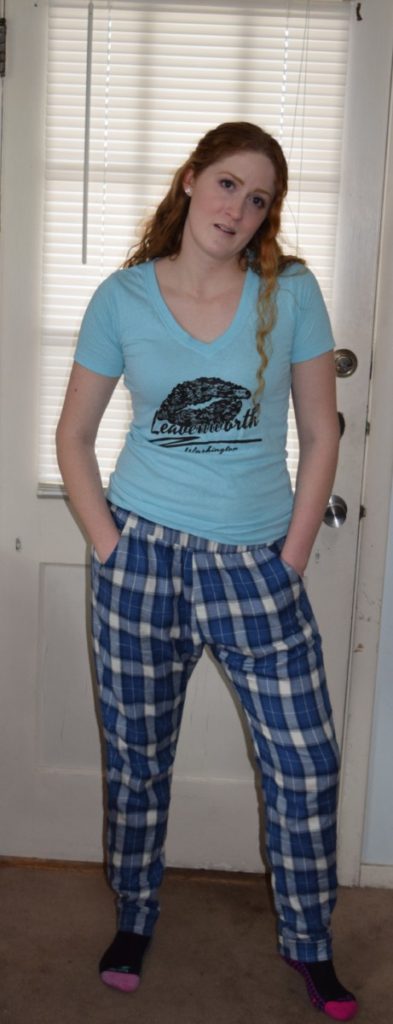
For this DIY, I used our favorite pair of joggers as the pattern. If you don’t have joggers but want to make a pair, you can use regular pajama pants as a pattern for the crotch and upper leg and taper the leg down to the ankle. Just make sure you make the calf and ankle portions large enough to fit your foot through (especially if your fabric is not stretchy).
So, let’s get into the tutorial!
*This post contains affiliate links for your convenience, so if you purchase something through my links I receive a small commission. This helps support my site so I can continue to create content and help you reach your sewing and DIY goals!
What you need:
- About 3 yards of comfy fabric
- 1.5 or 2 inch elastic
- Safety pin
- Sewing machine
- Needle
- Scissors
- Ruler
- Fabric chalk or marker
- Sewing pins
- Iron
Instructions:
To cut leg pieces:
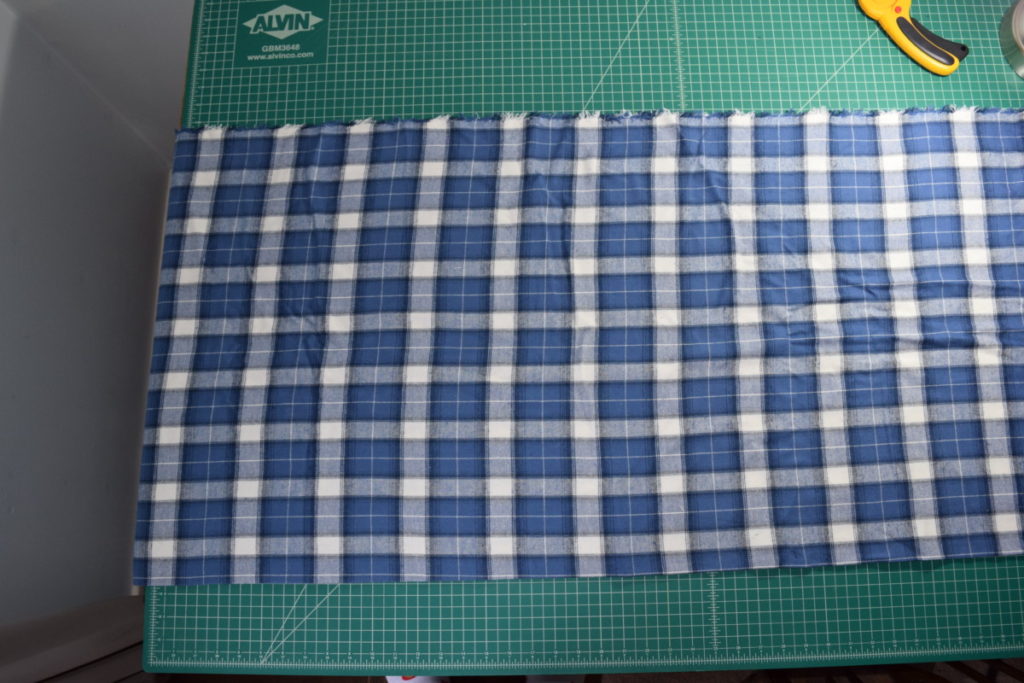
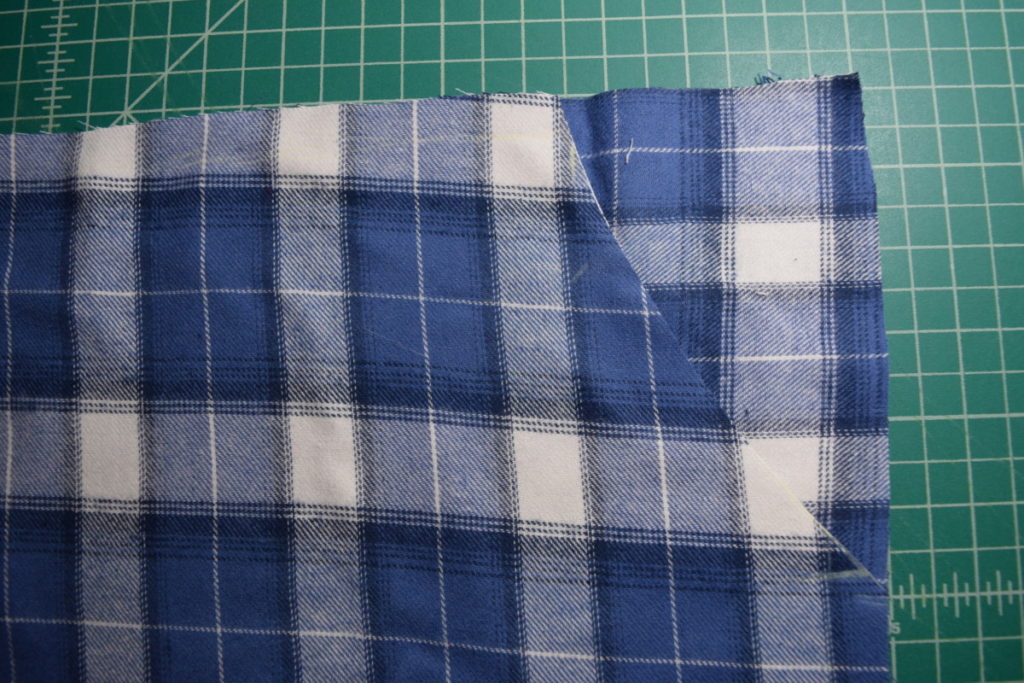
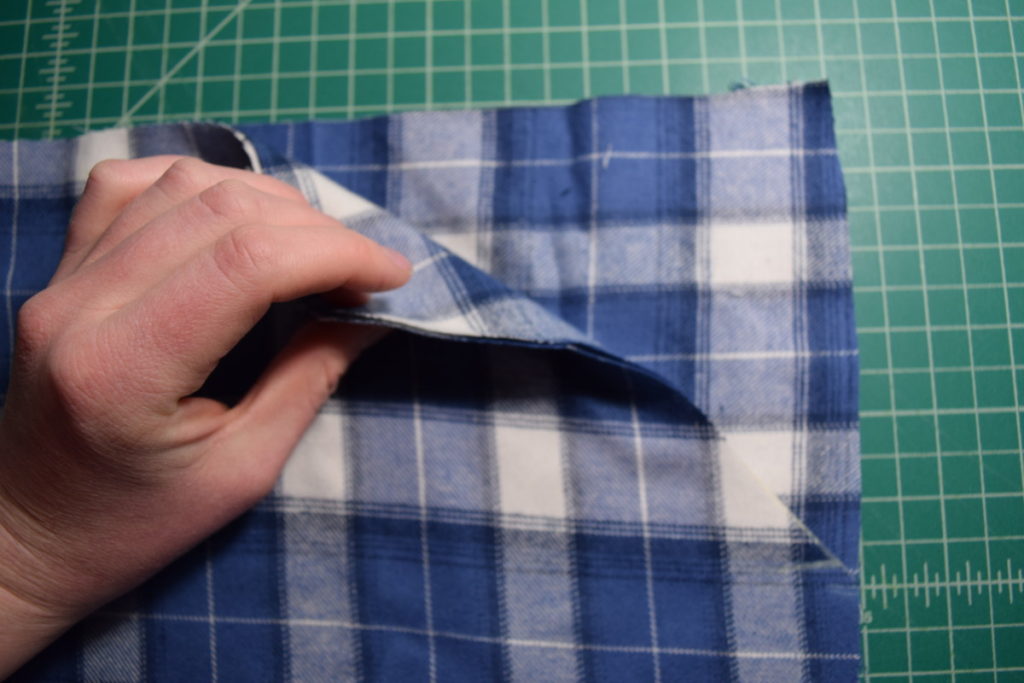
First, you’ll want to fold your fabric in half with right sides together and spread it out so it lays flat.
Next, get the pants you’ll be using as the pattern and fold them in half with the front sides of the pants to the inside of the fold. Lay the pants out on your fabric and trace around them to get the pattern for the back leg pieces. When you trace around the waist area, stretch the elastic out so that your pattern pieces aren’t too small to fit over your hips. Once we insert elastic into the waistband, it will gather the waist to fit.
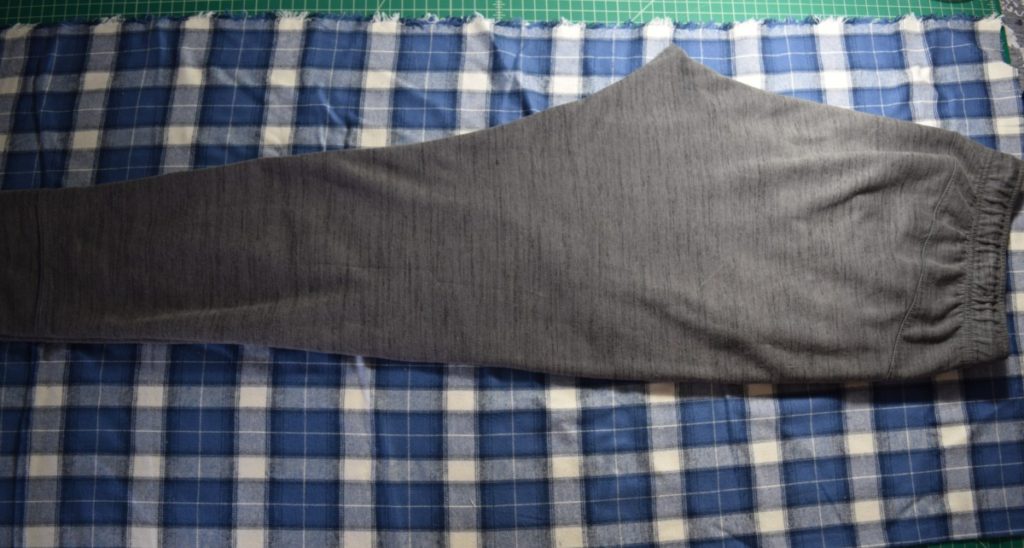
Cut around your traced pattern, leaving about 1/2 inch all the way around for seam allowance. This will result in two back leg pieces that are mirror images of each other.

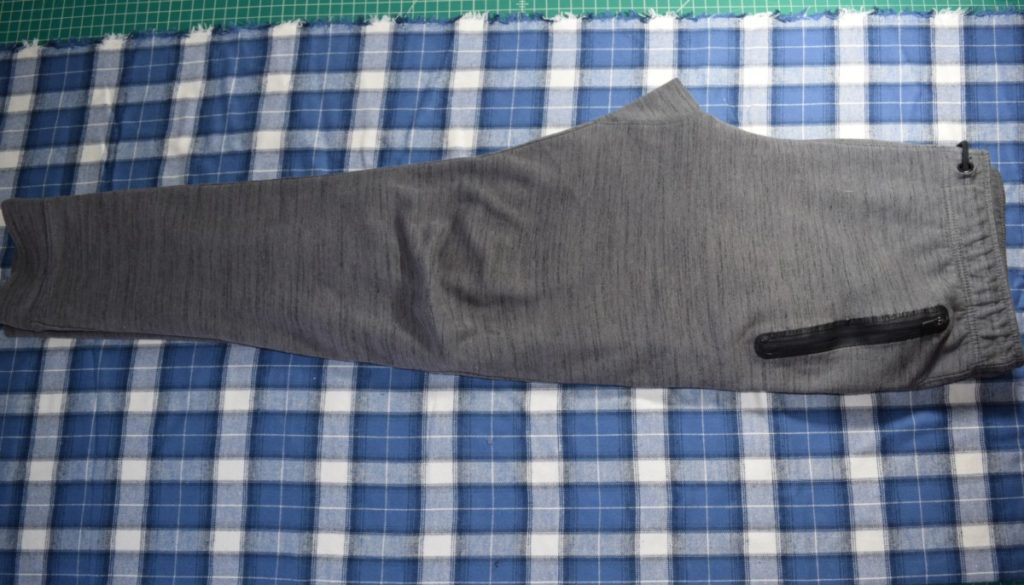
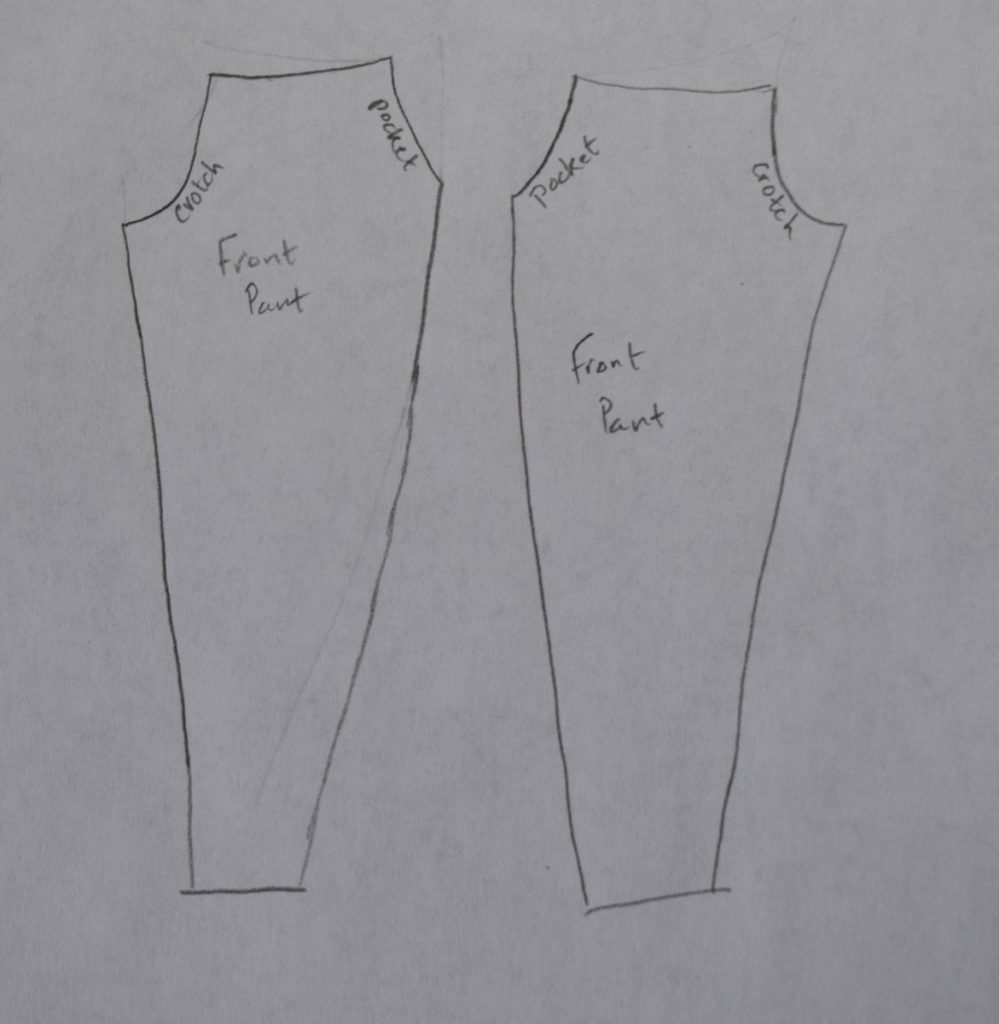
Next, fold your pants the other direction (with the back of the pants to the inside) and repeat this process to cut out your front leg pieces.
To cut ankle cuff pieces:
First, measure the width of the ankle on one of your front leg pattern pieces. Mine was 7.5 inches wide. Cut two rectangles of fabric that are 5 inches x front ankle measurement. So my two pieces were 7.5 x 5 inches. These are your front ankle cuffs. Repeat this process to cut two back ankle cuffs, using the width of the back ankle piece as your measurement (mine were 5 x 7.75 inches).
To cut waistband pieces:
Now, we’re going to cut your front and back waistband pieces. First, measure the length of the waist on one of your front pattern pieces. Mine was 11 inches. Now, cut one rectangle that is 5.5 inches x ((front waist measurement x 2)-1). So, using this formula, my front waistband piece was 5.5 x 21 inches.
Repeat this process for the back waistband piece, using the measurement of your back waist. My back waist measurement was 13 inches, so the back waistband pieces was 5.5 x 25 inches.
To cut pocket pieces:
Next, we’re going to cut out the pieces for the pockets! Because, really, who wants pants without pockets?
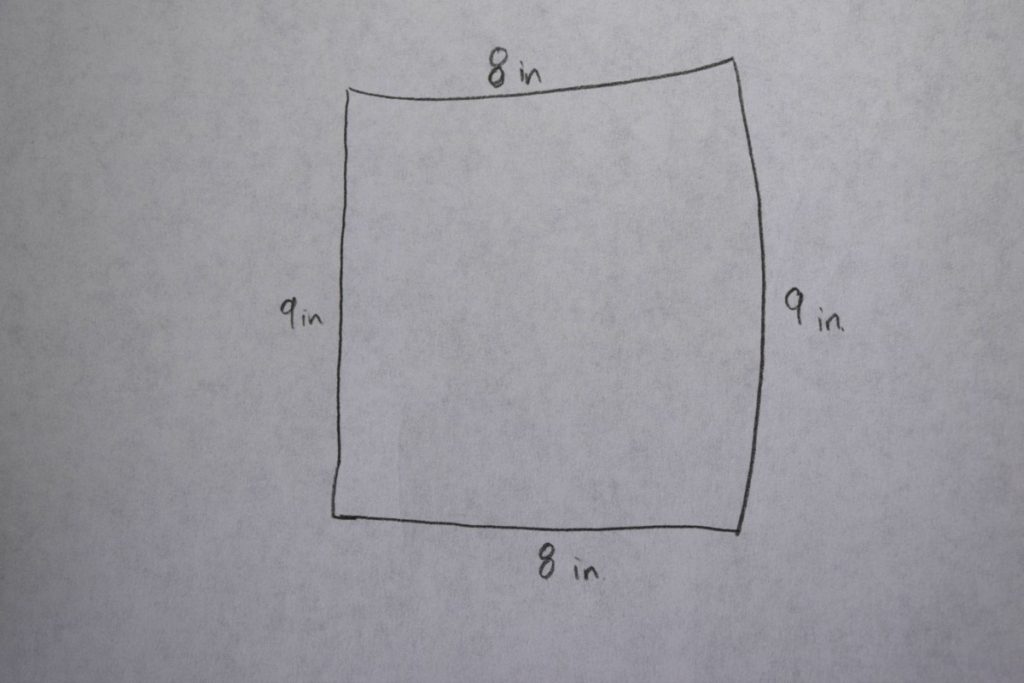
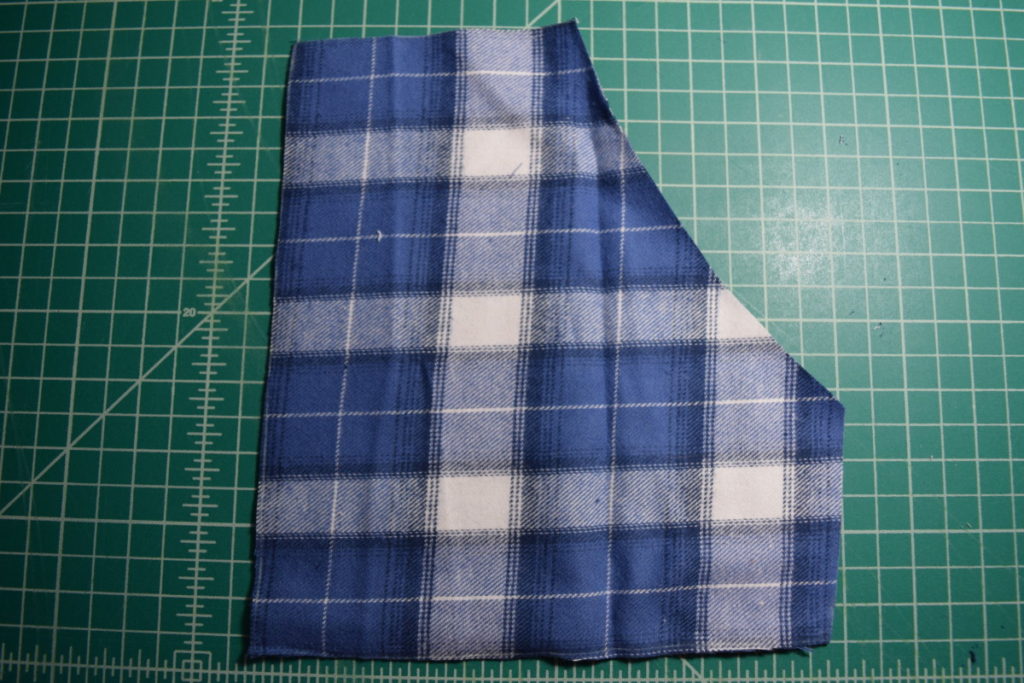
First, lay one of your front pant pieces down on the fabric and trace the outer (hip) side down 9 inches from the top and the waist over 8 inches from the outer hip edge.
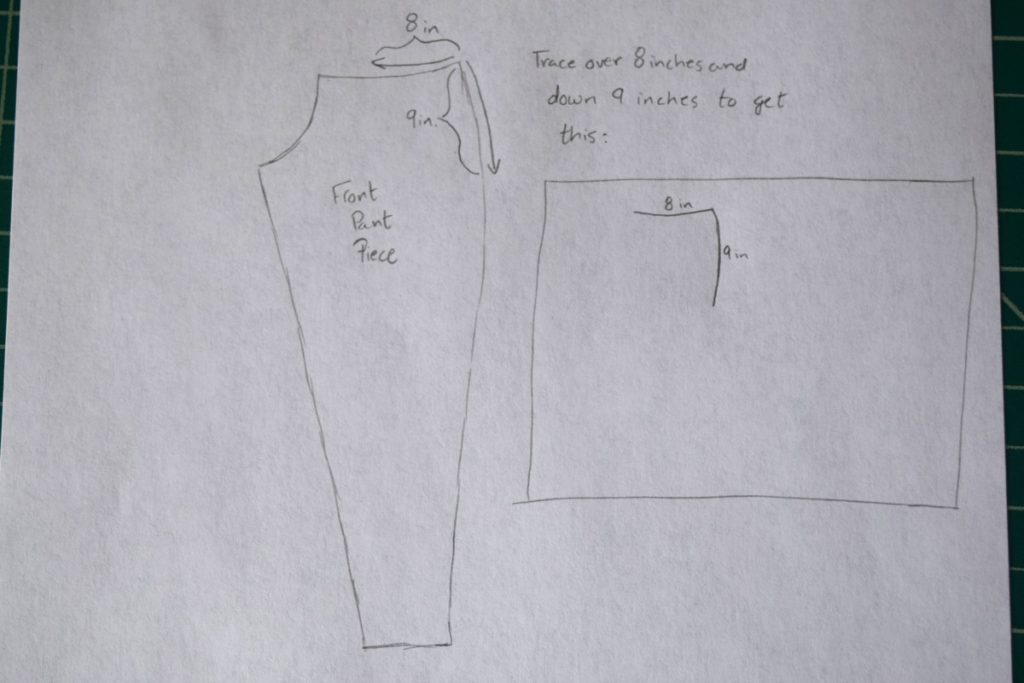
Now fill in the other two sides to make a square approximately 8 inches by 9 inches (two of these sides were traced so won’t be exactly straight lines). Your drawing on the fabric should look like this:
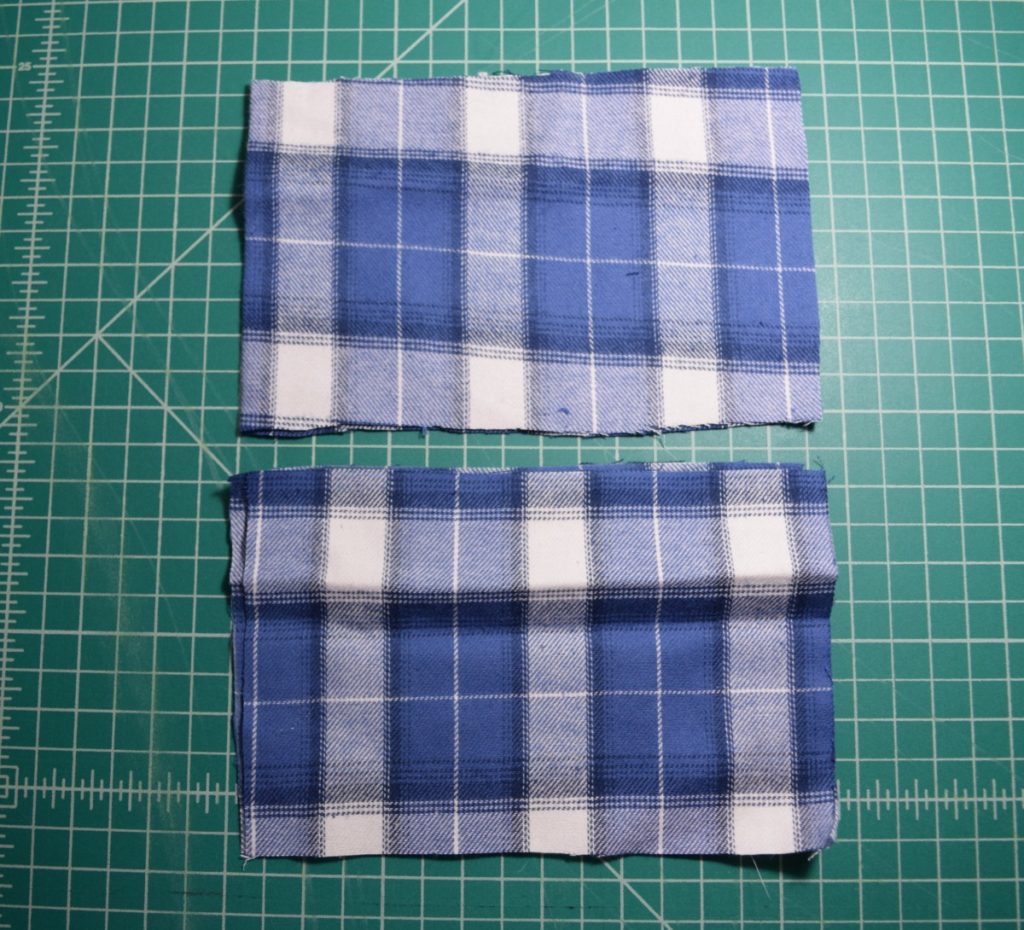
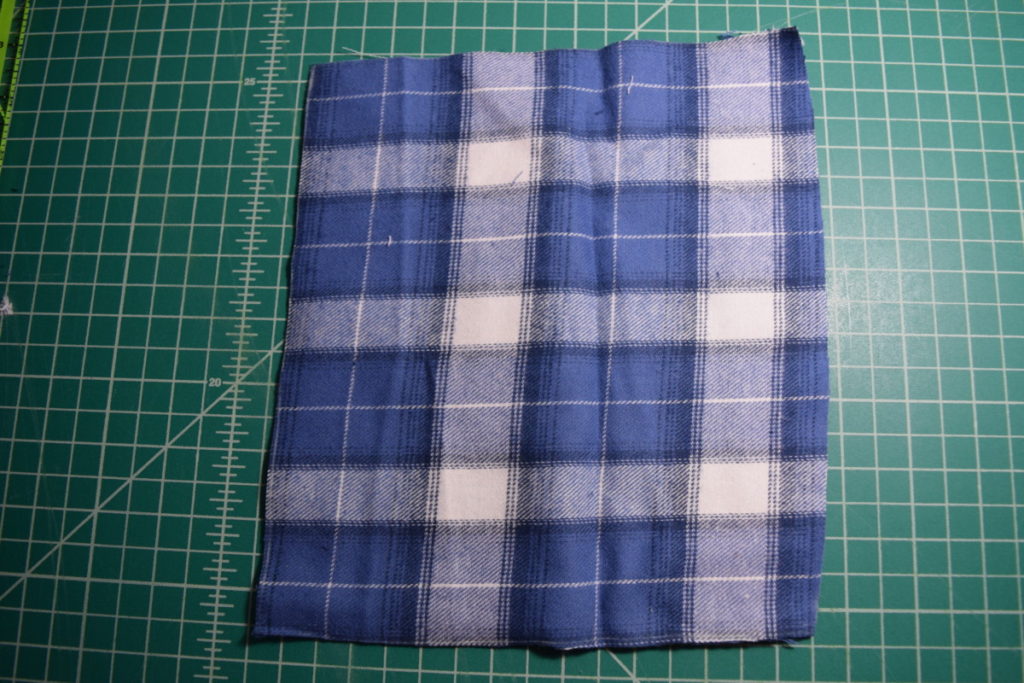
Cut this piece out along the lines you drew. Here’s what mine looked like:
Now, lay this piece down on your fabric with both pieces right sides up (NOT right sides together). Cut around the piece. This will give you another identical piece.
Next, lay the original piece down on the fabric right sides together and cut around it. Repeat this step. This will give you two pieces that are mirror images of the first two pieces you cut. Separate these pieces into pairs with each pair containing two mirror image pieces (NOT identical pieces).
Set aside one of the pairs. This will be the back of your pocket (inner pocket piece).
Now, on one of your front pants pieces mark 3.25 inches over from the long edge along the waistline. Now mark 5.5 inches down from the top of the piece along the long (outer hip) side.
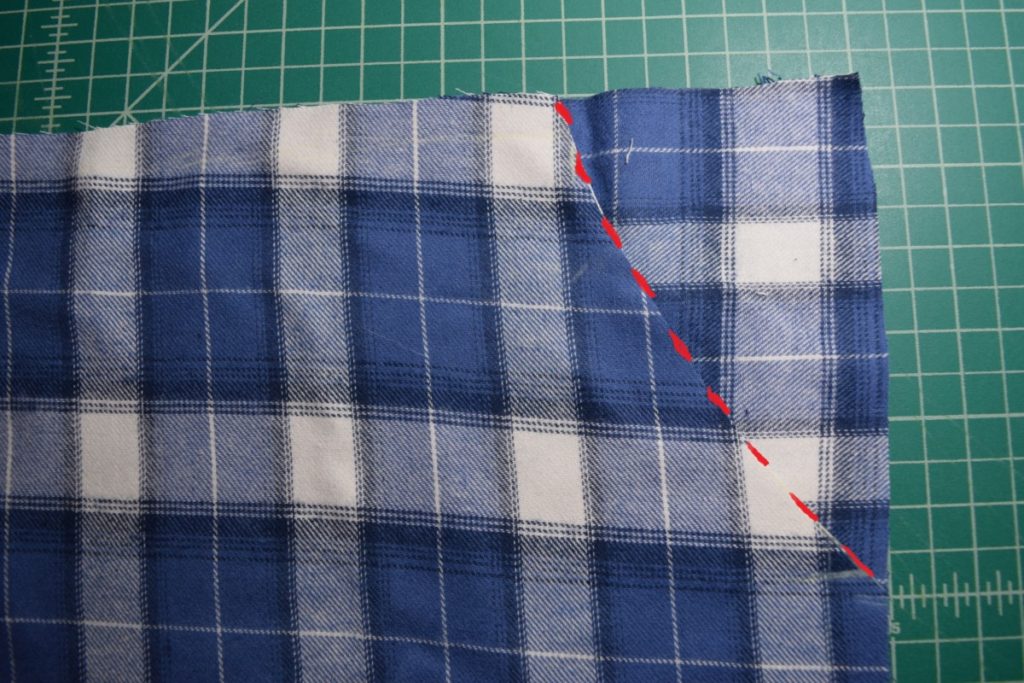
Draw a curved line connecting the two marks. I used a french curve ruler but just eyeballing it will work fine as well.
Cut along this line. This will be the edge of the pocket where your hand goes in. Repeat this process with the other front pant piece.
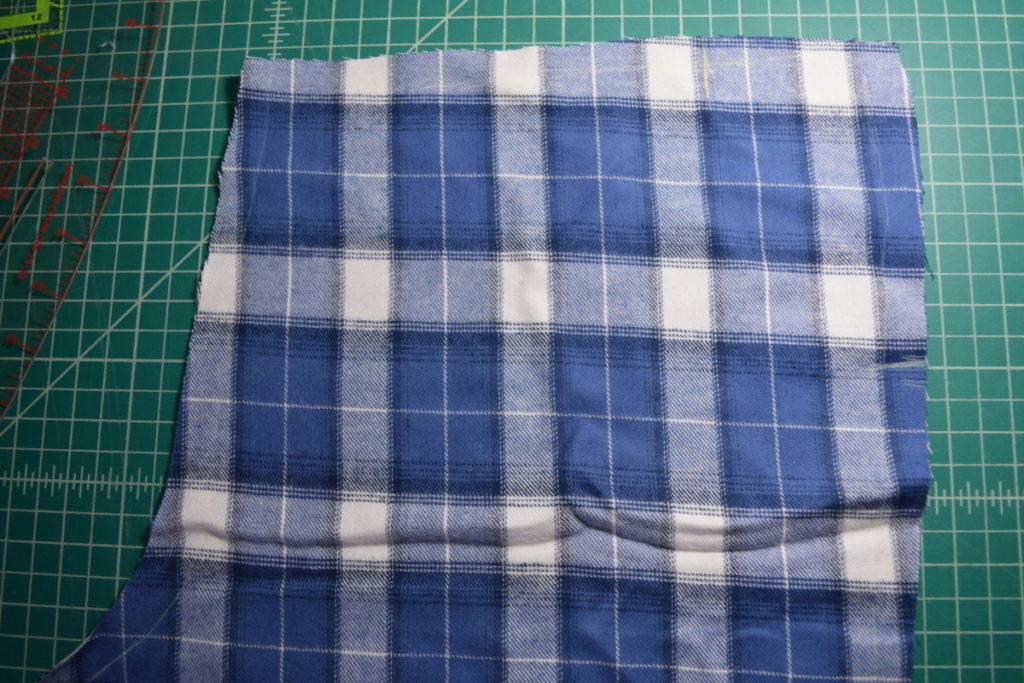
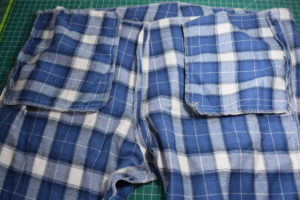
Your two front pants pieces should look like this:
Now we need to cut the pocket facing pieces. Take one piece from one of your pairs of square pocket pieces and place it underneath your pant front piece, right sides together, lining up the outer leg and waist edges.
Cut along the curve.
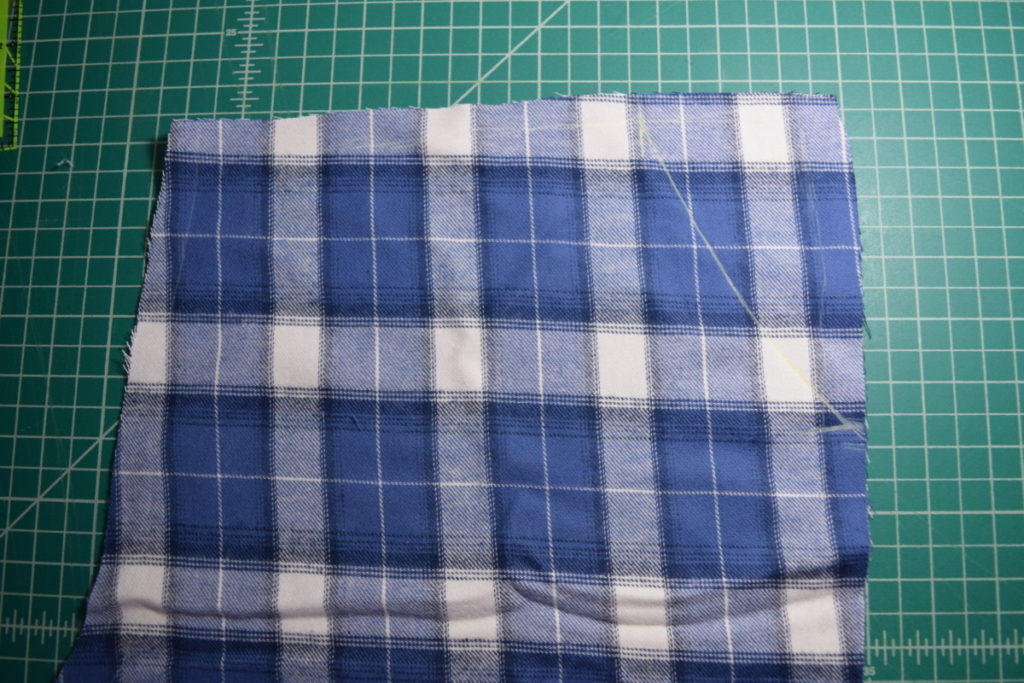
Repeat with the other front leg piece and the other (symmetrical) pocket piece. You should now have two pocket facings that look like this:
They’ll be symmetrical though, so the curve will be on the right on one piece and the left on the other piece.
You now have all the pieces you need to put together your pajama pants! Before sewing anything, I finished all the raw edges of every pattern piece with my serger (you can also do a zigzag stitch on your sewing machine, use pinking shears, or if you’re using a fabric that doesn’t fray you don’t need to finish the edges at all).
Sewing your pockets together:
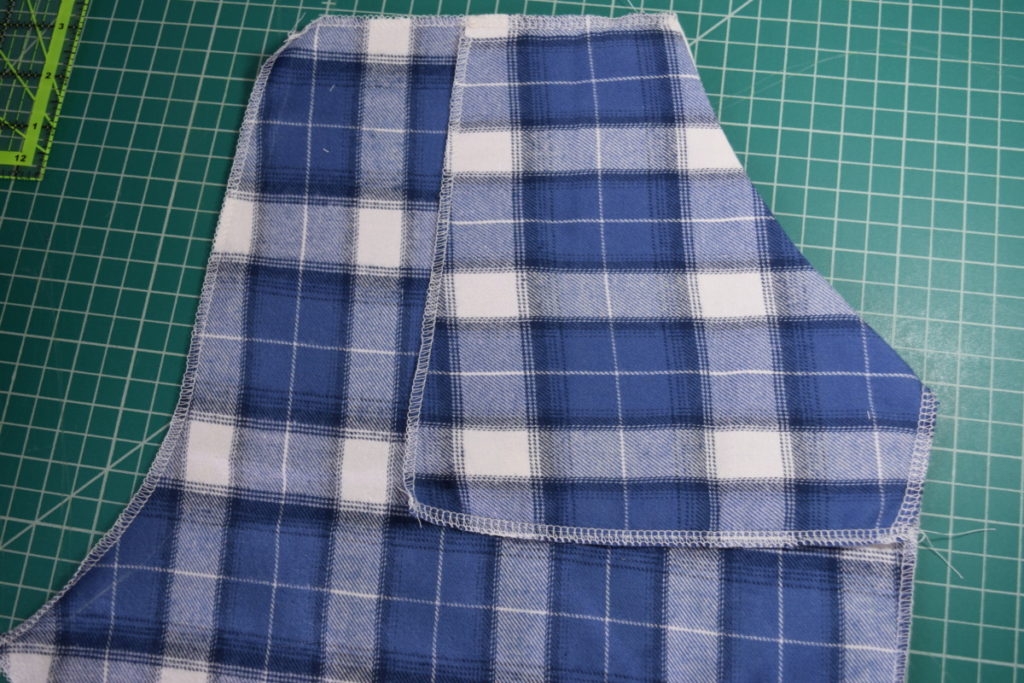
First, pin the curve of the pocket facing along the curve on the front pants piece, right sides together.
Sew along the curve.
Now, turn the facing to the inside of the pants and iron it for a nice, crisp pocket curve. Try to make sure you iron it so the facing doesn’t peek out to the front of the pants. You can then repeat this process to attach the other pocket facing to the other front pant piece.

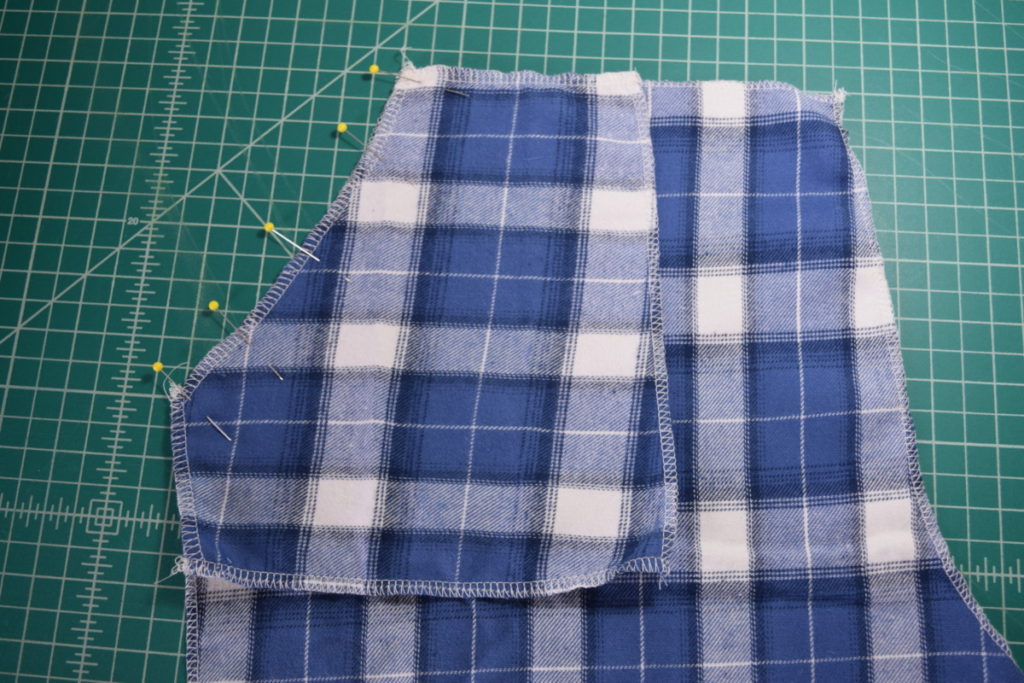
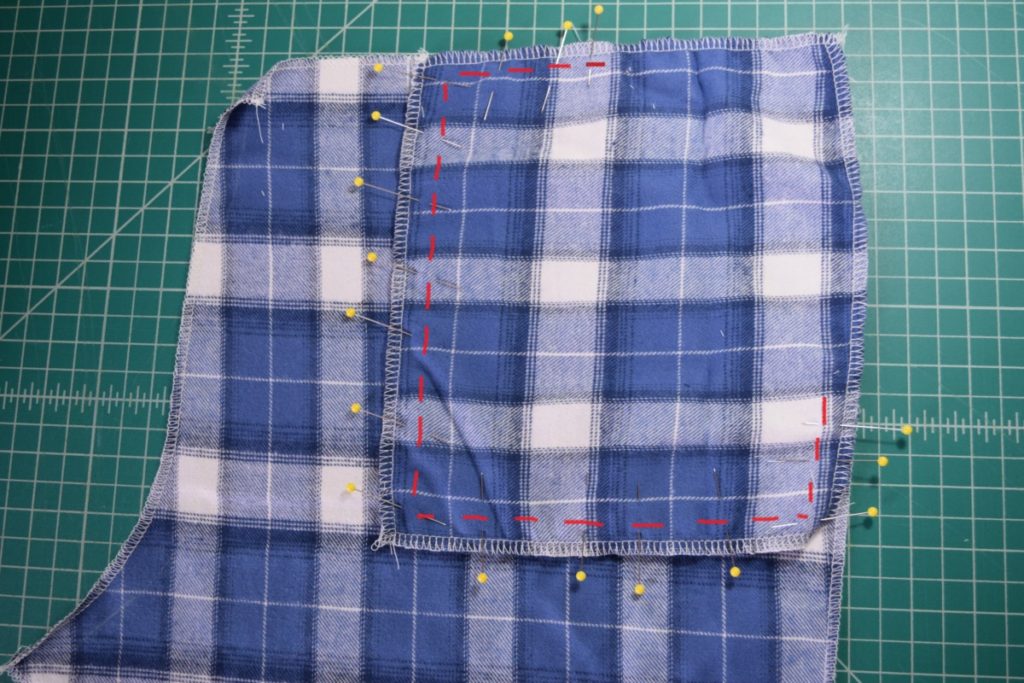
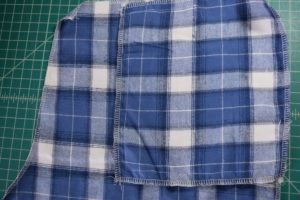
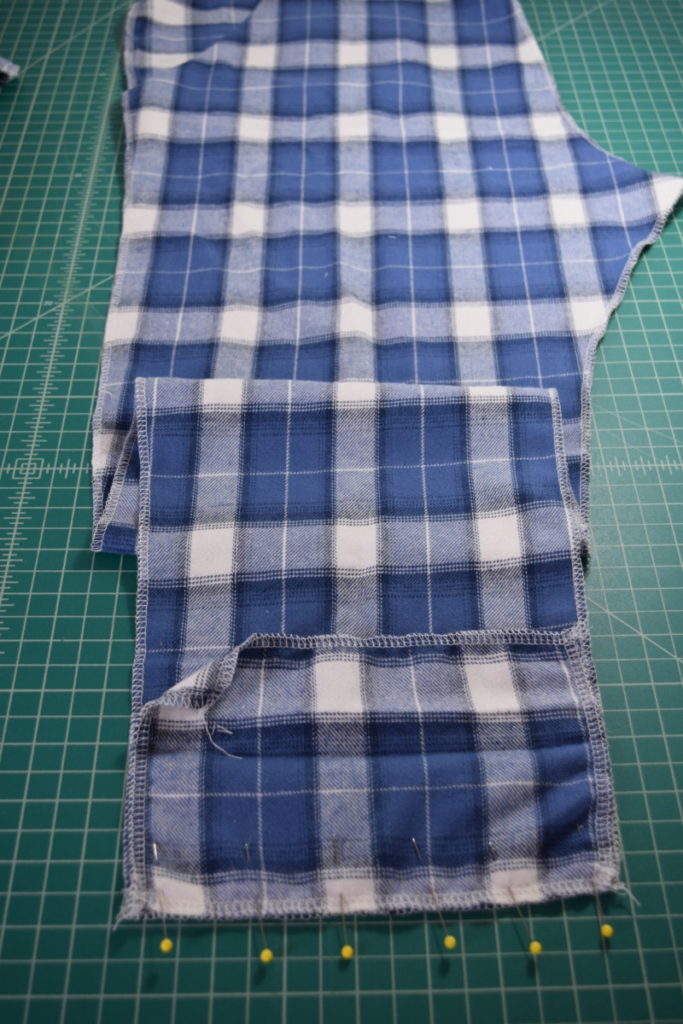
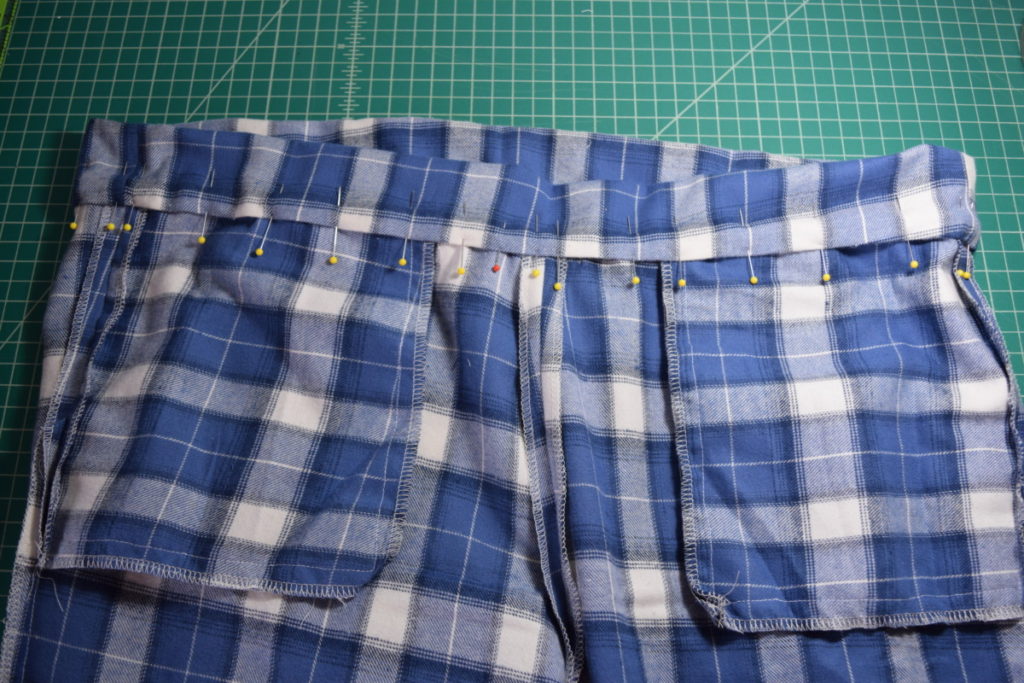
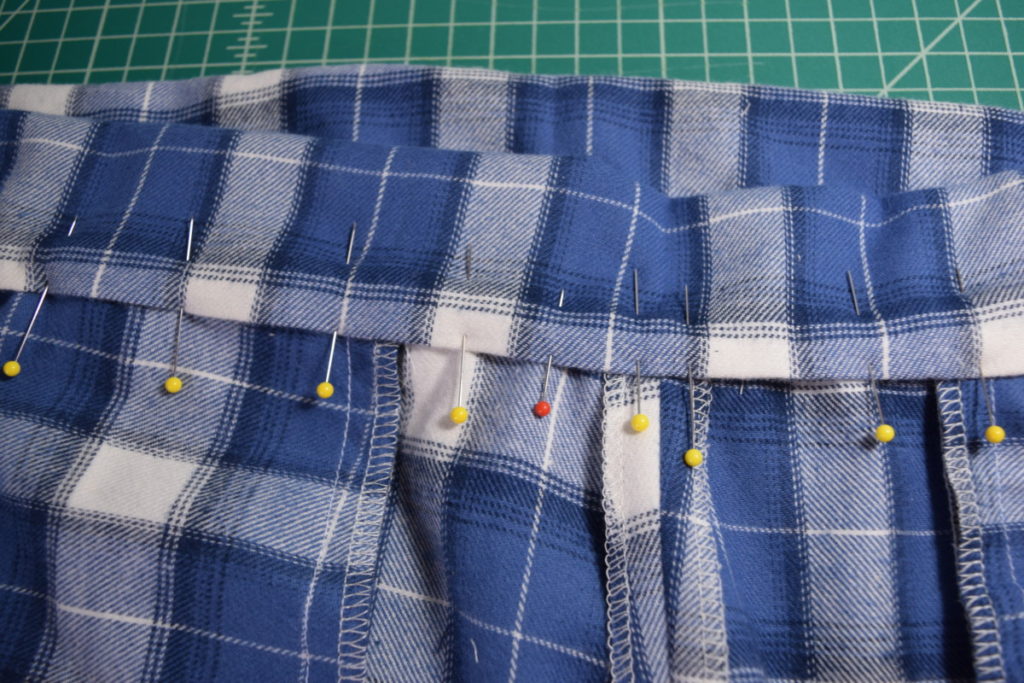
Next, pin the inner pocket piece to the pocket facing with the right side of the inner pocket piece facing towards the front of the pants (so they will be pinned right side to wrong side). Pin all the way around EXCEPT over the curved edge. This needs to be left open for your pocket opening.
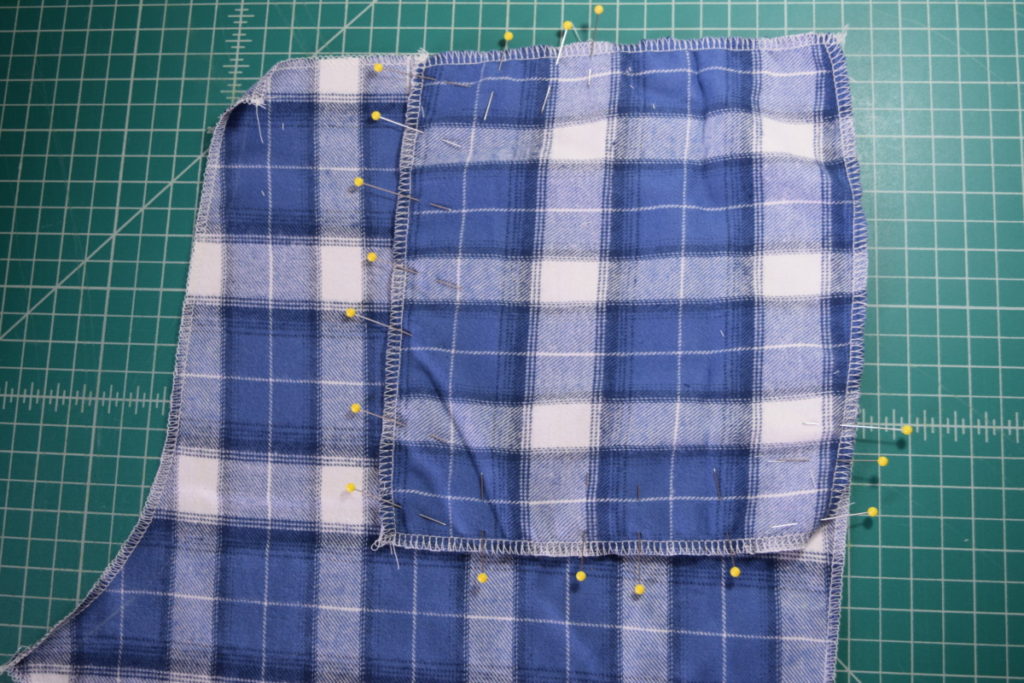
Now, sew all the way from the seam along the top edge to the seam along the outer leg. Make sure not to sew into the front pants piece (only sew the two pocket pieces together).
Sew here:
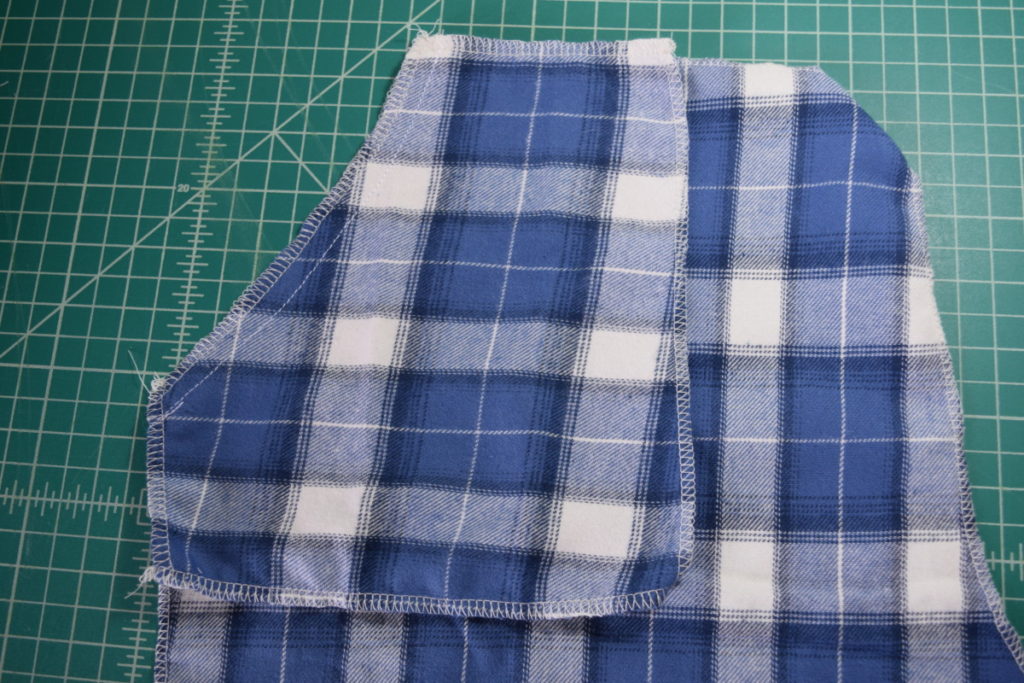
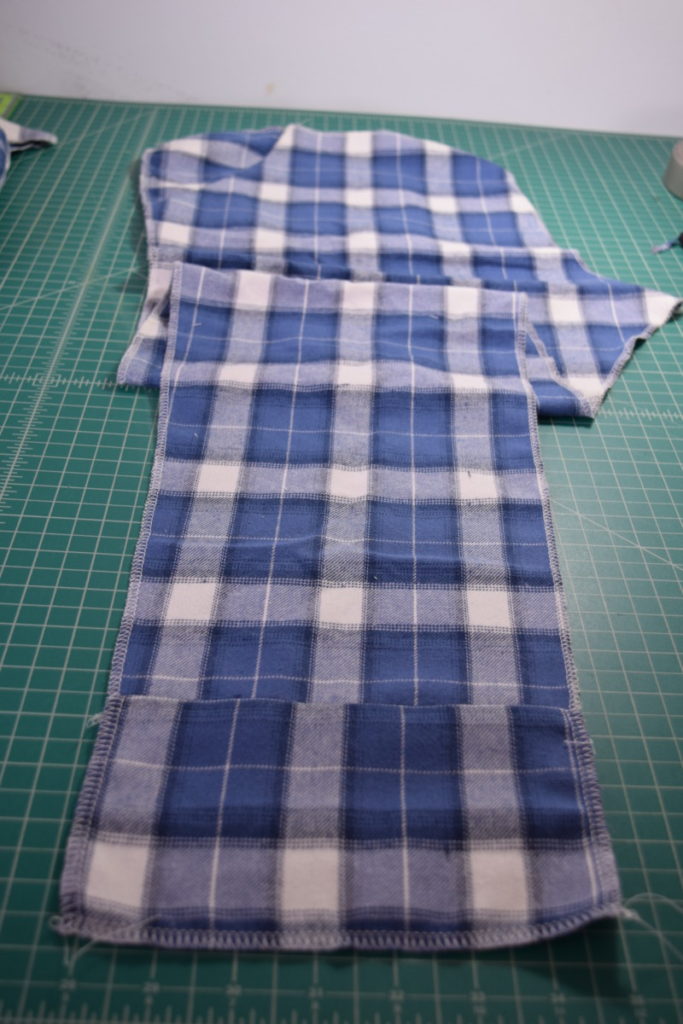
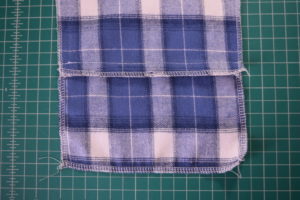
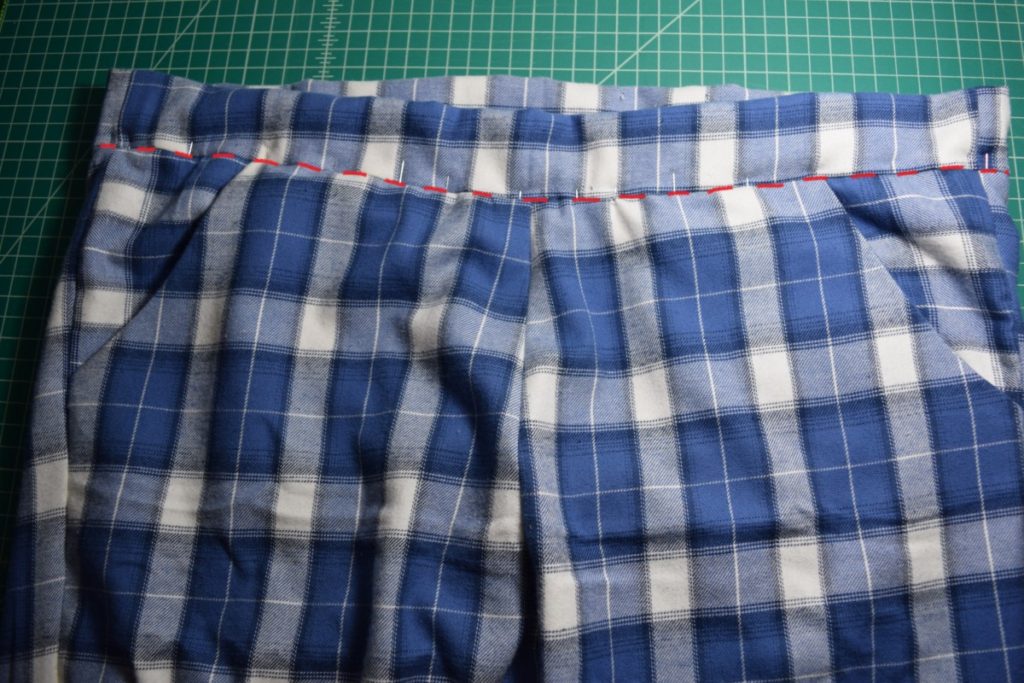
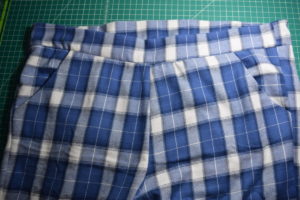
After you sew, it should look like this:
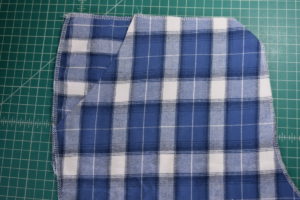
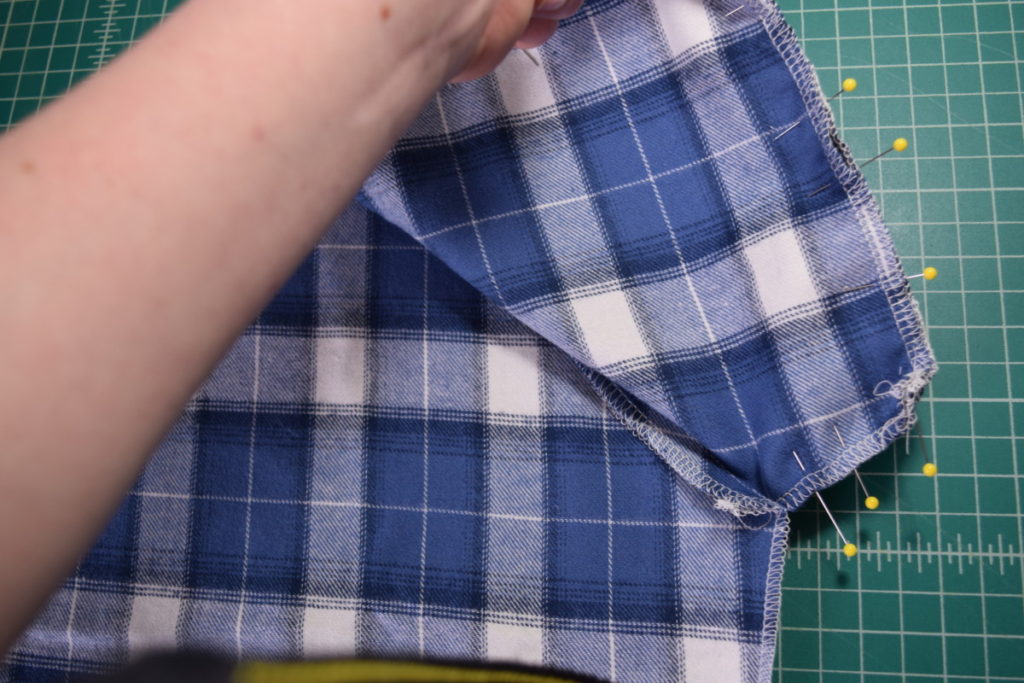
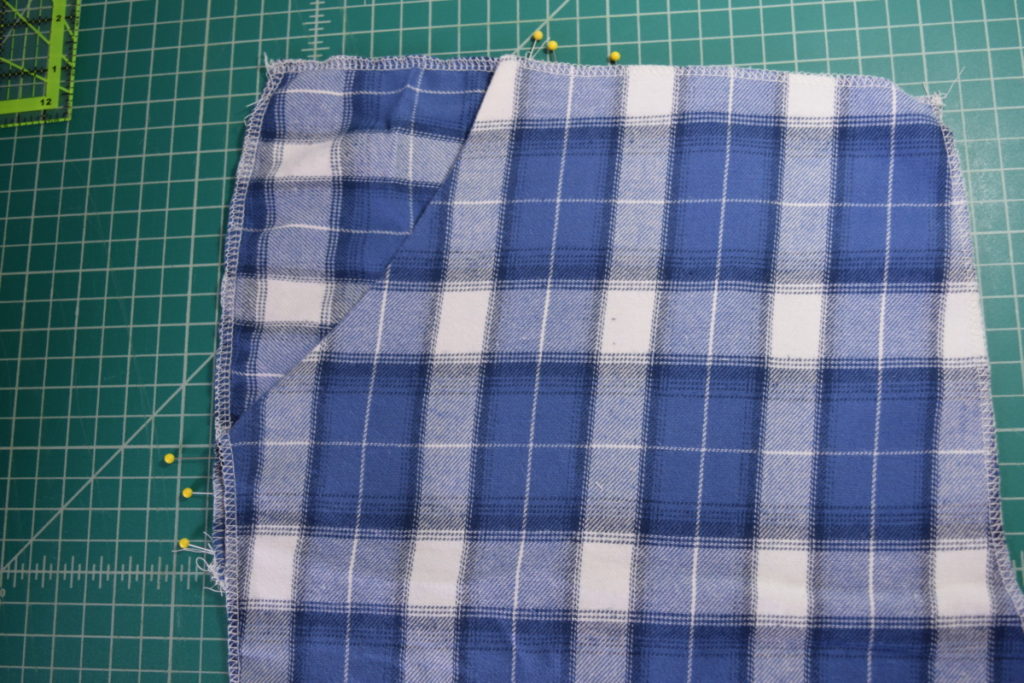
Now you have a pocket! You can now repeat this to finish the other pocket.
Attaching the ankle cuffs:
First, pin one of the front ankle cuffs along the bottom (ankle) edge of one of your front pant pieces, right sides together.
Sew all the way across to attach the ankle cuff. Next, iron the seam allowance down towards the cuff.
Repeat with the other front ankle cuff and front pant leg. Next, attach both back ankle pieces to the back pant leg pieces in the same way.
Sewing together the pant legs:
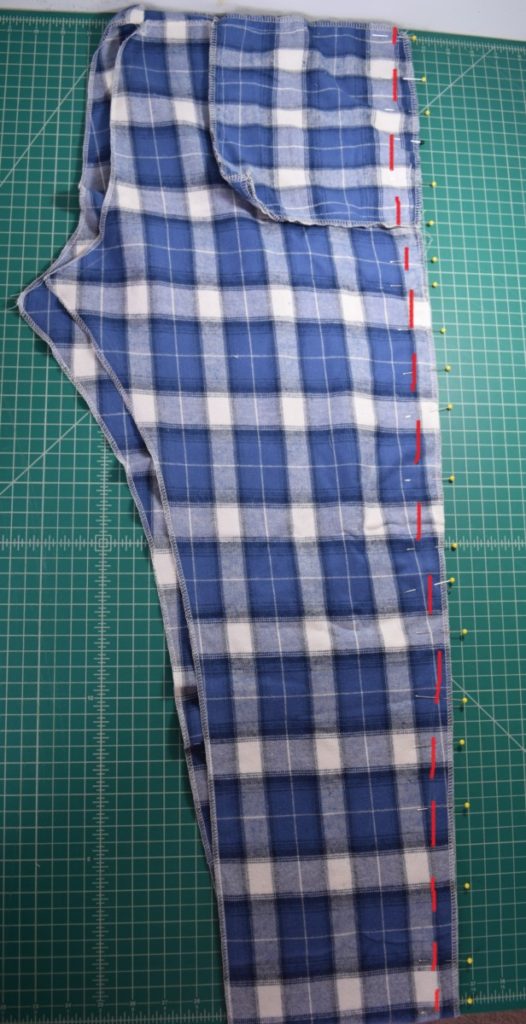
Pin one front leg to one back leg piece, right sides together along the long (outer hip) side.
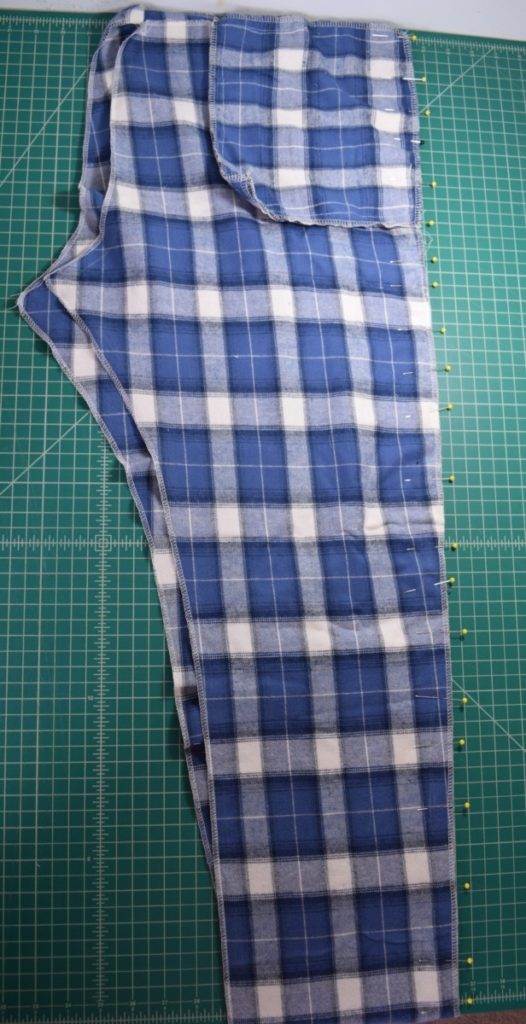
Sew all the way down the outer leg:
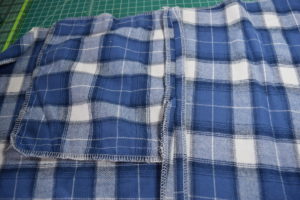
Next, press the seam allowances open. It will look something like this:

Repeat this process to attach the other front leg to the other back leg.
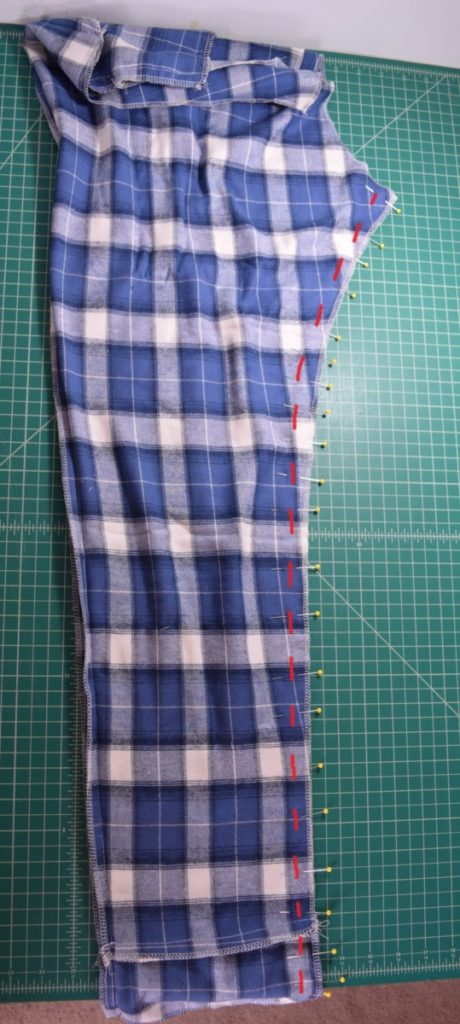
Next, with one of your leg pieces, pin the front to the back right sides together along the inner leg seam.
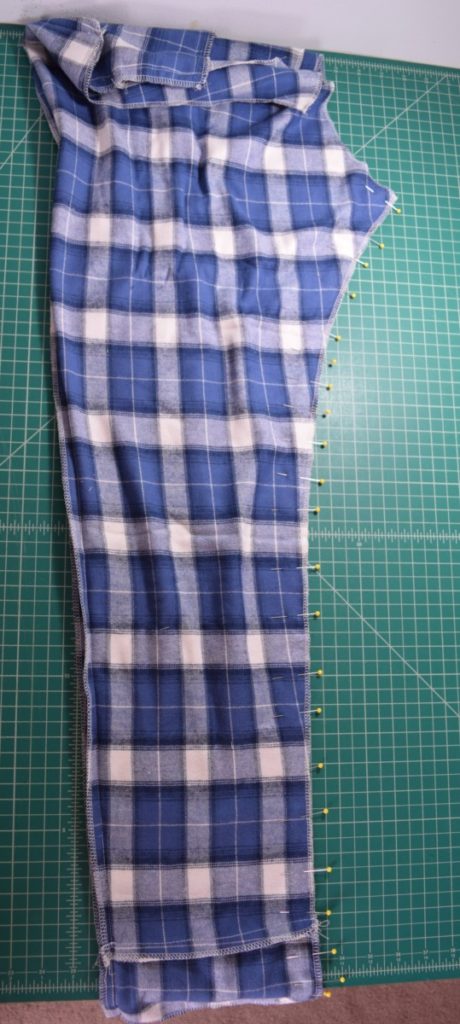
Sew the inner leg seam:
Press seam allowances open, then repeat with the other leg.
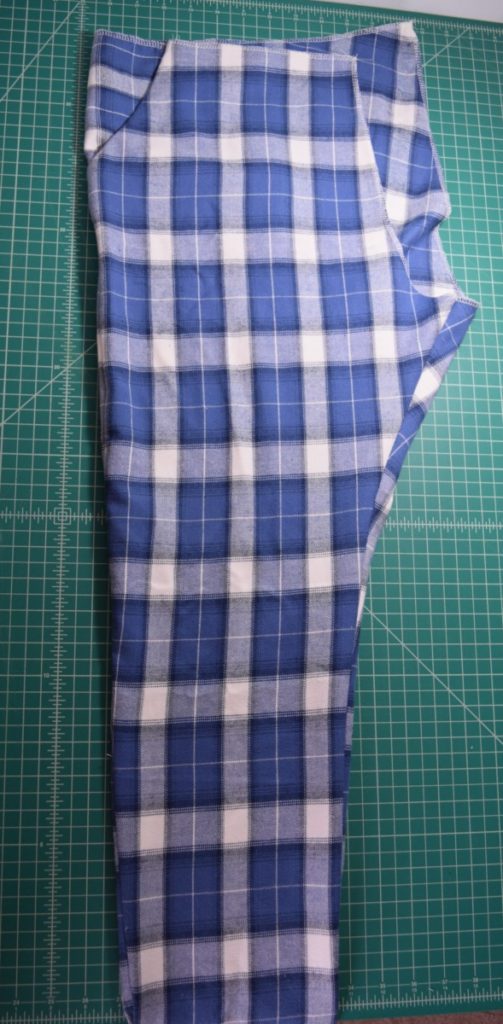
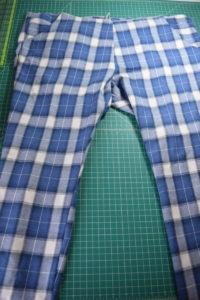
You’ll now have two complete leg pieces like this:
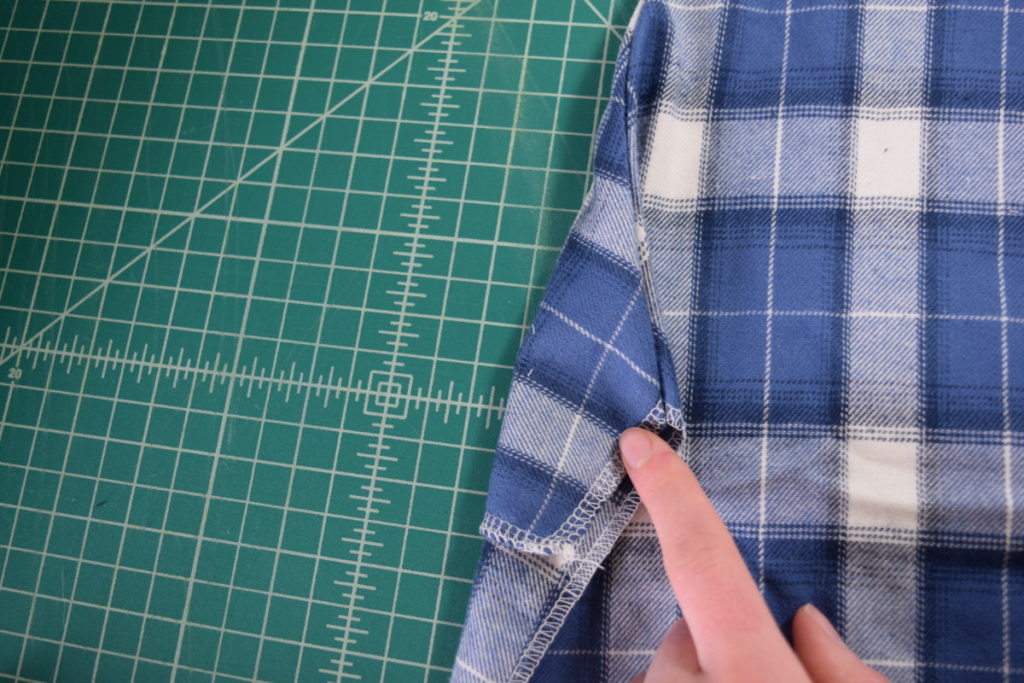
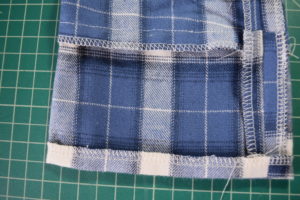
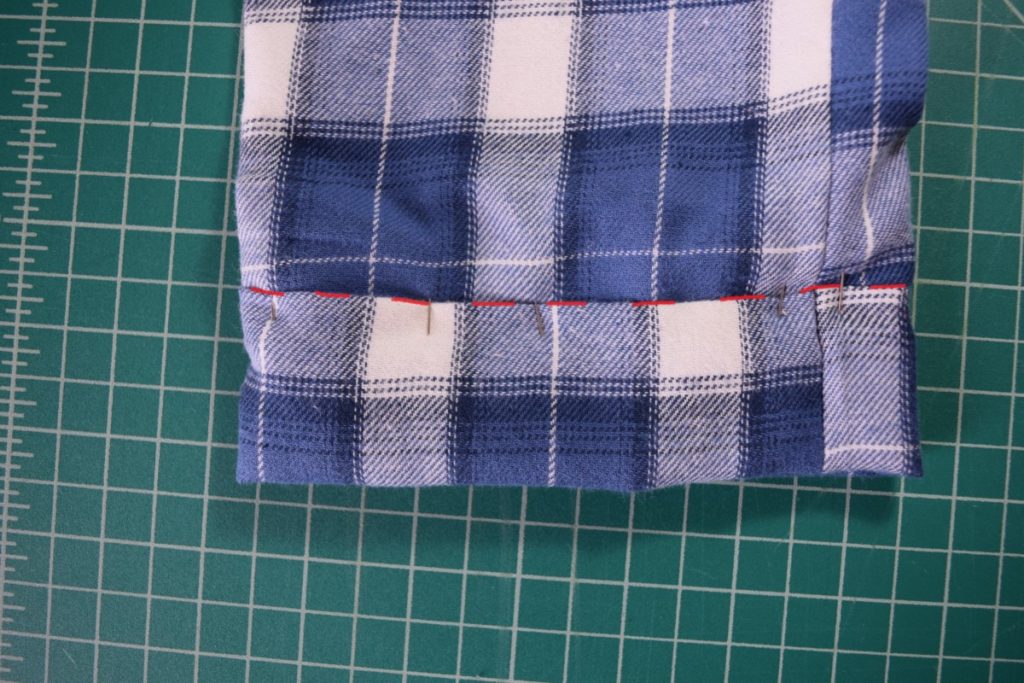
Now we can finish the ankle cuffs. First press about 1/2 inch under all the way around the bottom edge of the ankle cuff to hide the raw edge.

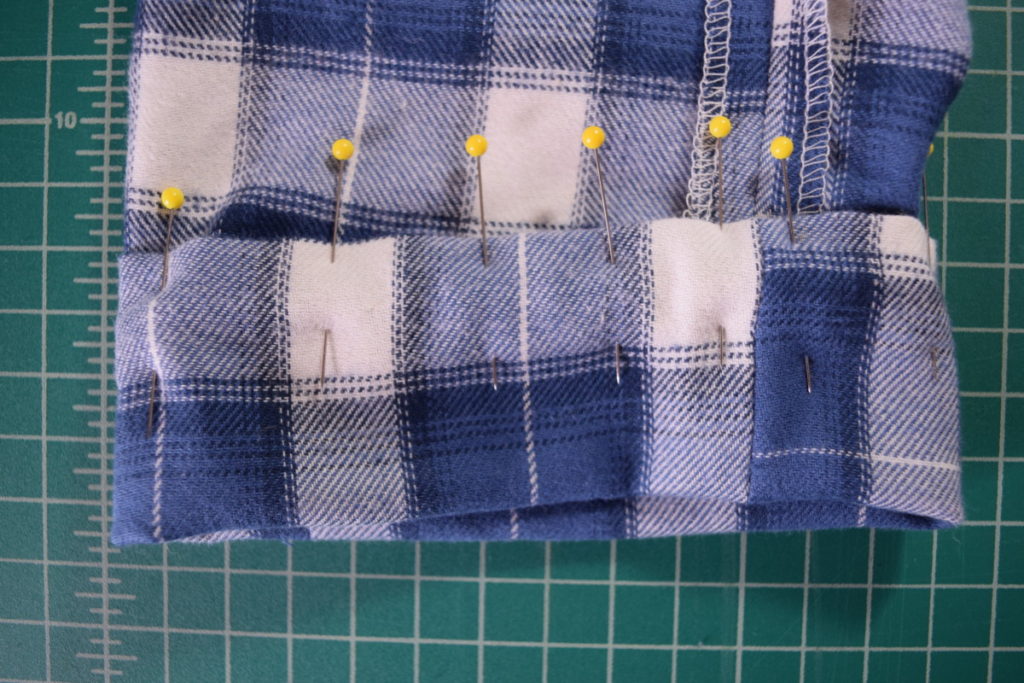
Next, fold the cuff in half and pin the folded, ironed edge to just above the seam attaching the pant leg to the cuff.
Turn the pant leg right sides out and sew the folded cuff up by sewing in the seam line attaching the cuff to the pant leg (called stitching in the ditch). This will hide your stitches so they aren’t visible on the outside of the pants.
Iron your cuff to give it a finished look:
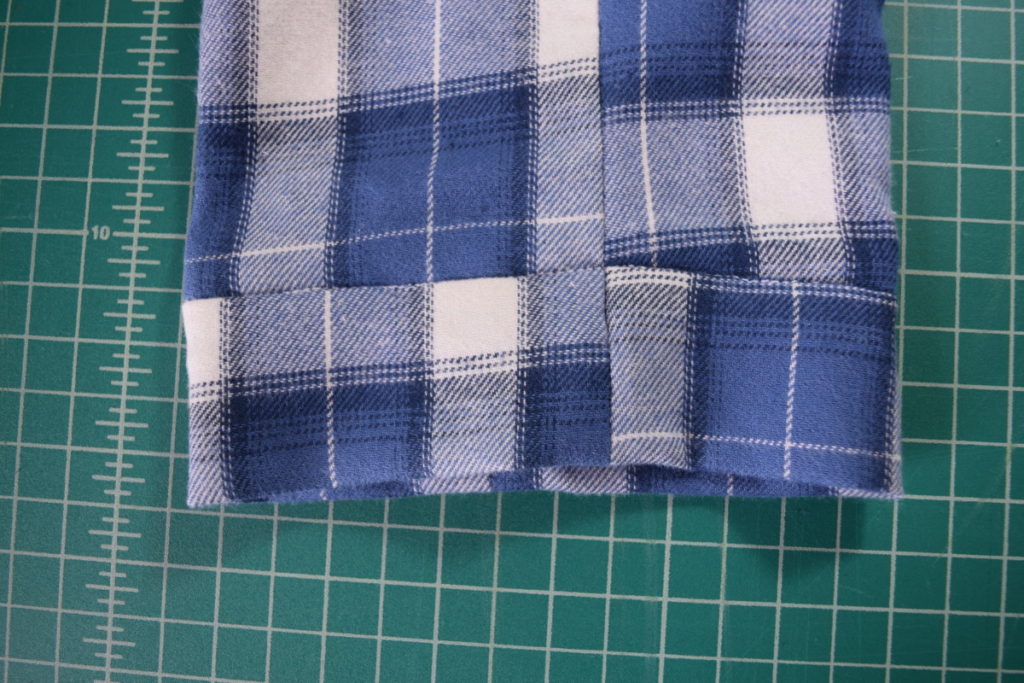
Now just repeat this process with the other ankle cuff.
Next we need to attach the two legs at the crotch seam.
To do this, turn one leg inside out and insert the other leg into the inside out leg so that they are right sides together. Pin around the the U-shaped crotch seam, matching the inner leg seams at the center.

Sew all the way around the crotch seam:

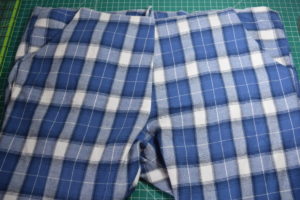
Now pull the leg out of the other leg and iron your seam allowances open. Now your pants are really starting to look like pants!
Attaching the waistband:
Now let’s attach the waistband!
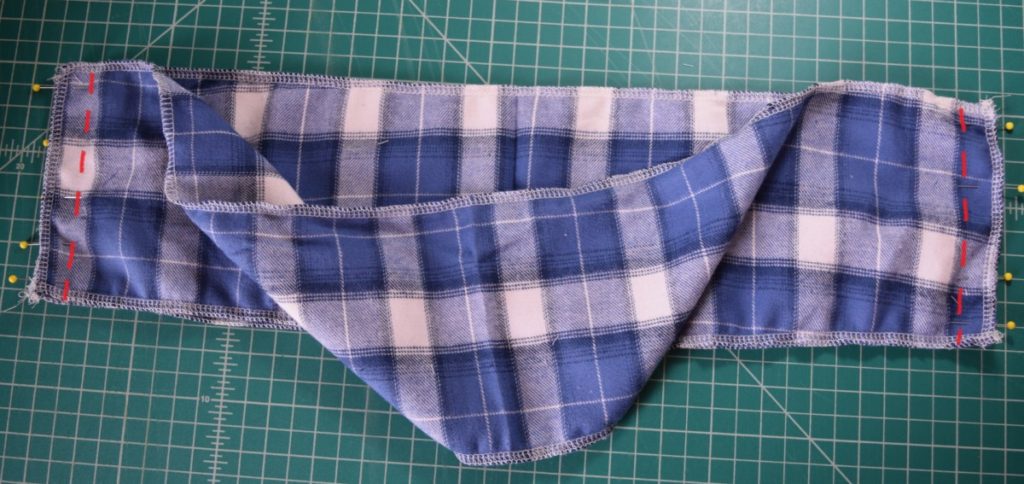
First pin the front to the back waistband, right sides together, and sew along the side seams to form a loop:
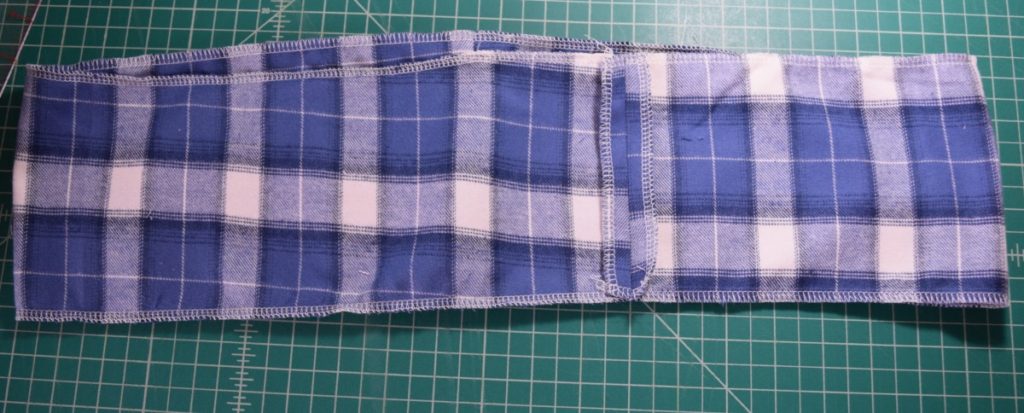
Press seam allowances open.
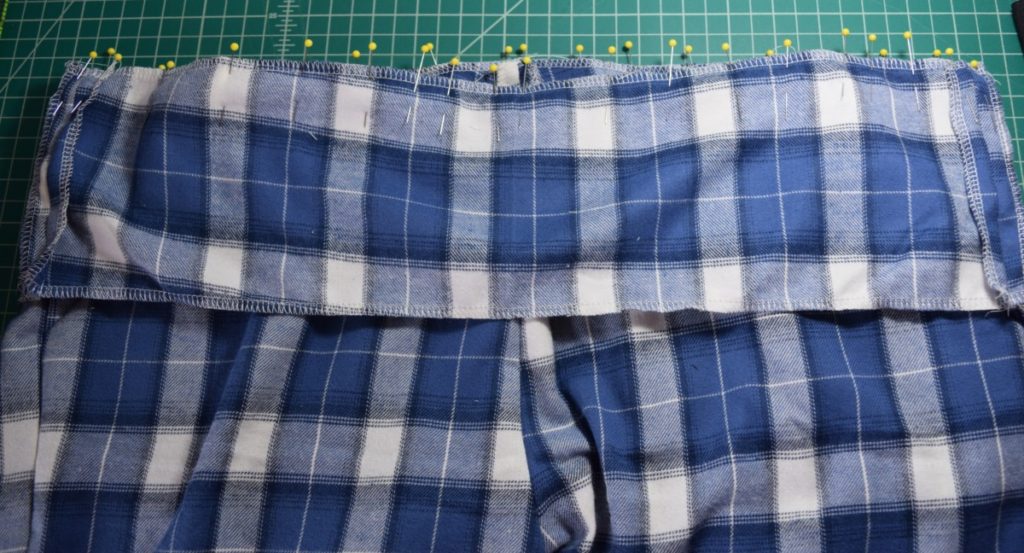
Next, pin the waistband along the top (waist) edge of the pants, right sides together. Make sure to match the side seams of the pants with the side seams of the waistband.
Sew all the way around the waistband and press the seam allowances up towards the waistband.
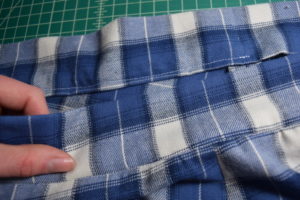
Next, iron 1/2 inch under along the raw edge of the waistband to hide the raw edges.
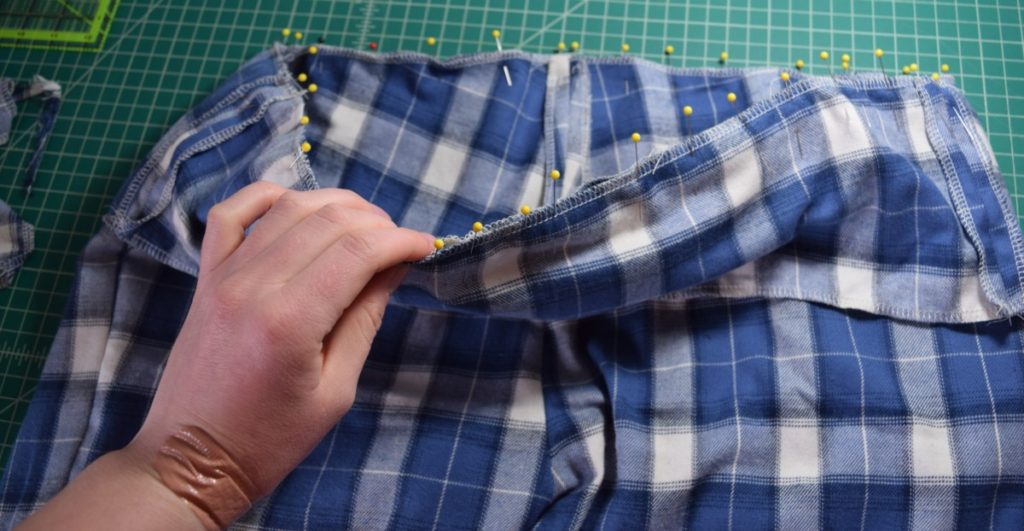
Fold the waistband in half and pin the folded edge to just below the seam attaching the waistband to the pants.
Turn the pants right sides out and stitch in the ditch around the waistband just like you did with the ankle cuffs, leaving an opening about 3-4 inches wide. This is where you will insert your elastic.
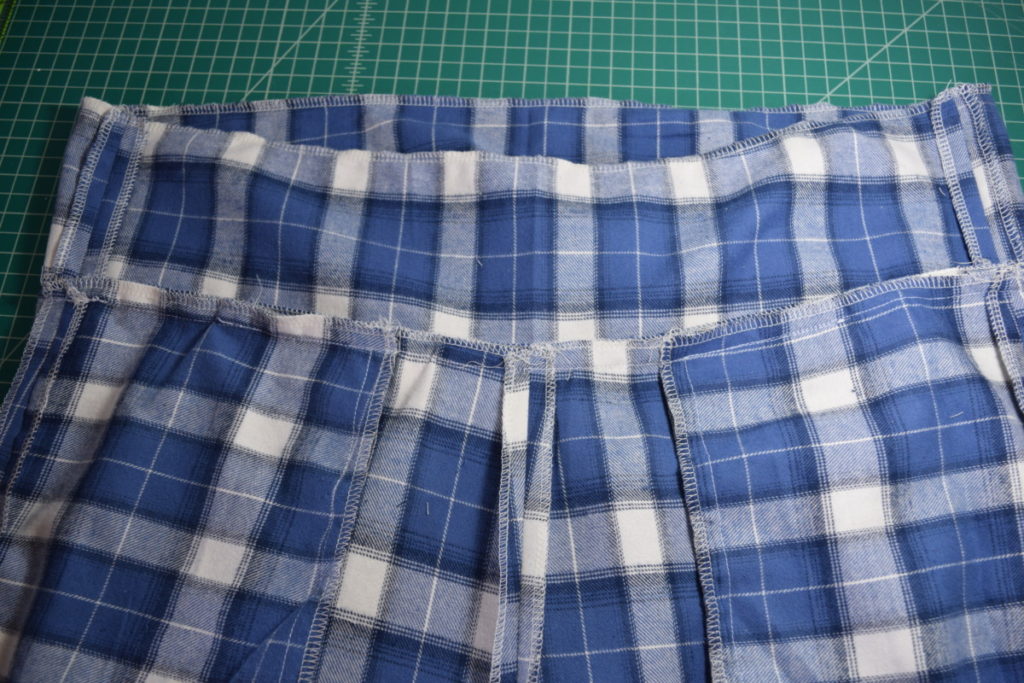
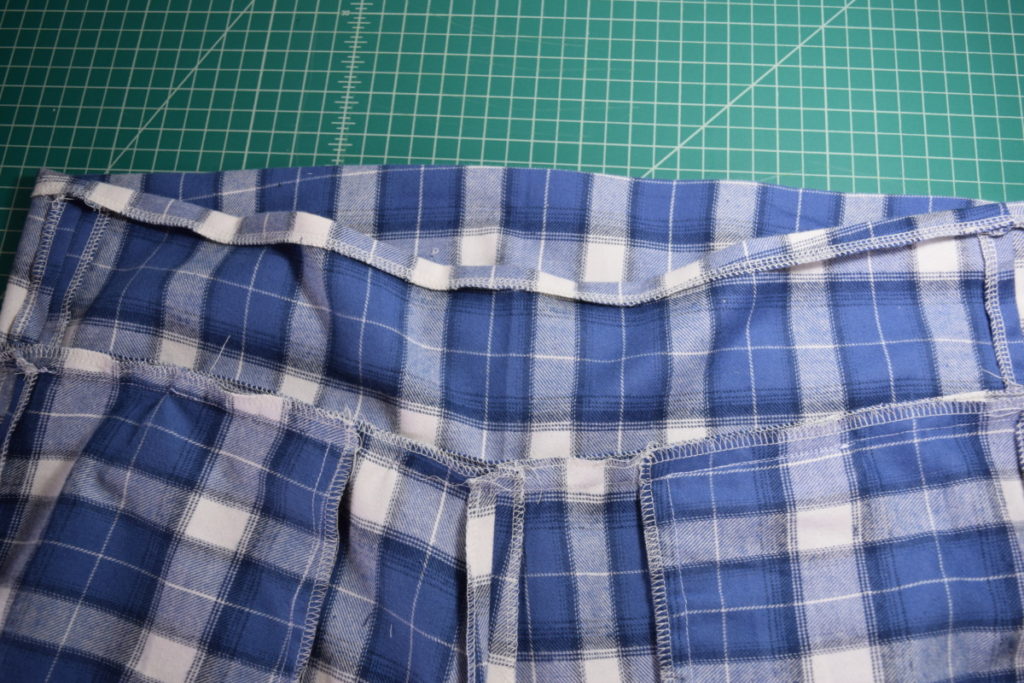
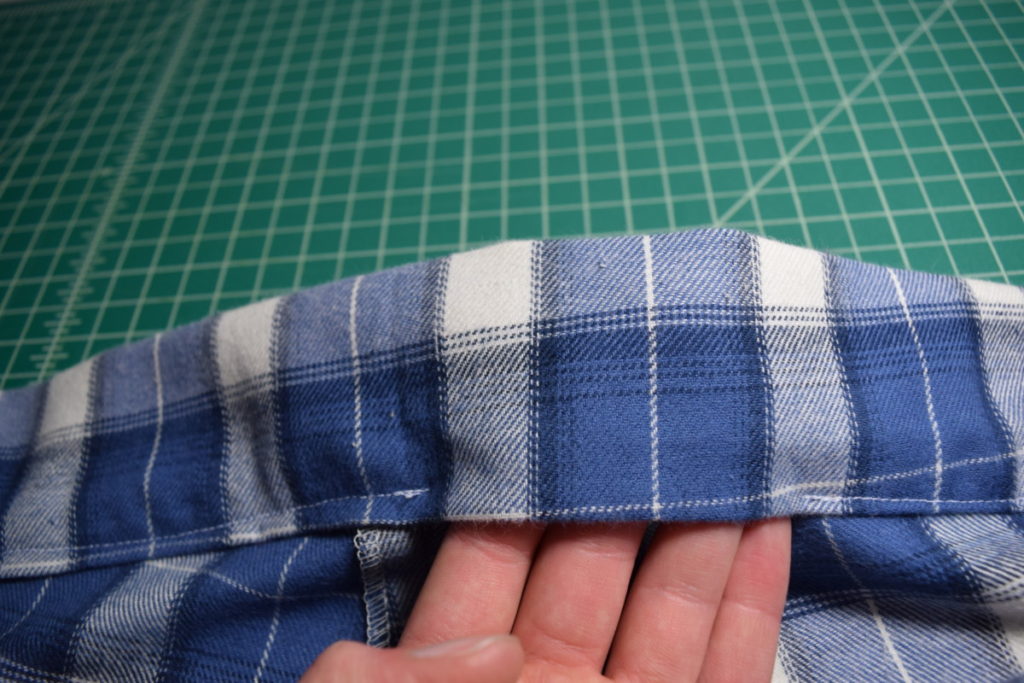
Iron your waistband and it you’ll have something like this:
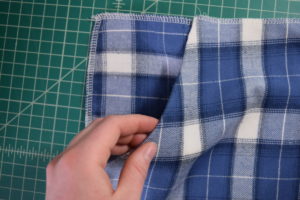
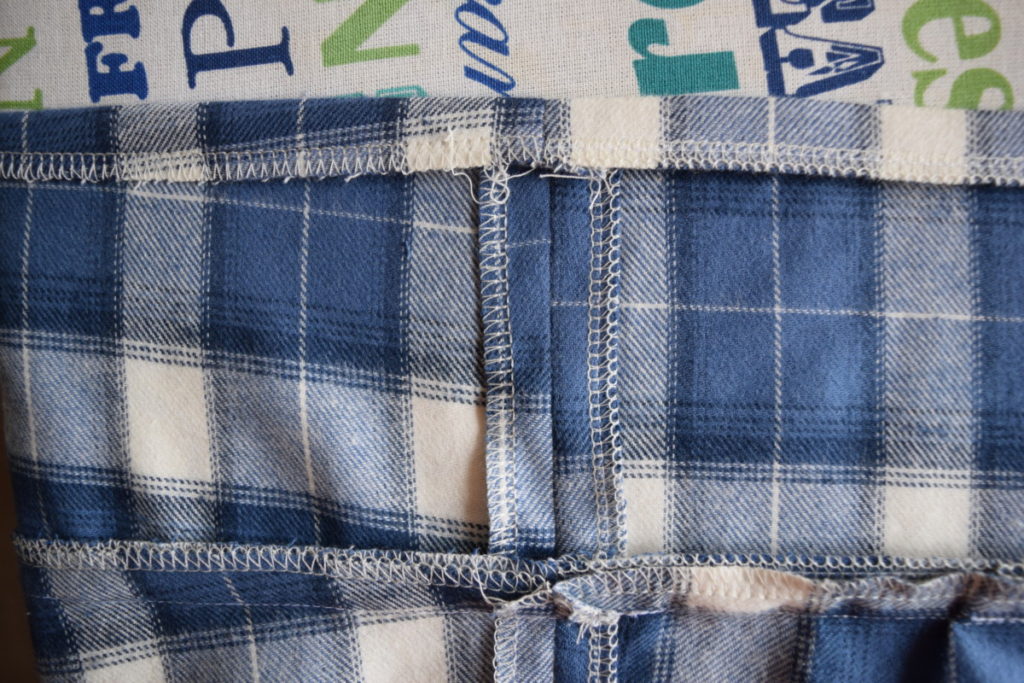
Here’s the opening I left in the waistband:
Inserting elastic:
Now lets insert our elastic and finish these pants!
Measure the elastic around your waist, pulling it to a comfortable tightness. Trim the elastic to the right length, plus about 1 inch for seam allowance.
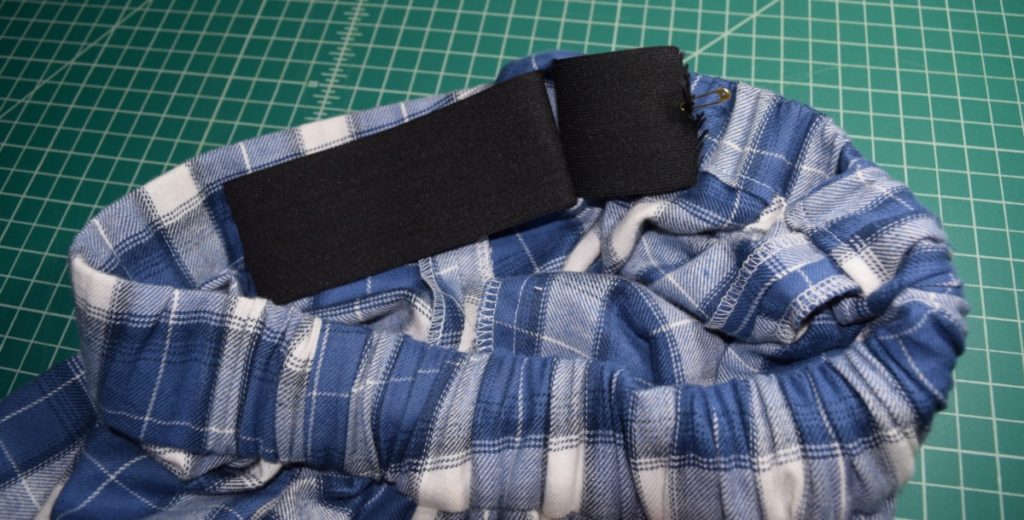
Next, attach a safety pin to the end of the elastic.
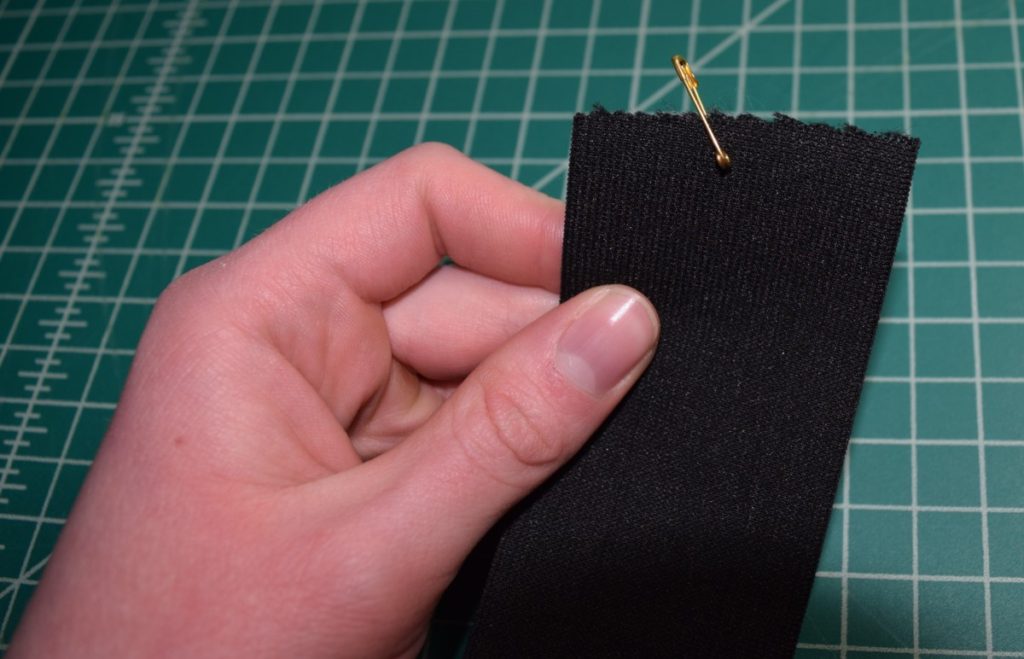
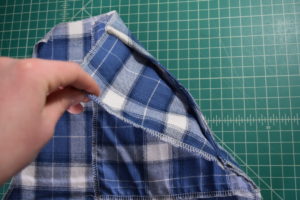
Insert the safety pin end of the elastic into the opening you left in the waistband.
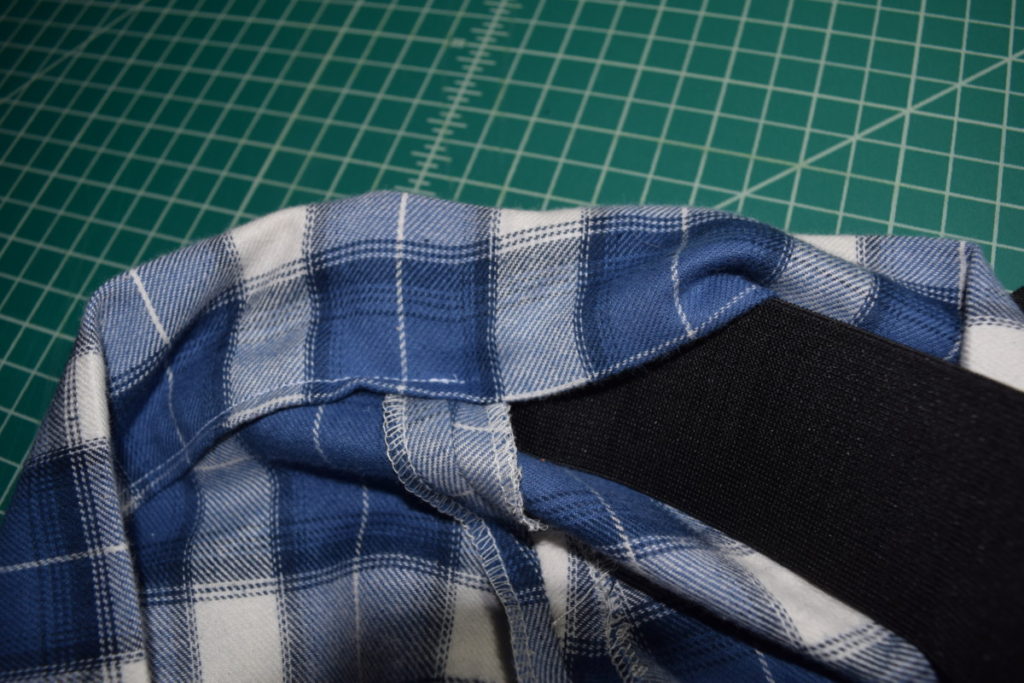
Using the safety pin to grip the elastic through the material of the waistband, work the safety pin all the way through the waistband until it comes out the other side, making sure that the other end of the elastic doesn’t slip into the waistband. This may take a while!
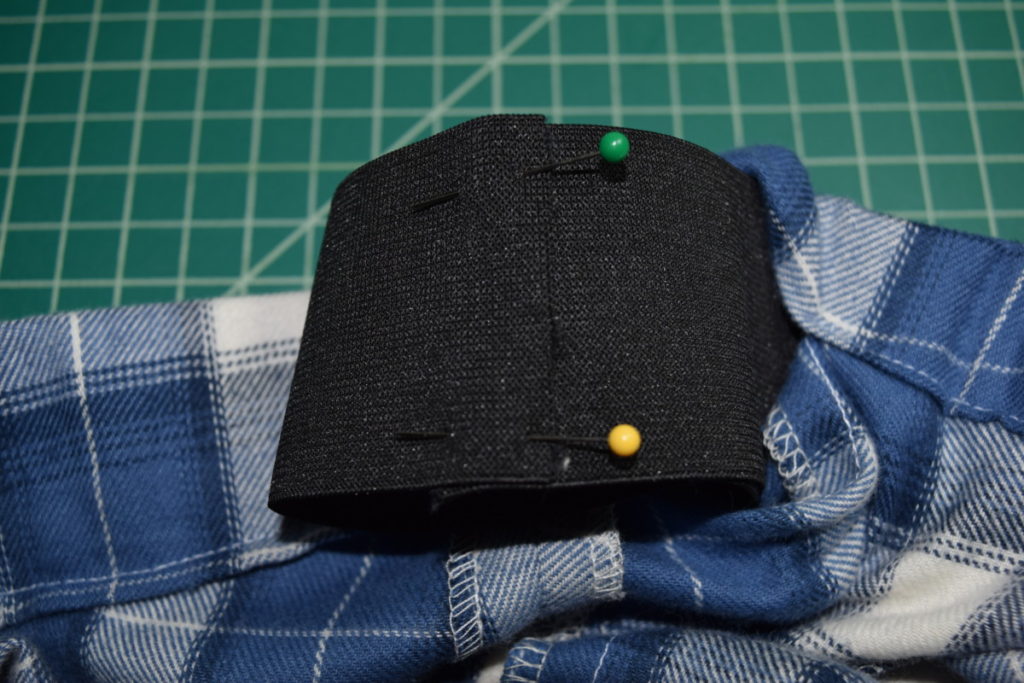
Now you should have both ends of the elastic sticking out of the waistband opening:
Next, overlap and pin the ends of the elastic together, making sure that the elastic is laying the same way all the way around and not twisted.
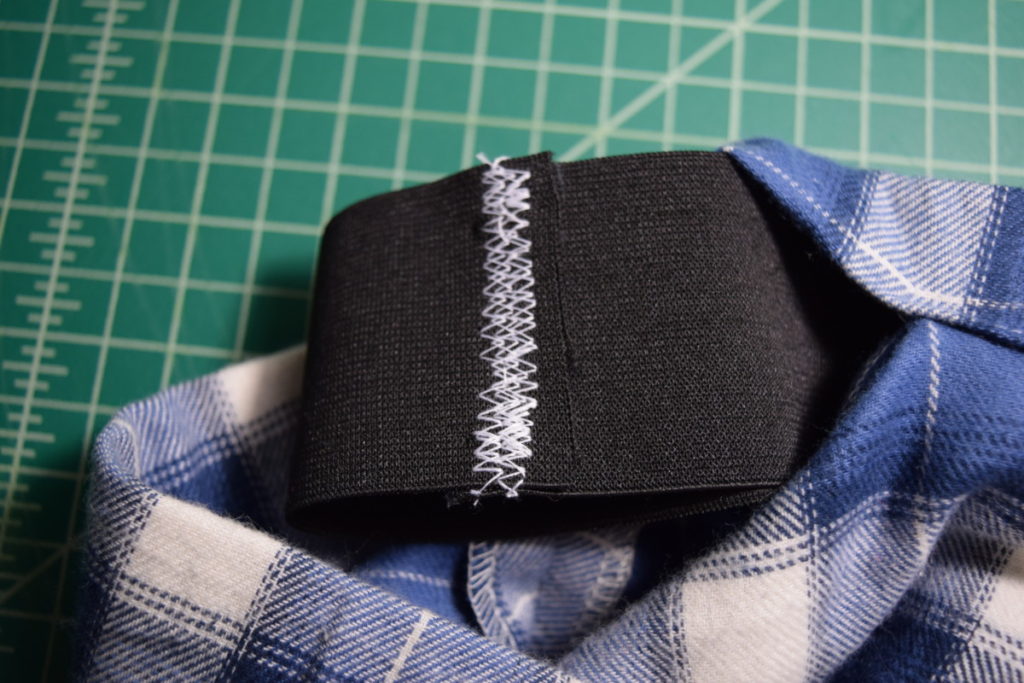
Now sew the ends of the elastic together with a zigzag stitch, going back and forth over it several times for a strong hold.
Pull on the waistband until the elastic is hidden inside the waistband and the gathers are distributed evenly around the waistband. Close up the hole in the waistband by stitching in the ditch either with the machine or by hand, making sure not to catch the elastic in your stitching.
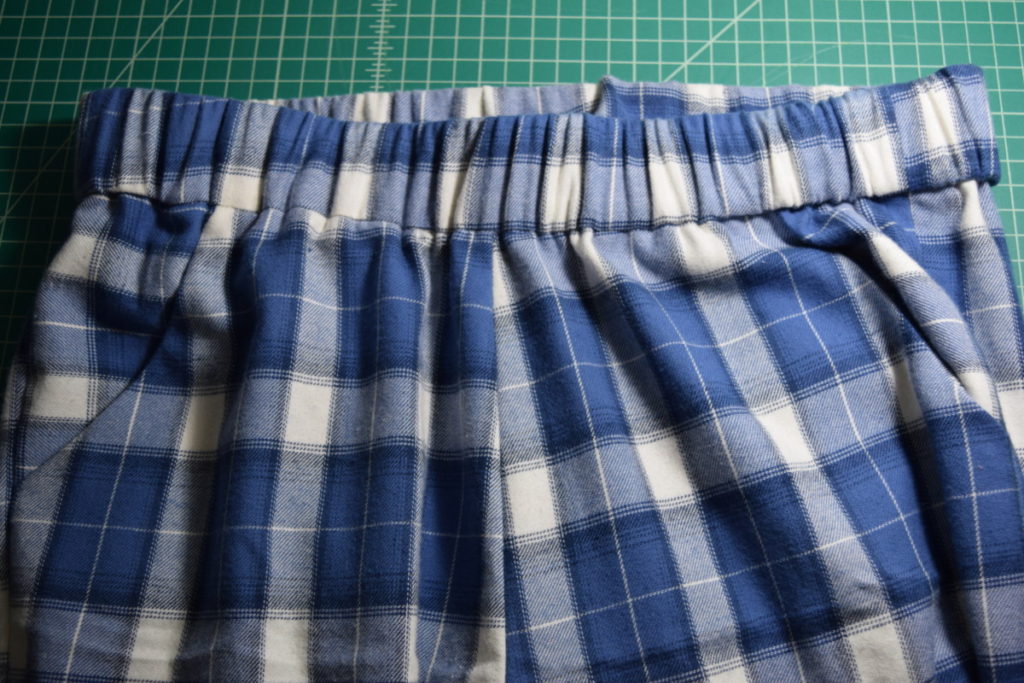
And you’re done!


Wow that was a detailed tutorial, I really learned alot. thanks
Great pictures accompanying your tutorial, very clear. If my husband tried to steal my joggers he’s look like was wearing shorts! 😆
That’s funny! I’m not sure if I’m lucky or unlucky that my husband is the same height as me… at least I can return the favor and steal some of his clothes too! ;P