
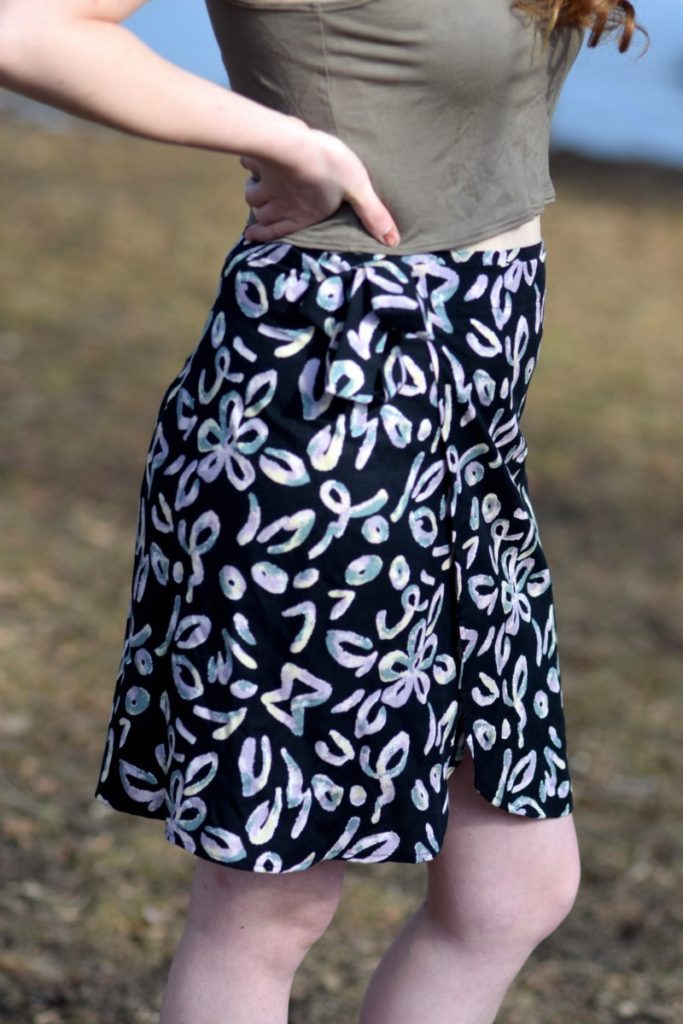
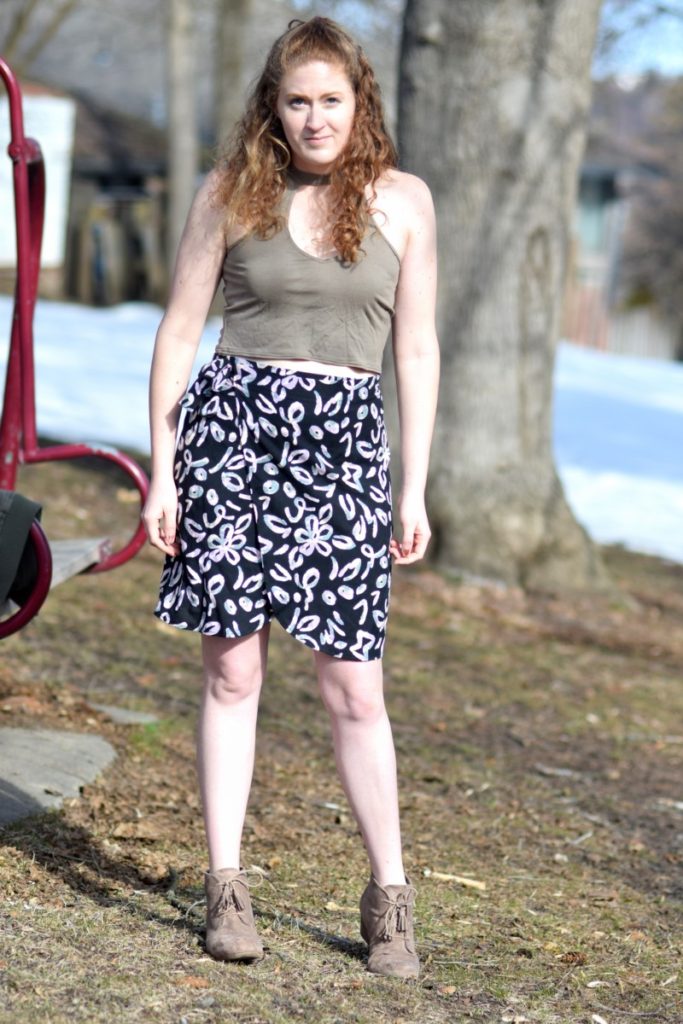
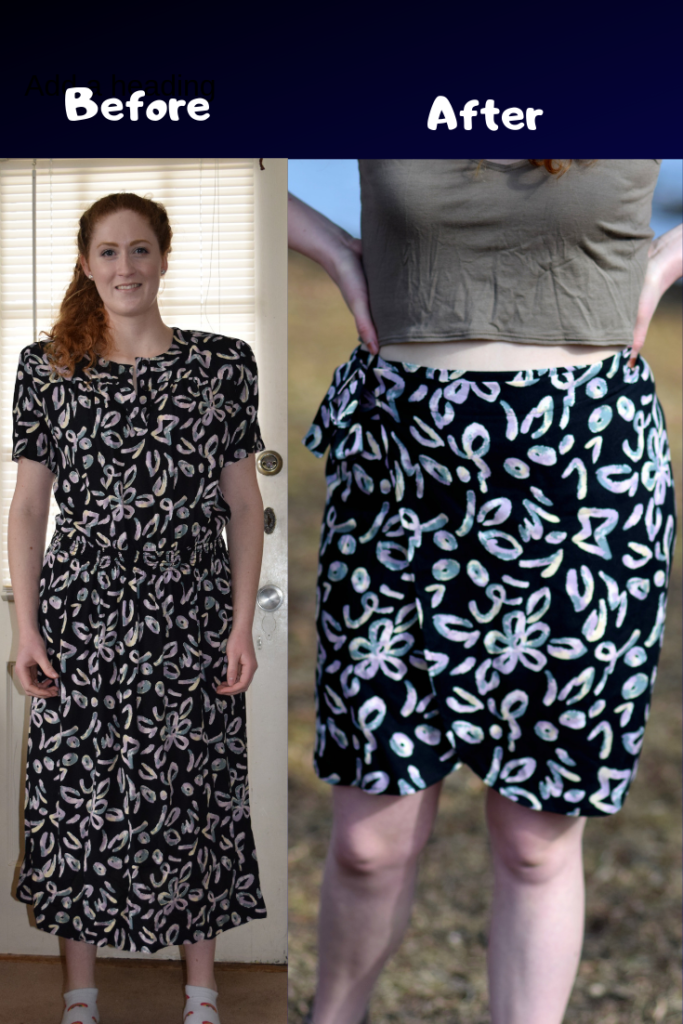
Today I’m going to show you how I made this adorable (and comfortable!) DIY wrap skirt. And don’t worry, it’s not too hard; a good project for a beginner!


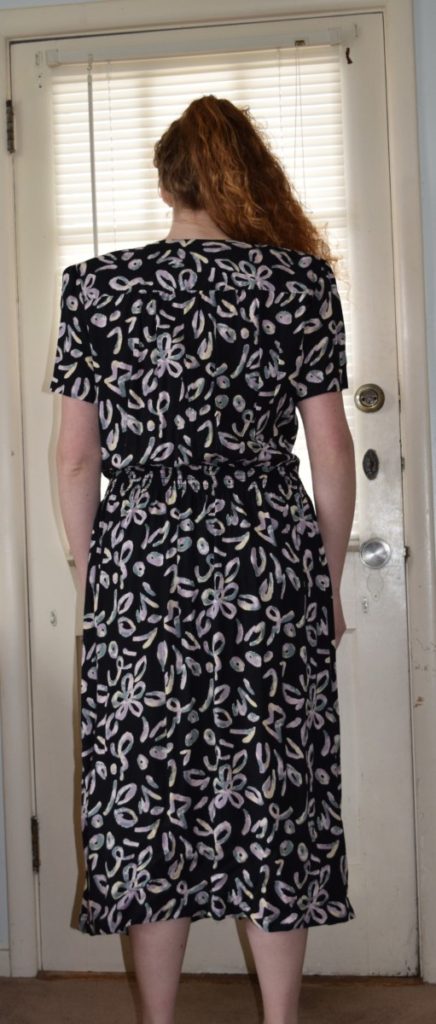
So for me, this project started with the material. I found this dress at the local thrift store and even though it was way too big and outdated (shoulder pads!) I absolutely fell in love with the material.
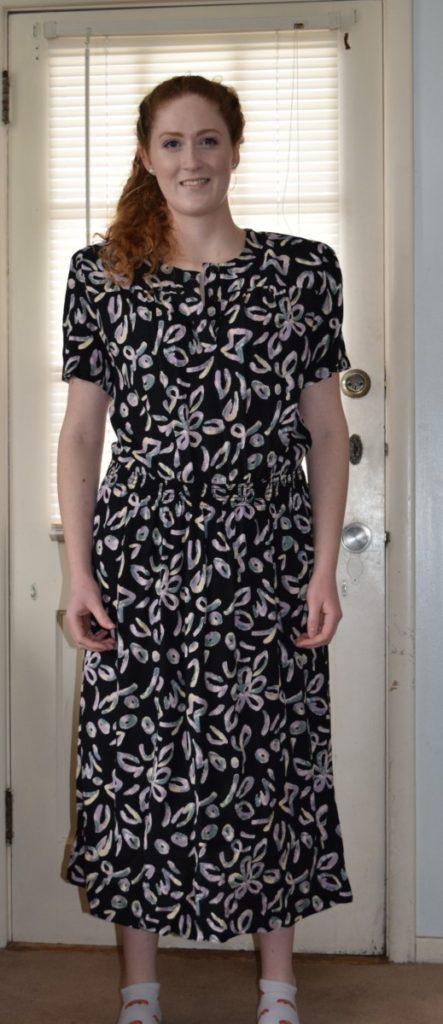
It’s rayon, but it has this drapey, linen-y feel to it and the print is super cool. As soon as I felt the material I knew I wanted to try my hand at making a summery wrap skirt.
This project only took me about 2 to 3 hours to complete from start to finish.
What you need:
Some of the items in this list are linked with affiliate links, this means I get a small commission if you buy anything through my links – at no extra cost to you – I appreciate the support! 🙂
- 1-2 yards fabric depending on your waist size (I used a large dress and cut it up, but just a piece of fabric would work great as well)
- Ruler
- Scissors
- Sewing machine
- Sewing pins
- Needle
- Thread
- Iron
Steps:
- Cut out your pieces: main skirt piece and two tie pieces
- Hem the sides and bottom of the skirt
- Make the ties
- Fold over the skirt waistband, inserting the ties into the ends, and sew waistband
- Sew darts into the back of the skirt
Instructions:
Cutting the pieces:
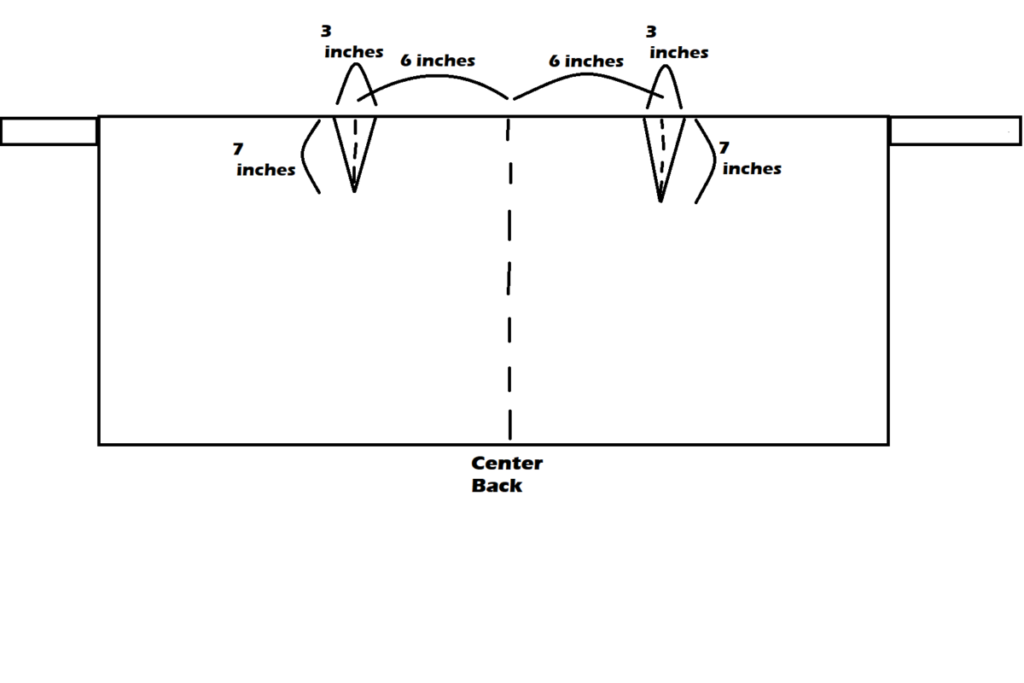
First, you need to take a few measurements: 1) distance around your waist and 2) length from waist to where you want the hem of your skirt to hit. Once you have your measurements you can cut out the pattern pieces using this diagram:
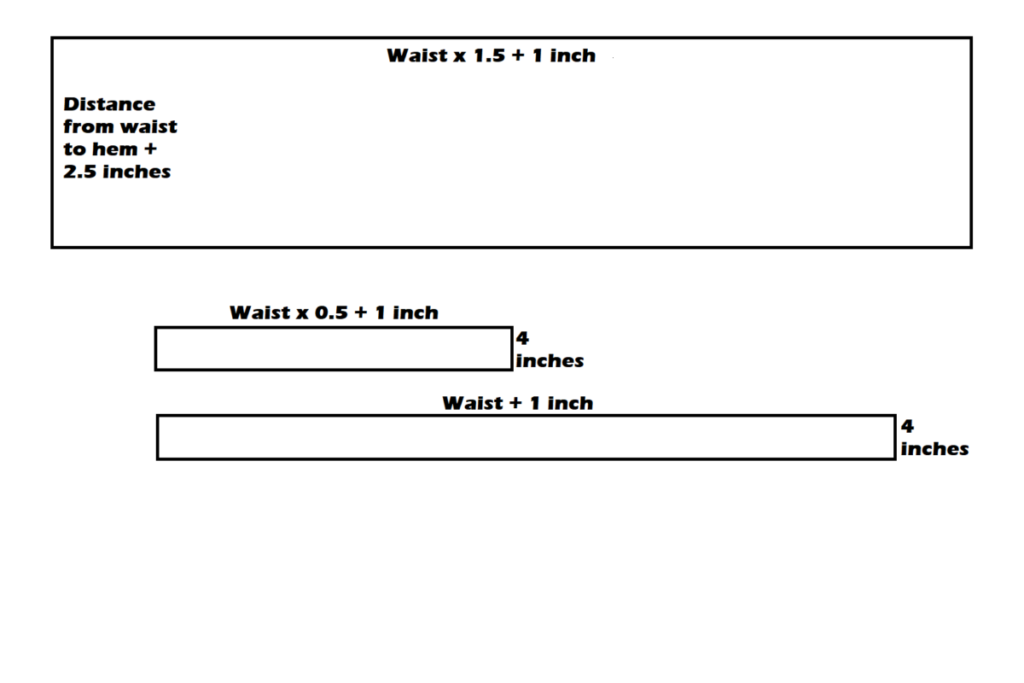
My waist measurement was 33 inches and the length I wanted from waist to hem was 21 inches; so I cut a large rectangle (skirt body) that was (33X1.5)+1=50.5 inches by 21+2.5=23.5 inches. The two smaller rectangles (these are the ties) were 4 inches by 33+1=34 inches, and 4 inches by (33×0.5)+1=17.5 inches.
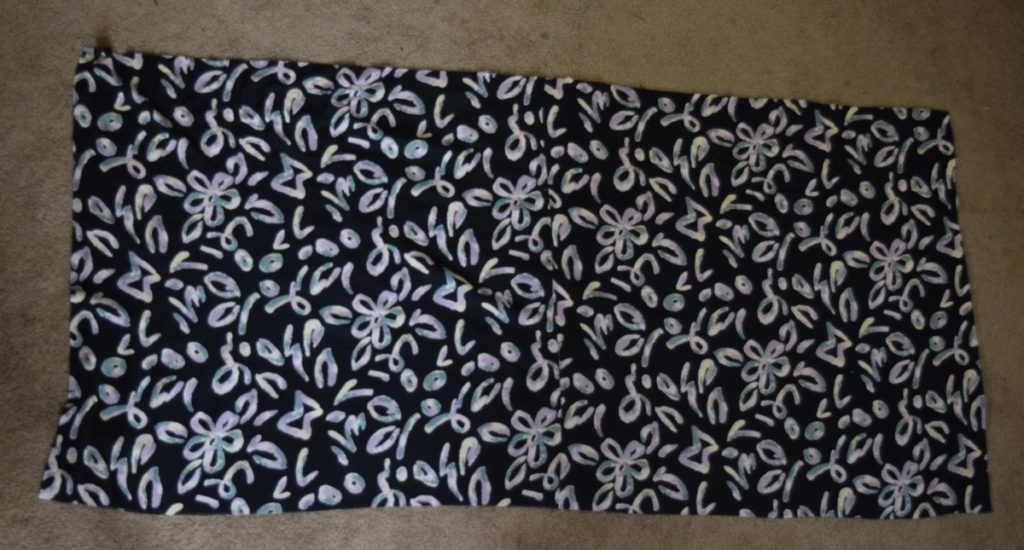
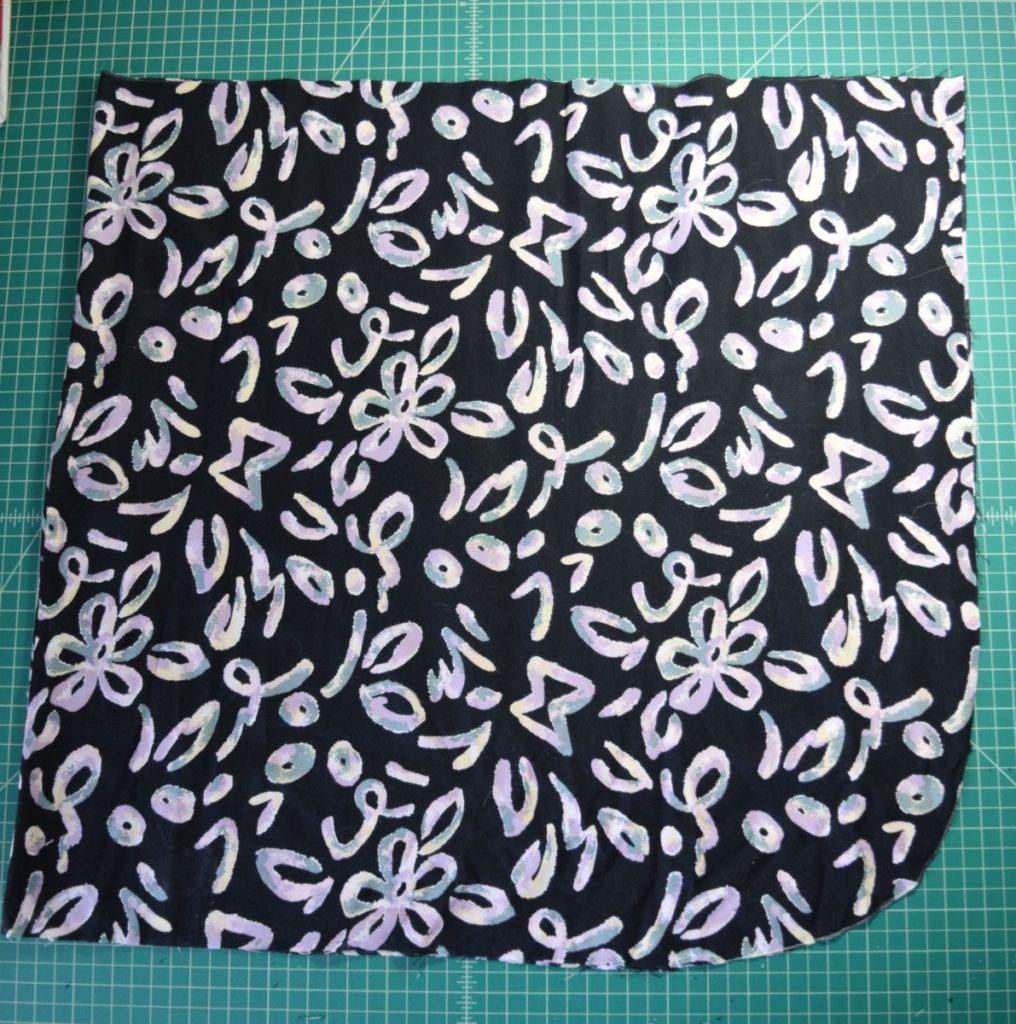
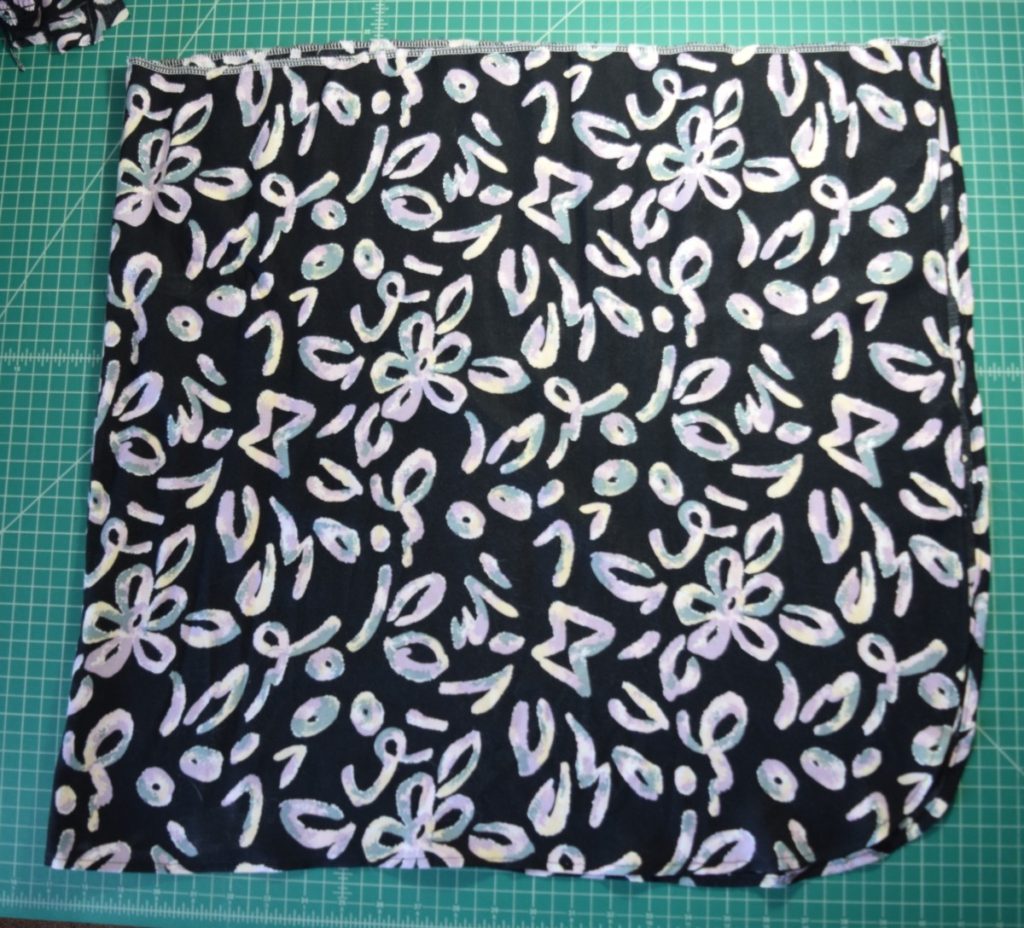
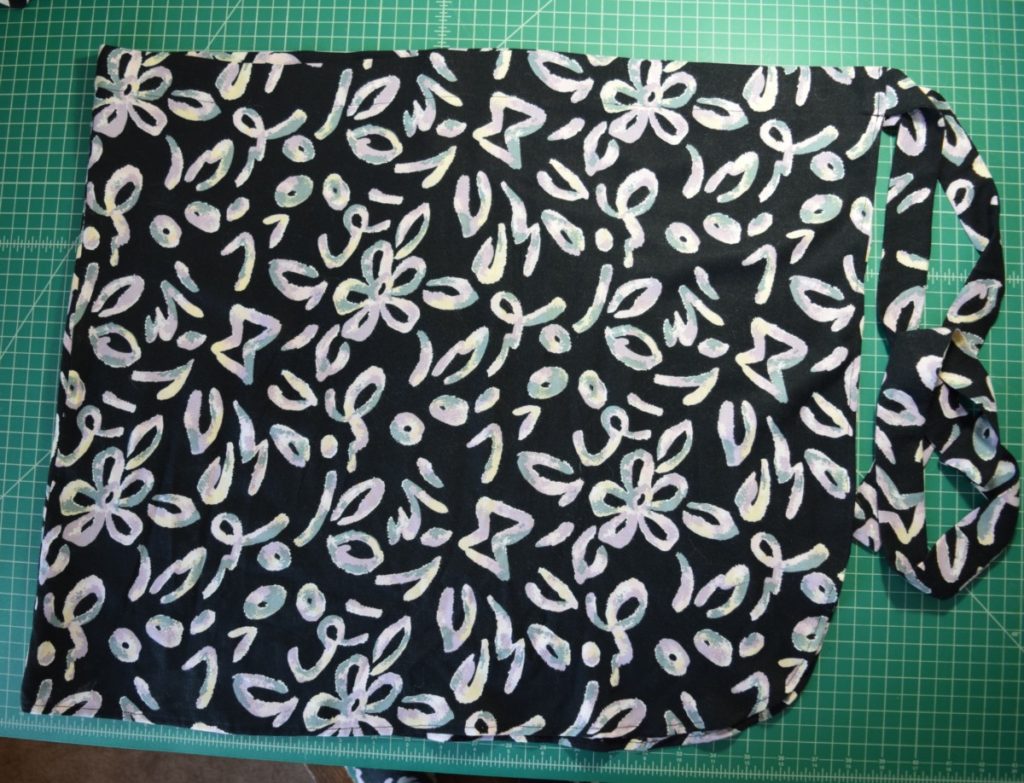
Here’s my main skirt piece (the angle of the picture makes it look a bit lopsided, but I promise, it’s not!):
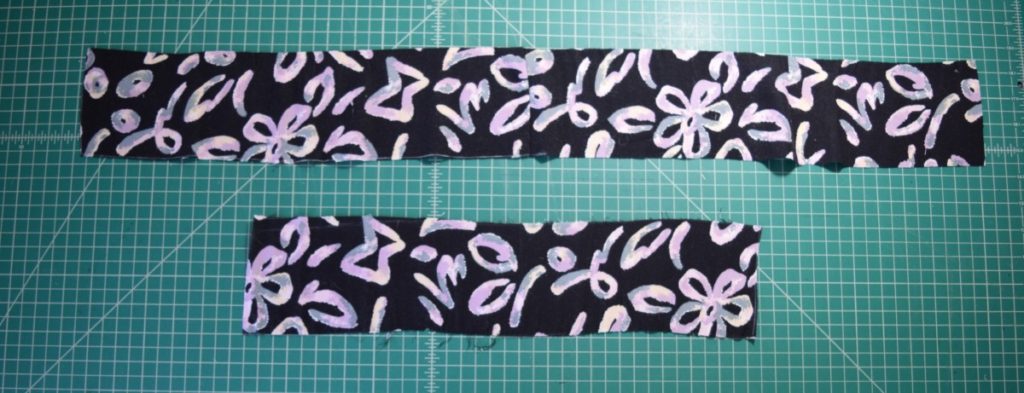
And my two tie pieces:
Next, I wanted the bottom corners of my skirt to be rounded, so I folded the skirt in half (hamburger direction, with the ends of the short sides lined up on the right side). I smoothed out the wrinkles and then drew the shape of the curve I wanted on the bottom right corner.
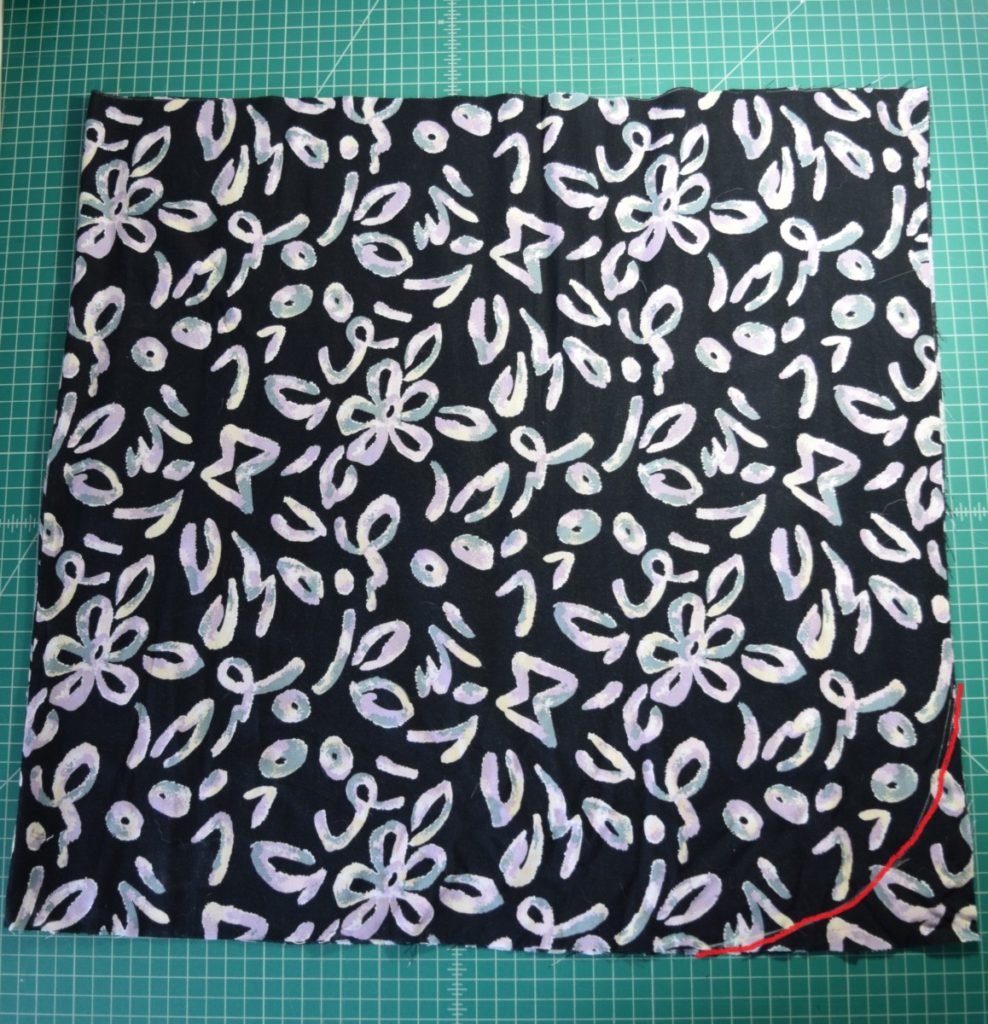
Then I cut along this curve, going through both layers of fabric. Just make sure you’re cutting the side OPPOSITE the fold.
Hemming the skirt:
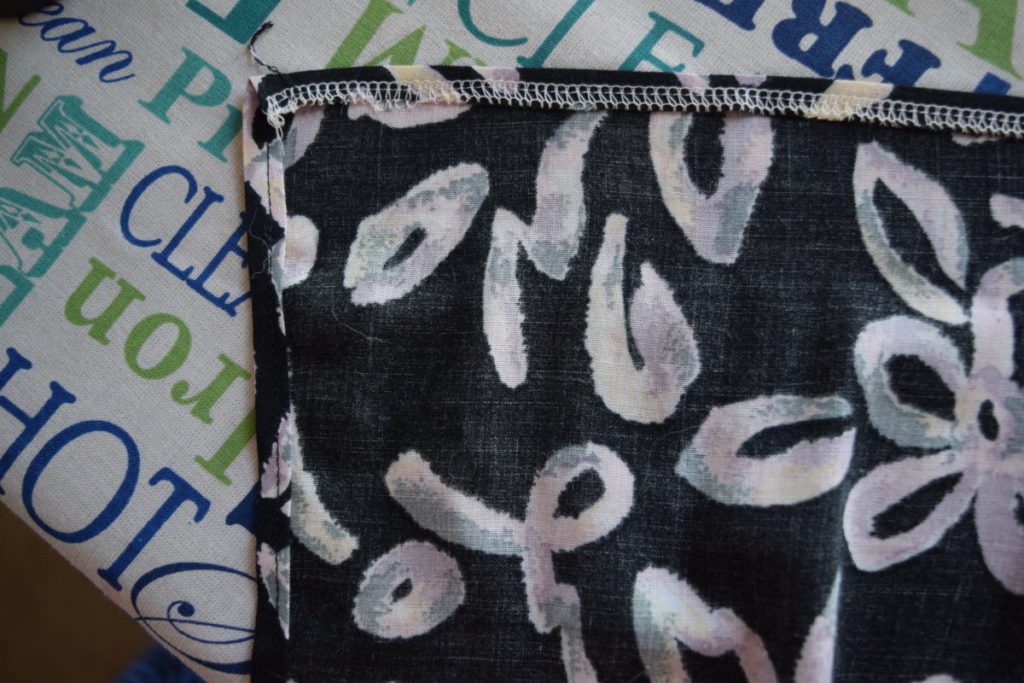
Next, I did a rolled hem all the way around the sides and bottom edges of the skirt, leaving the top edge alone. To do a rolled hem, you fold the edge to the inside 1/4 inch, then fold it to the inside another 1/4 inch, hiding the raw edges inside the folds. Use your iron and pins as you fold to hold things in place.
Hemming around the curves on the bottom corners can be a bit challenging, but by manipulating the fabric a bit and making good use of your iron, it can be done! If needed, you can also fold it once, then clip notches into the seam allowance around the curves before folding it again.
Then just sew this hem in place with your sewing machine and give it another ironing for a nice finish.
At this point I serged the raw edges along the top of the skirt and around the straps, but this turned out to be completely unnecessary because all the raw edges with be hidden in the finished skirt. I would recommend just skipping finishing the raw edges.
Making the ties:
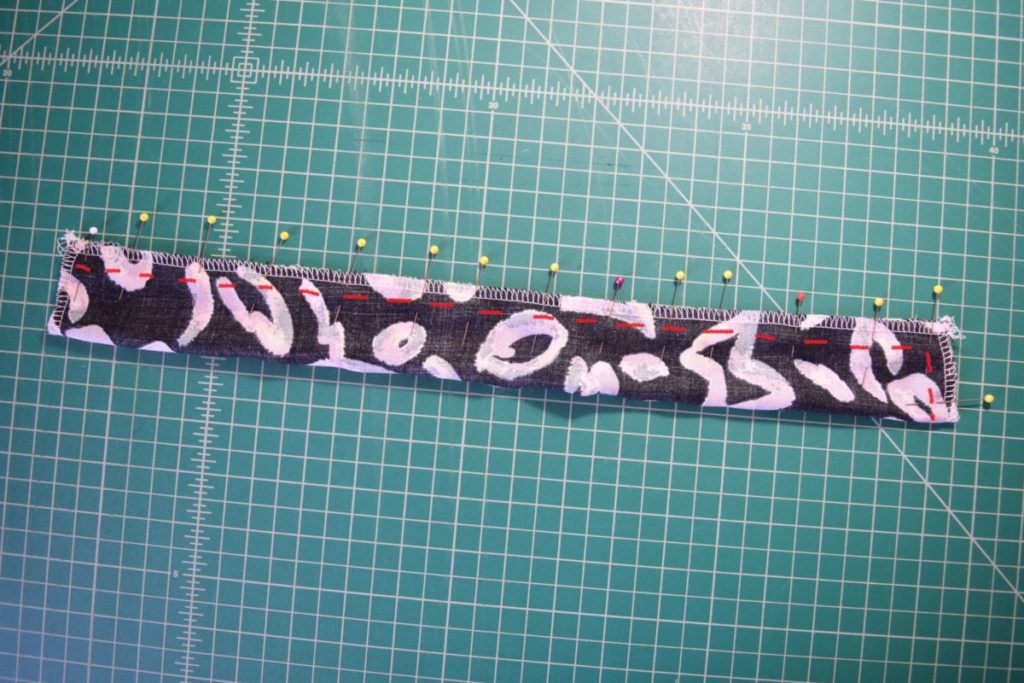
Next, we’ll make our ties for the skirt. First, fold one of your ties in half (hot dog direction), with the right sides together. Pin and sew along the long edge and ONE of the short edges. Sew 1/2 inch from the edges; I’ve marked the stitching lines in the photo below:
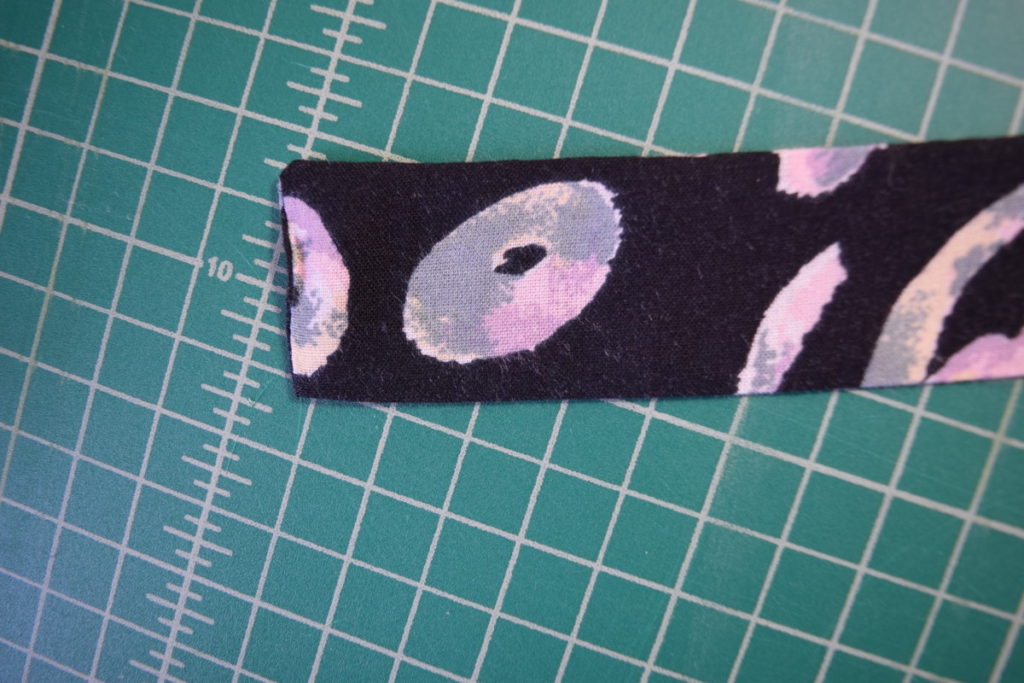
Next, trim the seam allowances close to the stitching, especially at the upper right hand corner. This will help with a crisp corner when you turn the strap right sides out.

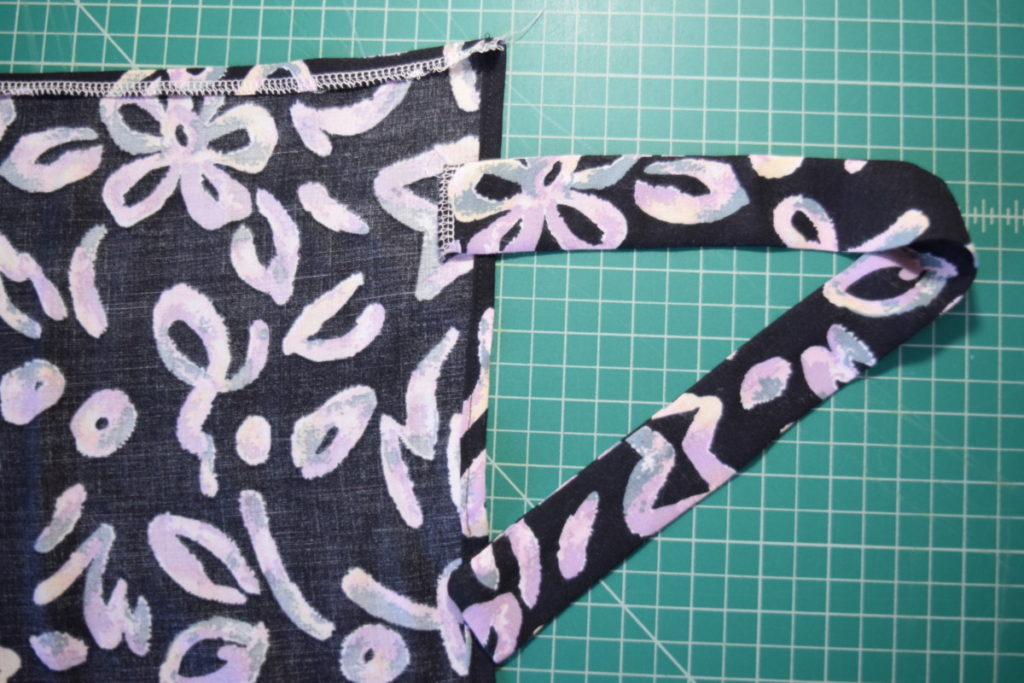
Next, turn the tie right sides out, pulling the corner out as best you can, then iron the tie flat.
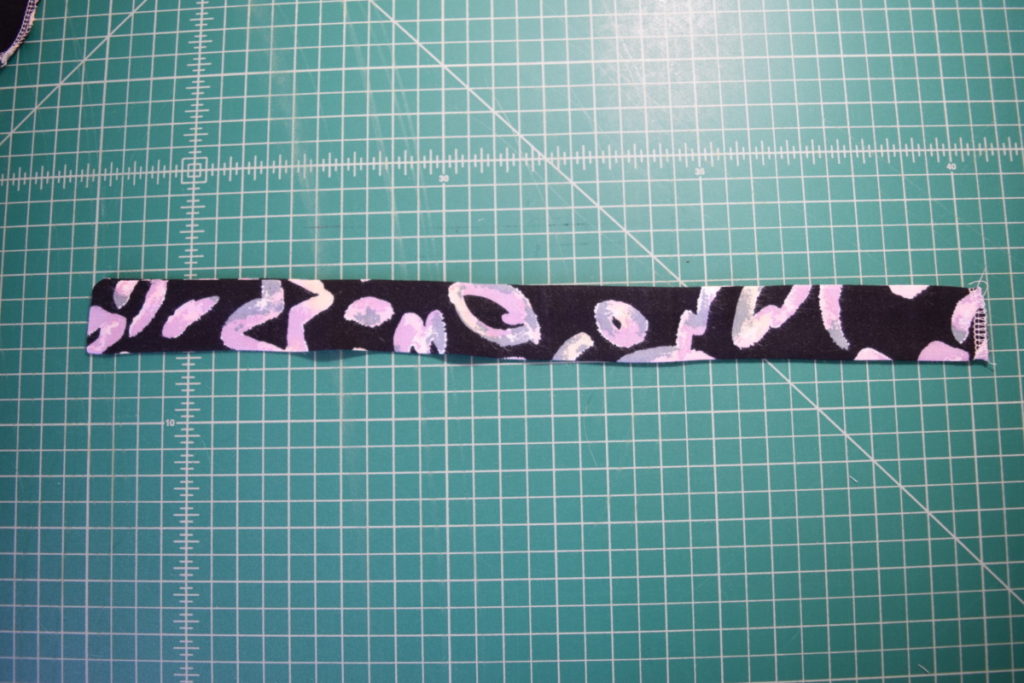
Now just repeat this process with the other strap.

Finishing the waistband and inserting ties:
Now we need to finish the upper edge of the skirt and insert our ties.
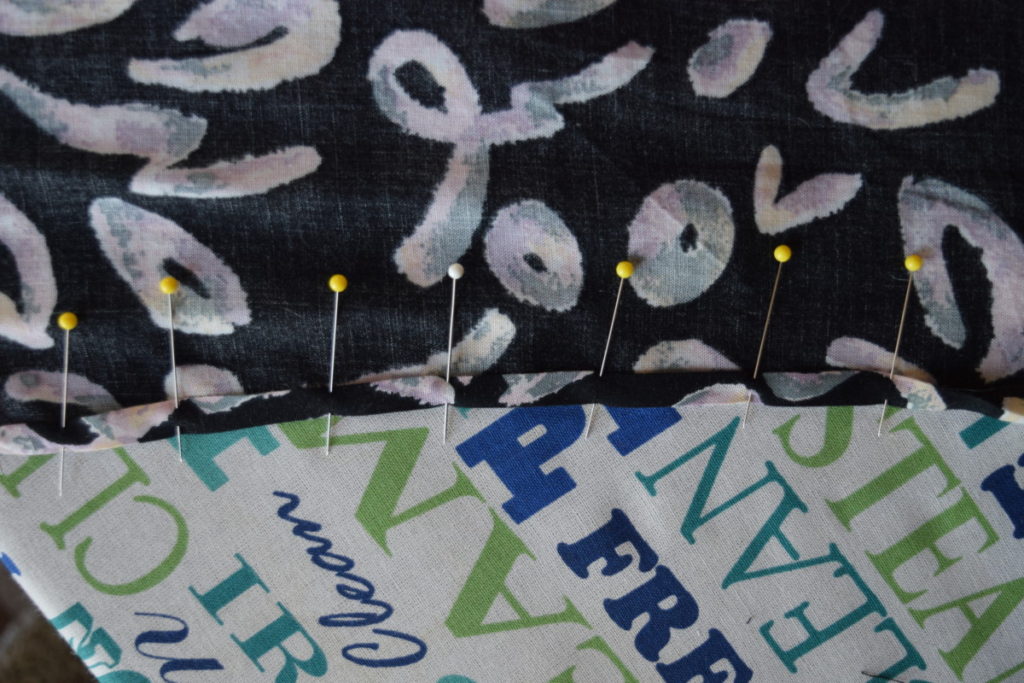
First, fold 1/2 inch to the inside along the upper edge and iron this fold in place.
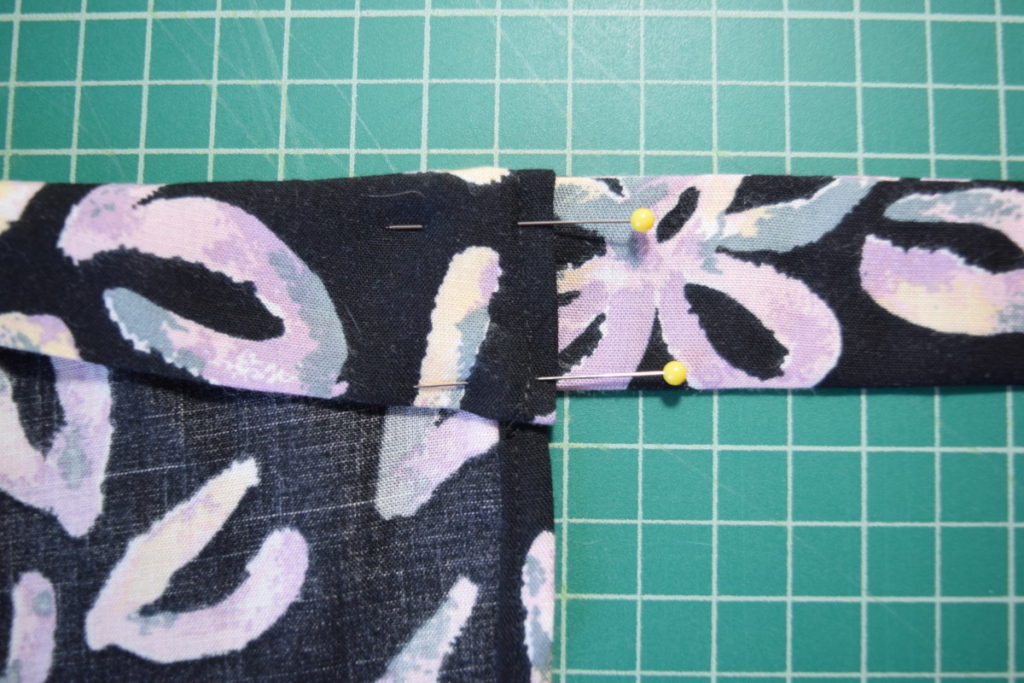
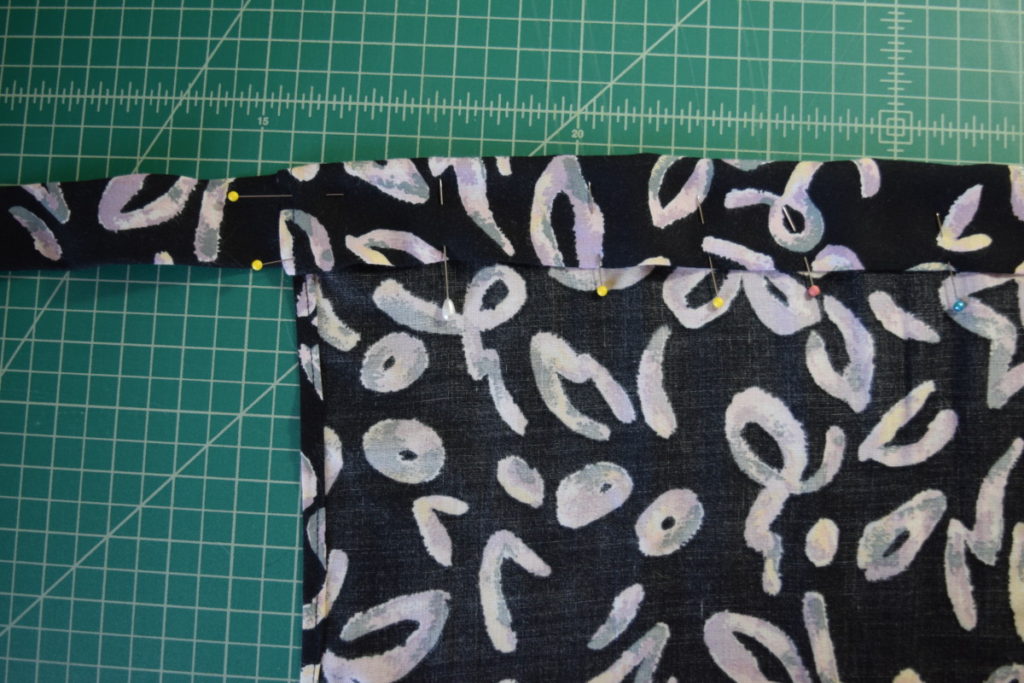
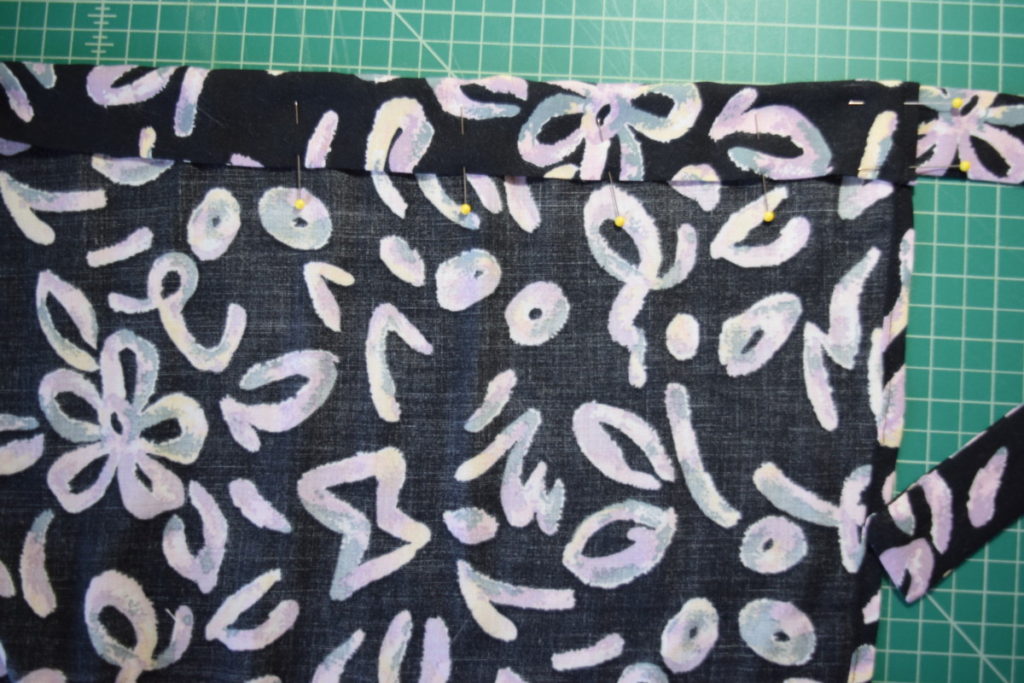
Next, lay the skirt open in front of you with the folded edge to the top and with the wrong side of the fabric facing up. Then grab your shorter tie piece and place it along the right top corner of the skirt, with the open end to the inside of the skirt. Fold the top edge of the skirt down over the strap and pin it in place, encasing all the raw edges inside the waist band.
Now, pin the longer strap into the top left corner of the waistband in the same way.
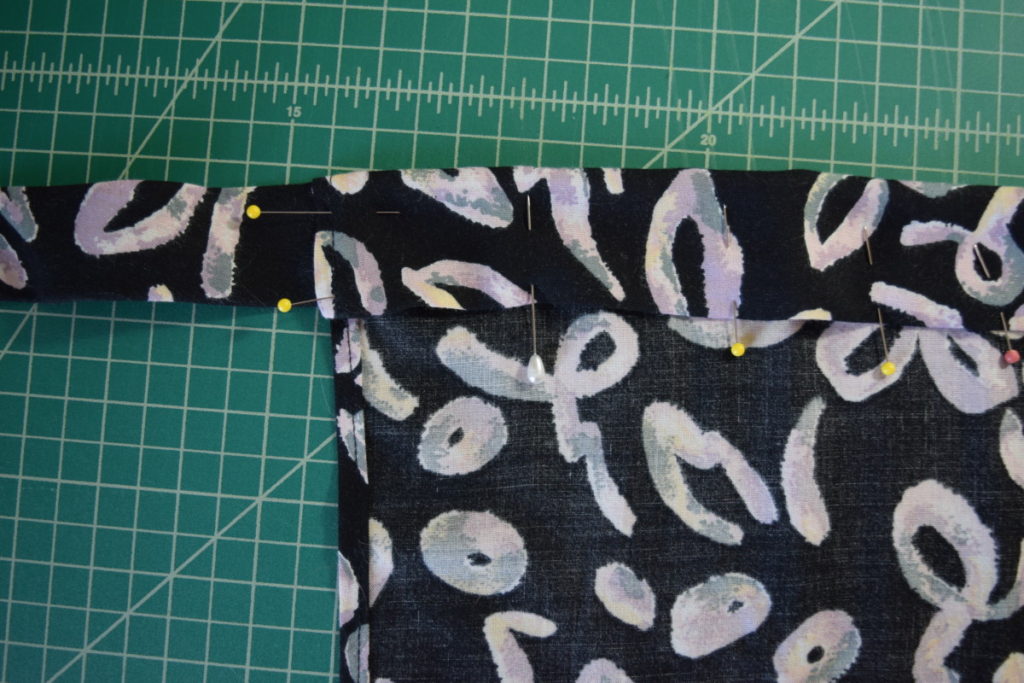
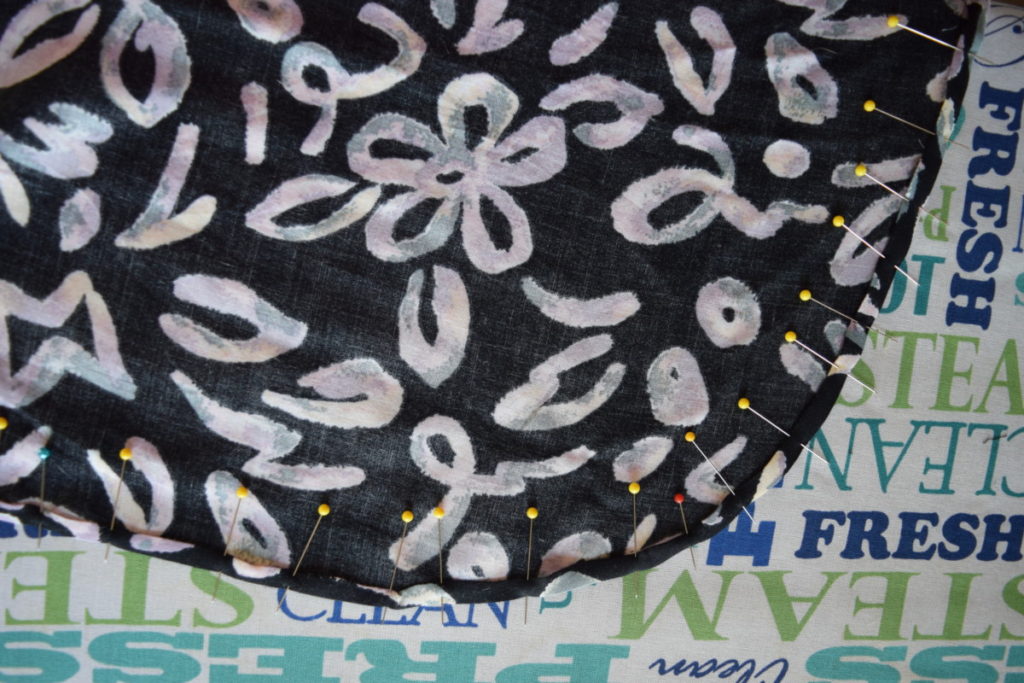
Then, pin the rest of the waistband down, making sure it is an even width all the way across.
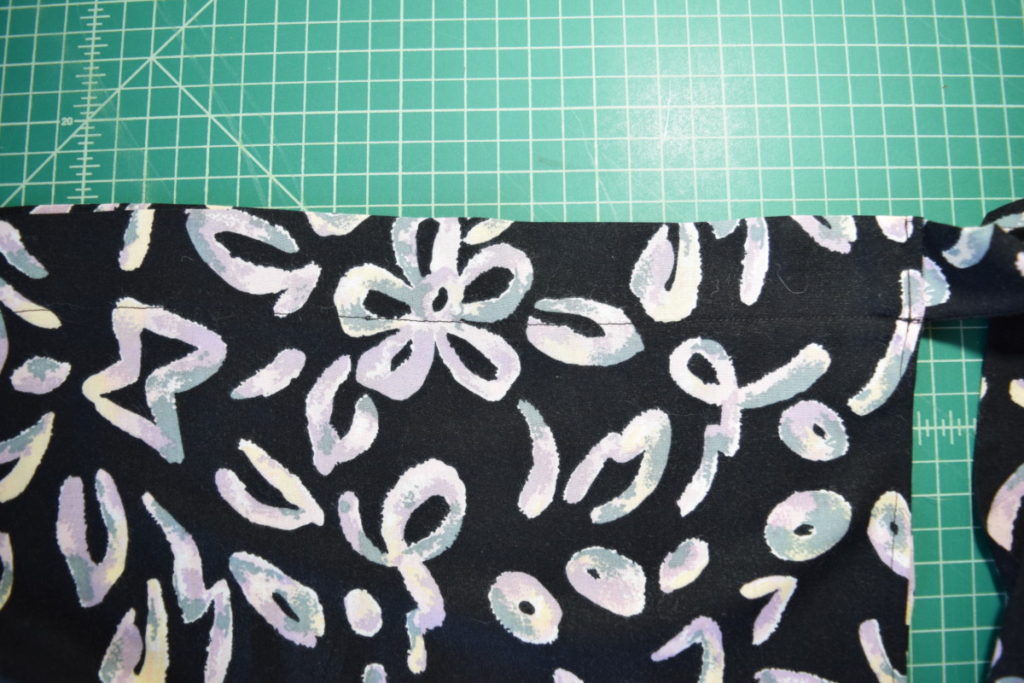
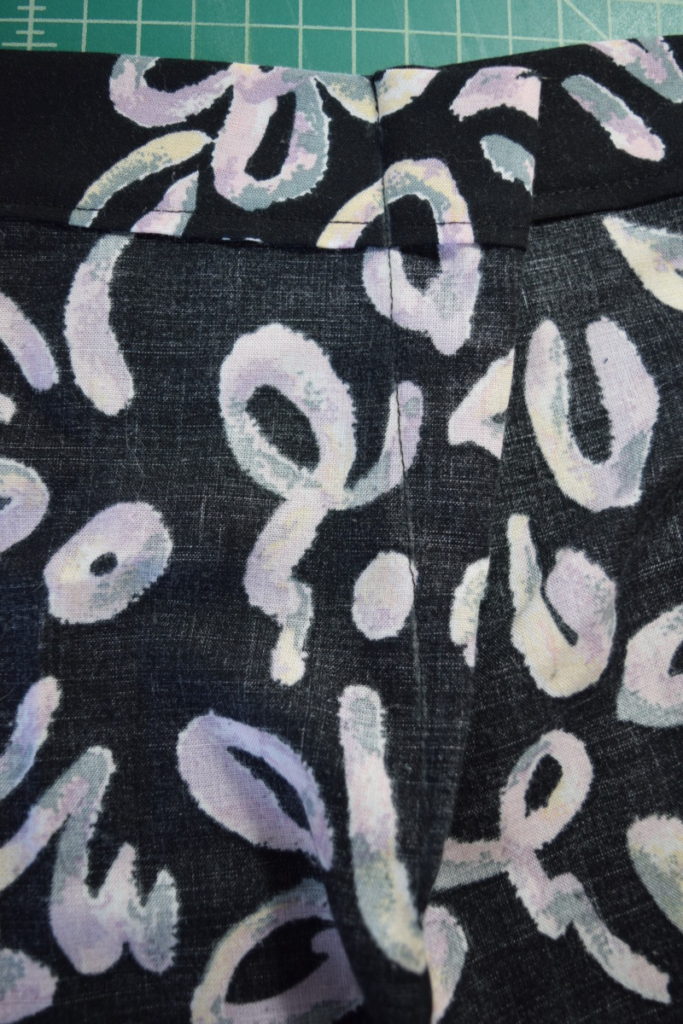
Now, sew the waistband down along the lower folded edge, as well the right and left corners; going through all layers of fabric to encase the ties in the waist band.
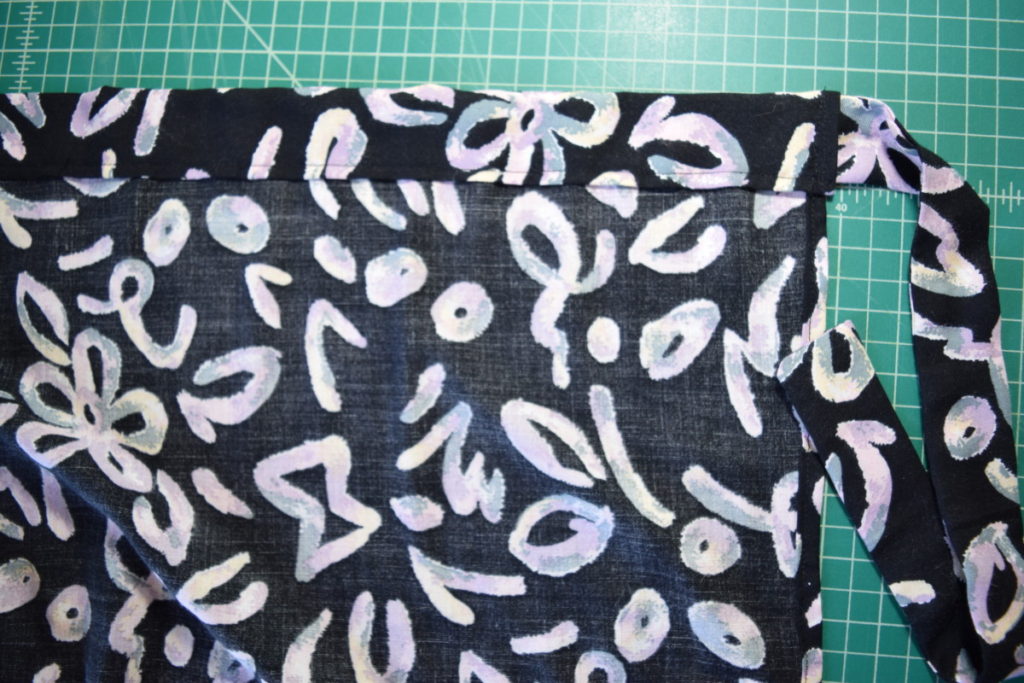
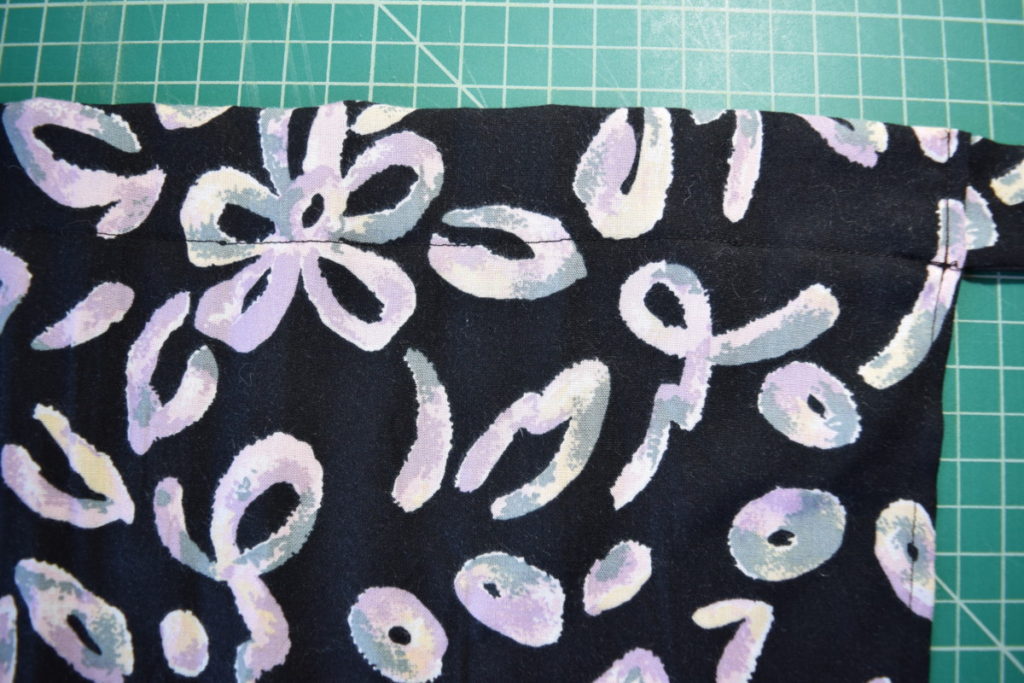
Next, iron the waistband flat to give it a nice finish.
Sewing the darts:
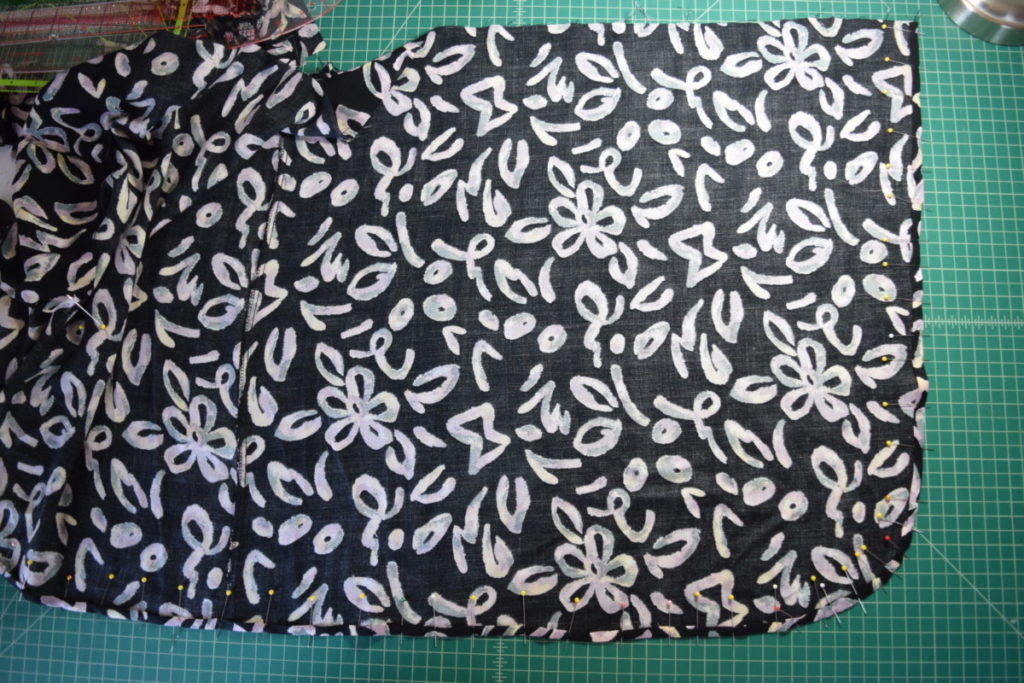
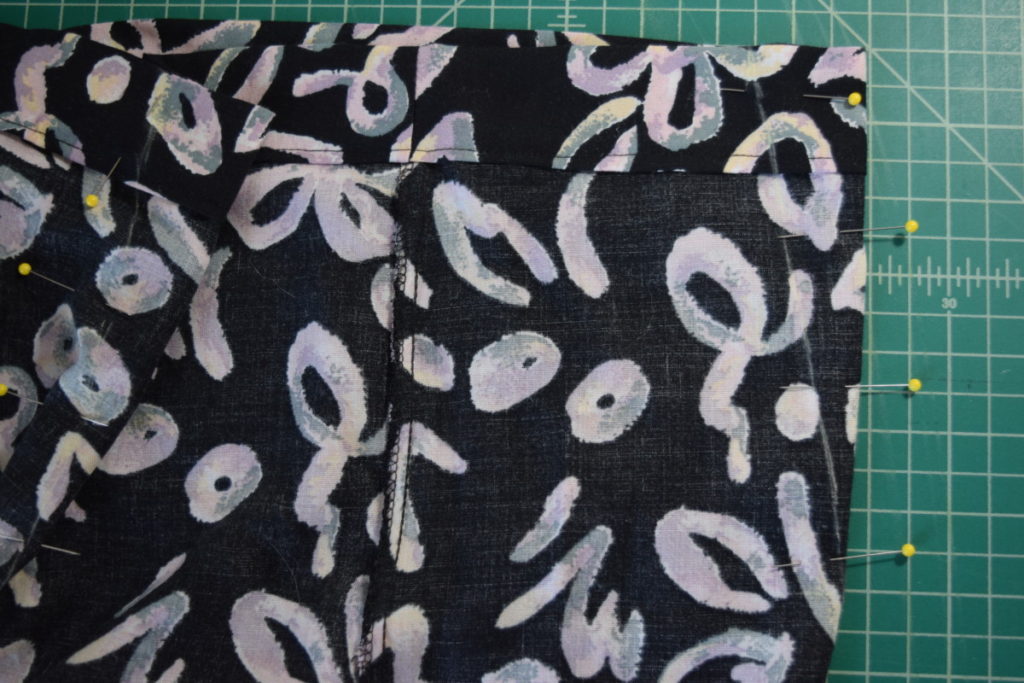
Our final step is to add two darts to the back of the skirt for a nicer fit. To figure out where you want your darts to be, it would be best to try on the skirt and pin (or have someone help you pin) where and how large you want your darts to be. For reference, here’s what my darts looked like:
I’m not going to go into a lot of detail on how to sew darts here (that’s a tutorial for another day), but if you’ve never sewn darts before, here are a couple great tutorials that show you everything you need to know:
A YouTube video from Do It Better Yourself: How to Sew a Dart
A blog tutorial from Sew So Easy: How to Sew Darts – How to Sew a Skirt Series
So to finish my skirt, I sewed my two darts in place and ironed them towards the edges of the skirt.
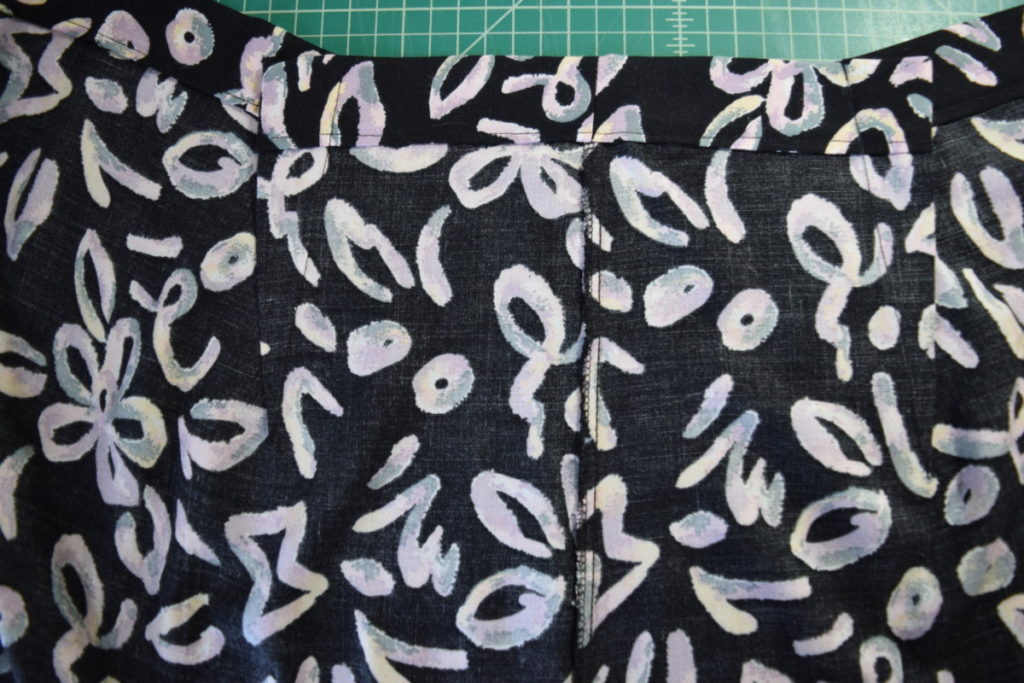
A quick note: if you notice in the photos above that my skirt has a center back seam, that is because I cut the skirt out of a dress and that seam was one of the side seams of the dress. If you make the skirt from fabric you bought, it won’t have a center back seam.
Now just wrap the skirt around your waist, make a nice bow with the ties, and you’ve got a cute and comfortable outfit!
I hope you enjoyed this DIY wrap skirt! If you want to follow along with my content, I would love for you to follow me on Instagram (@adoptyourclothes) or Pinterest (Carmen Barkley). I also provide a weekly email newsletter with updates, sneak peeks, and exclusive content, you can sign up below if you’re interested!


Great simple instructions, and your Skirt is adorable!
[…] DIY Wrap Skirt, by Adopt Your Clothes […]
[…] DIY wrap skirt […]